ノーコードでクラウド上のデータとの連携を実現。
詳細はこちら →Azure Data Lake Storage Driver の30日間無償トライアルをダウンロード
30日間の無償トライアルへ製品の詳細
Azure Data Lake Storage データに連携するJava アプリケーションを素早く、簡単に開発できる便利なドライバー。
CData


こんにちは!ウェブ担当の加藤です。マーケ関連のデータ分析や整備もやっています。
CData JDBC Driver for ADLS は、JDBC 標準に準拠し、BI ツールからIDE まで幅広いアプリケーションでAzure Data Lake Storage データへの接続を提供します。この記事では、DbVisualizer からAzure Data Lake Storage データに接続する方法、およびtable エディタを使ってAzure Data Lake Storage をロード、する方法を説明します。
CData JDBC ドライバは、以下の特徴を持ったリアルタイムデータ接続ツールです。
CData JDBC ドライバでは、1.データソースとしてAzure Data Lake Storage の接続を設定、2.DBeaver 側でJDBC Driver との接続を設定、という2つのステップだけでデータソースに接続できます。以下に具体的な設定手順を説明します。
下記の手順に従い、Driver Manager を使ってDbVisualizer ツールからAzure Data Lake Storage データに接続します。
「Driver Manager」を終了し、下記の手順に従ってJDBC URL に接続プロパティを入力します。
「Connection」セクションで以下のオプションを設定します。
Database URL:完全なJDBC URL を入力します。JDBC URL 構文は、jdbc:adls: に続けてセミコロン区切りでname-value ペアの接続プロパティを入力します。
Gen 1 DataLakeStorage アカウントに接続するには、はじめに以下のプロパティを設定します。
Gen 1 は、認証方法としてAzure Active Directory OAuth(AzureAD)およびマネージドサービスID(AzureMSI)をサポートしています。認証方法は、ヘルプドキュメントの「Azure DataLakeStorage Gen 1 への認証」セクションを参照してください。
Gen 2 DataLakeStorage アカウントに接続するには、はじめに以下のプロパティを設定します。
Gen 2は、認証方法としてアクセスキー、共有アクセス署名(SAS)、Azure Active Directory OAuth(AzureAD)、マネージドサービスID(AzureMSI)など多様な方法をサポートしています。AzureAD、AzureMSI での認証方法は、ヘルプドキュメントの「Azure DataLakeStorage Gen 2 への認証」セクションを参照してください。
アクセスキーを使用して接続するには、AccessKey プロパティを取得したアクセスキーの値に、AuthScheme を「AccessKey」に設定します。
Azure ポータルからADLS Gen2 ストレージアカウントのアクセスキーを取得できます。
共有アクセス署名を使用して接続するには、SharedAccessSignature プロパティを接続先リソースの有効な署名に設定して、AuthScheme を「SAS」に設定します。 共有アクセス署名は、Azure Storage Explorer などのツールで生成できます。
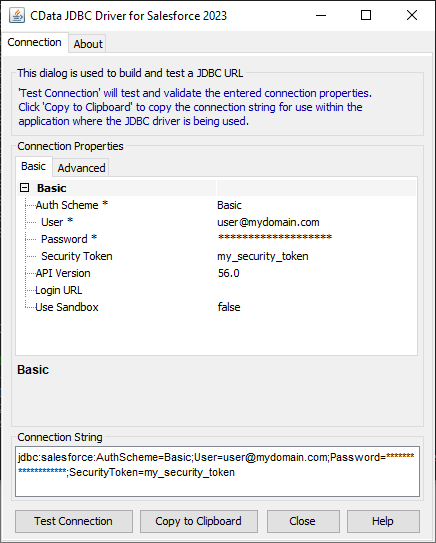
JDBC URL の作成の補助として、Azure Data Lake Storage JDBC Driver に組み込まれている接続文字列デザイナーが使用できます。JAR ファイルをダブルクリックするか、コマンドラインからjar ファイルを実行します。
java -jar cdata.jdbc.adls.jar
接続プロパティを入力し、接続文字列をクリップボードにコピーします。
JDBC URL を構成する際に、Max Rows 接続プロパティを設定することもできます。この設定は返される行数を制限するため、レポートやビジュアライゼーションを作成する際のパフォーマンスが向上します。
一般的な接続文字列は次のとおりです。
jdbc:adls:Schema=ADLSGen2;Account=myAccount;FileSystem=myFileSystem;AccessKey=myAccessKey;InitiateOAuth=GETANDREFRESH
Azure Data Lake Storage JDBC Driver が表示するテーブルをブラウズするには、テーブルを右クリックして「Open In New Tab」をクリックします。
SQL クエリの実行には、SQL Commander ツールを使用します。「SQL Commander」->「New SQL Commander」をクリックします。利用可能なメニューから「Database Connection」、「Database」、「Schema」を選択します。
サポートされるSQL についての詳細は、ヘルプドキュメントの「サポートされるSQL」をご覧ください。テーブルに関する情報は「データモデル」をご覧ください。