ノーコードでクラウド上のデータとの連携を実現。
詳細はこちら →Apache Hive Driver の30日間無償トライアルをダウンロード
30日間の無償トライアルへCData


こんにちは!ウェブ担当の加藤です。マーケ関連のデータ分析や整備もやっています。
CData JDBC Driver for ApacheHive は、IDE からBI ツールまで、サードパーティーツールからHive データの読み書きを可能にするJDBC 標準を提供します。本記事では、DBeaver のウィザードを使ってHive データに接続し、GUI 上でデータを参照する方法を紹介します。
CData JDBC ドライバは、以下の特徴を持ったリアルタイムデータ接続ツールです。
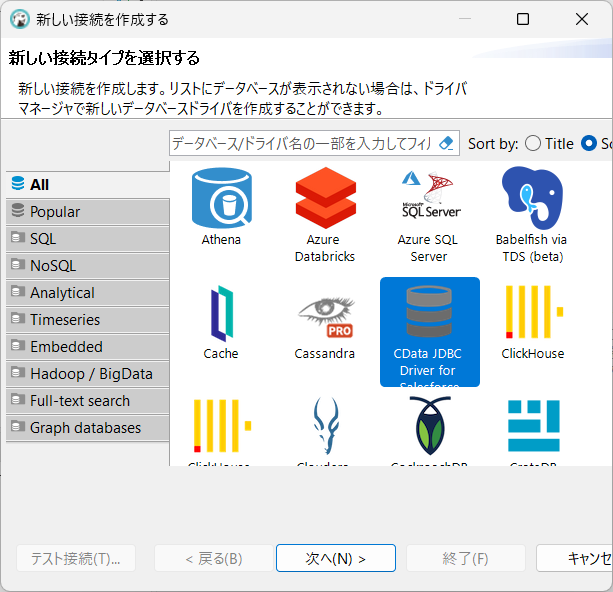
CData JDBC ドライバでは、1.データソースとしてHive の接続を設定、2.DBeaver 側でJDBC Driver との接続を設定、という2つのステップだけでデータソースに接続できます。以下に具体的な設定手順を説明します。
まずは、本記事右側のサイドバーからApacheHive JDBC Driver の無償トライアルをダウンロード・インストールしてください。30日間無償で、製品版の全機能が使用できます。
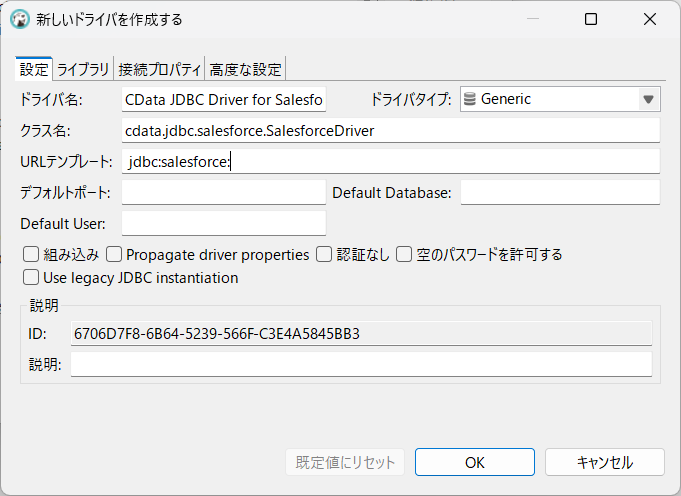
次に、以下の手順でDBeaver にドライバーのJAR ファイルをロードします。
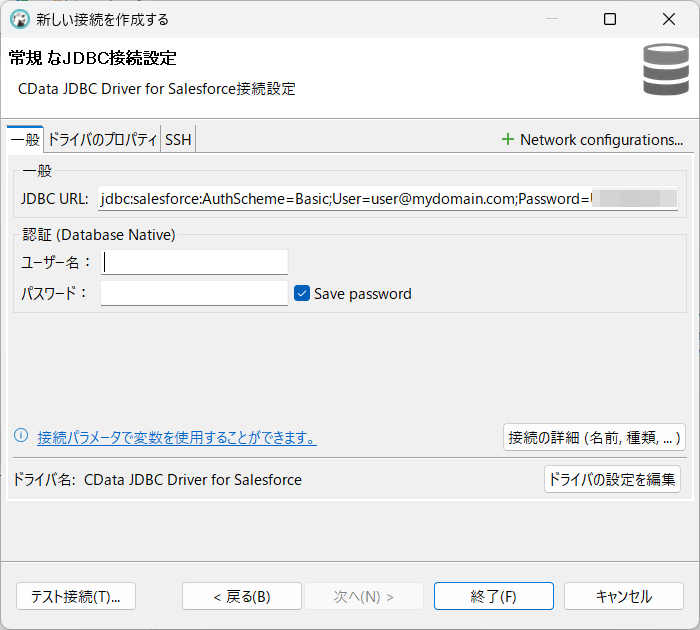
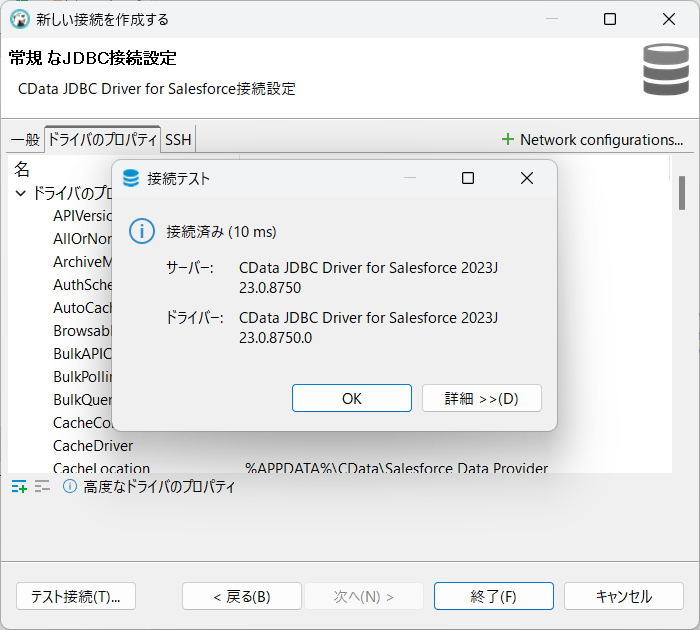
以下の手順で、認証情報およびその他の必要な接続プロパティを追加します。
Apache Hive への接続を確立するには以下を指定します。
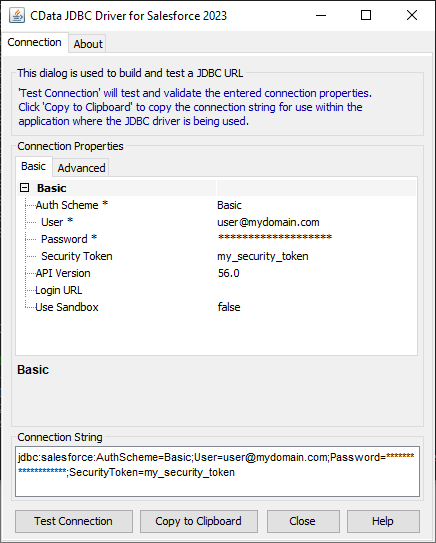
JDBC URL の作成の補助として、Hive JDBC Driver に組み込まれている接続文字列デザイナーが使用できます。JAR ファイルをダブルクリックするか、コマンドラインからjar ファイルを実行します。
java -jar cdata.jdbc.apachehive.jar
接続プロパティを入力し、接続文字列をクリップボードにコピーします。
一般的な接続文字列:
jdbc:apachehive:Server=127.0.0.1;Port=10000;TransportMode=BINARY;
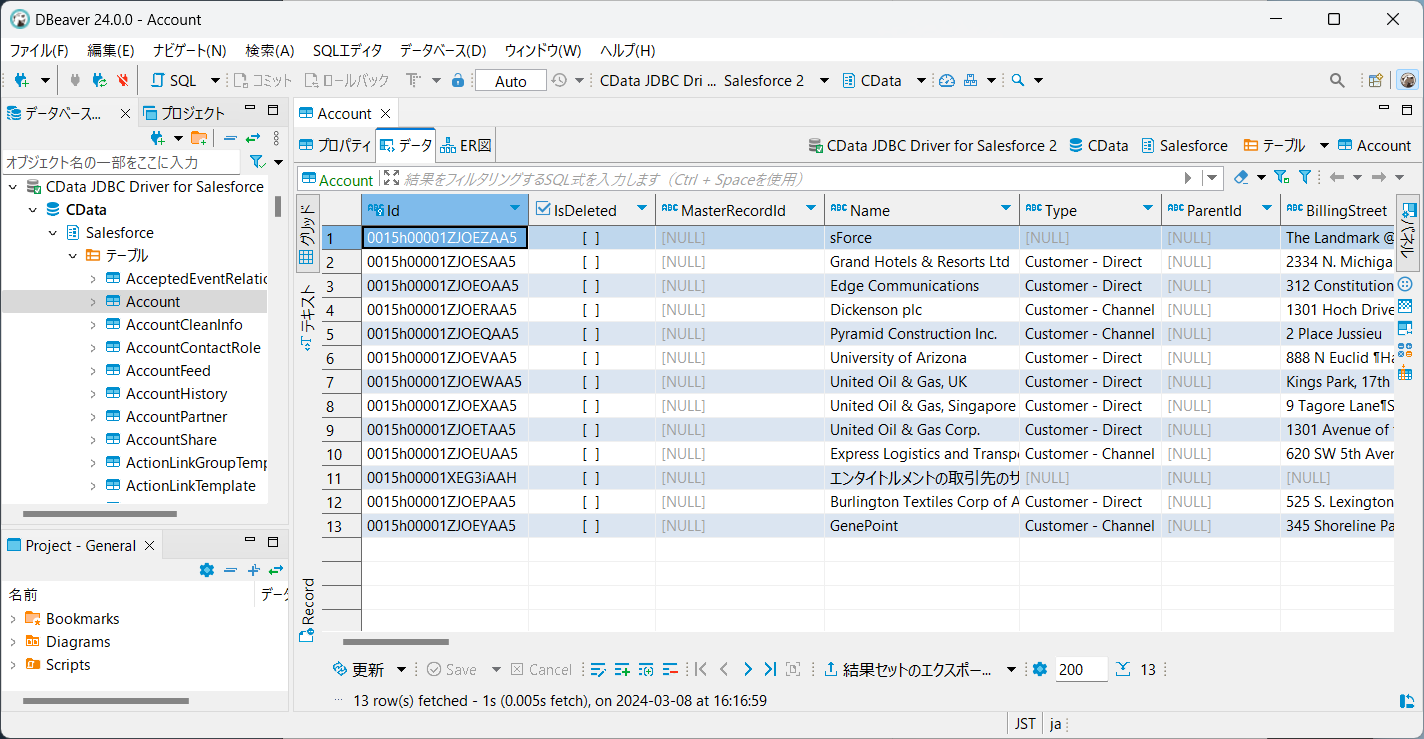
これで、接続できたことで公開されたテーブルのデータにクエリを実行できるようになりました。テーブルを右クリックし、「ビュー表」をクリックします。「データ」タブでデータを確認できます。