ノーコードでクラウド上のデータとの連携を実現。
詳細はこちら →製品の詳細・30日間の無償トライアルはコチラ
CData Sync
CData

こんにちは!プロダクトスペシャリストの宮本です。
CData Sync は、数百のSaaS / DB のデータをAzure SQL をはじめとする各種DB / データウェアハウスにノーコードで統合・レプリケーション(複製)が可能なデータパイプラインツールです。本記事では、QuickBooks データをCData Sync を使ってAzure SQL に統合するデータパイプラインを作っていきます。
CData Sync は、レポーティング、アナリティクス、機械学習、AI などで使えるよう、社内のデータを一か所に統合して管理できるデータ基盤をノーコードで構築できるETL ツールで、以下の特徴を持っています。
CData Sync では、1.データソースとしてQuickBooks の接続を設定、2.同期先としてAzure SQL の接続を設定、3.QuickBooks からAzure SQL へのレプリケーションジョブの作成、という3つのステップだけでレプリケーション処理を作成可能です。以下に具体的な設定手順を説明します。
まずはじめに、CData Sync のブラウザ管理コンソールにログインします。CData Sync のインストールをまだ行っていない方は本記事の製品リンクからCData Sync をクリックして、30日の無償トライアルとしてCData Sync をインストールしてください。インストール後にCData Sync が起動して、ブラウザ設定画面が開きます。
それでは、データソース側にQuickBooks を設定していきましょう。左の[接続]タブをクリックします。
ローカルQuickBooks インスタンスへの接続には接続プロパティ入力は不要です。
CData 製品は、リモートコネクタ経由でQuickBooks にリクエストを作成します。リモートコネクタはQuickBooks と同じマシン上で動作し、軽量の組み込みWeb サーバーを介して接続を受け入れます。サーバーはSSL/TLS をサポートし、ユーザーにリモートマシンからのセキュアな接続を可能にします。
初めて接続するときは、CData 製品をQuickBooks で認証する必要があります。詳しくは、ヘルプドキュメントの「Using the Remote Connector」を参照してください。
次に、QuickBooks データを書き込む先(=同期先)として、Azure SQL を設定します。同じく[接続]タブを開きます。
The Java version requires the Microsoft SQL Server JDBC Driver, which can be downloaded from the Microsoft Download Center. Copy the JDBC driver to the lib folder of your Java Web server to make a connection.
CData Sync では、レプリケーションをジョブ単位で設定します。ジョブは、QuickBooks からAzure SQL という単位で設定し、複数のテーブルを含むことができます。レプリケーションジョブ設定には、[ジョブ]タブに進み、[+ジョブを追加]ボタンをクリックします。
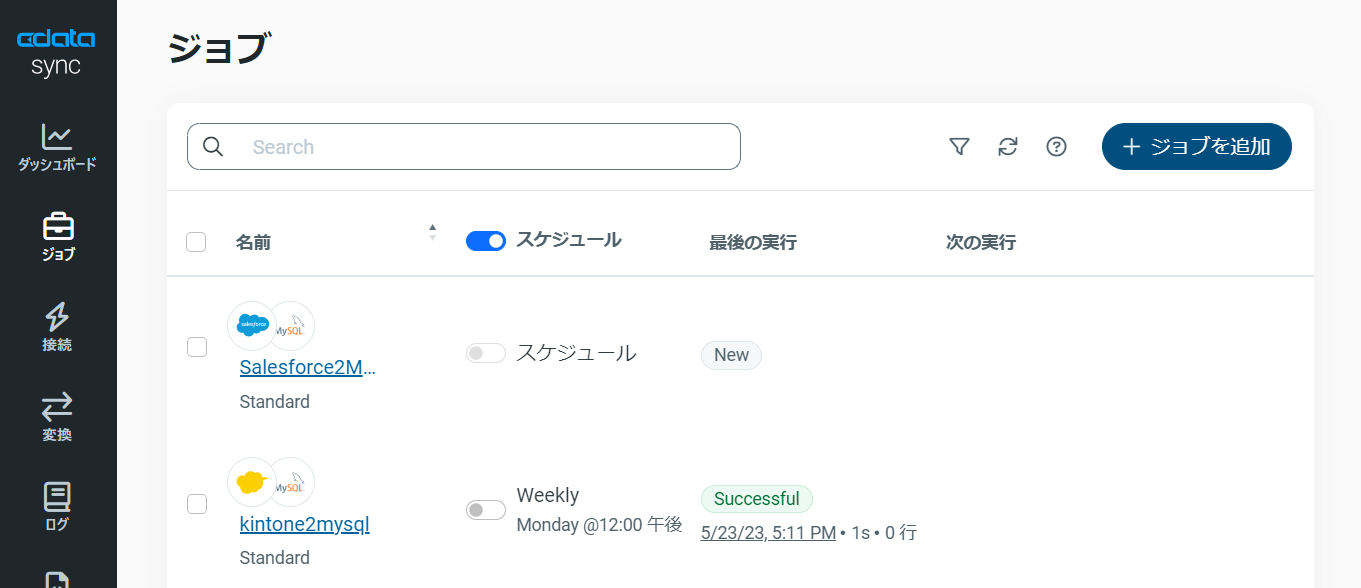
[ジョブを追加]画面が開き、以下を入力します:
QuickBooks のすべてのオブジェクト / テーブルをレプリケーションするには、[種類]セクションで[すべて同期]を選択して、[ジョブを追加]ボタンで確定します。
作成したジョブ画面で、右上の[▷実行]ボタンをクリックするだけで、全QuickBooks テーブルのAzure SQL への同期を行うことができます。
QuickBooks から特定のオブジェクト / テーブルを選択してレプリケーションを行うことが可能です。[種類]セクションでは、[標準(個別設定)]を選んでください。
次に[ジョブ]画面で、[タスク]タブをクリックし、[タスクを追加]ボタンをクリックします。 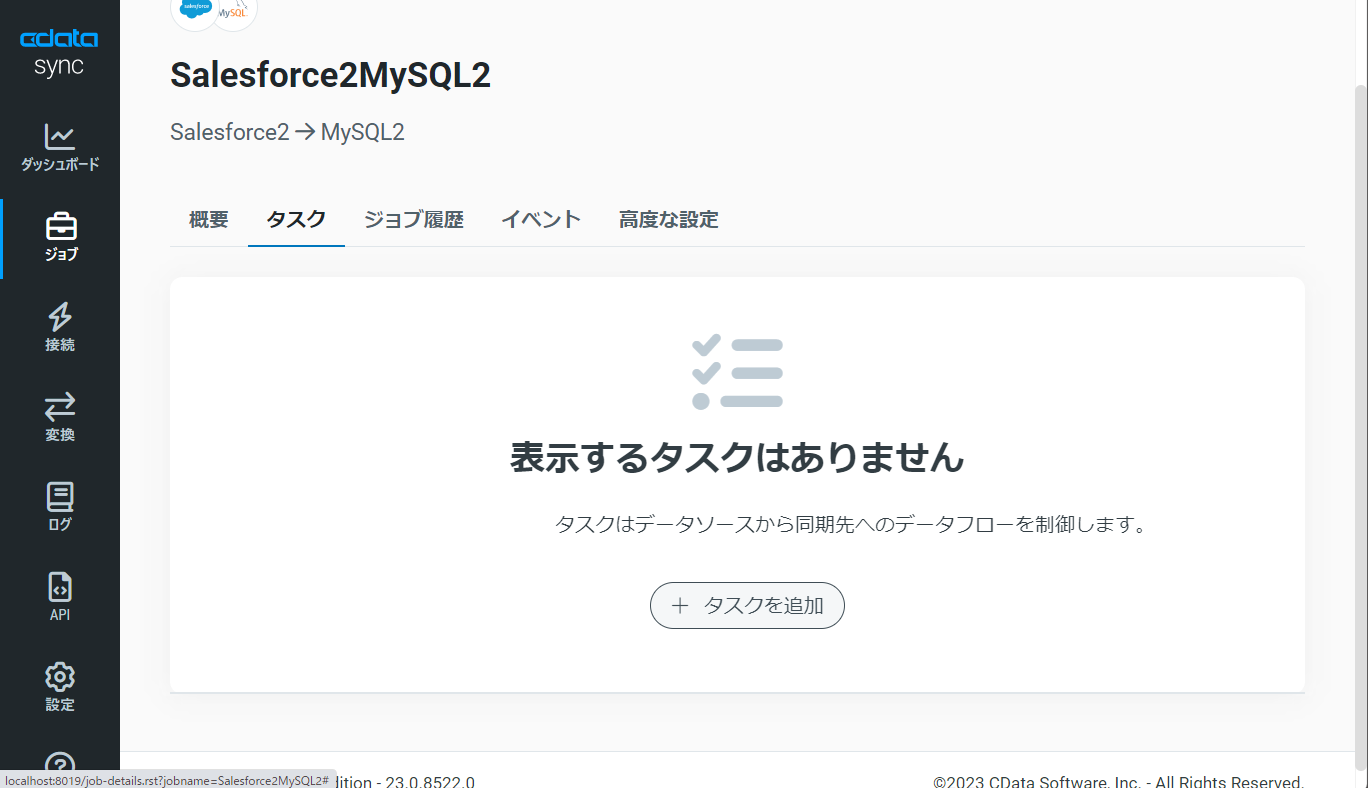
するとCData Sync で利用可能なオブジェクト / テーブルのリストが表示されるので、レプリケーションを行うオブジェクトにチェックを付けます(複数選択可)。[ジョブを追加]ボタンで確定します。
作成したジョブ画面で、[▷実行]ボタンをクリックして(もしくは各タスク毎の実行ボタンを押して)、レプリケーションジョブを実行します。 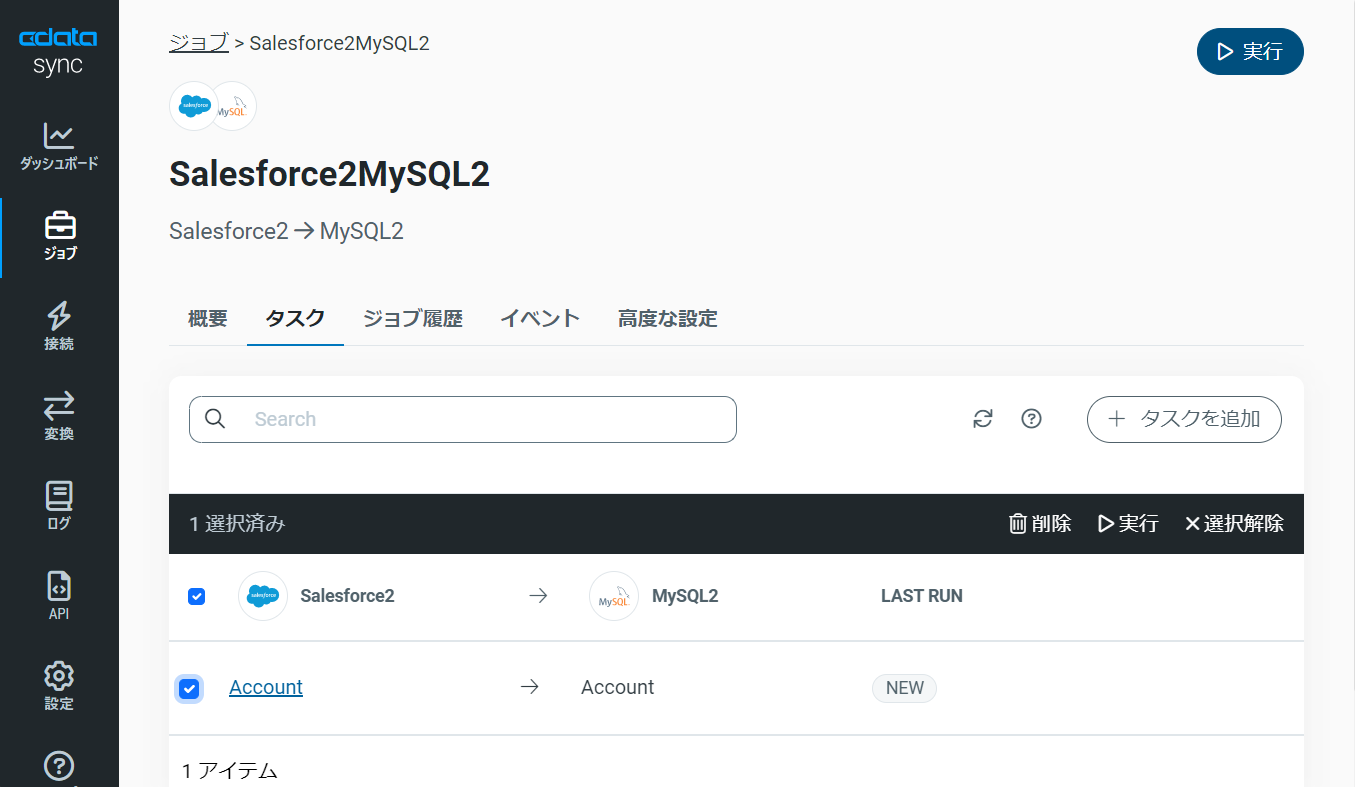
このようにとても簡単にQuickBooks からAzure SQL への同期を行うことができました。
CData Sync では、同期ジョブを1日に1回や15分に1回などのスケジュール起動をすることができます。ジョブ画面の[概要]タブから[スケジュール]パネルを選び、[⚙設定]ボタンをクリックします。[間隔]と同期時間の[毎時何分]を設定し、[保存]を押して設定を完了します。これでCData Sync が同期ジョブをスケジュール実行してくれます。ユーザーはダッシュボードで同期ジョブの状態をチェックするだけです。 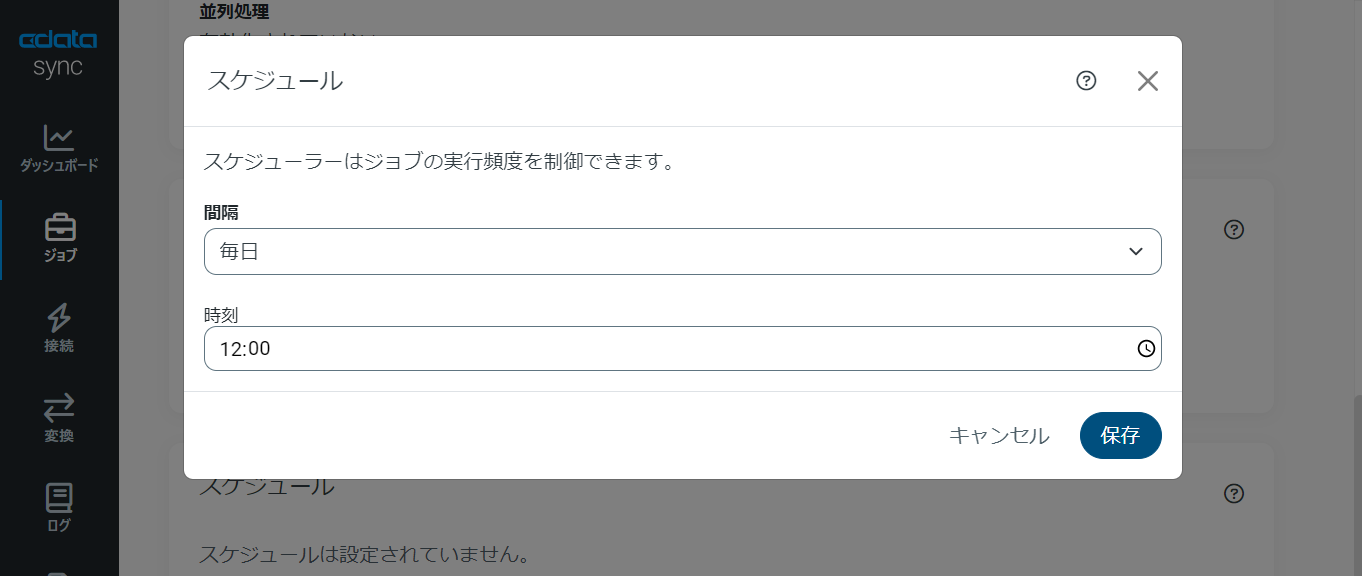
CData Sync では、主要なデータソースでは、差分更新が可能です。差分更新では、最後のジョブ実行時からデータソース側でデータの追加・変更があったデータだけを同期するので、レプリケーションのクエリ・通信のコストを圧倒的に抑えることが可能です。
差分更新を有効化するには、ジョブの[概要]タブから「差分更新」パネルを選び、[⚙設定]ボタンをクリックします。[開始日]と[レプリケーション間隔]を設定して、[保存]します。
CData Sync は、デフォルトではQuickBooks のオブジェクト / テーブルをそのままAzure SQL に複製しますが、ここにSQL、またはdbt 連携でのETL 処理を組み込むことができます。テーブルカラムが多すぎる場合や、データ管理の観点から一部のカラムだけをレプリケーションしたり、さらにデータの絞り込み(フィルタリング)をしたデータだけをレプリケーションすることが可能です。
ジョブの[概要]タブ、[タスク]タブへと進みます。選択されたタスク(テーブル)の[▶]の左側のメニューをクリックし、[編集]を選びます。タスクの編集画面が開きます。
UI からカラムを選択する場合には、[カラム]タブから[マッピング編集]をクリックします。レプリケーションで使用しないカラムからチェックを外します。
SQL を記述して、フィルタリングなどのカスタマイズを行うには、[クエリ]タブをクリックし、REPLICATE [テーブル名]の後に標準SQL でフィルタリングを行います。

このようにノーコードで簡単にQuickBooks データをAzure SQL にレプリケーションできます。データ分析、AI やノーコードツールからのデータ利用などさまざまな用途でCData Sync をご利用いただけます。30日の無償トライアルで、シンプルでパワフルなデータパイプラインを体感してください。
日本のユーザー向けにCData Sync は、UI の日本語化、ドキュメントの日本語化、日本語でのテクニカルサポートを提供しています。
CData Sync の 導入事例を併せてご覧ください。
