Discover how a bimodal integration strategy can address the major data management challenges facing your organization today.
Get the Report →


OLAP Reporting Directly from QuickBooks using ComponentOne OLAP for WinForms
By Rich Dudley, ComponentOne, December 6, 2010
This article was originally written and hosted on the ComponentOne Community Site
This article was originally written and hosted on the ComponentOne Community Site
The CData QuickBooks Driver abstracts the QuickBooks API into a familiar, database-like programming model. After installation, the QuickBooks connector is added as an ADO.NET Data Source, and QB now operates as a database of sorts. We can query "tables" containing customer, sales orders, invoice data and more. Since the data connection is two-way, we can also update data in QuickBooks from external sources. In this blog post, we'll go through the initial configuration and create a simple, interactive OLAP view from sales order data. This will be a zero-code sample, but future posts will detail more advanced features and will require some coding.
Installing CData QuickBooks Driver
In order to program against QuickBooks, the development machine either needs to have QuickBooks installed, or QuickBooks needs to be available via a remote connection. QuickBooks Online is also supported.
Download the installer from https://www.cdata.com/drivers/quickbooks/ado/, and run it. The installer will add the ADO.NET connection to our Data Source choices, and install a CHM reference file as well as sample projects.
There are three parts of the package - the System.Data.CData.QuickBooks library, which we need to reference in our application; the QBConnector.exe, which is a web service that brokers the connections between our application and QuickBooks; and a series of schema files we don't need to adjust, but which may be updated to adjust for future releases of QuickBooks.
The first time we connect, we have to have QuickBooks running and the company file open to approve access to our application. Future connections don't require authorization.
Setting Up QuickBooks
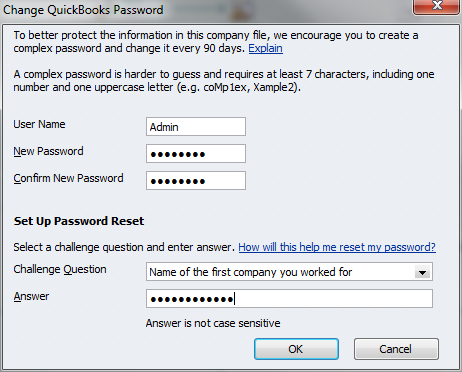
Before we get started coding, we need to do a little setup with QuickBooks. I'm using the "retailer who tracks individual sales" sample database for this series. By default, these sample company files are created without a password. In order to have external connections to our company file, we have to set a password. Open the company file, then go to Company >> Change My Password to add a password to the file. The rest of this demo assumes you're leaving the User Name as "Admin" - if you change the User Name, make sure to adjust accordingly below. Keep track of this password--you'll need it to open the company file as well as connect with our application.
To allow external connections to our company file, we have to grant access to our application. The easiest way to grant these permissions (as well as test everything is installed correctly) is to run the sample application first.
Running the Sample CData Project
The sample project installed with the CData QuickBooks Driver is useful for testing whether the connector installation and QuickBooks configuration is correct, as well as being a stand-in application to set up application access permissions in our company file.
When using the CData QuickBooks connector, connections to a QuickBooks company file are handled by an application called QBConnector.exe, which is installed with the CData QuickBooks Driver. QBConnector.exe is a small web service that listens on port 2080 (by default). We provide some command line attributes to set the user name, password and application name. Note that this information is specific to a single application. If we want to run multiple applications against QuickBooks, we need to start multiple instances of the QuickBooks connector, setting different ports. We have to have QBConnector.exe running any time we want to connect to QuickBooks.
By default, QBConnector.exe is installed in %ProgramFiles%\CData\CData QuickBooks Data Provider\QBConnector. There is a readme file which explains the parameters we can use; the three main ones are the user name, password and application name. QBConnector.exe is a command-line application, and when we start QBConnector (seen below), we need to make sure to include at least these three parameters. QBConnector needs to be running on a machine with QuickBooks and our company file installed, so we either need to run it on a central machine or distribute it with out applications.
Now that QBConnector is running, QuickBooks is started and our company file is open, it's time to actually connect. The sample project can be opened from the Start menu, in the new CData folder. Open the sample project, and adjust the connection string in web.config, setting the password and application name:
<add name="QuickBooksConnectionString" connectionString="Location=C:\Program Files (x86)\CData\CData QuickBooks Data Provider\db;URL=http://localhost:2080;Application Name=QBOlap;user=admin;password=password" providerName="System.Data.CData.QuickBooks"/>
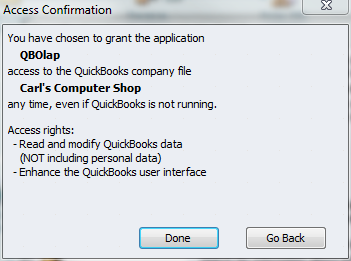
Hit F5 and the sample application will start. QuickBooks will display an alert. Choose the "Yes, always; ..." option and click Continue.
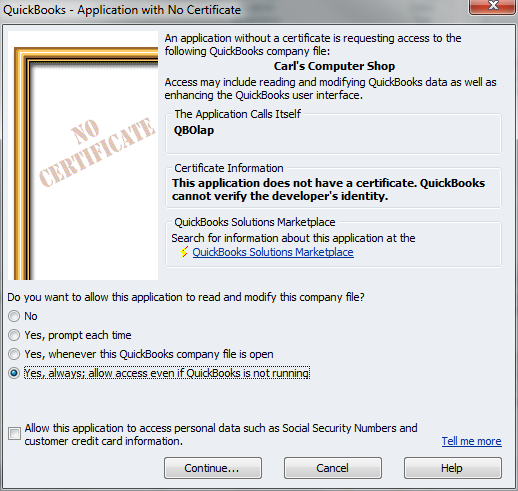
You'll be asked to confirm the application's access:
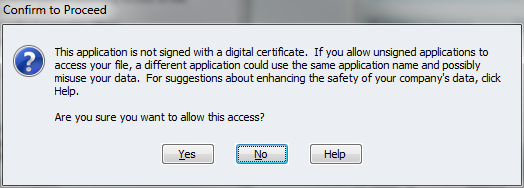
And the confirmation will be confirmed.
While we're approving access for our application, the sample app may time out. That's OK, stop debugging and rerun and the sample app should run:
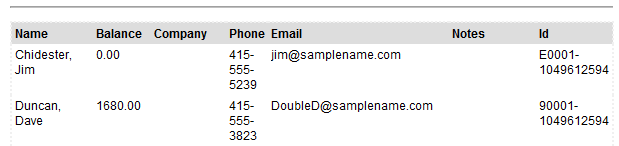
If there's data in the grid, we're good to go.
Building the OLAP App
We're in the home stretch now. This part is going to seem long, but not really - there is no code, just a lot of configuration illustrations.
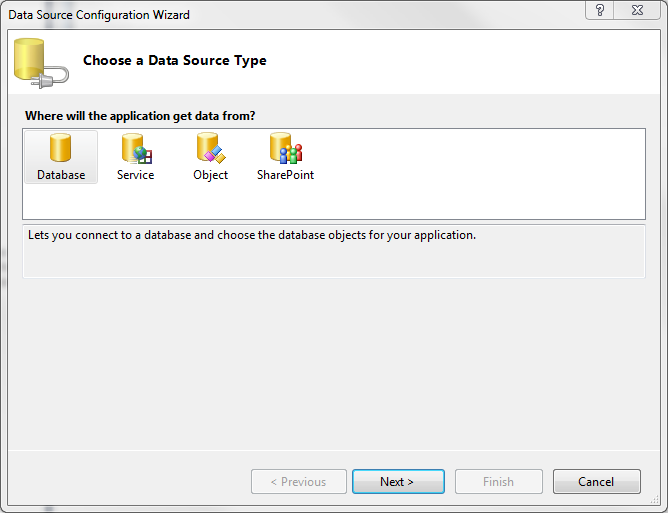
Open Visual Studio and start a new Windows Forms application. On the Data Sources tab, click Add New Data Source. Choose a Database type, and click Next.
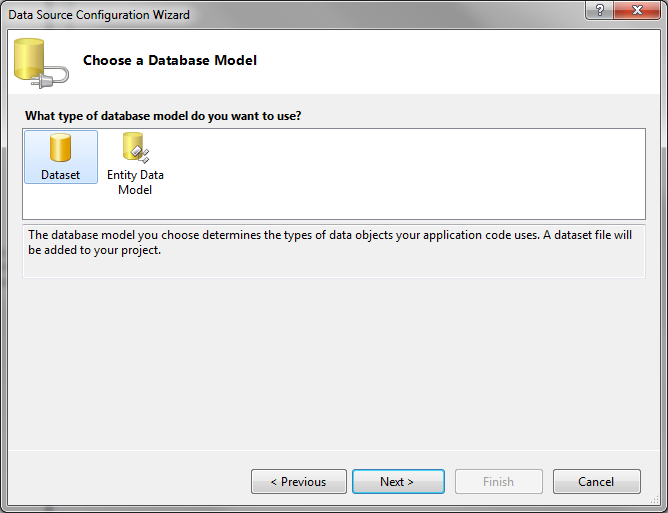
Choose Dataset, and click Next.
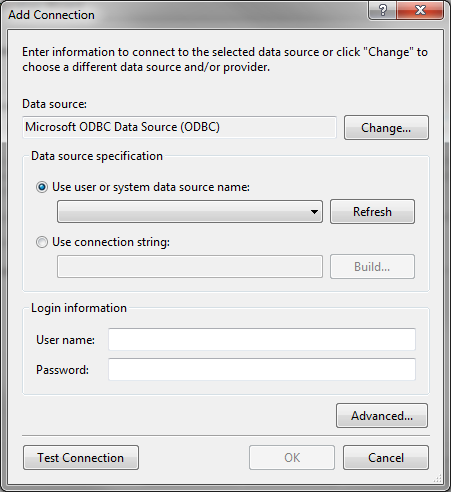
Here, we want to create a New Connection.
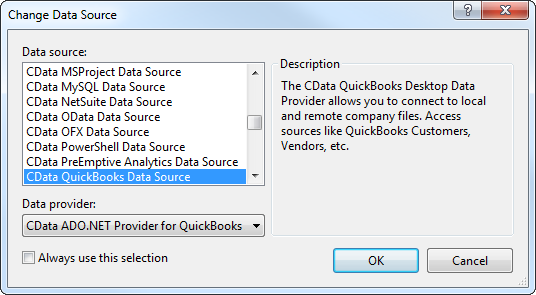
Change the data source...
...select CData QuickBooks Data Source and click OK.
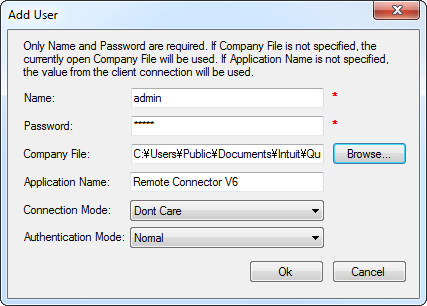
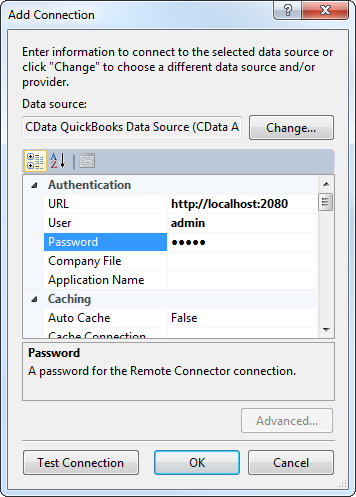
Here's where we configure our data connection. The important parameters are:
Password = the password we set above in our company file
User = the administrative user for our company file (default = admin)
Application Name = the same application name we used above
when we granted access.
Company File = the full path to the company file (QBW)
URL = The endpoint for QBConnector.exe. The default is http://localhost:2080, but this will need to be updated if running on a local machine or a different port.
The Schema Location is optional, this points to the RSD files which define the structure of the data in QuickBooks. Future changes in QuickBooks may mean future changes to these schema files, and perhaps these files may become version specific. At the current time, these schema files are accurate for all versions from 2006 to current.
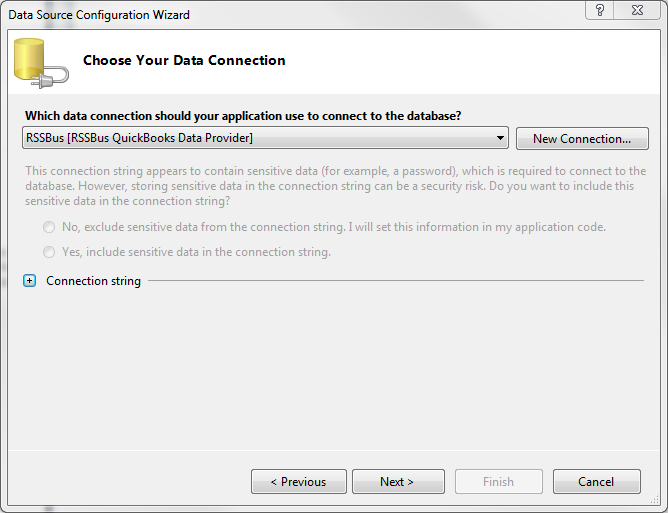
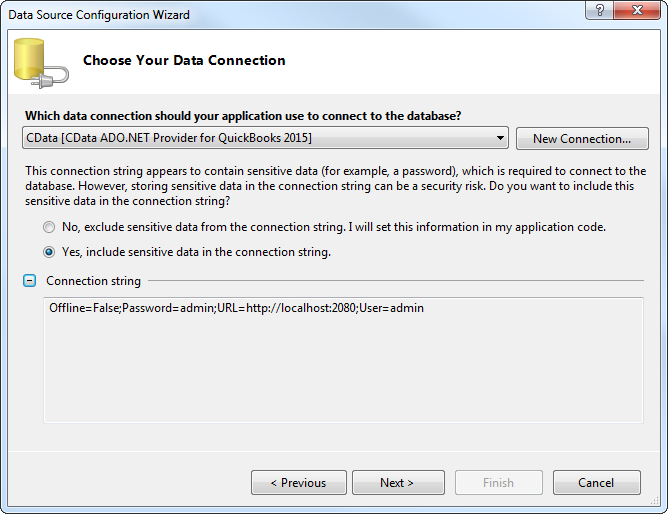
Once we're done, we can choose to include sensitive data in the connection string, and we can confirm the connection string as well.
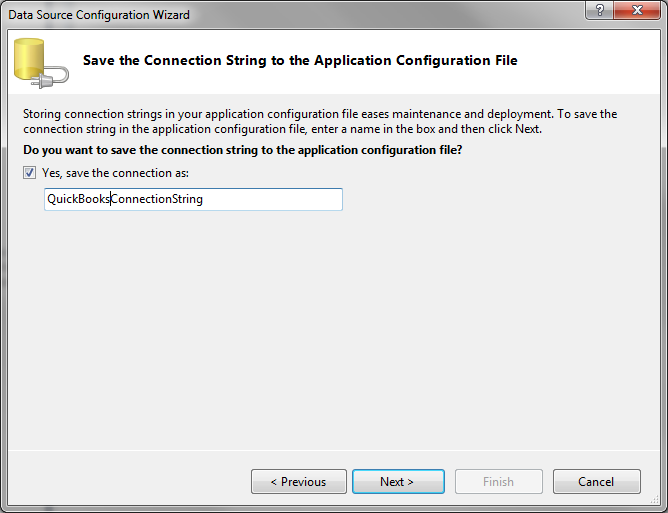
Save the connection string in the Application Configuration File.
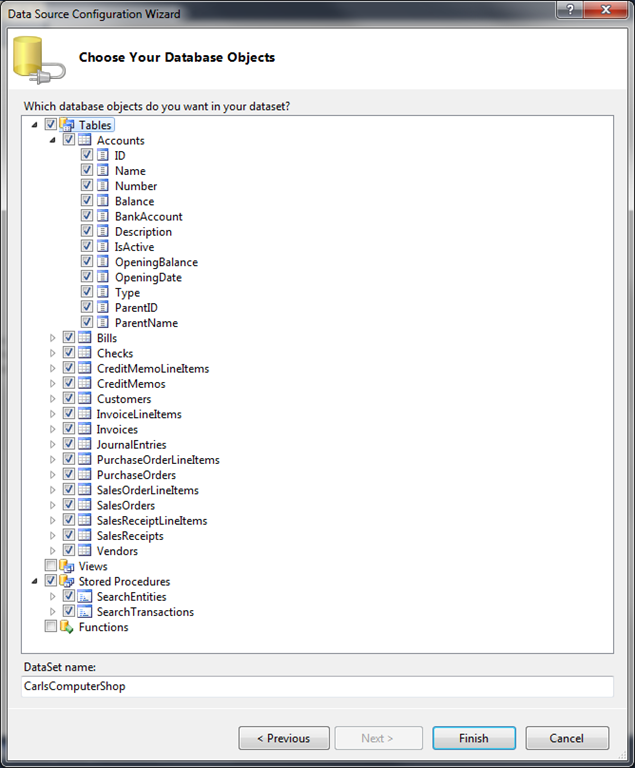
Now, we select the database objects to include in the data set. Here we've selected all the available tables.
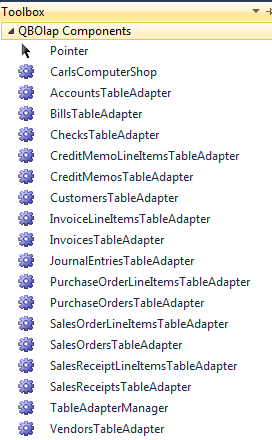
Click Finish. Visual Studio will import the schema and generate helper classes, and add Data Adapters to the Toolbox:
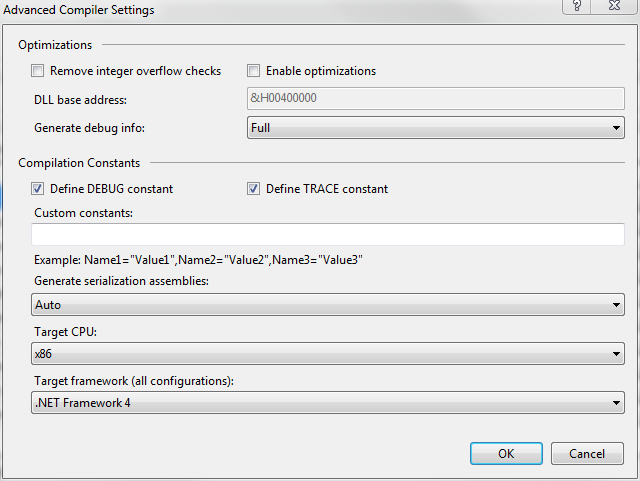
The default framework in Visual Studio is the Client Framework (a smaller version of .NET), but CData currently needs the full framework. To change the framework, right-click on the project, go Properties >> Compile >> Advanced Compile Options, set Target Framework to .NET Framework 4.0
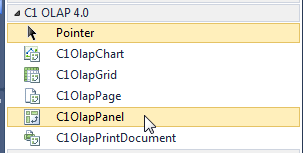
Almost done now! At this point, except for one small change, we're done with the QuickBooks connector configuration. We're now looking at the OLAP for WinForms functionality. From the toolbox, drag a C1OlapPanel onto the form.
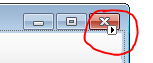
Find the SmartTag in the upper right of the C1OlapPanel, and click it to extend the configuration tasks:
Make sure QuickBooks and the QBConnector are running and available, we need them in the next step.
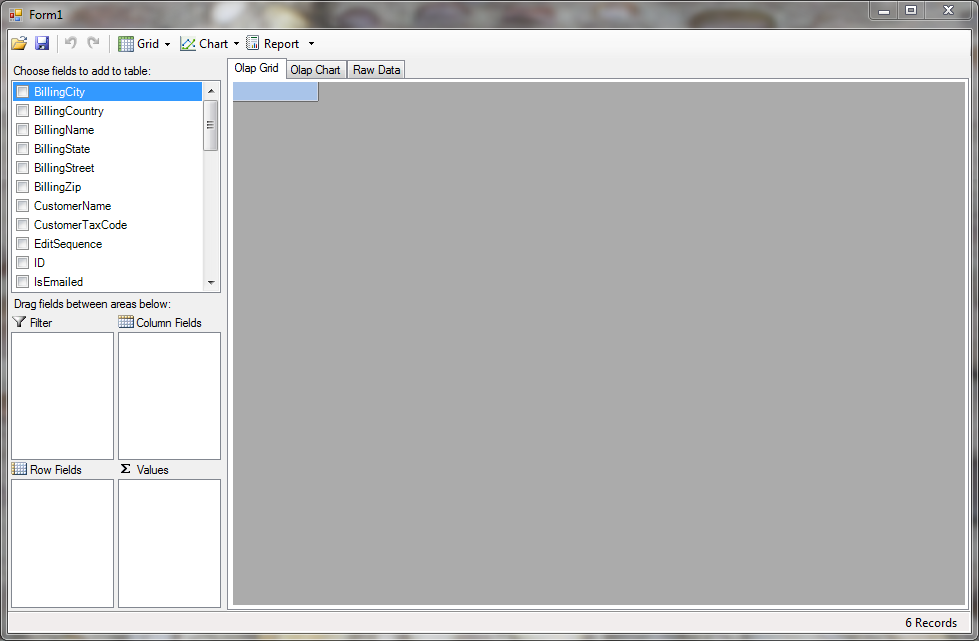
Choose Data Source >> Other Sources >> Project Data Sources >> CarlsComputerShop >> Sales Orders (sorry no screenshot, can't seem to get one with the SmartTag open). The field selector will now populate with fields in Sales Orders "table".

The data bindings and adapters will automatically be added to the form

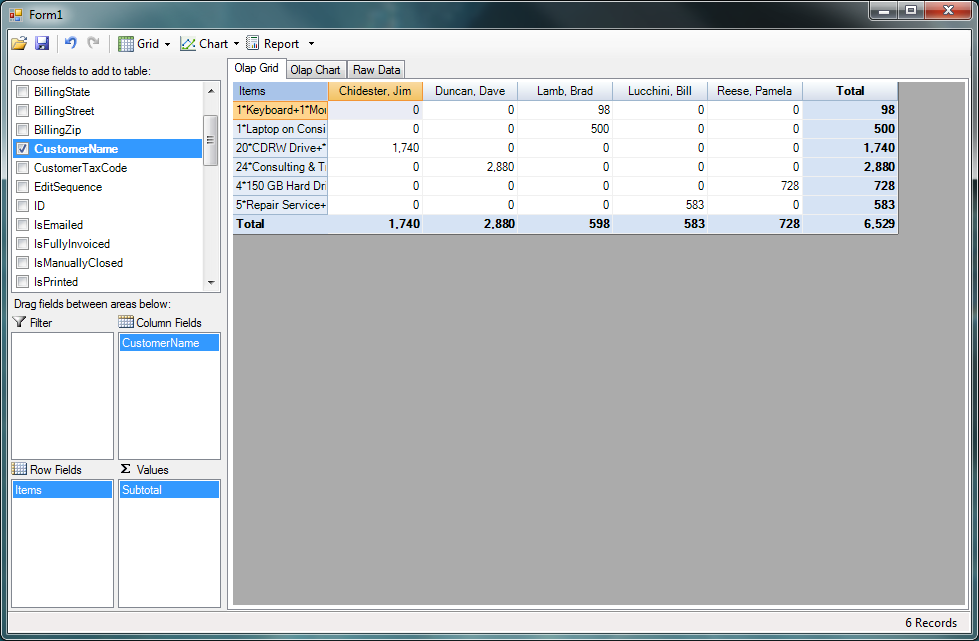
Hit F5 and watch the magic! Our application will start, and we can now slice-and-dice the Sales Order data.
Let's look at total spend, by item, by customer. Add Subtotal to the Values listbox, Items to the Row fields listbox, and CustomerName to the Column Fields listbox. Our grid will populate, but what we see is a count, not a dollar amount. Let's see if we can change that to a dollar summary.
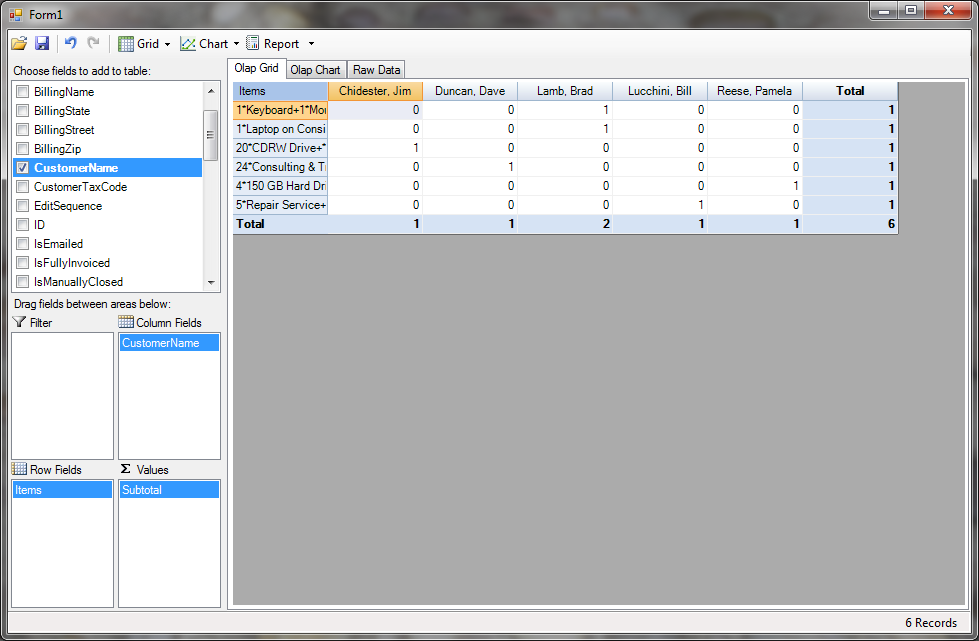
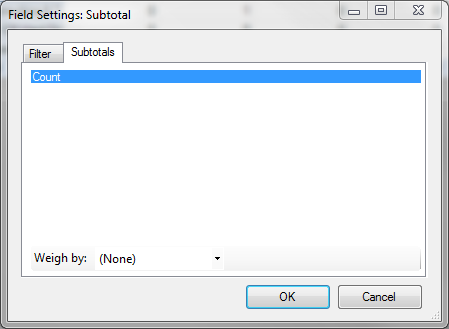
Right-click Subtotal in the Values listbox, and choose Field Settings. We see the only option is Count. There is no option for Sum, so something is unexpected in how the schema is being interpreted by Visual Studio. Cancel out of this.
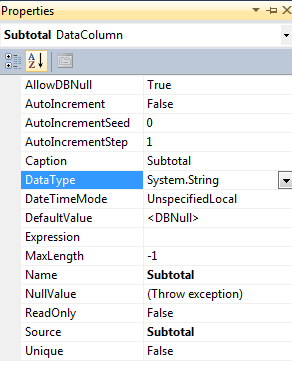
This means the data are being interpreted in a way that can only be counted - usually a string. Stop debugging, open CarlsComputerShop.xsd, scroll to find SalesOrders table schema, and highlight Subtotal.
Now, open the Properties tab. We see the DataType is set to System.String. Just as we suspected.
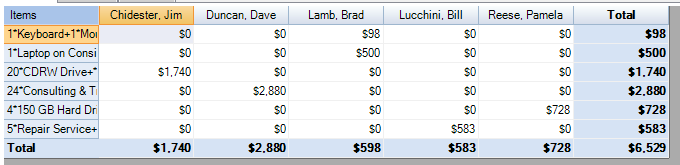
Change the DataType to System.Decimal, rebuild and start debugging again.
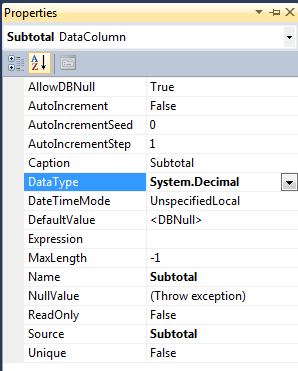
Using the same field choices, we now have dollar subtotals! But let's format the data for a better presentation.
To format, right-click Subtotal in the Values listbox, choose Field Settings >> Format, select Currency and OK.
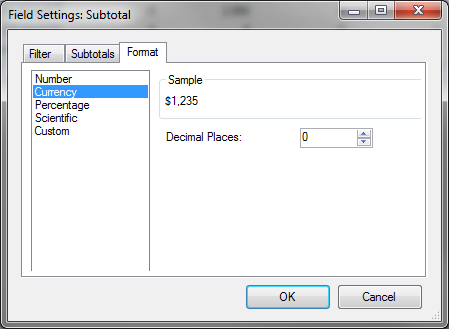
Our data are now formatted as currency.
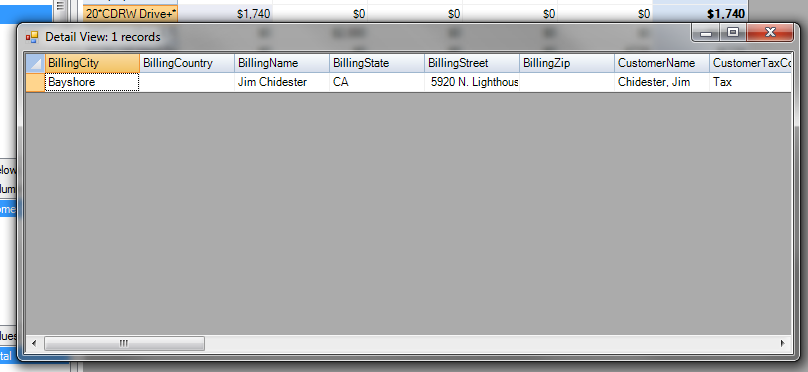
Another cool feature of the C1OlapPage is the ability to see the records which were included in the totals. Right-click any field with a value above $0, and a new window will open with the included data.
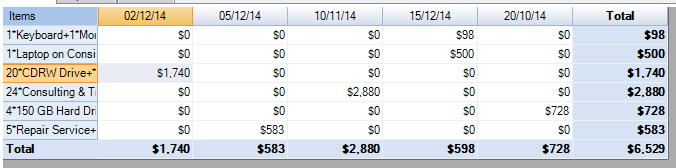
If we wanted to look at sales by month, rather than by customer, that's also very easy. Replace CustomerName with TransactionDate in the Column Fields box, and the grid will automatically rearrange itself.
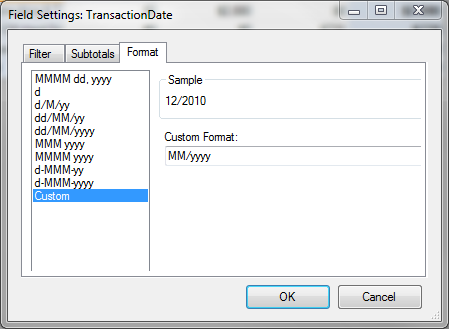
By default, this is arranged by day. To arrange the data by month, right-click on TransactionDate in the Column Fields box, choose Field Settings, then the Format tab. We'll use a custom date format with has only the month and year, and click OK.
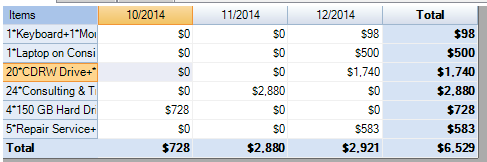
The grid is now grouped by month and year.
That's not a bad start without writing a line of code! To answer the obvious question, yes you can add a combobox so the end user can select the dataset, we have an example of that in the OLAP for WinForms documentation (see the product page at http://www.componentone.com/SuperProducts/OLAPWinForms/), and I'll have some more advanced tutorials here, too.
Summary
The CData QuickBooks Driver makes querying and updating QuickBooks data as simple as working with a database. When combined with the ComponentOne OLAP for WinForms, we have a powerful way to visualize data. This was just an introduction to the two components, in future posts we'll examine the more advanced features of both components.
Resources
CData QuickBooks Driver: https://www.cdata.com/drivers/quickbooks/ado/
ComponentOne OLAP for WinForms: http://www.componentone.com/SuperProducts/OLAPWinForms/
Data Connectors
ETL/ ELT Solutions
Cloud & API Connectivity
OEM & Custom Drivers