Discover how a bimodal integration strategy can address the major data management challenges facing your organization today.
Get the Report →Excel Spreadsheet Automation with the QUERY Formula
Pull data, automate spreadsheets, and more with the QUERY formula.
The CData Excel Add-In for Dynamics 365 provides formulas that can edit, save, and delete Dynamics 365 data. The following three steps show how you can automate the following task: Search Dynamics 365 data for a user-specified value and then organize the results into an Excel spreadsheet.
The syntax of the CDATAQUERY formula is the following:
=CDATAQUERY(Query, [Connection], [Parameters], [ResultLocation]);
This formula requires three inputs:
- Query: The declaration of the Dynamics 365 data records you want to retrieve or the modifications to be made, written in standard SQL.
Connection: Either the connection name, such as Dynamics365Connection1, or a connection string. The connection string consists of the required properties for connecting to Dynamics 365 data, separated by semicolons.
Edition and OrganizationUrl are required connection properties. The Dynamics 365 connector supports connecting to the following editions: CustomerService, FieldService, FinOpsOnline, FinOpsOnPremise, HumanResources, Marketing, ProjectOperations and Sales.
For Dynamics 365 Business Central, use the separate Dynamics 365 Business Central driver.
OrganizationUrl is the URL to your Dynamics 365 organization. For instance, https://orgcb42e1d0.crm.dynamics.com
- ResultLocation: The cell that the output of results should start from.
Pass Spreadsheet Cells as Inputs to the Query
The procedure below results in a spreadsheet that organizes all the formula inputs in the first column.
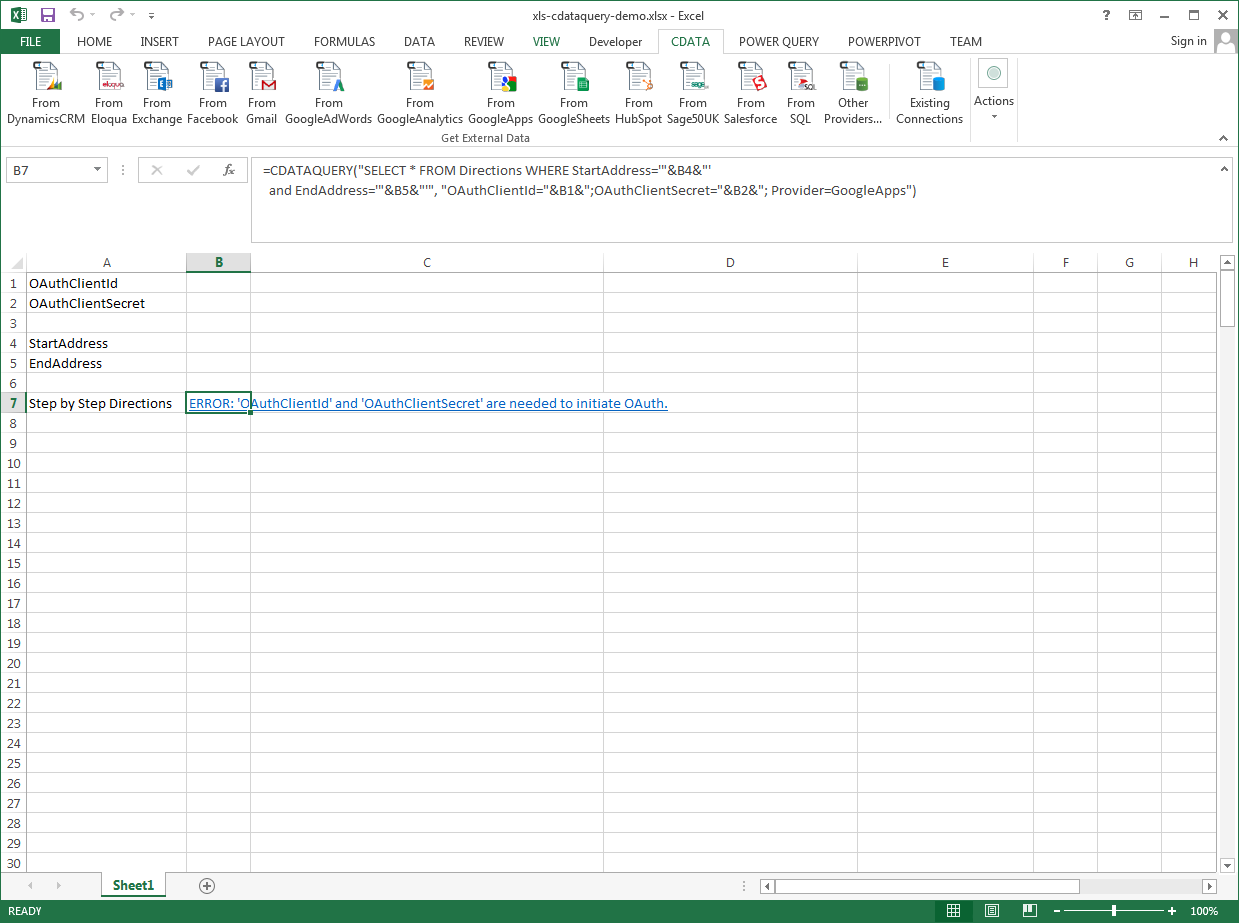
- Define cells for the formula inputs. In addition to the connection inputs, add another input to define a criterion for a filter to be used to search Dynamics 365 data, such as Name.
- In another cell, write the formula, referencing the cell values from the user input cells defined above. Single quotes are used to enclose values such as addresses that may contain spaces.
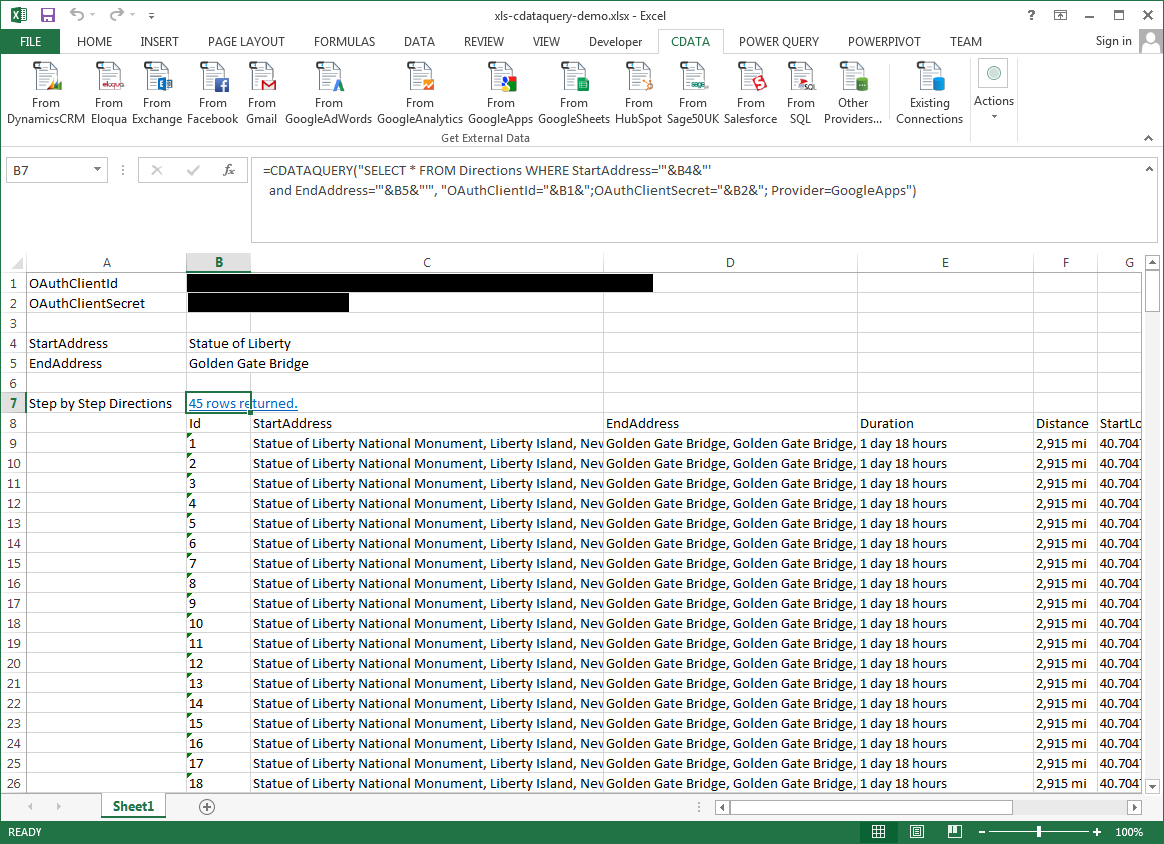
- Change the filter to change the data.
![The outputs of the formula. (Google Apps is shown.)]()
=CDATAQUERY("SELECT * FROM GoalHeadings WHERE Name = '"&B3&"'","OrganizationUrl="&B1&";Edition="&B2&";Provider=Dynamics365",B4)


