Discover how a bimodal integration strategy can address the major data management challenges facing your organization today.
Get the Report →DataBind Microsoft Exchange Data to the DevExpress Data Grid
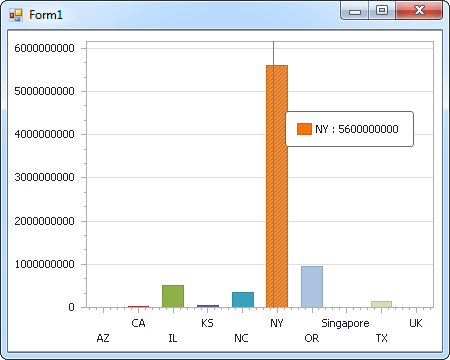
Use the CData ADO.NET Provider for Microsoft Exchange with the DevExpress Windows Forms and Web controls to provide Microsoft Exchange data to a chart.
The ADO.NET Provider for Microsoft Exchange by CData incorporates conventional ADO.NET data access components compatible with third-party controls. You can adhere to the standard ADO.NET data binding procedures to establish two-way access to real-time data through UI controls. This article will demonstrate the utilization of CData components for data binding with DevExpress UI Controls (Windows Forms and Web controls), specifically binding to a chart that visualizes live data.
Specify the User and Password to connect to Exchange. Additionally, specify the address of the Exchange server you are connecting to and the Platform associated with the server.
Windows Forms Controls
The code below shows how to populate a DevExpress chart with Microsoft Exchange data. The ExchangeDataAdapter binds to the Series property of the chart control. The Diagram property of the control defines the x- and y-axes as the column names.
using (ExchangeConnection connection = new ExchangeConnection(
"User='myUser@mydomain.onmicrosoft.com';Password='myPassword';Server='https://outlook.office365.com/EWS/Exchange.asmx';Platform='Exchange_Online';")) {
  ExchangeDataAdapter dataAdapter = new ExchangeDataAdapter(
  "SELECT GivenName, Size FROM Contacts", connection);

  DataTable table = new DataTable();
  dataAdapter.Fill(table);
  DevExpress.XtraCharts.Series series = new DevExpress.XtraCharts.Series();
  chartControl1.Series.Add(series);
  series.DataSource = table;
  series.ValueDataMembers.AddRange(new string[] { "Size" });
  series.ArgumentScaleType = DevExpress.XtraCharts.ScaleType.Qualitative;
  series.ArgumentDataMember = "GivenName";
  series.ValueScaleType = DevExpress.XtraCharts.ScaleType.Numerical;
  chartControl1.Legend.Visibility = DevExpress.Utils.DefaultBoolean.False;
  ((DevExpress.XtraCharts.SideBySideBarSeriesView)series.View).ColorEach = true;
}

Web Controls
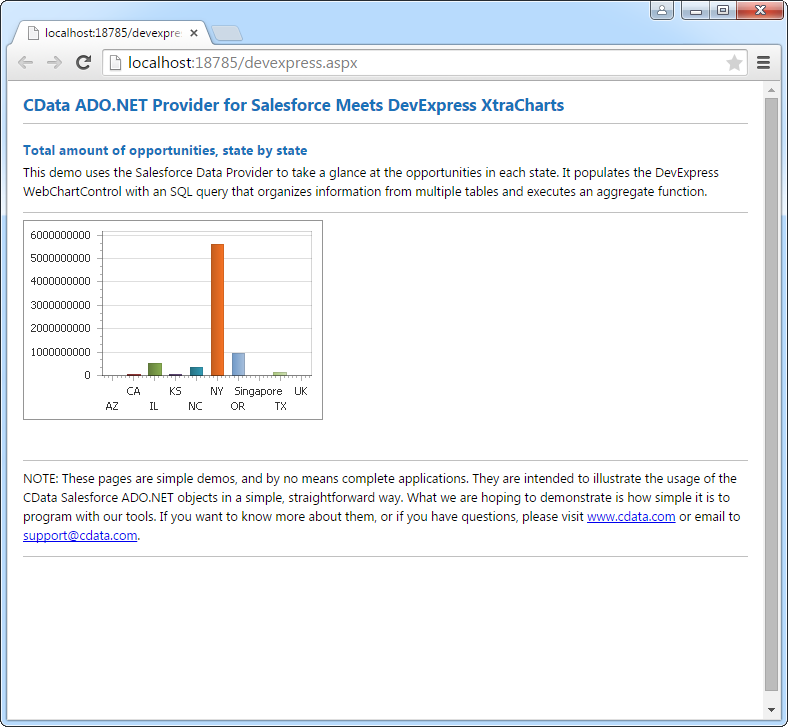
The code below shows how to populate a DevExpress Web control with Microsoft Exchange data. The ExchangeDataAdapter binds to the Series property of the chart; the Diagram property defines the x- and y-axes as the column names.
using DevExpress.XtraCharts;

using (ExchangeConnection connection = new ExchangeConnection(
"User='myUser@mydomain.onmicrosoft.com';Password='myPassword';Server='https://outlook.office365.com/EWS/Exchange.asmx';Platform='Exchange_Online';"))
{
  ExchangeDataAdapter ExchangeDataAdapter1 = new ExchangeDataAdapter("SELECT GivenName, Size FROM Contacts", connection);
  DataTable table = new DataTable();
  ExchangeDataAdapter1.Fill(table);
  DevExpress.XtraCharts.Series series = new Series("Series1", ViewType.Bar);
  WebChartControl1.Series.Add(series);
  series.DataSource = table;
  series.ValueDataMembers.AddRange(new string[] { "Size" });
  series.ArgumentScaleType = ScaleType.Qualitative;
  series.ArgumentDataMember = "GivenName";
  series.ValueScaleType = ScaleType.Numerical;
  ((DevExpress.XtraCharts.SideBySideBarSeriesView)series.View).ColorEach = true;
}


