Discover how a bimodal integration strategy can address the major data management challenges facing your organization today.
Get the Report →DataBind Charts to Sybase Data
Use the standard ADO.NET procedures for databinding to provide bidirectional access to Sybase data from controls in the Visual Studio toolbox. This article demonstrates a graphical approach using wizards in Visual Studio, as well as how to databind with only a few lines of code.
DataBinding facilitates two-way interaction with data through UI controls. Using the CData ADO.NET Provider for Sybase streamlines the process of binding Sybase data to Windows Forms and Web controls within Visual Studio. In this article, we will demonstrate using wizards to establish a binding between Sybase data and a chart that dynamically updates. Additionally, the code walk-through section will guide you through the creation of a chart using just 10 lines of code.
DataBind to a Chart
DataBinding consists of three steps: Instantiate the control, configure the data source, and databind.
Configure the Connection and Select Database Objects
To create a chart control and establish a connection to Sybase, follow the steps outlined below using the Data Source Configuration Wizard. Within the wizard, you'll have the option to choose the specific Sybase entities you wish to bind to.
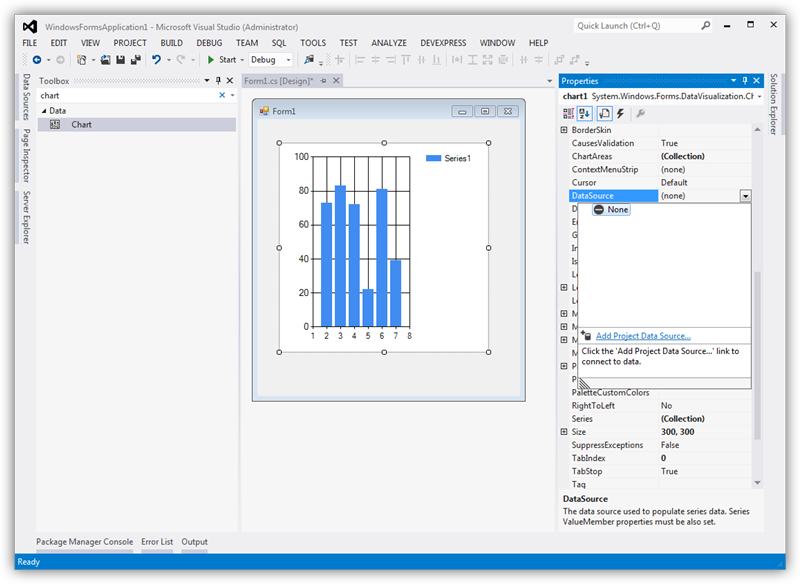
- In a Windows Forms project, drag and drop a Chart control from the toolbox to the form. In the Data section of the Chart properties, select DataSource and then select Add Project Data Source from the menu.
![Add a data source to be bound to the chart.]()
- In the Data Source Configuration Wizard that appears, select Database -> Dataset.
- In the Choose Your Data Connection step, click New Connection.
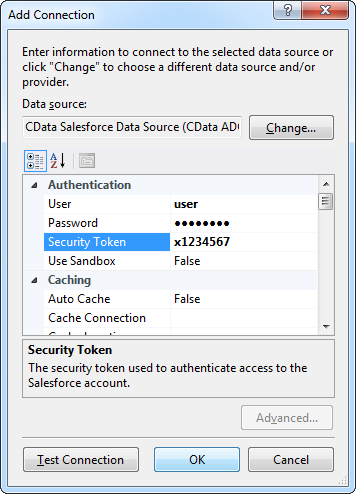
In the Add Connection dialog, click Change to select the CData Sybase Data Source.
Below is a typical connection string:
User=myuser;Password=mypassword;Server=localhost;Database=mydatabase;Charset=iso_1;To connect to Sybase, specify the following connection properties:
- Server: Set this to the name or network address of the Sybase database instance.
- Database: Set this to the name of the Sybase database running on the specified Server.
Optionally, you can also secure your connections with TLS/SSL by setting UseSSL to true.
Sybase supports several methods for authentication including Password and Kerberos.
Connect Using Password Authentication
Set the AuthScheme to Password and set the following connection properties to use Sybase authentication.
- User: Set this to the username of the authenticating Sybase user.
- Password: Set this to the username of the authenticating Sybase user.
Connect using LDAP Authentication
To connect with LDAP authentication, you will need to configure Sybase server-side to use the LDAP authentication mechanism.
After configuring Sybase for LDAP, you can connect using the same credentials as Password authentication.
Connect Using Kerberos Authentication
To leverage Kerberos authentication, begin by enabling it setting AuthScheme to Kerberos. See the Using Kerberos section in the Help documentation for more information on using Kerberos authentication.
You can find an example connection string below:
Server=MyServer;Port=MyPort;User=SampleUser;Password=SamplePassword;Database=MyDB;Kerberos=true;KerberosKDC=MyKDC;KerberosRealm=MYREALM.COM;KerberosSPN=server-nameWhen you configure the connection, you may also want to set the Max Rows connection property. This will limit the number of rows returned, which is especially helpful for improving performance when designing reports and visualizations.
![Connection properties for the selected data source in the Add Connection dialog. (Salesforce is shown.)]()
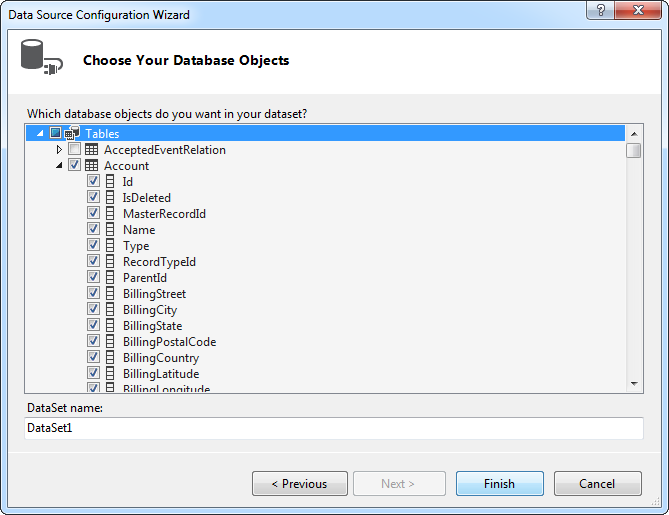
- Choose the database objects you want to work with. This example uses the Products table.
![Select database objects. (Salesforce is shown.)]()
DataBind
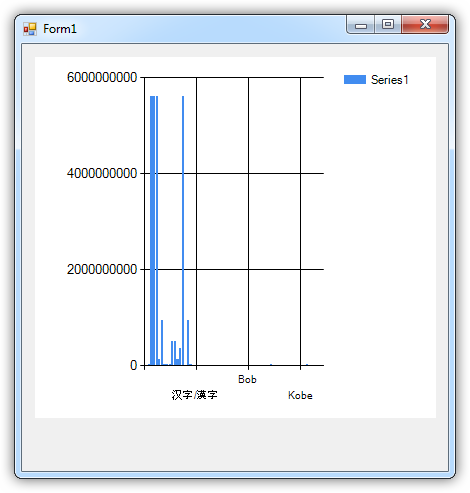
After adding the data source and selecting database objects, you can bind the objects to the chart. This example assigns the x-axis to Id and the y-axis to ProductName.
- In the Chart properties, click the button in the Series property to open the Series Collection Editor.
- In the Series properties, select the columns you want for the x- and y-axes: Select columns from the menu in the XValueMember and YValueMember properties.
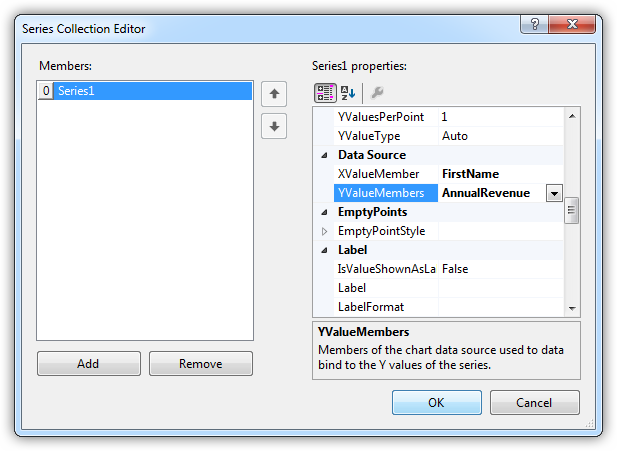
The chart is now databound to the Sybase data. Run the chart to display the current data.
Code Walk-through
DataBinding to Sybase data requires only a few lines of code and can be completed in three easy steps.
- Connect to Sybase.
- Create the SybaseDataAdapter to execute the query and create a DataSet to be filled with its results.
- DataBind the result set to the chart.
Below is the complete code:
SybaseConnection conn = new SybaseConnection("User=myuser;Password=mypassword;Server=localhost;Database=mydatabase;Charset=iso_1;");
SybaseCommand comm = new SybaseCommand("SELECT Id, ProductName FROM Products WHERE ProductName = Konbu", conn);
SybaseDataAdapter da = new SybaseDataAdapter(comm);
DataSet dataset = new DataSet();
da.Fill(dataset);

chart1.DataSource = dataset;
chart1.Series[0].XValueMember = "Id";
chart1.Series[0].YValueMembers = "ProductName";
// Insert code for additional chart formatting here.
chart1.DataBind();


