Discover how a bimodal integration strategy can address the major data management challenges facing your organization today.
Get the Report →Connect to Veeva from Asprova with CData ODBC Driver for Veeva
This article shows how to connect faster to Veeva data from Asprova.
The CData ODBC Driver for Veeva enables you to access Veeva data from Asprova. In this article, you will import Veeva data into item data in Asprova as an example.
Asprova setting
-
Click File -> Data I/O Settings.
![DataIO]()
-
Double click the header of Item and open the Edit I/O dialog.
![DataIO]()
-
Select "No" from the RDB transaction combo box and close the dialog.
![DataIO]()
Data driver setting
-
Select "OLE DB" from combo box in "Data source" column.
![DataIO]()
-
Click button in Folder/database column and open the Data Link Property dialog. Select "Microsoft OLE DB Provider for ODBC Drivers" from the list of data provider.
-
Select the Connection tab. Check "Use data source name" and select "CData Veeva Source" from DSN combo box.
-
Click the Test Connection button and make sure you see the message "Connection successful".
Schema setting
-
Click the button in "External table name" column and open the Table List dialog. Make sure tables in Veeva are listed in the dialog.
![DataIO]()
-
Click the button in "Field mapping" column and open the Item-Field Mapping dialog.
![DataIO]()
-
Open the context menu in the space between tables and click Delete All. Link corresponding fields by dragging mouse.
![DataIO]()
-
Click File > Import and data will be imported into Asprova.
Check data
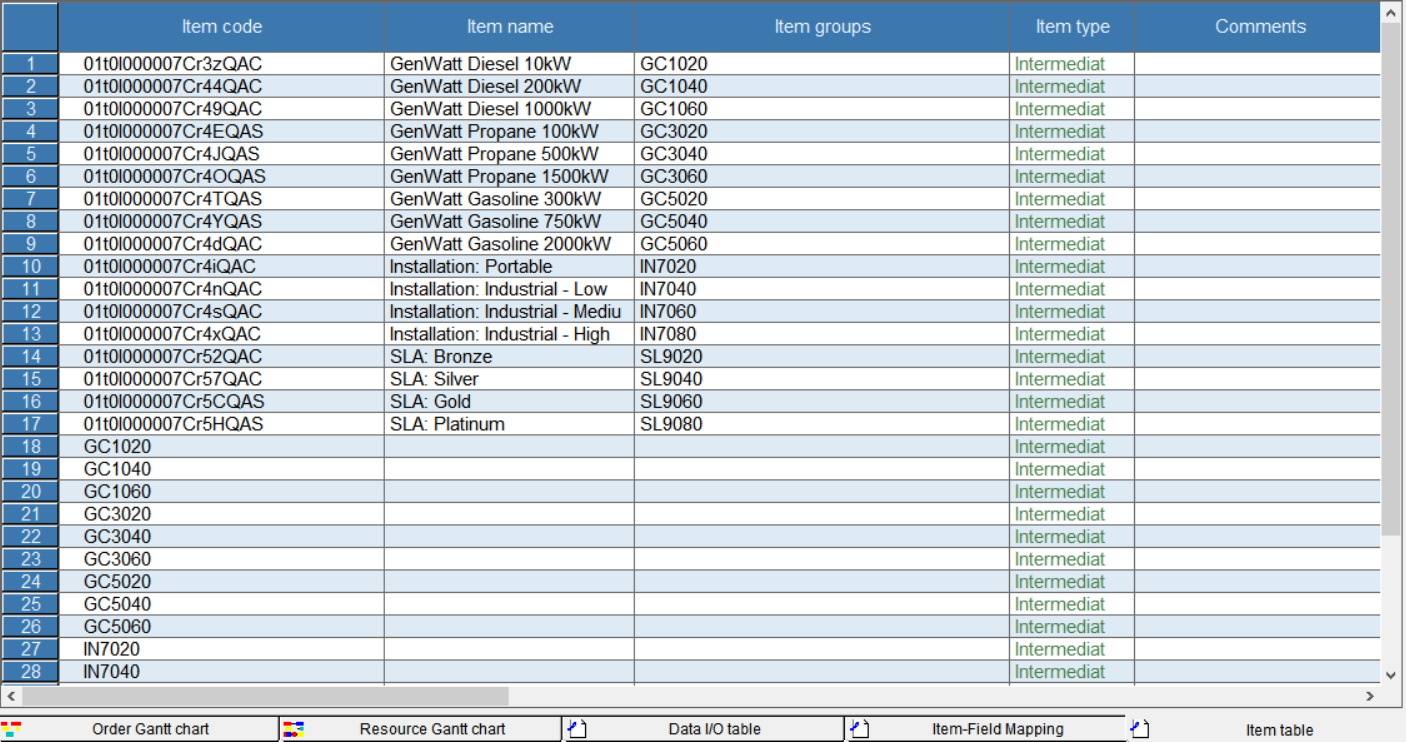
Click Table View > Item. Be sure you can see the item data stored in Veeva.


