ノーコードでクラウド上のデータとの連携を実現。
詳細はこちら →Azure Data Lake Storage ODBC Driver の30日間無償トライアルをダウンロード
30日間の無償トライアルへ製品の詳細
Azure Data Lake Storage ODBC Driver を使って、ODBC 接続をサポートするあらゆるアプリケーション・ツールからAzure Data Lake Storage にデータ連携。
Azure Data Lake Storage にデータベースと同感覚でアクセスして、Azure Data Lake Storage データに使い慣れたODBC インターフェースで連携。
CData


こんにちは!ドライバー周りのヘルプドキュメントを担当している古川です。
AutoMate はHelpSystems 社が提供するRPA ツールです。700項目の自動化機能と15種類の自動実行トリガーが選択可能であるためあらゆるシーンを自動化することが可能です。
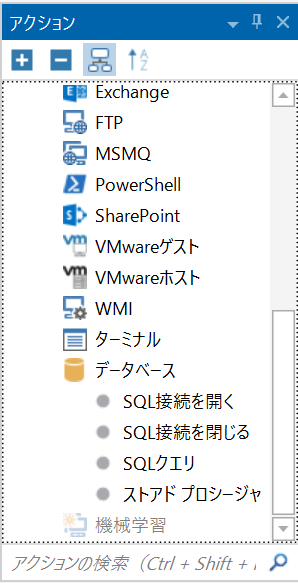
また、データベースにODBC経由で接続できるアクションが含まれており、CData ODBC Driverと組み合わせることでCData が対応しているさまざまなデータソースとノーコードで連携ができるようになります。
この記事では、AutoMate と CData ODBC ドライバを使って、Azure Data Lake Storage に連携するタスクを作成します。
CData ODBC ドライバは、以下のような特徴を持った製品です。
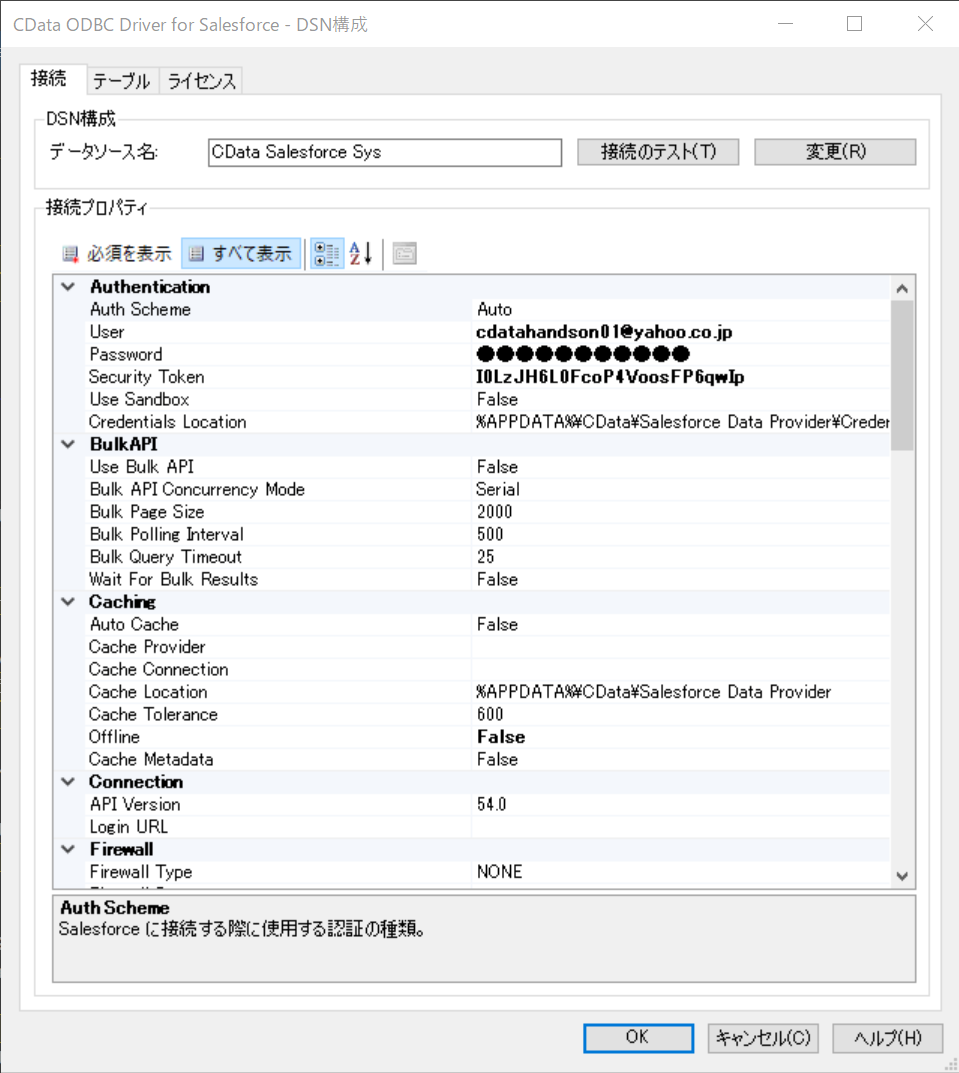
CData ODBC ドライバでは、1.データソースとしてAzure Data Lake Storage の接続を設定、2.Automate 側でODBC Driver との接続を設定、という2つのステップだけでデータソースに接続できます。以下に具体的な設定手順を説明します。
まずは、本記事右側のサイドバーからADLS ODBC Driver の無償トライアルをダウンロード・インストールしてください。30日間無償で、製品版の全機能が使用できます。
Gen 1 DataLakeStorage アカウントに接続するには、はじめに以下のプロパティを設定します。
Gen 1 は、認証方法としてAzure Active Directory OAuth(AzureAD)およびマネージドサービスID(AzureMSI)をサポートしています。認証方法は、ヘルプドキュメントの「Azure DataLakeStorage Gen 1 への認証」セクションを参照してください。
Gen 2 DataLakeStorage アカウントに接続するには、はじめに以下のプロパティを設定します。
Gen 2は、認証方法としてアクセスキー、共有アクセス署名(SAS)、Azure Active Directory OAuth(AzureAD)、マネージドサービスID(AzureMSI)など多様な方法をサポートしています。AzureAD、AzureMSI での認証方法は、ヘルプドキュメントの「Azure DataLakeStorage Gen 2 への認証」セクションを参照してください。
アクセスキーを使用して接続するには、AccessKey プロパティを取得したアクセスキーの値に、AuthScheme を「AccessKey」に設定します。
Azure ポータルからADLS Gen2 ストレージアカウントのアクセスキーを取得できます。
共有アクセス署名を使用して接続するには、SharedAccessSignature プロパティを接続先リソースの有効な署名に設定して、AuthScheme を「SAS」に設定します。 共有アクセス署名は、Azure Storage Explorer などのツールで生成できます。
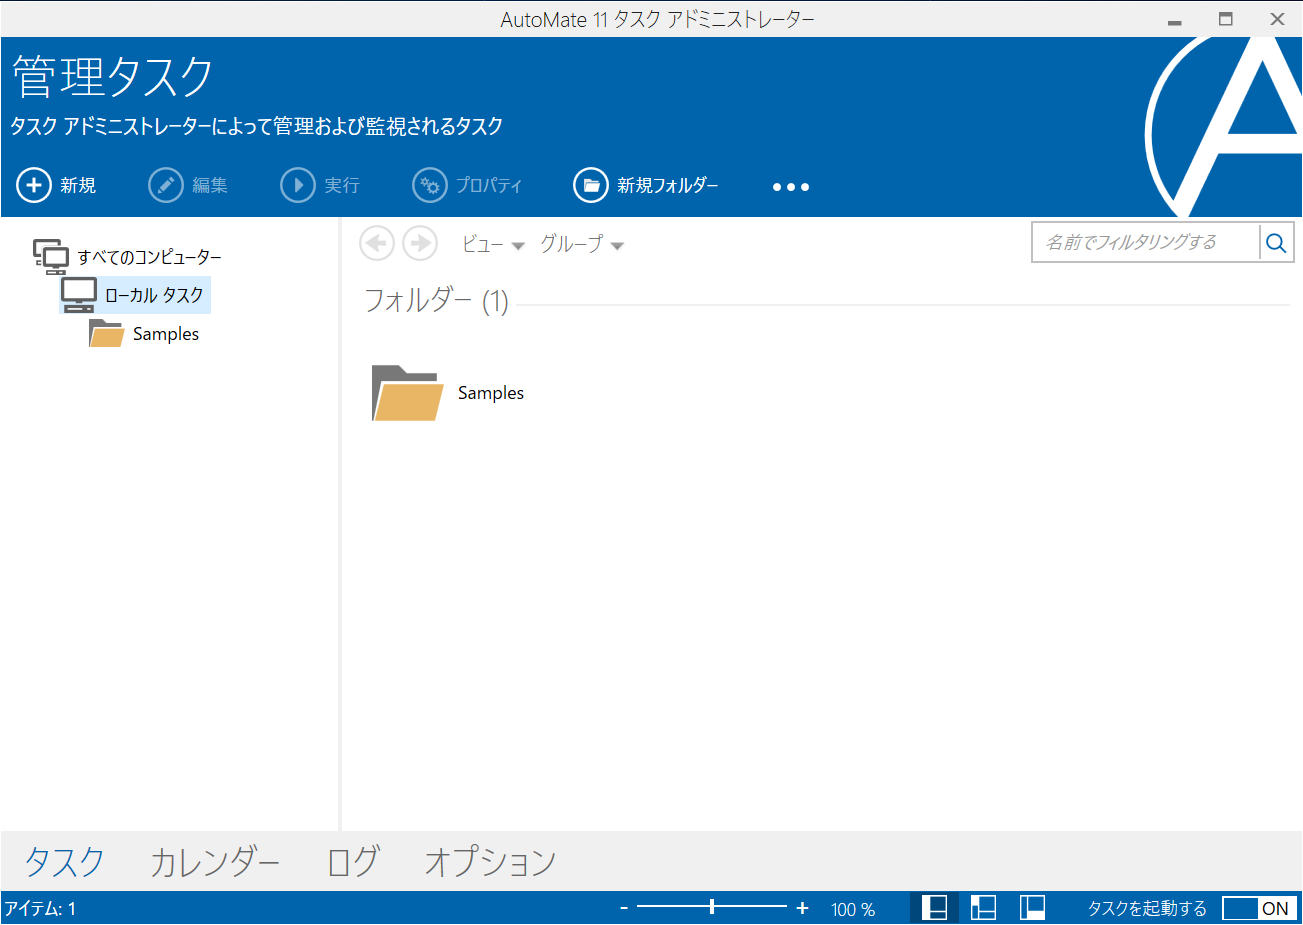
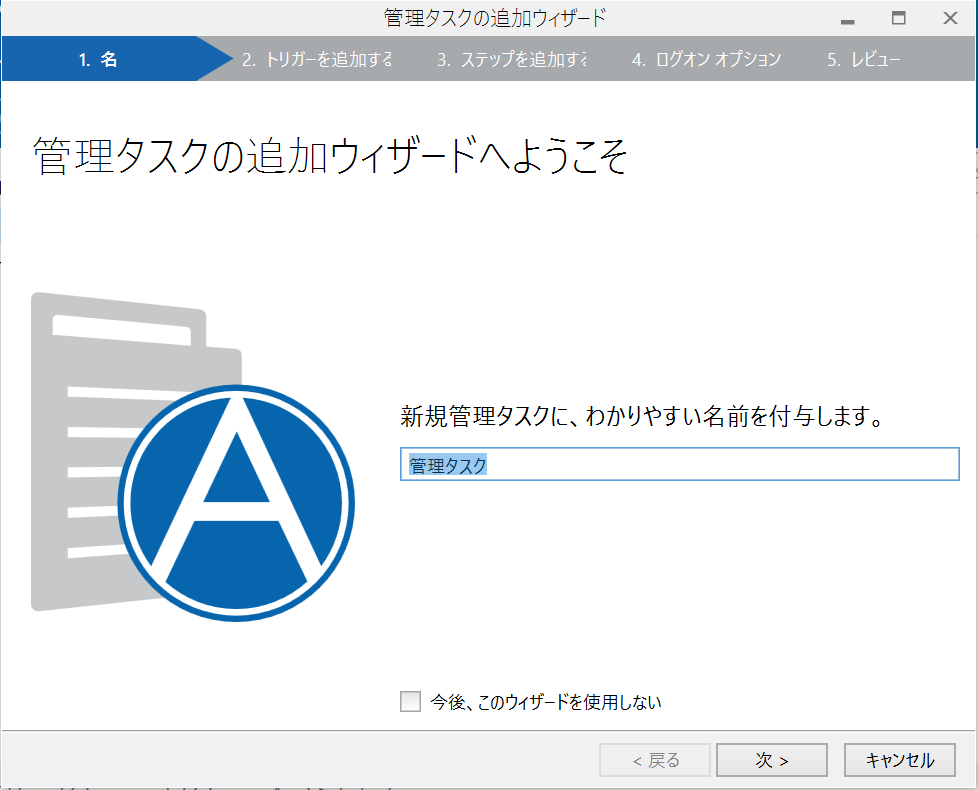
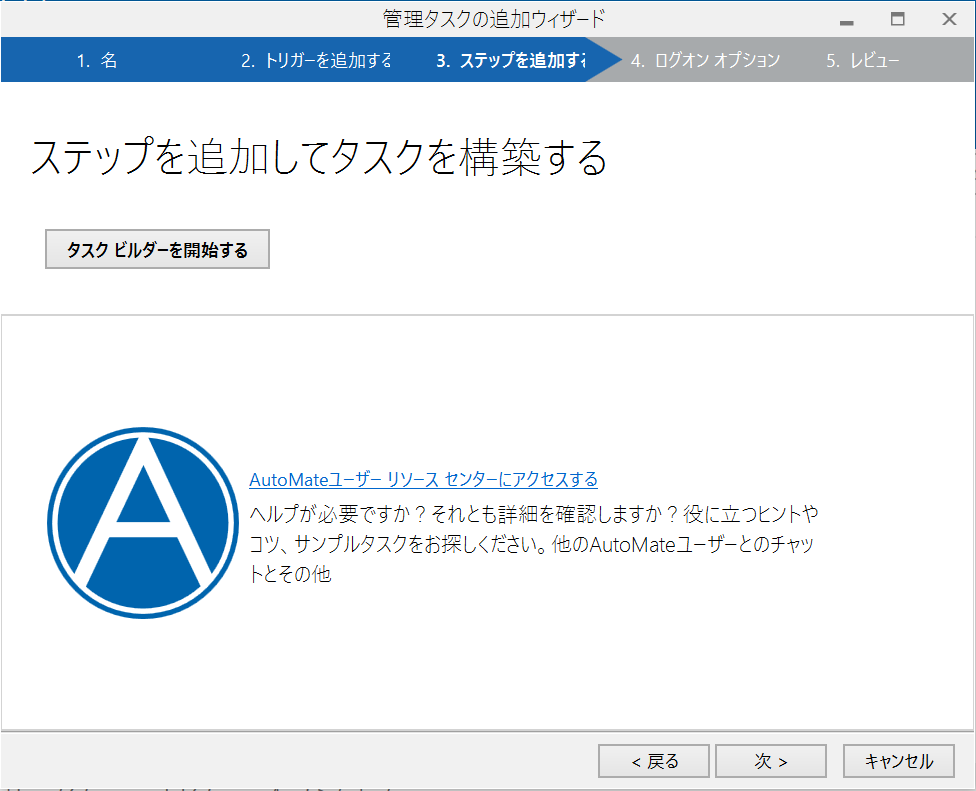
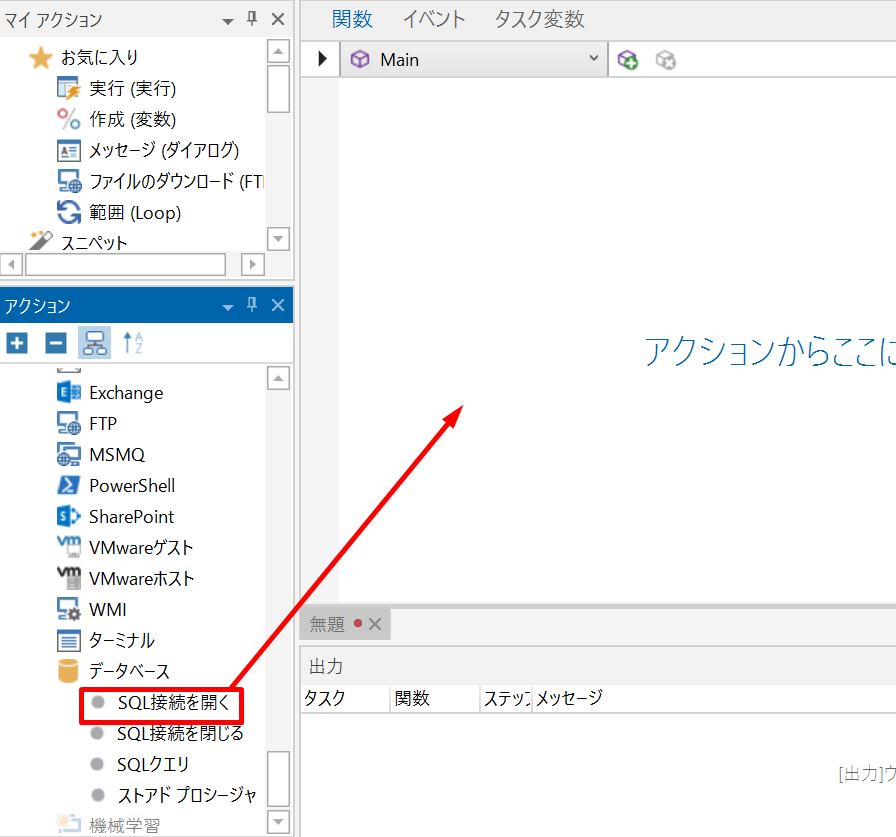
それでは AutoMate でタスクを作成していきましょう。
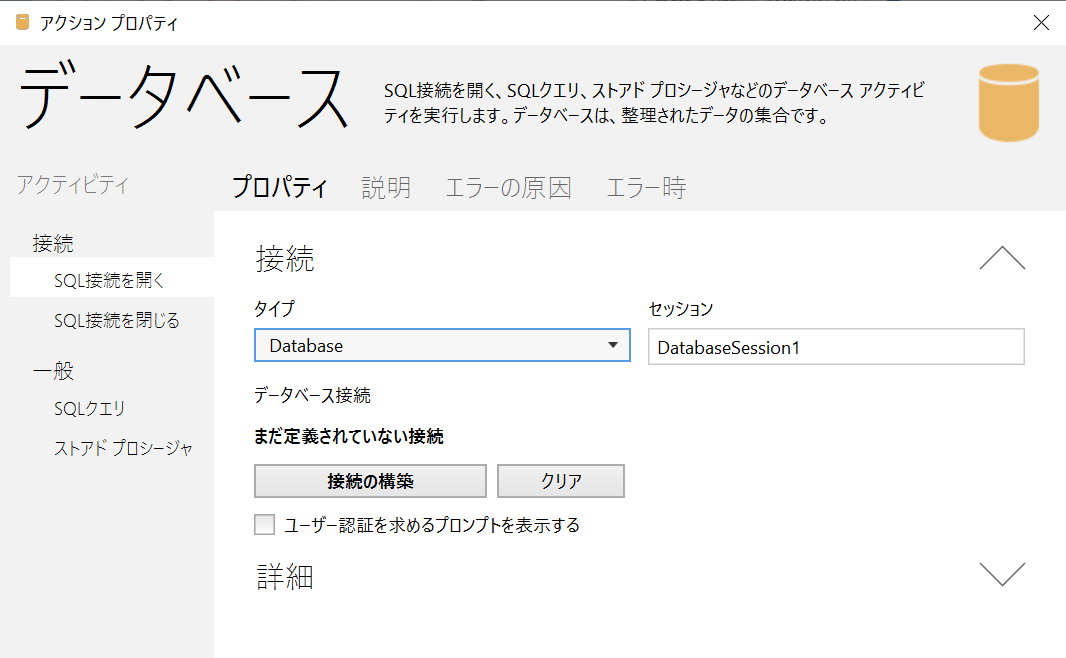
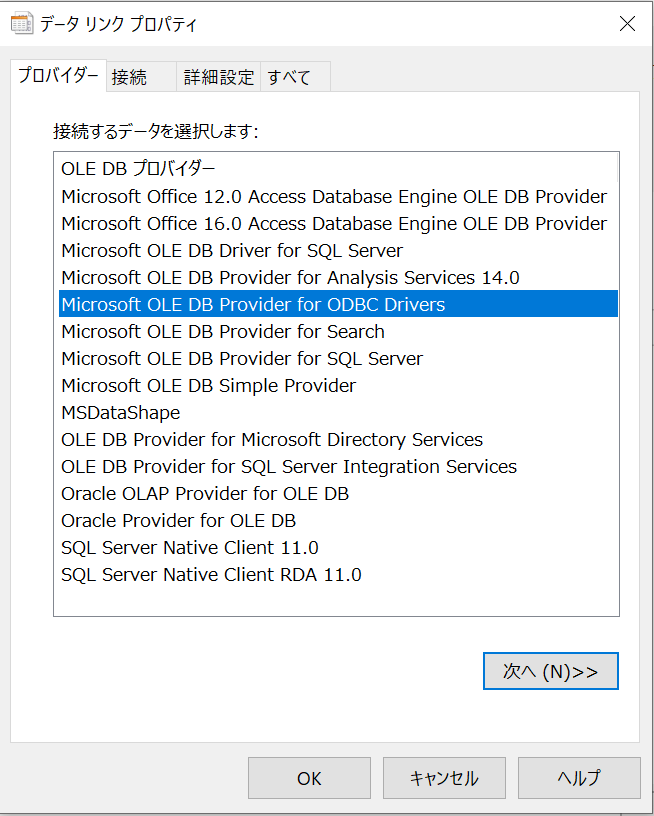
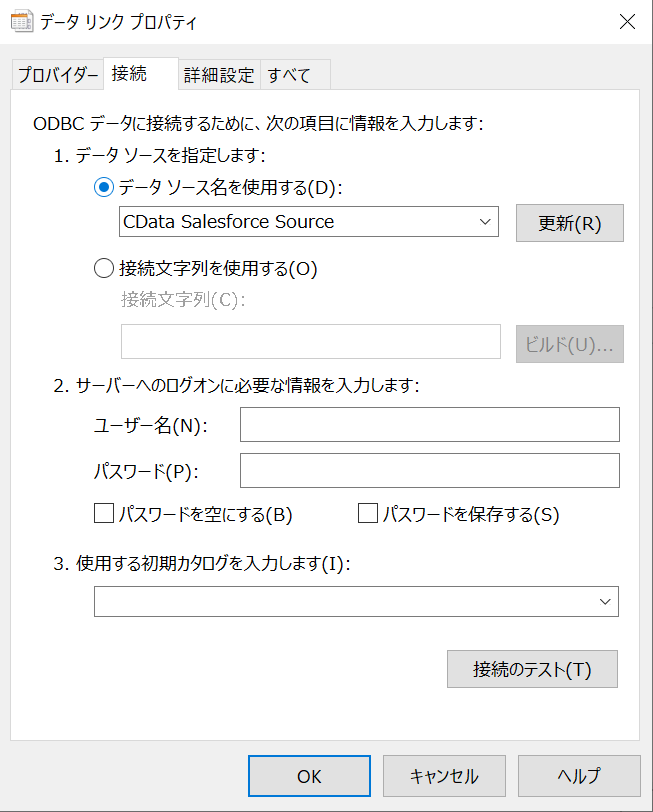
続いて AutoMate でODBC への接続構成を行います。
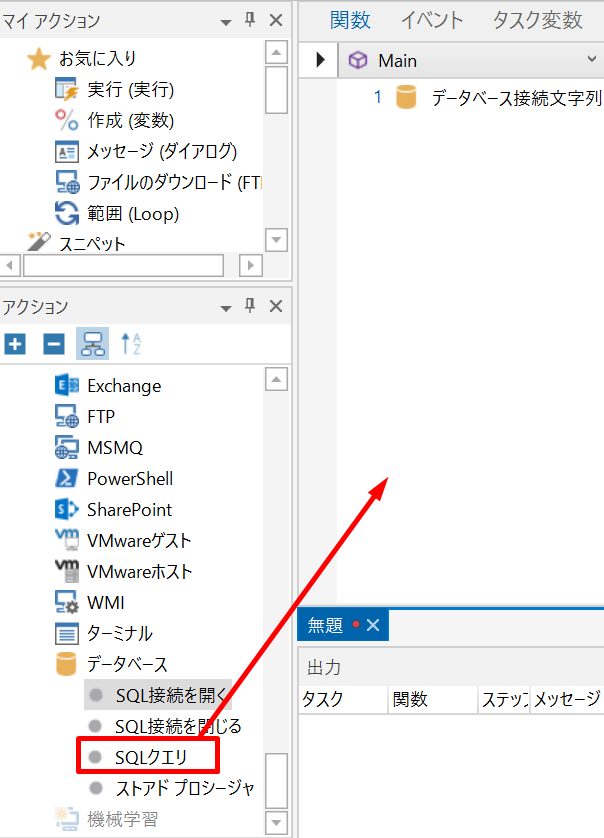
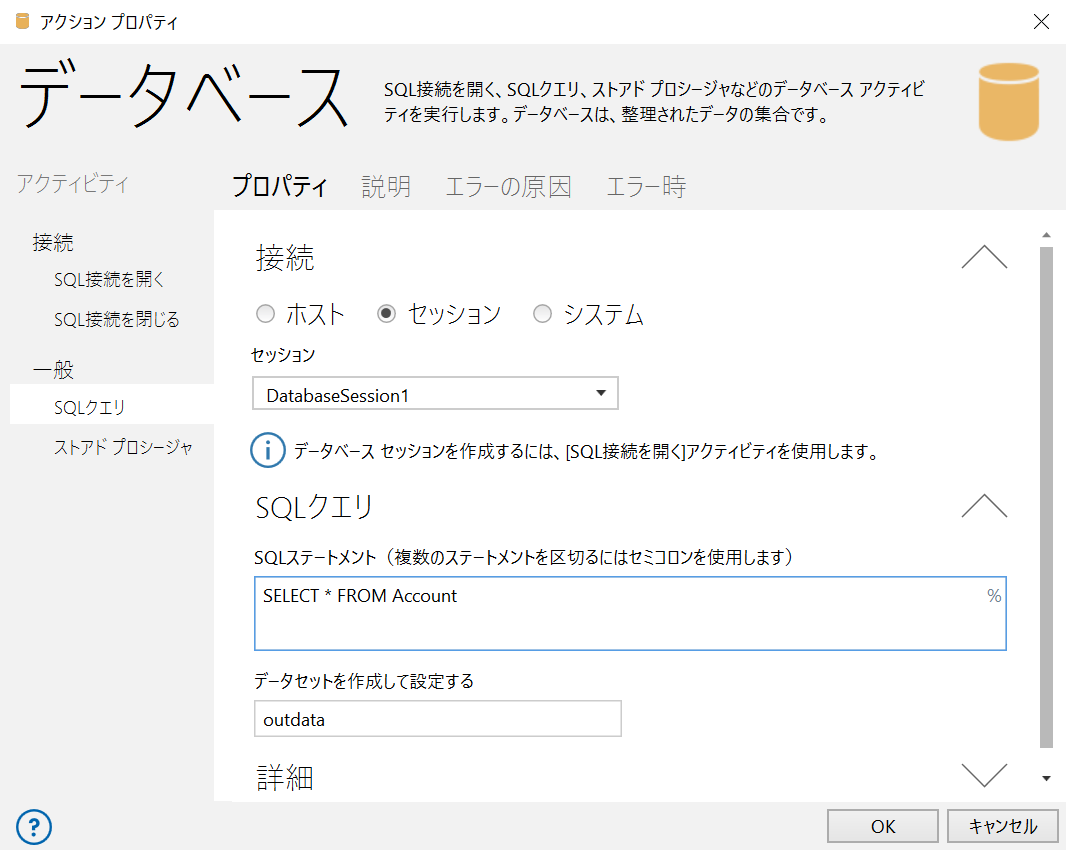
接続セッションの構成が完了したら、実際にデータを読み取るアクションを設定しましょう。
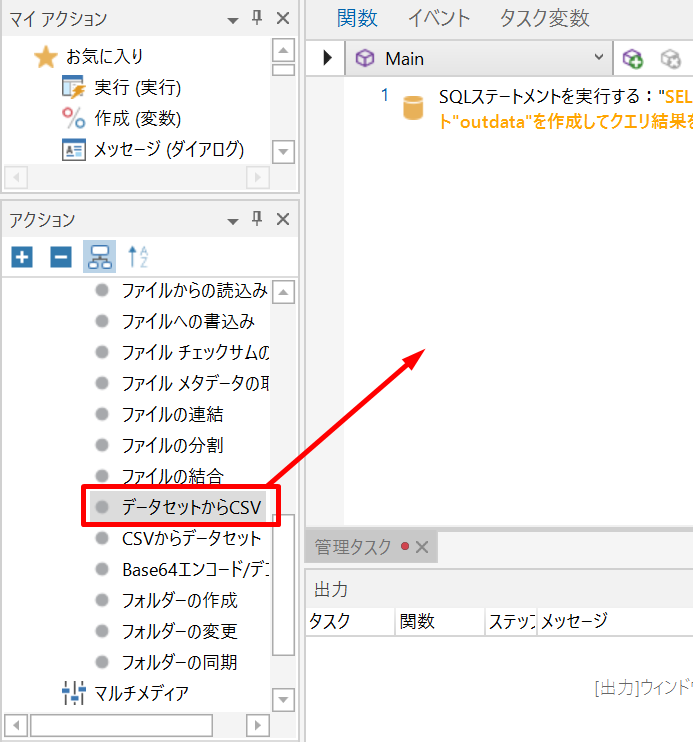
それでは作成したタスクを実際に動かしてみましょう。