ノーコードでクラウド上のデータとの連携を実現。
詳細はこちら →Business b-ridge Driver の30日間無償トライアルをダウンロード
30日間の無償トライアルへ製品の詳細
多様なBusiness b-ridge アカウントデータを組み込んだ強力なJava アプリケーションを短時間・低コストで作成して配布できます。

CData


こんにちは!ウェブ担当の加藤です。マーケ関連のデータ分析や整備もやっています。
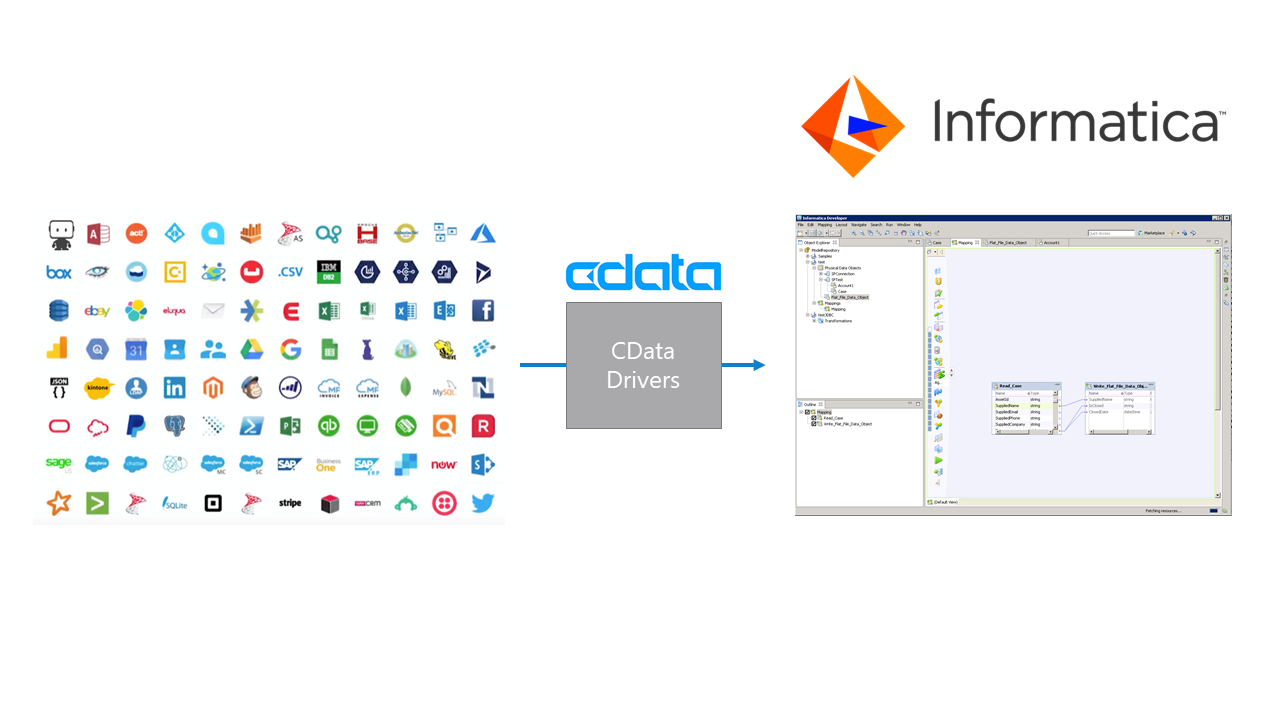
Informatica は、データを転送・変換するための強力で立派な手段を提供します。CData JDBC Driver for BusinessBridge を利用することで、Informatica の強力なデータ転送および操作機能とシームレスに統合される、業界で実証済みの標準に基づくドライバーにアクセスできます。このチュートリアルでは、Informatica PowerCenter でBusiness b-ridge を転送および参照する方法を示します。

ドライバーをInformatica PowerCenter サーバーに展開するために、インストールディレクトリのlib サブフォルダにあるCData JAR および.lic ファイルを次のフォルダにコピーします。Informatica-installation-directory\services\shared\jars\thirdparty.
Developer ツールでBusiness b-ridge を使用するには、インストールディレクトリのlib サブフォルダにあるCData JAR および.lic ファイルを次のフォルダにコピーする必要があります。
以下のステップに従って、Informatica Developer に接続します。
cdata.jdbc.businessbridge.BusinessBridgeDriver
B b-ridge への接続には、Company Key、Project Key、Subscription Key が必要となります。それぞれWeb API 利用申請時に取得できます。取得したKey を接続プロパティに設定して接続します。
JDBC URL の構成については、Business b-ridge JDBC Driver に組み込まれている接続文字列デザイナを使用してください。JAR ファイルのダブルクリック、またはコマンドラインからJAR ファイルを実行します。
java -jar cdata.jdbc.businessbridge.jar
接続プロパティを入力し、接続文字列をクリップボードにコピーします。
以下は一般的な接続文字列です。
jdbc:businessbridge:InitiateOAuth=GETANDREFRESH
ドライバーJAR をクラスパスに追加してJDBC 接続を作成すると、Informatica のBusiness b-ridge エンティティにアクセスできるようになります。以下のステップに従ってBusiness b-ridge に接続し、Business b-ridge テーブルを参照します。
以下より、[Data Viewer]でBusiness b-ridge テーブルを参照できるようになります。テーブルの[node]を右クリックし、[Open]をクリックします。[Data Viewer]で[Run]をクリックします。
以下のステップに従って、プロジェクトにBusiness b-ridge テーブルを追加します。
以下のステップに従って、マッピングにBusiness b-ridge ソースを追加します。
以下のステップに従って、Business b-ridge カラムをフラットファイルにマッピングします。
Business b-ridge を転送するために、ワークスペースで右クリックし、[Run Mapping]をクリックします。
