ノーコードでクラウド上のデータとの連携を実現。
詳細はこちら →Business b-ridge Driver の30日間無償トライアルをダウンロード
30日間の無償トライアルへ製品の詳細
多様なBusiness b-ridge アカウントデータを組み込んだ強力なJava アプリケーションを短時間・低コストで作成して配布できます。
CData


こんにちは!ウェブ担当の加藤です。マーケ関連のデータ分析や整備もやっています。
CData JDBC Driver for BusinessBridge はダッシュボードや帳票ツールからリアルタイムBusiness b-ridge データへの連携を可能にします。この記事では、Business b-ridge をJDBC データソースとして接続する方法と、Pentaho でBusiness b-ridge を元に帳票を作成する方法を説明します。
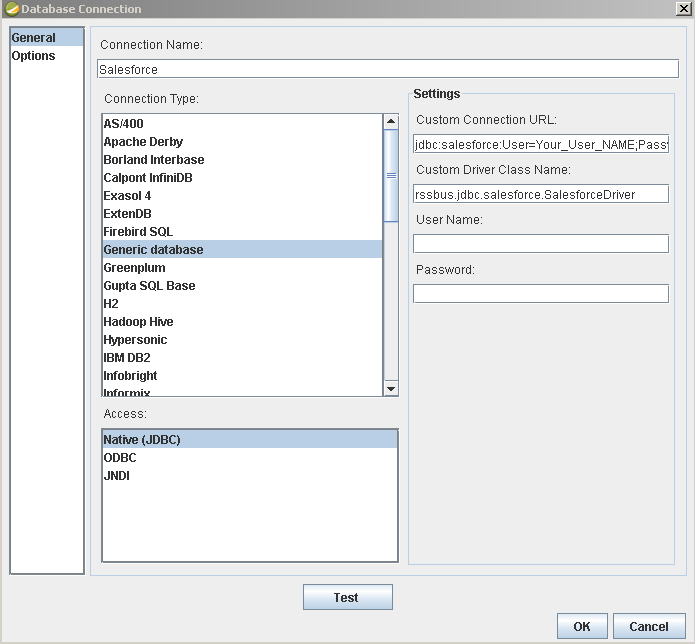
以下の手順でドライバーを新しいデータソースに設定します。[Data]>[Add Data Source]>[Advanced]>[JDBC (Custom)]とクリックし、新しいBusiness b-ridge 接続を作成します。ダイアログが表示されたら、次のように接続プロパティを設定します。
Custom Connection URL property:JDBC URL を入力。初めに以下を入力し jdbc:businessbridge: 次にセミコロン区切りで接続プロパティを入力します。
B b-ridge への接続には、Company Key、Project Key、Subscription Key が必要となります。それぞれWeb API 利用申請時に取得できます。取得したKey を接続プロパティに設定して接続します。
以下は一般的なJDBC URL です:
jdbc:businessbridge:
これで、Business b-ridge の帳票を作成する準備が整いました。
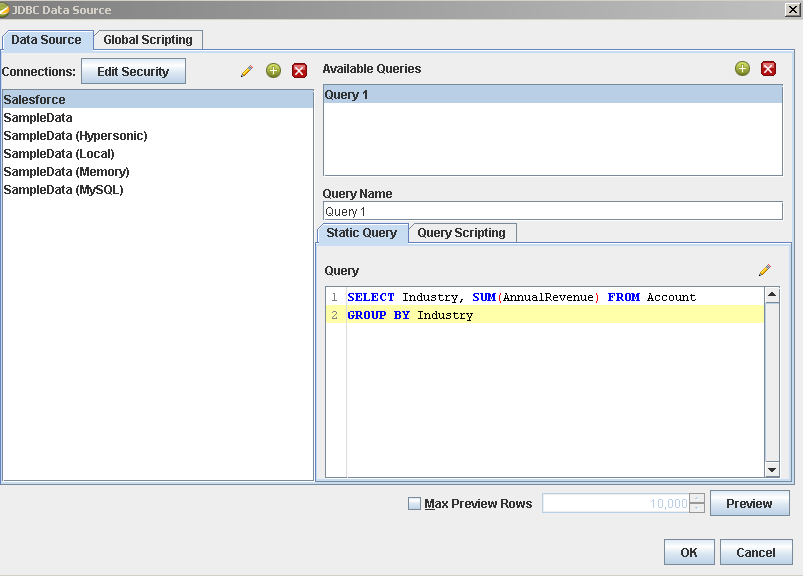
帳票にBusiness b-ridge データソースを追加します:[Data]>[Add Data Source]>[JDBC]をクリックし、データソースを選択します。
クエリを設定します。この記事では次を使います:
SELECT ItemId, StructureId FROM CDATA WHERE ItemTypeId = '1'