JasperReports Server で Jira Service Desk に連携する帳票を作成

CData JDBC Driver をJasperReports Server に配置して、Jasper Studio でリアルタイムJira Service Desk データを連携利用する帳票を作ろう。

加藤龍彦
ウェブデベロッパー


jiraservicedesk ロゴ

CData

jdbc ロゴ画像
TIBCO Jaspersoft ロゴ

こんにちは!ウェブ担当の加藤です。マーケ関連のデータ分析や整備もやっています。


CData JDBC Driver for JiraServiceDesk は企業全体のJira Service Desk へのデータ連携を可能にします。この記事では、JasperReports server にドライバーを配布してレポーティングドメイン、ビルディングブロックを作成し、ad hoc 帳票を作成する方法を説明します。

Jira Service Desk ドライバーのJAR を配布

下記の手順に従って、ドライバーのJAR をJasperReports server に配置します。標準的なプロセスに従って、JNDI データソースをTomcat またはJBoss に配布できます。以下の説明にはJira Service Desk およびJasperReports Server にバンドルされたTomcat server の詳細が含まれます。

  1. インストールディレクトリの[lib]サブフォルダ内のドライバーJAR およびlic ファイルを、apache-tomcat フォルダの[lib]サブフォルダにコピーします。
  2. 以下のリソースエントリーをjasperserver-pro Web アプリケーションのcontext.xml に追加します。これはアプリケーションの[META-INF]サブフォルダに配置されています。必要な接続プロパティをJDBC URL に指定します。

    You can establish a connection to any Jira Service Desk Cloud account or Server instance.

    Connecting with a Cloud Account

    To connect to a Cloud account, you'll first need to retrieve an APIToken. To generate one, log in to your Atlassian account and navigate to API tokens > Create API token. The generated token will be displayed.

    Supply the following to connect to data:

    • User: Set this to the username of the authenticating user.
    • APIToken: Set this to the API token found previously.

    Connecting with a Service Account

    To authenticate with a service account, you will need to supply the following connection properties:

    • User: Set this to the username of the authenticating user.
    • Password: Set this to the password of the authenticating user.
    • URL: Set this to the URL associated with your JIRA Service Desk endpoint. For example, https://yoursitename.atlassian.net.

    Note: Password has been deprecated for connecting to a Cloud Account and is now used only to connect to a Server Instance.

    Accessing Custom Fields

    By default, the connector only surfaces system fields. To access the custom fields for Issues, set IncludeCustomFields.

    <Resource name="jdbc/jiraservicedesk" auth="Container" type="javax.sql.DataSource" driverClassName="cdata.jdbc.jiraservicedesk.JiraServiceDeskDriver" url="jdbc:jiraservicedesk:ApiKey=myApiKey;User=MyUser;" maxActive="20" maxIdle="10" maxWait="-1" factory="com.jaspersoft.jasperserver.tomcat.jndi.JSBasicDataSourceFactory"/>
  3. jasperserver-pro Web アプリケーションのweb.xml に以下の参照を追加します。これはアプリケーションの[WEB-INF]サブフォルダに配置されています。 Jira Service Desk データ JSP jdbc/jiraservicedesk javax.sql.DataSource Container
  4. サーバーを再起動します。

Jira Service Desk JDBC データソースの作成

ドライバーを配布したら、JNDI 接続を作成してバンドルされたあらゆるドライバーと同じように接続できます。

  1. JasperReports Server にログインして[Create]>[Data Source]をクリックします。
  2. [Type]メニューで[JNDI Data Source]を選択します。
  3. [Service Name]ボックスにJira Service Desk に定義したJDNI ルックアップを入力します。例では、ルックアップは jdbc/jiraservicedesk です。

ドメイン の作成

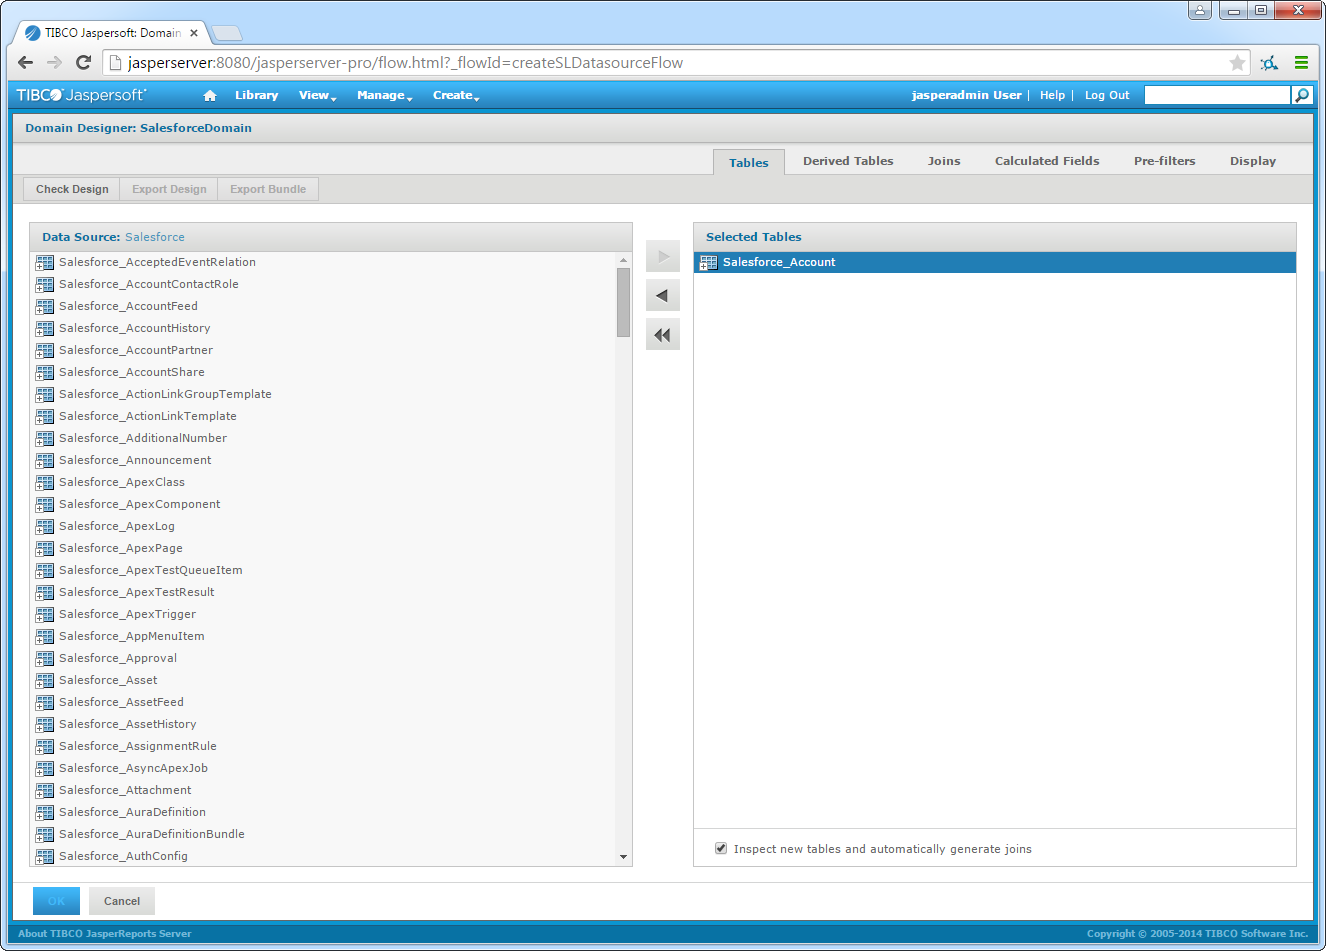
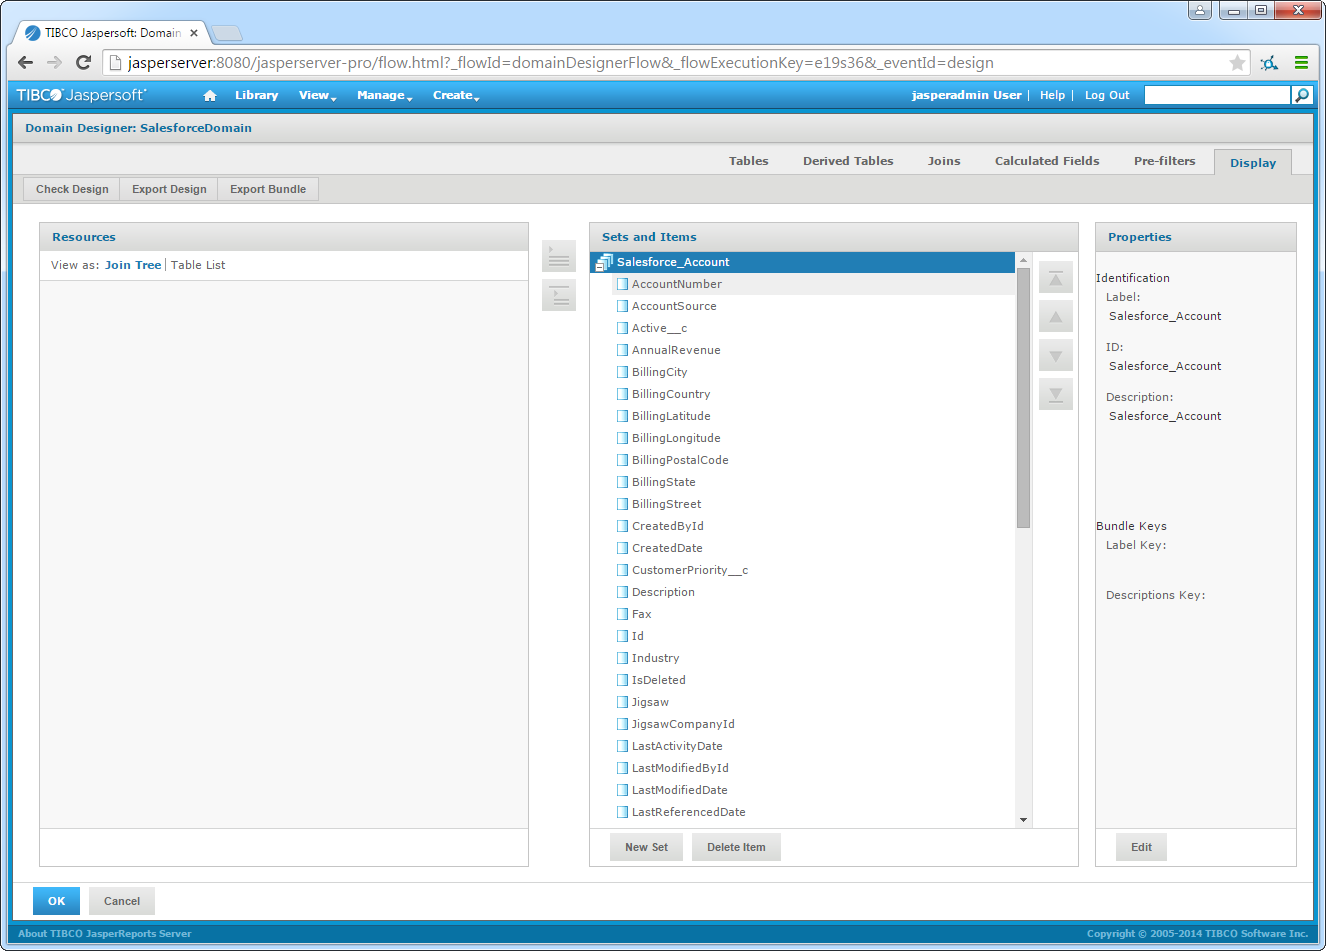
データのドメインはJaspersoft のメタデータレイヤです。アドホックな分析および帳票で使うことができます。

  1. [Create]>[Domain]をクリックし、ドメインにID を入力します。
  2. [Data Source]セクションで[ブラウズ]をクリックし、作成したJira Service Desk データソースを選択します。
  3. [Domain Design]セクションで[Create with Database Designer]をクリックします。[Select Database Schema]ダイアログが表示されます。
  4. Jira Service Desk データソースを選択します。
  5. [Tables]タブの[Data Source]ペインでテーブルを選択し、矢印をクリックして[Selected Tables]に追加します。 Tables to add on the Tables tab in the Domain Designer. (Salesforce is shown.)
  6. [Display]タブの[Resources]ペインでJira Service Desk エンティティを選択し、矢印をクリックしてリソースを[Sets and Items]ペインに追加します。 Resources to add on the Display tab in the Domain Designer. (Salesforce is shown.)

ドメインにView Based を作成

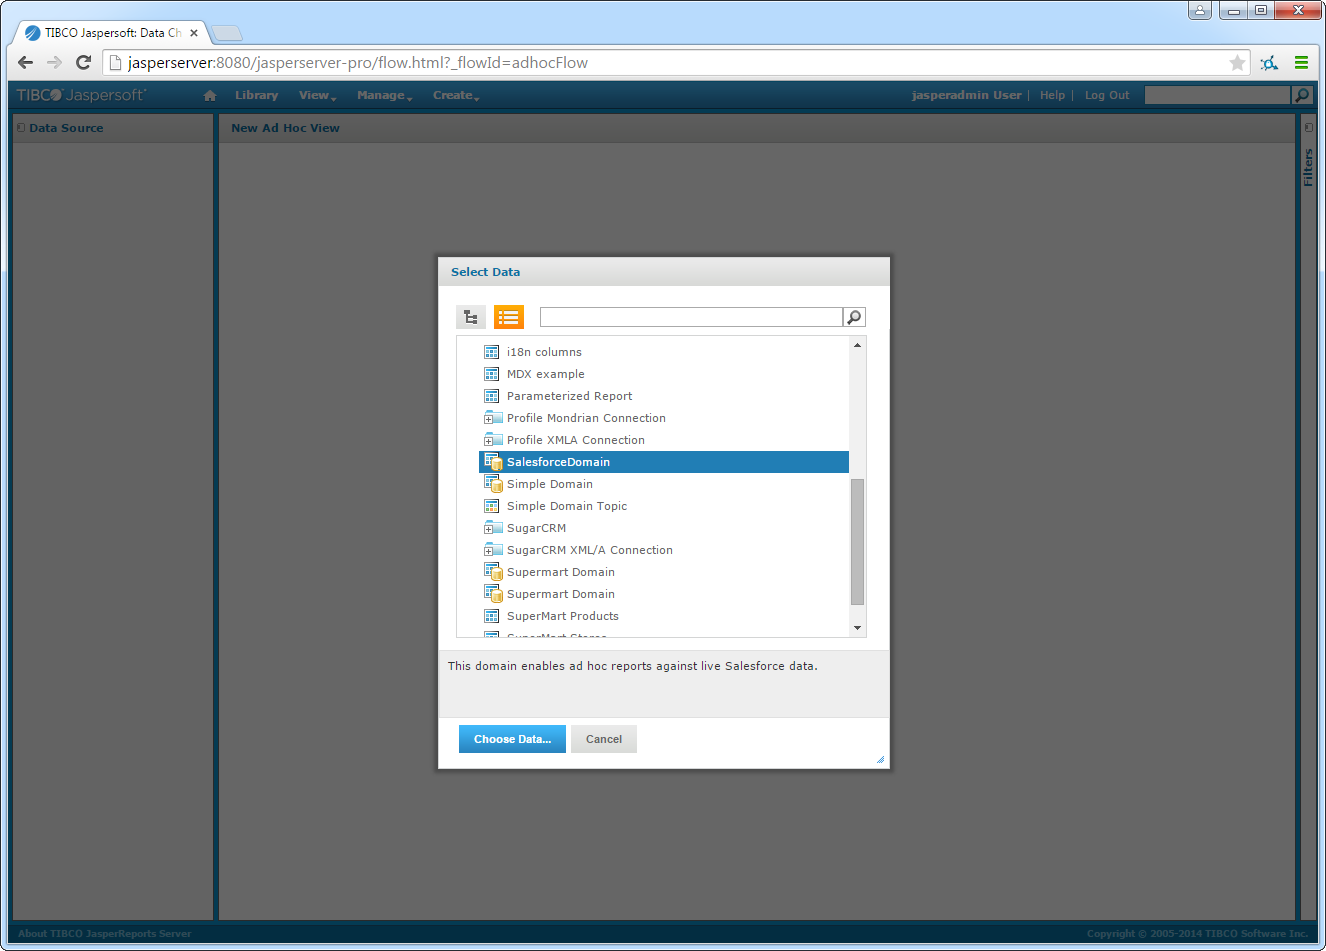
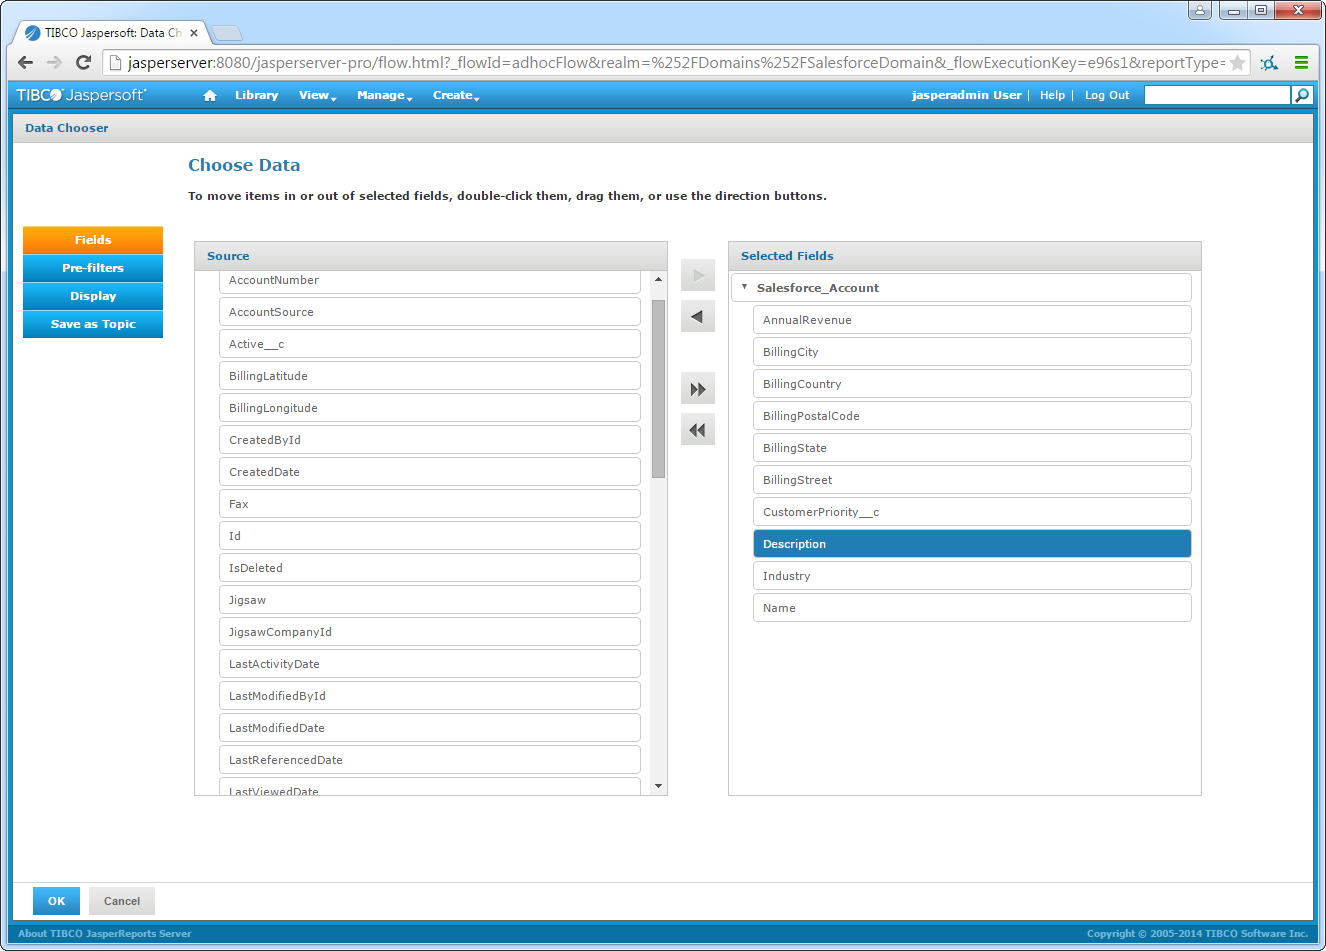
ドメインを使ってJira Service Desk のビジネスビューを作成したら、データに関連あるサブセットを表示するビューを作成します。下記の手順に従って、[Ad Hoc Editor]の[Ad Hoc view]にビューを作成します。

  1. [Create]>[Ad Hoc View]をクリックします。
  2. ダイアログが表示されたら、作成したJira Service Desk ドメインを選択します。 The domain to be used for the view. (Salesforce is shown.)
  3. [Choose Data]ページで、ビューで使いたいカラムを選択します。[Select Fields]セクションでは、フィルターおよび入力用のプロンプトユーザーを作成できます。[Display]セクションでは、フィールドおよびフィールド名の並び順を変更できます。 The columns to be used in the report. (Salesforce is shown.)
  4. ウィザードを完了したら、ビューの種類を選択しビューにカラムを追加できます。JasperSoft はドライバーのメタデータを使って、利用可能なdimensions およびmeasures をデータの種類に基づいて検出します。 [Columns] および[Rows]ボックスにdimensions およびmeasures をドラッグします。例えば、チャートを作成するには[Columns]ボックスに[excol#1]を、[Rows]ボックスに[excol#2]をドラッグします。
  5. ビューを保存します。

帳票の作成

これでドメインから帳票を作成できます:

A report based on live data. (Salesforce is shown.)

関連コンテンツ

トライアル・お問い合わせ

30日間無償トライアルで、CData のリアルタイムデータ連携をフルにお試しいただけます。記事や製品についてのご質問があればお気軽にお問い合わせください。