製品をチェック

無償トライアル:

無償トライアルへ

製品の情報と無償トライアルへ:

Jira Service Desk JDBC Driver

Jira Service Desk データに連携するJava アプリケーションを素早く、簡単に開発できる便利なドライバー。

データ連携でお困りですか?

お問い合わせ

Jira Service Desk データに連携しTalend からデータに接続


Jira Service Desk をTalend Open Studio の標準コンポーネントおよびデータソース設定ウィザードに統合。


jiraservicedesk ロゴ画像
jdbc ロゴ画像

JDBC

Talend ロゴ画像


この記事では、Talend で簡単にCData JDBC Driver for JiraServiceDesk をワークフローに統合してJira Service Desk データ連携する方法を説明します。ここではCData JDBC Driver for JiraServiceDesk を使ってTalend でJira Service Desk をジョブフローに転送します。

JDBC データソースとしてTalend でJira Service Desk に接続

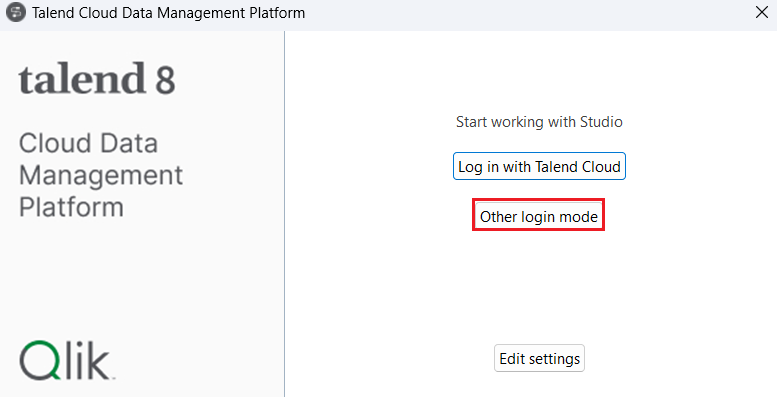
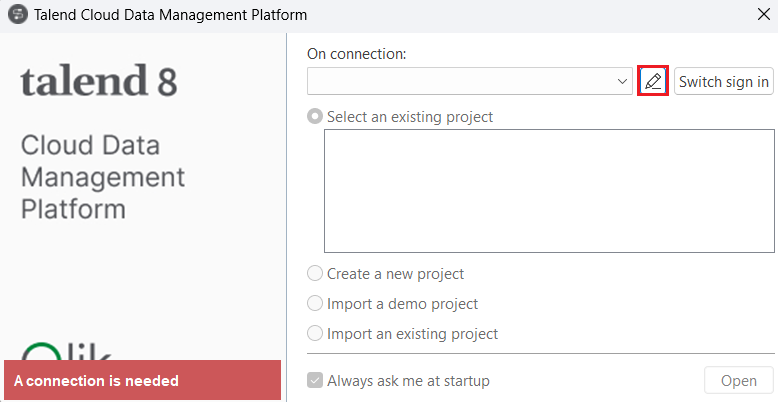
下記の手順に従って、Jira Service Desk にJDBC 接続を確立します:

  1. Jira Service Desk を新しいデータベース接続を追加:新しく接続を追加するには、[Metadata]ノードを展開し[Db Connections]ノードを右クリックして[Create Connection]をクリックします。
  2. ウィザードが表示されたら、接続に名前を入力します。
  3. 次のページで、[DB Type]メニューから[Generic JDBC]を選択してJDBC URL を入力します。

    You can establish a connection to any Jira Service Desk Cloud account or Server instance.

    Connecting with a Cloud Account

    To connect to a Cloud account, you'll first need to retrieve an APIToken. To generate one, log in to your Atlassian account and navigate to API tokens > Create API token. The generated token will be displayed.

    Supply the following to connect to data:

    • User: Set this to the username of the authenticating user.
    • APIToken: Set this to the API token found previously.

    Connecting with a Service Account

    To authenticate with a service account, you will need to supply the following connection properties:

    • User: Set this to the username of the authenticating user.
    • Password: Set this to the password of the authenticating user.
    • URL: Set this to the URL associated with your JIRA Service Desk endpoint. For example, https://yoursitename.atlassian.net.

    Note: Password has been deprecated for connecting to a Cloud Account and is now used only to connect to a Server Instance.

    Accessing Custom Fields

    By default, the connector only surfaces system fields. To access the custom fields for Issues, set IncludeCustomFields.

    以下は一般的なJDBC URL です:

    jdbc:jiraservicedesk:ApiKey=myApiKey;User=MyUser;
  4. インストールディレクトリの[lib]サブフォルダ内にあるcdata.jdbc.jiraservicedesk.jar ファイルへのパスを入力します。
  5. The connection to the JDBC data source. (QuickBooks is shown.)
  6. 接続を右クリックして[Retrieve Schema]をクリックします。
  7. デフォルトオプションで[Next]をクリックしインポートしたいテーブルを選択します。
  8. デフォルトオプションでウィザードを終了します。

Requests テーブルをフラットファイルに出力

下記の手順に従って、Requests テーブルをフラットファイル出力コンポーネントに転送します:

  1. [Table Schemas]ノードで、テーブルをワークスペース内にドラッグします。
  2. ダイアログが表示されたら[tJDBCInput]コンポーネントを選択します。
  3. 次に、[tFileOutputDelimited]コンポーネントをPalette の[Business Intelligence]タブからワークスペース内にドラッグします。
  4. Requests tJDBCInput コンポーネントを右クリックしてベクタを出力ファイルにドラッグします。 A simple transfer to a flat file. (QuickBooks is shown.)

プロジェクトを実行してデータを転送します。