Discover how a bimodal integration strategy can address the major data management challenges facing your organization today.
Get the Report →


Working with QuickBooks using LINQPad
The CData ADO.NET Providers can be used from many applications and development environments. This article shows how to use LINQPad to connect to QuickBooks using the CData ADO.NET Provider for QuickBooks. Although this example uses the QuickBooks Data Provider, the same process applies to any CData ADO.NET Providers.
Create the Data Model
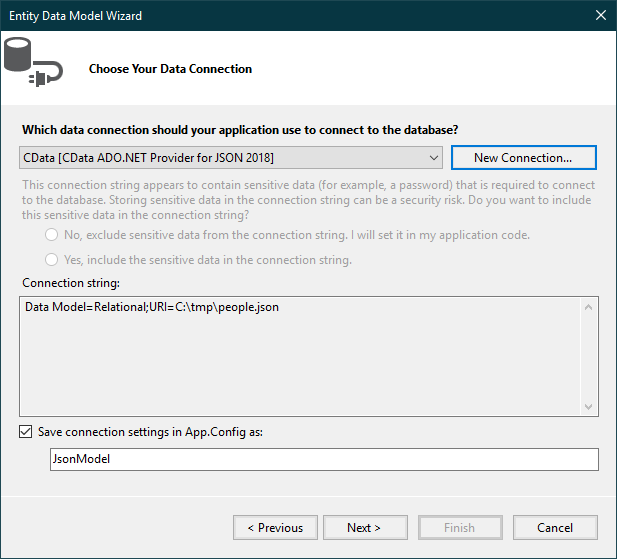
- In a new console project in Visual Studio, create a data model using the ADO.NET Entity Data Model wizard.
-
Select an existing connection or click New Connection to specify a new one.
![]()
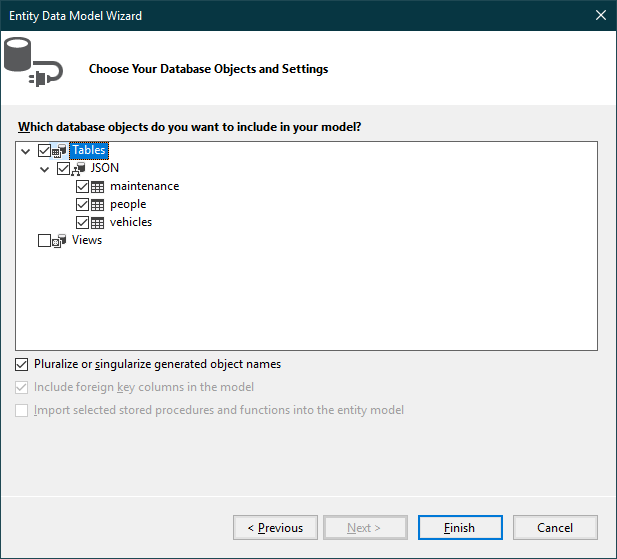
- Select the desired tables and views and click Finish to create the data model.
![]()
- Right-click on the entity diagram and select 'Add Code Generation Item'. Next, select the ADO.NET DbContext Generator.
![]()
- Build the project. The generated files can be used to create a QuickBooks connection in LINQPad.

Connect to QuickBooks in LINQPad
After you have obtained the required connection properties and created the data model assembly, follow the steps below to start using the model in LINQPad.
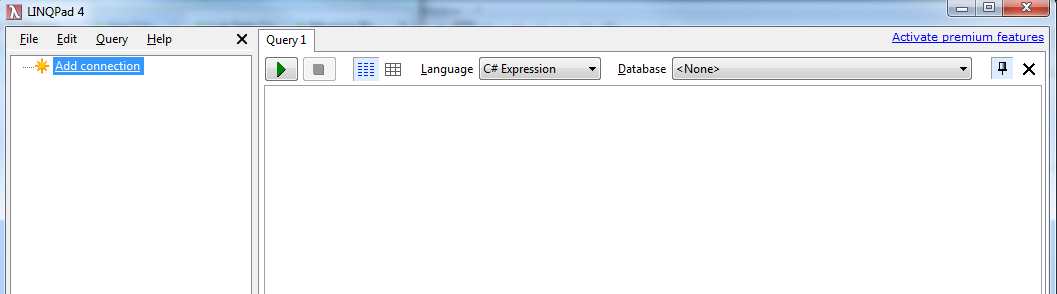
- Open LINQPad and click 'Add New Connection'.
![]()
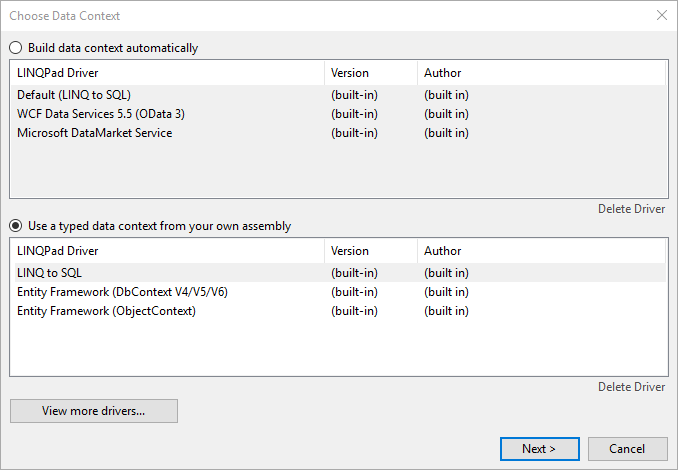
- Select 'Entity Framework DbContext POCO'.
![]()
On the next page, enter the following information.
- Path to Custom Assembly: Enter the path to the data model assembly created by Visual Studio.
- Full Type Name of Typed DbContext: Enter the name of the custom DbContext.
- Name for this connection: Enter a name for the connection.
![]()
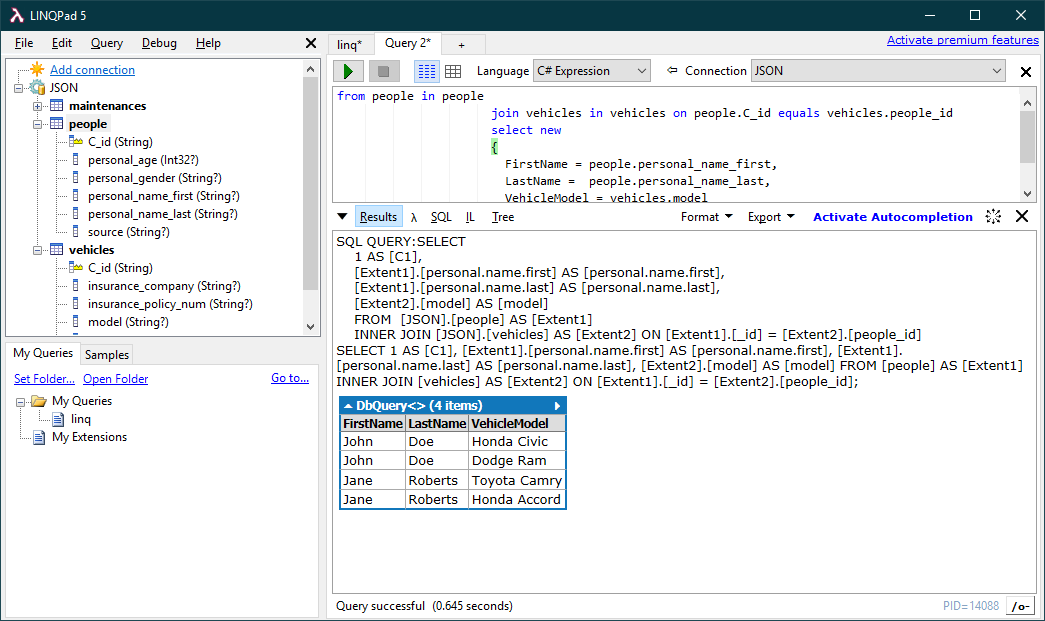
- You can now query data through LINQPad. For examples of the supported LINQ queries, see the "LINQ and Entity Framework" chapter in the help documentation.
![]()

Data Connectors
ETL/ ELT Solutions
Cloud & API Connectivity
OEM & Custom Drivers