Discover how a bimodal integration strategy can address the major data management challenges facing your organization today.
Get the Report →Build a Simple VCL Application for Asana Data
How to build a simple VCL Application to view Asana data in RAD Studio using the CData ODBC Driver for Asana.
Embarcadero RAD Studio provides a development environment for Delphi and C++Builder applications. With the CData ODBC Driver for Asana, you gain access to live Asana data within RAD Studio, abstracting the data into tables, views, and stored procedures that can be used to retrieve Asana data. This article will walk through connecting to Asana and creating a simple VCL application with the Form Designer.
Create a Connection to Asana Data
If you have not already, first specify connection properties in an ODBC DSN (data source name). This is the last step of the driver installation. You can use the Microsoft ODBC Data Source Administrator to create and configure ODBC DSNs.
You can optionally set the following to refine the data returned from Asana.
- WorkspaceId: Set this to the globally unique identifier (gid) associated with your Asana Workspace to only return projects from the specified workspace. To get your workspace id, navigate to https://app.asana.com/api/1.0/workspaces while logged into Asana. This displays a JSON object containing your workspace name and Id.
- ProjectId: Set this to the globally unique identifier (gid) associated with your Asana Project to only return data mapped under the specified project. Project IDs can be found in the URL of your project's Overview page. This will be the numbers directly after /0/.
Connect Using OAuth Authentication
You must use OAuth to authenticate with Asana. OAuth requires the authenticating user to interact with Asana using the browser. See the "Getting Started" chapter of the help documentation for a guide to using OAuth.
You can then follow the steps below to use the Data Explorer to create a FireDAC connection to Asana data.
- In a new VCL Forms application, expand the FireDAC node in the Data Explorer.
- Right-click the ODBC Data Source node in the Data Explorer.
- Click Add New Connection.
- Enter a name for the connection.
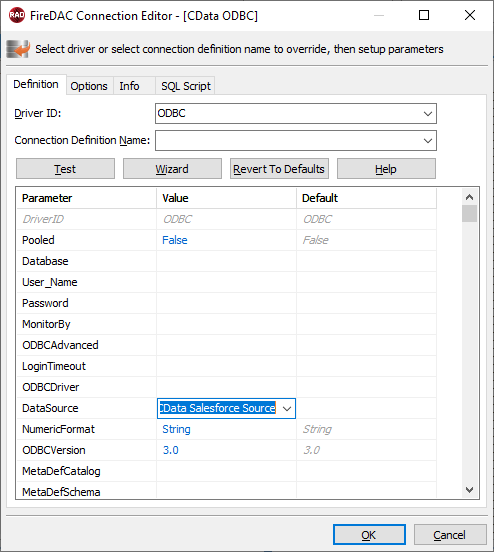
- In the FireDAC Connection Editor that appears, set the DataSource property to the name of the ODBC DSN for Asana.

Create VCL Applications with Connectivity to Asana Data
Follow the procedure below to start executing queries to Asana data from a simple VCL application that displays the results of a query in a grid.
-
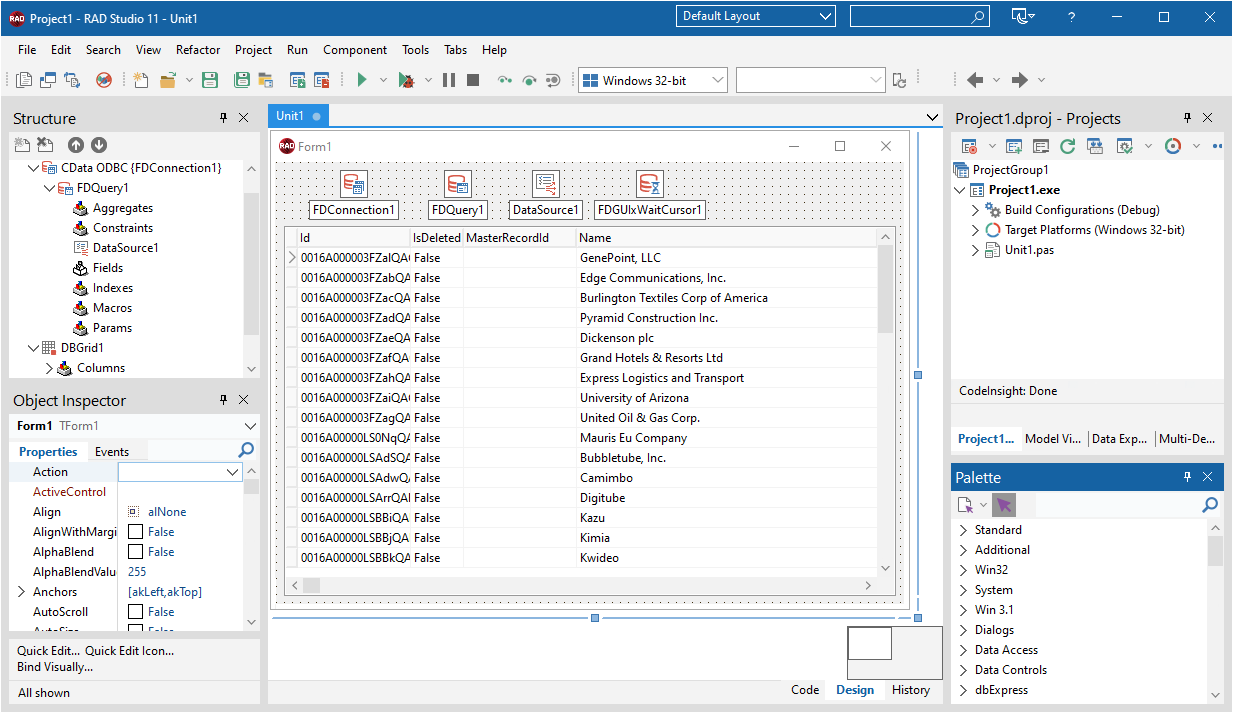
Drop a TFDConnection component onto the form and set the following properties:
- ConnectionDefName: Select the FireDAC connection to Asana data.
- Connected: Select True from the menu and, in the dialog that appears, enter your credentials.
-
Drop a TFDQuery component onto the form and set the properties below:
- Connection: Set this property to the TFDConnection component, if this component is not already specified.
SQL: Click the button in the SQL property and enter a query. For example:
SELECT Id, WorkspaceId FROM projects WHERE Archived = 'true'- Active: Set this property to true.
Drop a TDataSource component onto the form and set the following property:
- DataSet: In the menu for this property, select the name of the TFDQuery component.
-
Drop a TDBGrid control onto the form and set the following property:
- DataSource: Select the name of the TDataSource.
- Drop a TFDGUIxWaitCursor onto the form — this is required to avoid a run-time error.

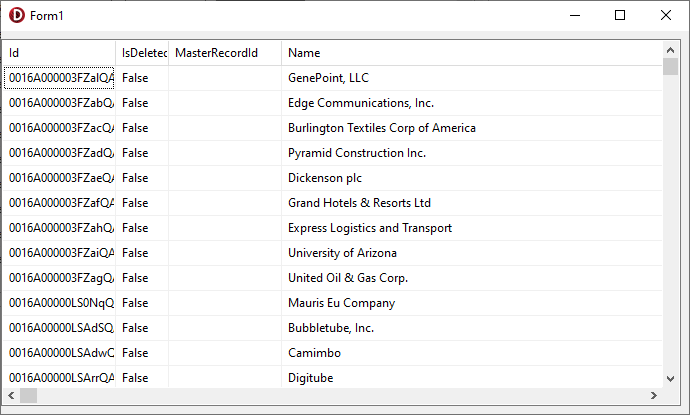
You now have an executable application that displays the results of the SQL Query set in the TFDQuery object.


