Discover how a bimodal integration strategy can address the major data management challenges facing your organization today.
Get the Report →Import Azure Table Data into the Power BI Service for Visualizations
Use CData Connect Cloud to connect to Azure Table Data and provide access to live Azure Table data for custom reports in the Power BI Service.
Power BI transforms your company's data into rich visuals for you to collect and organize so you can focus on what matters to you. When paired with CData Connect Cloud, you get access to Azure Table data for visualizations, dashboards, and more. This article shows how to connect to Azure Table in CData Connect Cloud, publish a dataset from Power BI Desktop to the Power BI Service and then create reports on Azure Table data in the Power BI service.
Configure Azure Table Connectivity for Power BI Service
Connectivity to Azure Table from Power BI Service is made possible through CData Connect Cloud. To work with Azure Table data from Power BI Service, we start by creating and configuring a Azure Table connection.
(Optional) Add a New Connect Cloud User
As needed, create Users to connect to Azure Table through Connect Cloud.
- Navigate to the Users page and click Invite Users
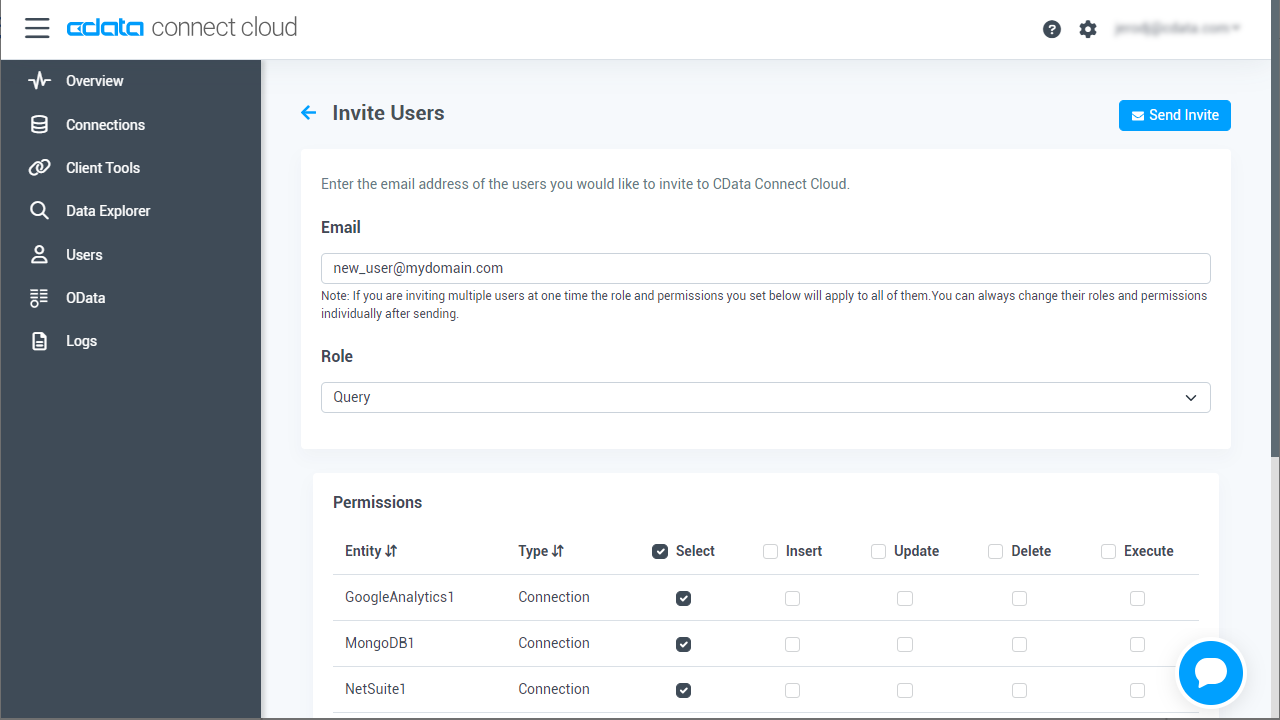
- Enter the new user's email address and click Send to invite the user
![Inviting a new user]()
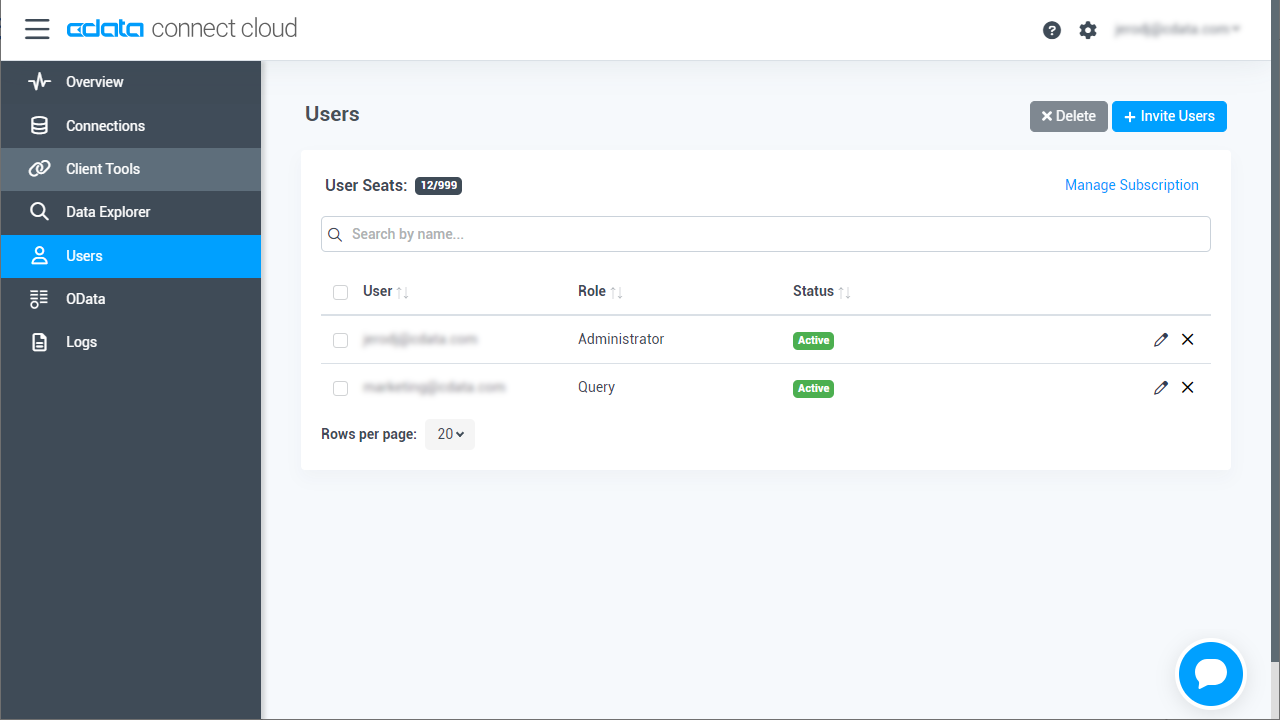
- You can review and edit users from the Users page
![Connect Cloud users]()
Connect to Azure Table from Connect Cloud
CData Connect Cloud uses a straightforward, point-and-click interface to connect to data sources.
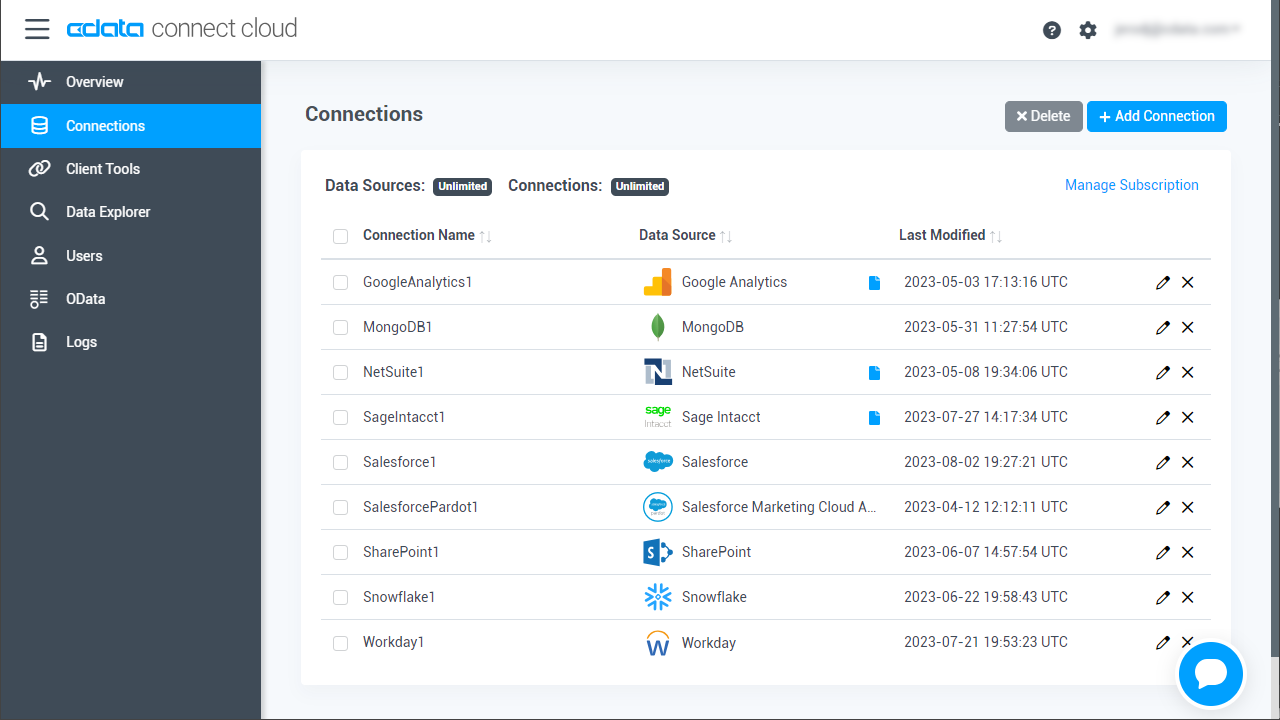
- Log into Connect Cloud, click Connections and click Add Connection
![Adding a Connection]()
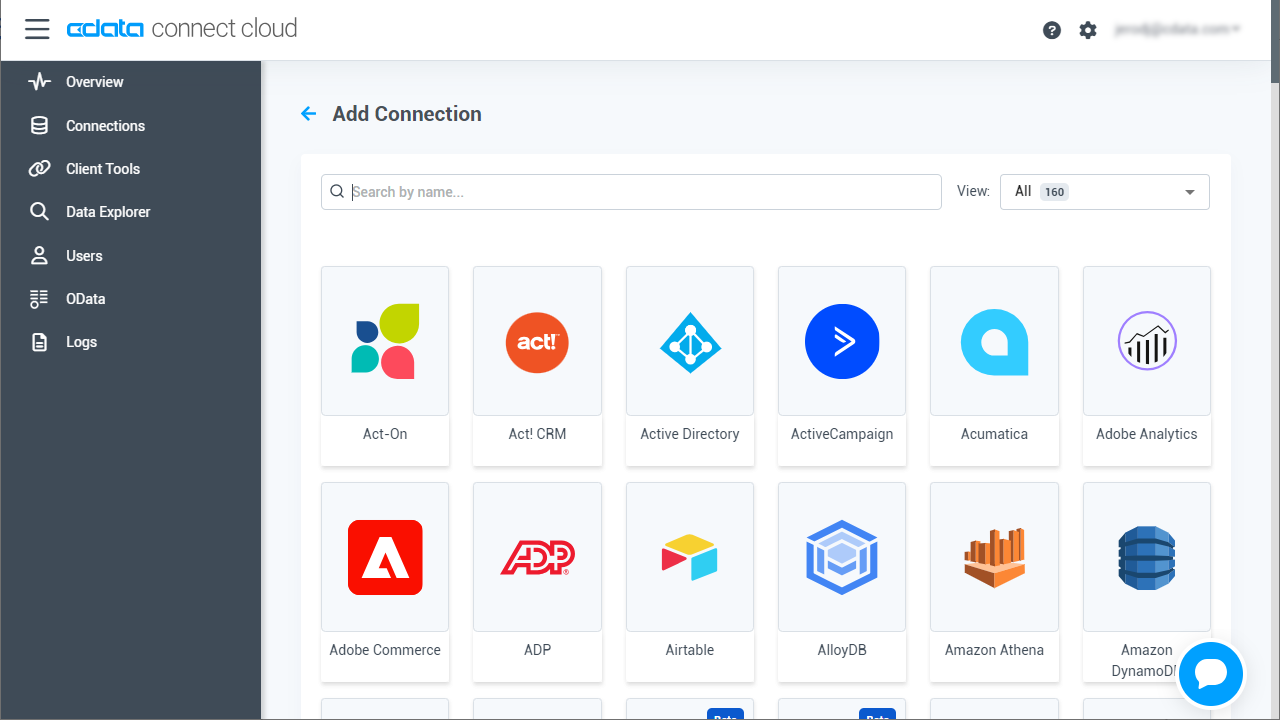
- Select "Azure Table" from the Add Connection panel
![Selecting a data source]()
-
Enter the necessary authentication properties to connect to Azure Table.
Specify your AccessKey and your Account to connect. Set the Account property to the Storage Account Name and set AccessKey to one of the Access Keys. Either the Primary or Secondary Access Keys can be used. To obtain these values, navigate to the Storage Accounts blade in the Azure portal. You can obtain the access key by selecting your account and clicking Access Keys in the Settings section.
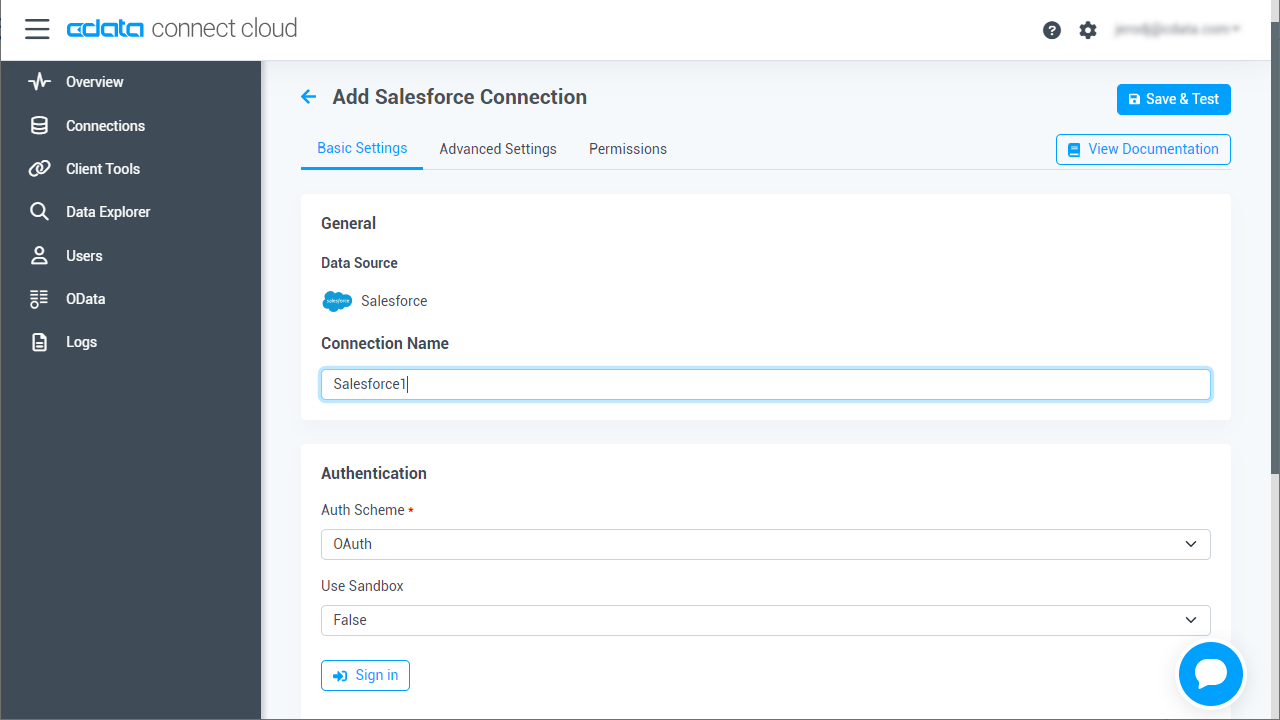
![Configuring a connection (Salesforce is shown)]()
- Click Create & Test
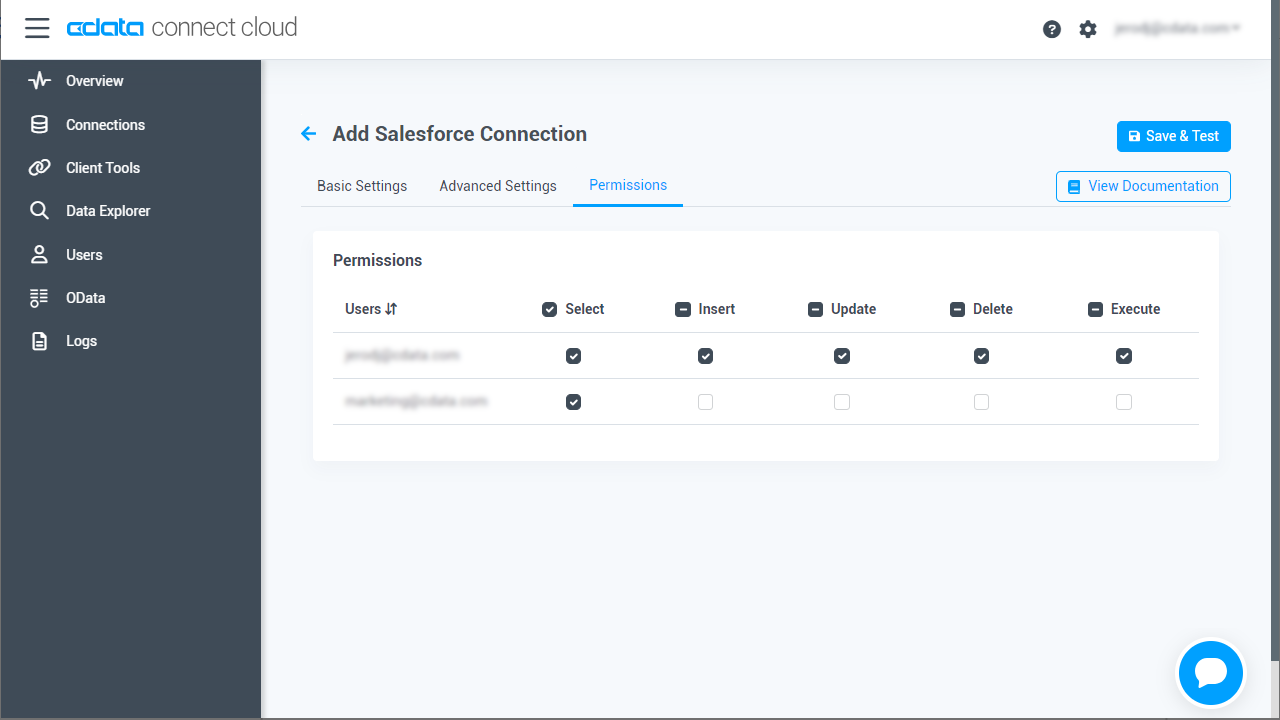
- Navigate to the Permissions tab in the Add Azure Table Connection page and update the User-based permissions.
![Updating permissions]()
With the connection configured, you are ready to connect to Azure Table data from the Power BI service.
Publish a Dataset from Power BI Desktop
Once you connect to Azure Table in Connect Cloud, you can create a dataset in Power BI desktop and publish the dataset to the Power BI service.
- Open Power BI Desktop and click Get Data -> Online Services -> CData Connect Cloud and click "Connect"
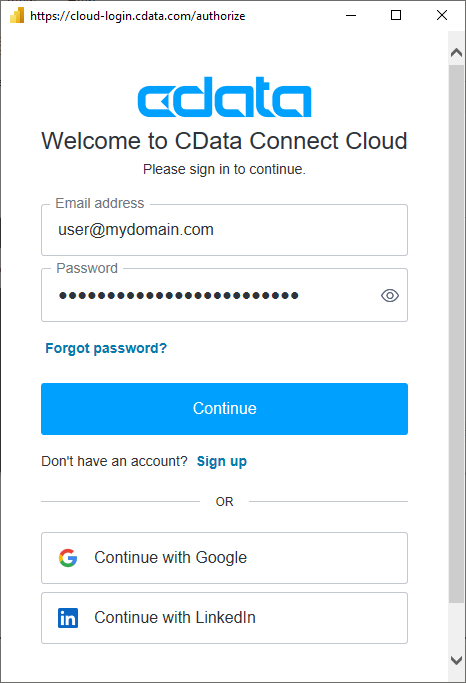
- Click "Sign in" and authenticate with your CData Connect Cloud account
![Authenticating with Connect Cloud]()
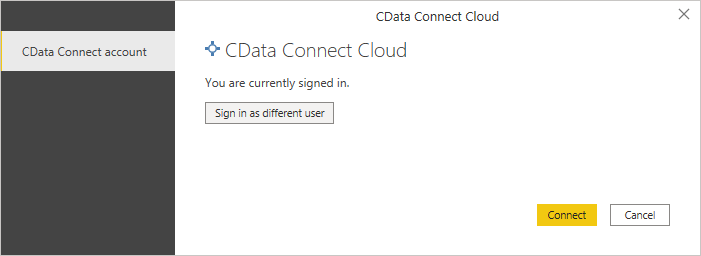
- After signing in, click "Connect"
![Connecting to Connect Cloud]()
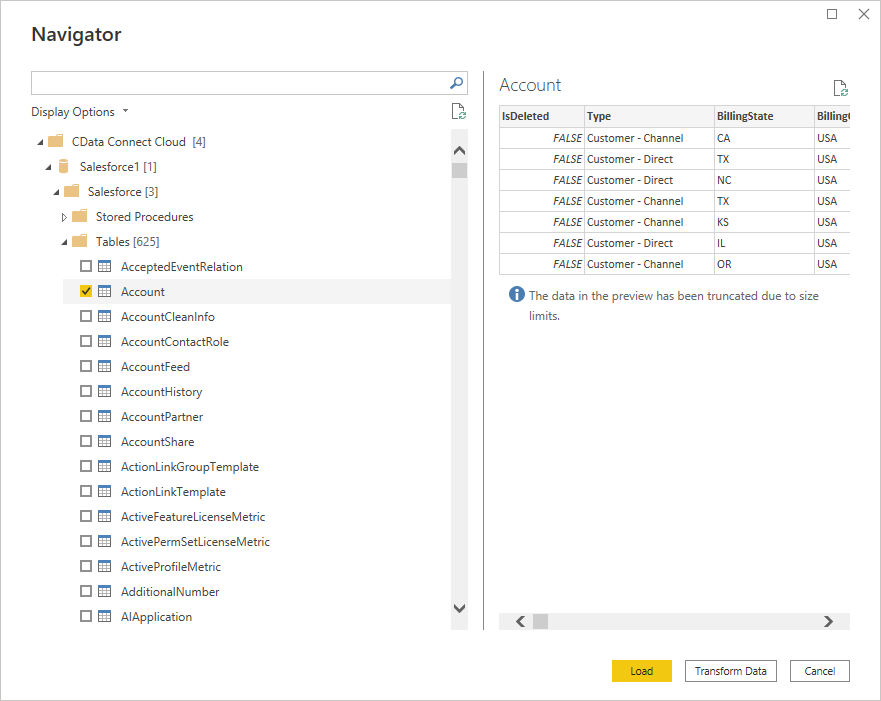
- Select tables in the Navigator dialog
![The available tables. (Salesforce tables are shown)]()
- Click Load to establish the connection to your Azure Table data from Power BI
- Define any relationships between the selected entities on the Relationships tab.
- Click Publish (from the Home menu) and select a Workspace.
Build Reports and Dashboards on Azure Table Data in the Power BI Service
Now that you have published a dataset to the Power BI service, you can create new reports and dashboards based on the published data:
- Log in to PowerBI.com.
- Click Workspaces and select a workspace.
- Click Create and select Report.
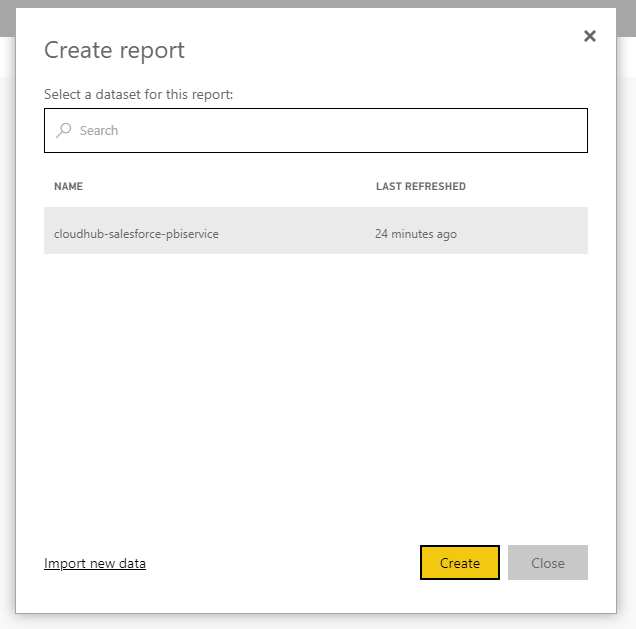
- Select the published dataset for the report.
![Select a dataset]()
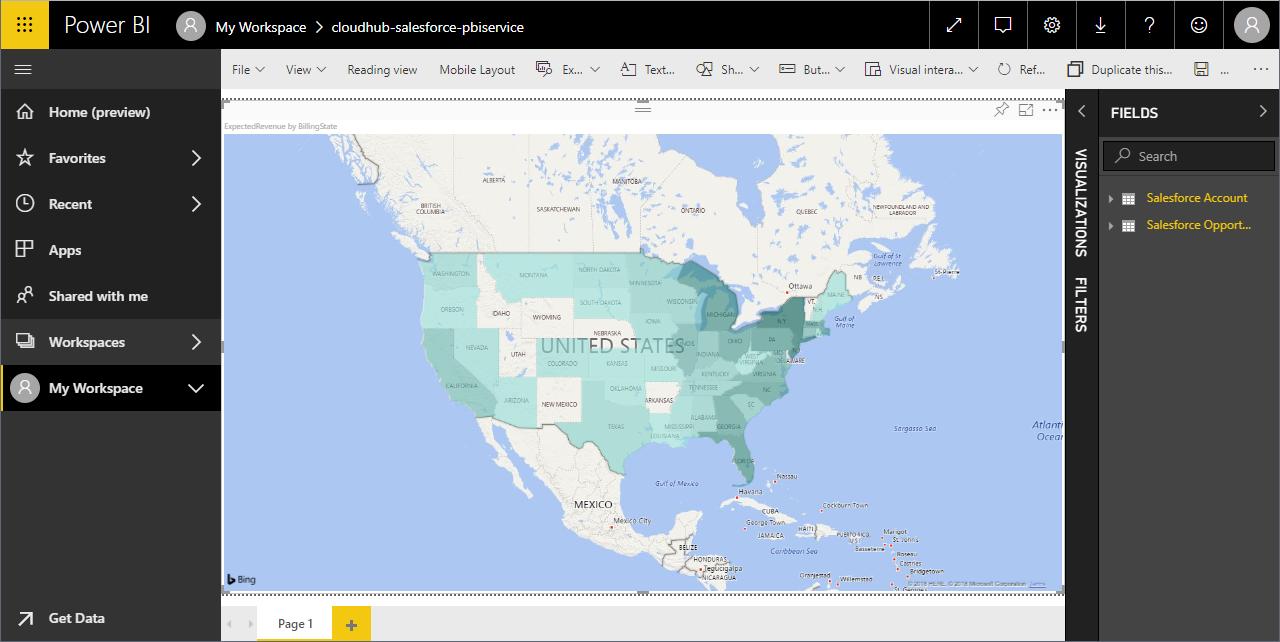
- Choose fields and visualizations to add to your report.
![Visualizing Azure Table data in the Power BI service]()
Live Access to Azure Table Data from Cloud Applications
Now you have a direct connection to live Azure Table data from the Power BI service. You can create more data sources and new visualizations, build reports, and more — all without replicating Azure Table data.
To get live data access to 100+ SaaS, Big Data, and NoSQL sources directly from your cloud applications, sign up for a free trial of CData Connect Cloud.


