Discover how a bimodal integration strategy can address the major data management challenges facing your organization today.
Get the Report →Export Data from SQL Server to Dynamics CRM through SSIS
Easily push SQL Server data to Dynamics CRM using the CData SSIS Tasks for Dynamics CRM.
SQL Server databases are commonly used to store enterprise records. It is often necessary to move this data to other locations. The CData SSIS Task for Dynamics CRM allows you to easily transfer Dynamics CRM data. In this article you will export data from SQL Server to Dynamics CRM.
Add Source and Destination Components
To get started, add a new ADO.NET Source control and a new Dynamics CRM Destination control to the data flow task.
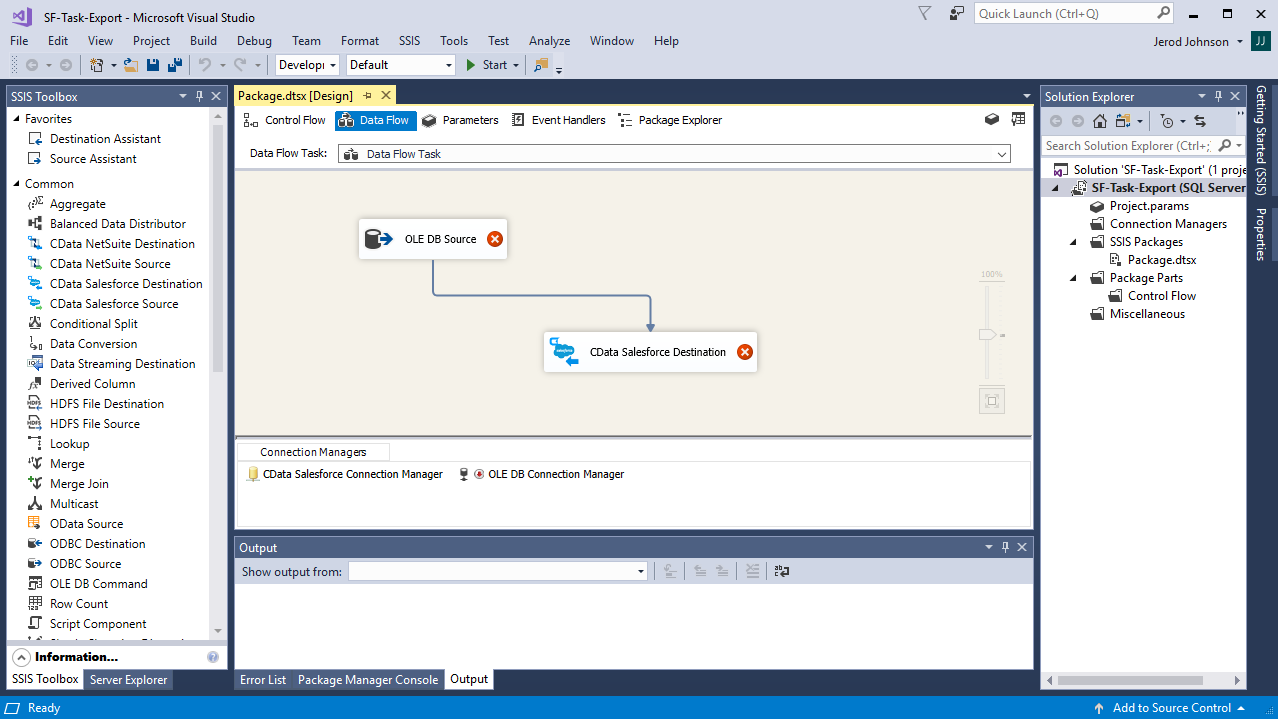
Configure the ADO.NET Source
Follow the steps below to specify properties required to connect to the SQL Server instance.
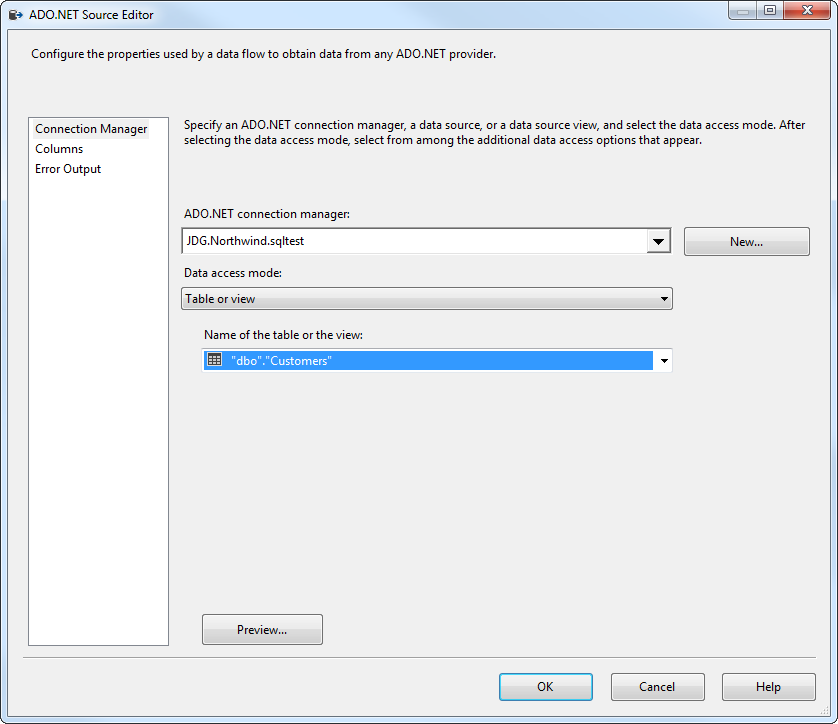
- Open the ADO.NET Source and add a new connection. Enter your server and database information here.
- In the Data access mode menu, select "Table or view" and select the table or view to export into Dynamics CRM.
- Close the ADO NET Source wizard and connect it to the destination component.

Create a New Connection Manager for Dynamics CRM
Follow the steps below to set required connection properties in the Connection Manager.
- Create a new connection manager: In the Connection Manager window, right-click and then click New Connection. The Add SSIS Connection Manager dialog is displayed.
- Select CData DynamicsCRM Connection Manager in the menu.
-
Configure the connection properties.
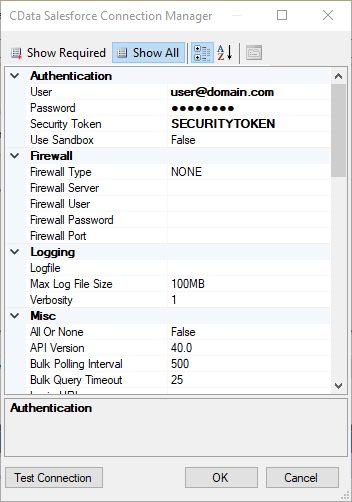
The connection string options meet the authentication and connection requirements of different Dynamics CRM instances. To connect to your instance, set the User and Password properties, under the Authentication section, to valid Dynamics CRM user credentials and set the Url to a valid Dynamics CRM server organization root. Additionally, set the CRMVersion property to 'CRM2011+' or 'CRMOnline'. IFD configurations are supported as well; set InternetFacingDeployment to true.
Additionally, you can provide the security token service (STS) or AD FS endpoint in the STSURL property. This value can be retrieved with the GetSTSUrl stored procedure. Office 365 users can connect to the default STS URL by simply setting CRMVersion.
Configure the Dynamics CRM Destination
In the destination component Connection Manager, define mappings from the SQL Server source table into the Dynamics CRM destination table and the action you want to perform on the Dynamics CRM data. In this article, you will insert Account entities to Dynamics CRM.
- Double-click the Dynamics CRM destination to open the destination component editor.
- In the Connection Managers tab, select the connection manager previously created.
-
In the Use a Table, menu, select Account.
In the Action menu, select Insert.
![The destination table and action to be performed.]()
-
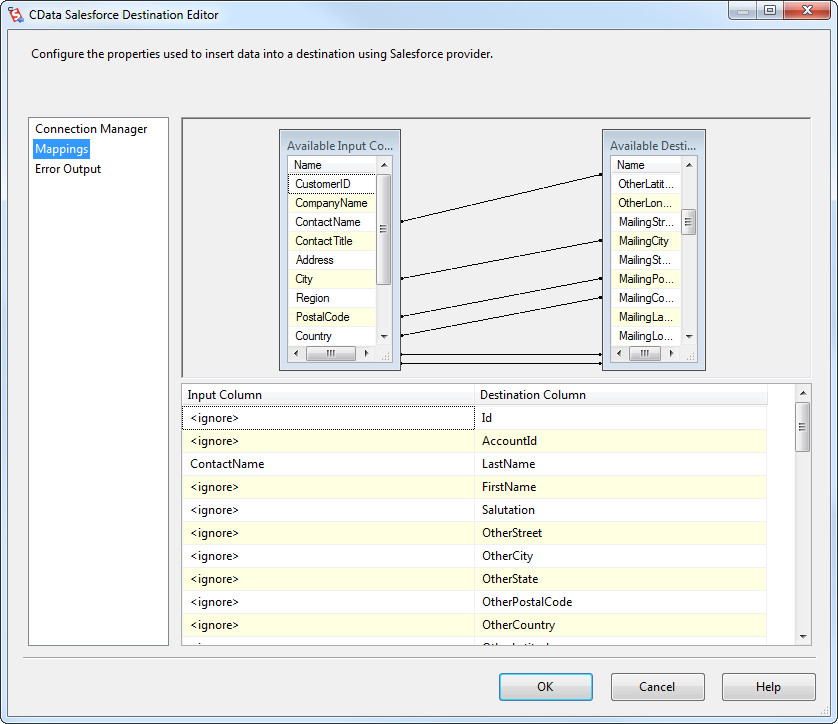
On the Column Mappings tab, configure the mappings from the input columns to the destination columns.
![The mappings from the SQL Server source to the SSIS destination component.]()
Run the Project
You can now run the project. After the SSIS Task has finished executing, data from your SQL table will be exported to the chosen table.
