Discover how a bimodal integration strategy can address the major data management challenges facing your organization today.
Get the Report →Automated Continuous IBM Cloud Object Storage Replication to Local Delimited Files
Use CData Sync for automated, continuous, customizable IBM Cloud Object Storage replication to delimited files (CSV/TSV).
Always-on applications rely on automatic failover capabilities and real-time data access. CData Sync integrates live IBM Cloud Object Storage data into local delimited files (CSV/TSV), allowing you to consolidate all of your data into a single location for archiving, reporting, analytics, machine learning, artificial intelligence and more.
Configure CSV/TSV as a Replication Destination
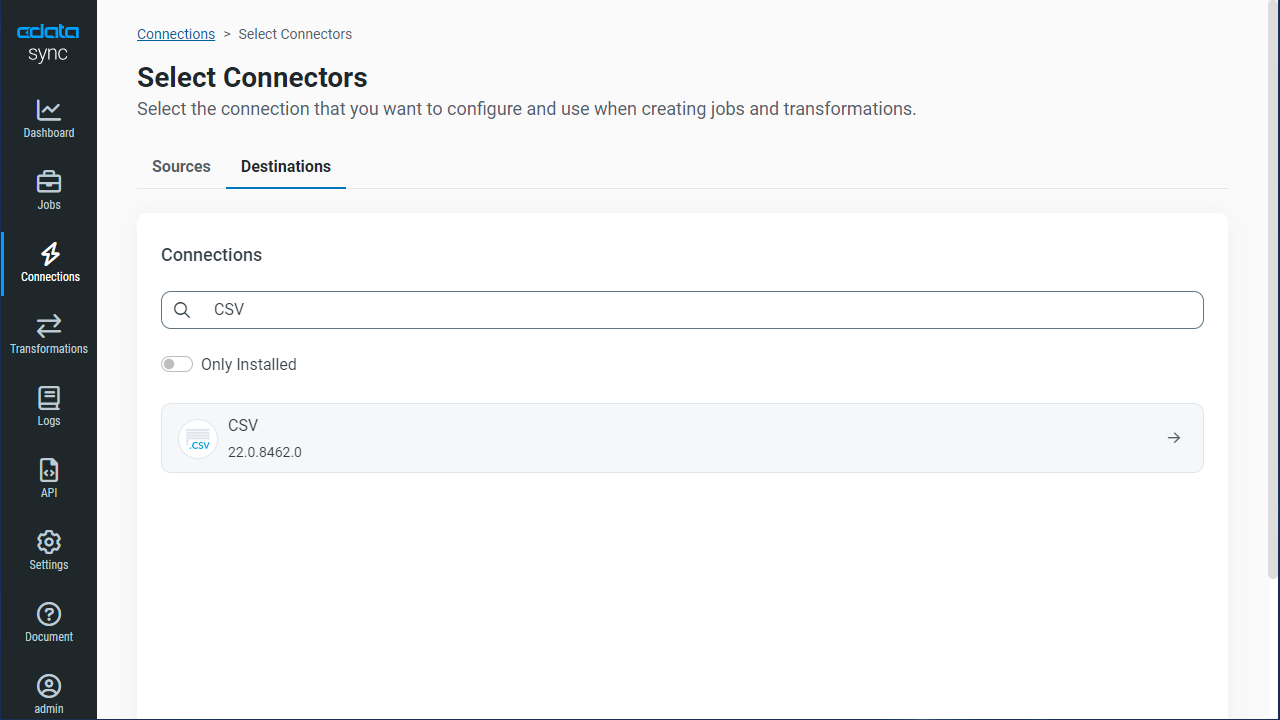
Using CData Sync, you can replicate IBM Cloud Object Storage data to delimited files, like CSV or TSV. To add a replication destination, navigate to the Connections tab.
- Click Add Connection.
- Select CSV as a destination.
![Configure a Destination connection to CSV.]()
- Enter the necessary connection properties. To connect to a directory for storing delimited files, set the following:
- Destination Folder: Set this location on the disk for the delimited files.
- Include Column Headers: Set this to True for the first row in each file to represent the column names.
- Click Test Connection to ensure that the connection is configured properly.
![Configure a Destination connection.]()
- Click Save Changes.
Configure the IBM Cloud Object Storage Connection
You can configure a connection to IBM Cloud Object Storage from the Connections tab. To add a connection to your IBM Cloud Object Storage account, navigate to the Connections tab.
- Click Add Connection.
- Select a source (IBM Cloud Object Storage).
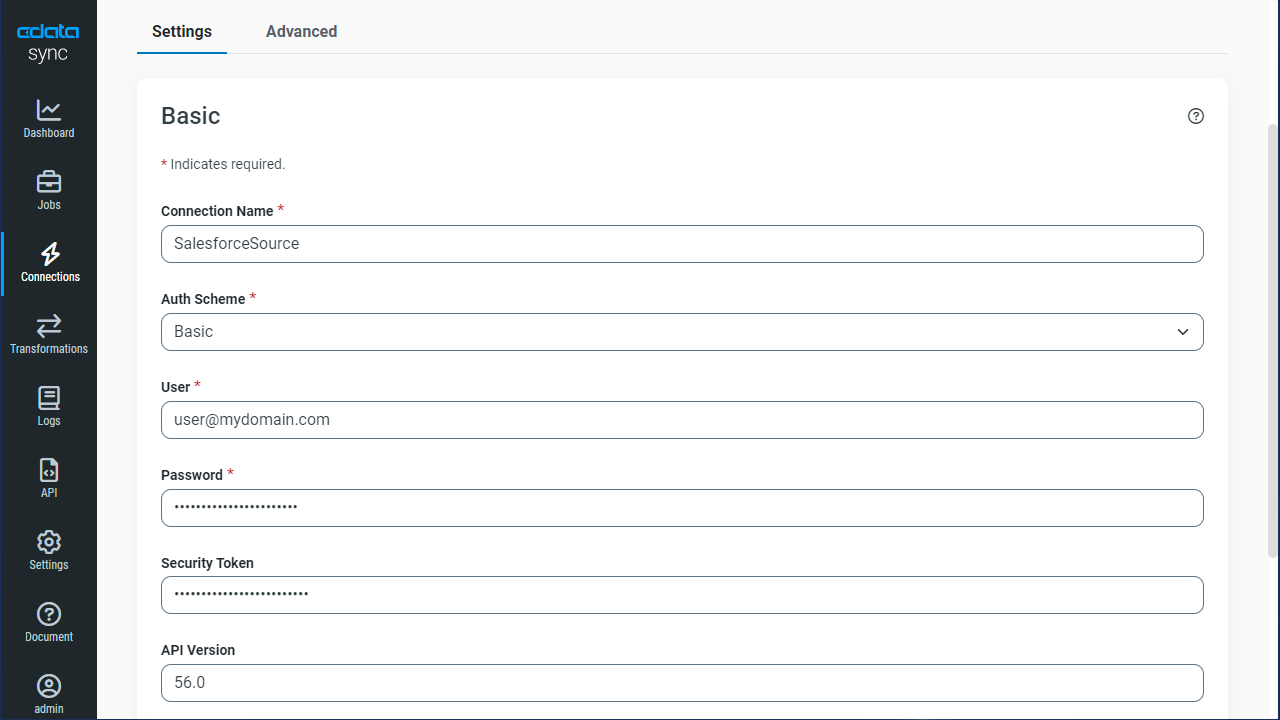
- Configure the connection properties.
Register a New Instance of Cloud Object Storage
If you do not already have Cloud Object Storage in your IBM Cloud account, follow the procedure below to install an instance of SQL Query in your account:
- Log in to your IBM Cloud account.
- Navigate to the page, choose a name for your instance and click Create. You will be redirected to the instance of Cloud Object Storage you just created.
Connecting using OAuth Authentication
There are certain connection properties you need to set before you can connect. You can obtain these as follows:
API Key
To connect with IBM Cloud Object Storage, you need an API Key. You can obtain this as follows:
- Log in to your IBM Cloud account.
- Navigate to the Platform API Keys page.
- On the middle-right corner click "Create an IBM Cloud API Key" to create a new API Key.
- In the pop-up window, specify the API Key name and click "Create". Note the API Key as you can never access it again from the dashboard.
Cloud Object Storage CRN
If you have multiple accounts, you will need to specify the CloudObjectStorageCRN explicitly. To find the appropriate value, you can:
- Query the Services view. This will list your IBM Cloud Object Storage instances along with the CRN for each.
- Locate the CRN directly in IBM Cloud. To do so, navigate to your IBM Cloud Dashboard. In the Resource List, Under Storage, select your Cloud Object Storage resource to get its CRN.
Connecting to Data
You can now set the following to connect to data:
- InitiateOAuth: Set this to GETANDREFRESH. You can use InitiateOAuth to avoid repeating the OAuth exchange and manually setting the OAuthAccessToken.
- ApiKey: Set this to your API key which was noted during setup.
- CloudObjectStorageCRN (Optional): Set this to the cloud object storage CRN you want to work with. While the connector attempts to retrieve this automatically, specifying this explicitly is recommended if you have more than Cloud Object Storage account.
When you connect, the connector completes the OAuth process.
- Extracts the access token and authenticates requests.
- Saves OAuth values in OAuthSettingsLocation to be persisted across connections.
![Configure a Source connection (Salesforce is shown).]()
- Click Connect to ensure that the connection is configured properly.
- Click Save Changes.
Configure Replication Queries
CData Sync enables you to control replication with a point-and-click interface and with SQL queries. For each replication you wish to configure, navigate to the Jobs tab and click Add Job. Select the Source and Destination for your replication.
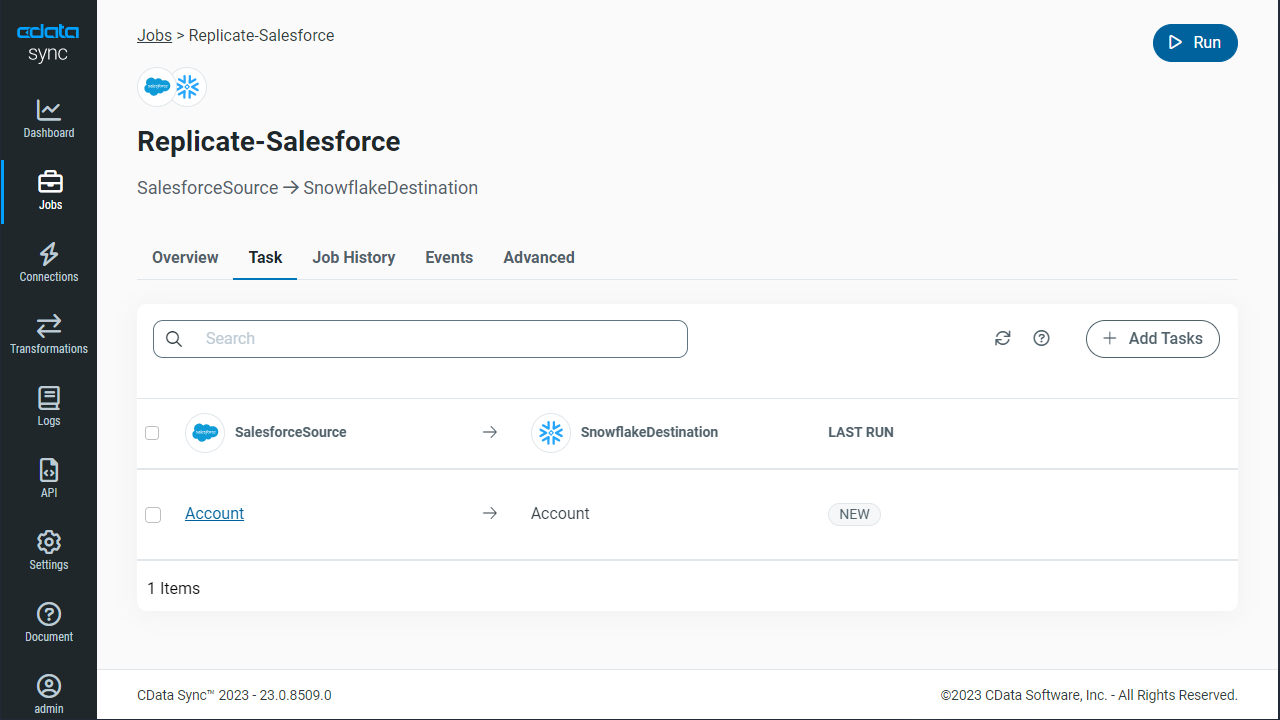
Replicate Entire Tables
To replicate an entire table, click Add Tables in the Tables section, choose the table(s) you wish to replicate, and click Add Selected Tables.
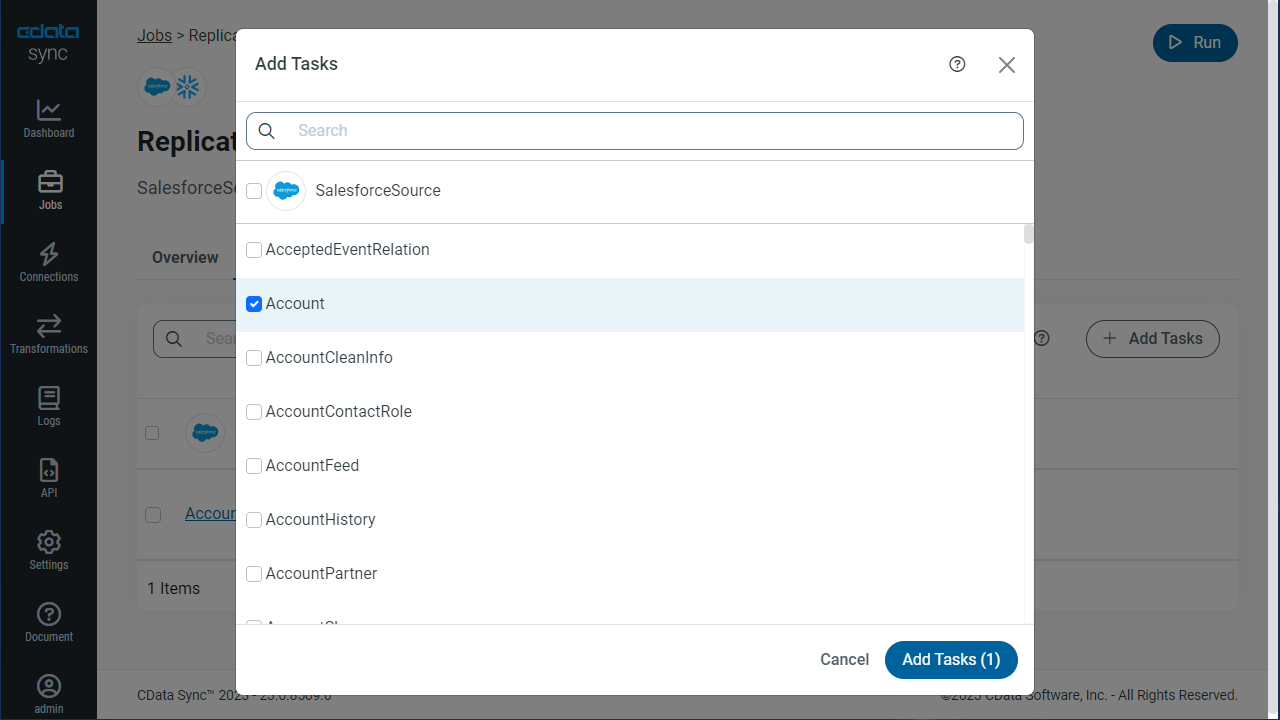
Customize Your Replication
You can use the Columns and Query tabs of a task to customize your replication. The Columns tab allows you to specify which columns to replicate, rename the columns at the destination, and even perform operations on the source data before replicating. The Query tab allows you to add filters, grouping, and sorting to the replication.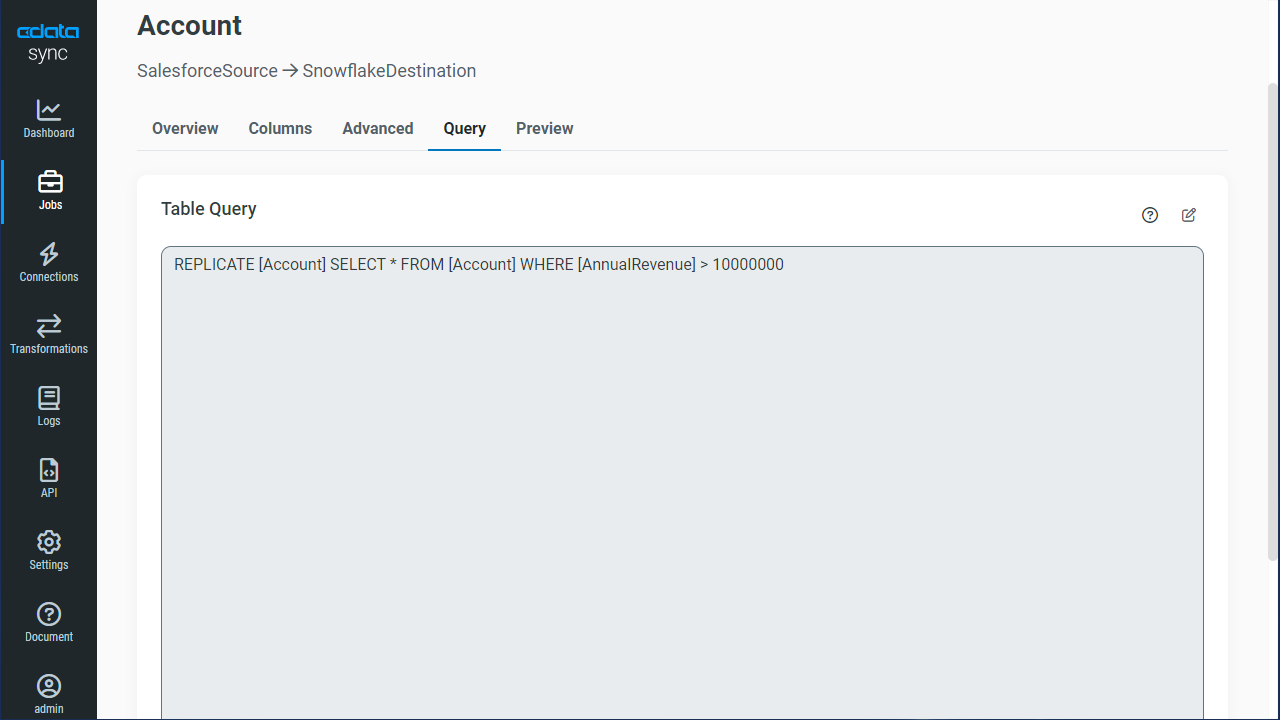
Schedule Your Replication
In the Schedule section, you can schedule a job to run automatically, configuring the job to run after specified intervals ranging from once every 10 minutes to once every month.
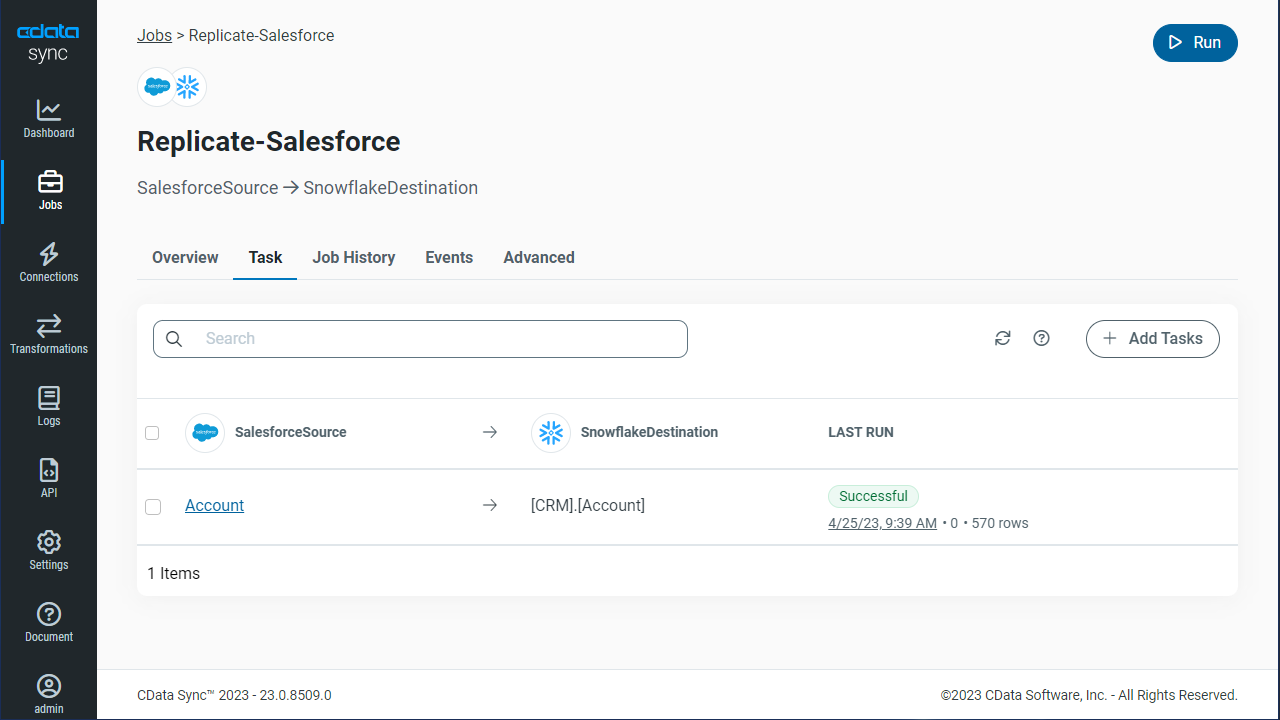
Once you have configured the replication job, click Save Changes. You can configure any number of jobs to manage the replication of your IBM Cloud Object Storage data to delimited files.


