Discover how a bimodal integration strategy can address the major data management challenges facing your organization today.
Get the Report →Configure a Solicit-Response Send Port for the CData BizTalk Adapter for LDAP
Use the adapter for LDAP with a solicit-response send port to execute updategrams and data manipulation SQL in BizTalk.
This section provides step-by-step instructions for creating, configuring, and testing a static solicit-response send port using the CData BizTalk Adapter for LDAP. You can use a static solicit-response send port to execute commands and access the results in BizTalk. You can use send ports to execute updategram commands, SQL commands, and stored procedure operations.
Create and Configure the Send Port
Create a static solicit-response send port and configure it to use the adapter as its transport type.
- If you have not already done so, open your BizTalk application in the BizTalk Administration Console.
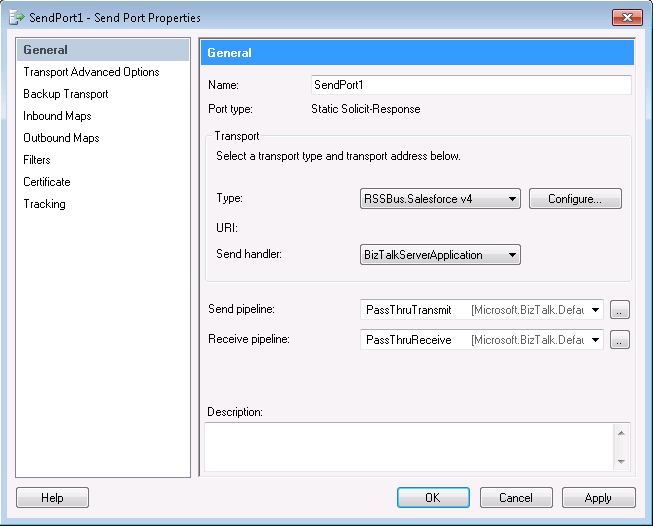
- In the node for your BizTalk application, right-click Send Ports and select New -> Static Solicit-Response Send Port. The Send Port Properties dialog is displayed.
- In the Send Port properties, enter a name for the receive port.
- In the Transport Type menu, select CData.LDAP;.
- In the Send pipeline menu, select the default option, PassThruTransmit.
- In the Receive pipeline menu, select the default option, PassThruReceive.

Configure the Adapter
Define the command the adapter will execute in the Transport Properties dialog.
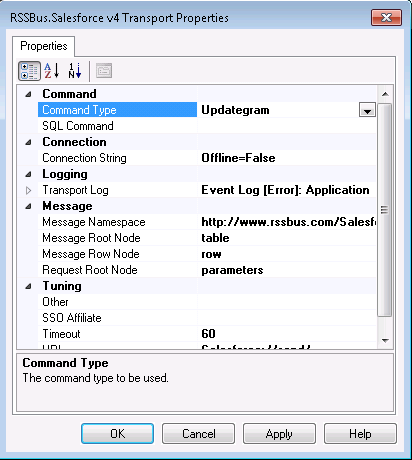
- In the send port properties, click the Configure button. The Adapter Transport Properties dialog is displayed.
- In the CommandType property, select the command type you want.
- If you want to execute an SQL command, enter the command in the SQL Command box.

Configure the Connection to LDAP
Configure credentials and other properties required to connect to LDAP in the Connection String Options dialog.
- In the send port properties, click Configure. The adapter properties dialog is displayed.
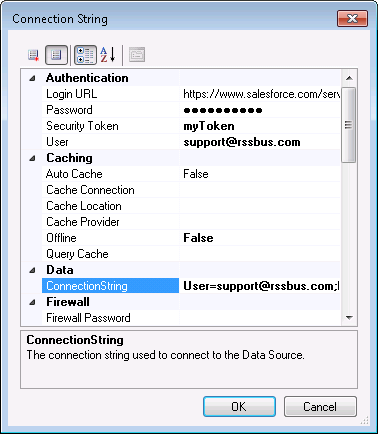
- Click the button in the Connection String property. The Connection String Options dialog is displayed.
- Enter the connection properties. Below is a typical connection string:
User=Domain\BobF;Password=bob123456;Server=10.0.1.1;Port=389;To establish a connection, the following properties under the Authentication section must be provided:
- Valid User and Password credentials (e.g., Domain\BobF or cn=Bob F,ou=Employees,dc=Domain).
- Server information, including the IP or host name of the Server, as well as the Port.
BaseDN: This will limit the scope of LDAP searches to the height of the distinguished name provided.
Note: Specifying a narrow BaseDN may greatly increase performance; for example, cn=users,dc=domain will only return results contained within cn=users and its children.
- Click Test Connection to verify the values and test connectivity.
 The updategram tutorial for the adapter for LDAP walks through the steps to create a simple application that uses a solicit-response send port to execute an insert updategram to LDAP.


