Discover how a bimodal integration strategy can address the major data management challenges facing your organization today.
Get the Report →Connect to QuickBooks POS Data in CloverDX (formerly CloverETL)
Transfer QuickBooks POS data using the visual workflow in the CloverDX data integration tool.
The CData JDBC Driver for QuickBooks POS enables you to use the data transformation components in CloverDX (formerly CloverETL) to work with QuickBooks POS as sources and destinations. In this article, you will use the JDBC Driver for QuickBooks POS to set up a simple transfer into a flat file. The CData JDBC Driver for QuickBooks POS enables you to use the data transformation components in CloverDX (formerly CloverETL) to work with QuickBooks POS as sources and destinations. In this article, you will use the JDBC Driver for QuickBooks POS to set up a simple transfer into a flat file.
Connect to QuickBooks POS as a JDBC Data Source
- Create the connection to QuickBooks POS data. In a new CloverDX graph, right-click the Connections node in the Outline pane and click Connections -> Create Connection. The Database Connection wizard is displayed.
- Click the plus icon to load a driver from a JAR. Browse to the lib subfolder of the installation directory and select the cdata.jdbc.quickbookspos.jar file.
- Enter the JDBC URL.
When you are connecting to a local QuickBooks instance, you do not need to set any connection properties.
Requests are made to QuickBooks POS through the Remote Connector. The Remote Connector runs on the same machine as QuickBooks POS and accepts connections through a lightweight, embedded Web server. The server supports SSL/TLS, enabling users to connect securely from remote machines.
The first time you connect, you will need to authorize the Remote Connector with QuickBooks POS. See the "Getting Started" chapter of the help documentation for a guide.
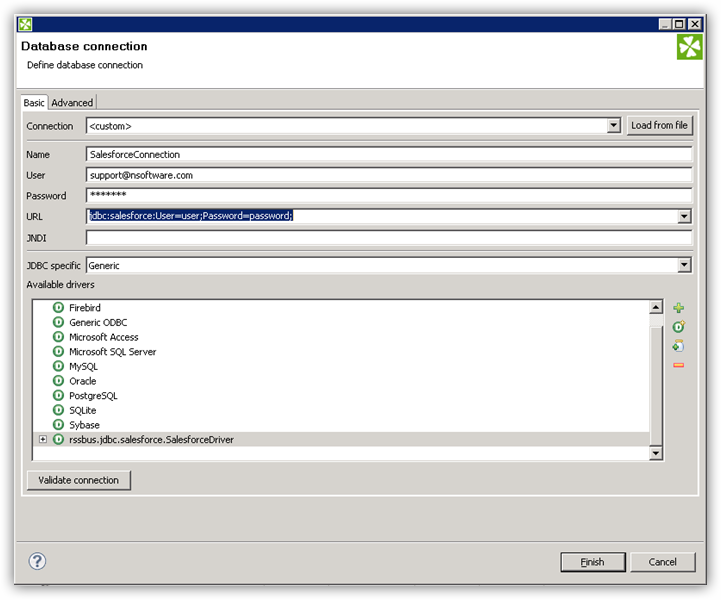
Built-in Connection String Designer
For assistance in constructing the JDBC URL, use the connection string designer built into the QuickBooks POS JDBC Driver. Either double-click the JAR file or execute the jar file from the command-line.
java -jar cdata.jdbc.quickbookspos.jarFill in the connection properties and copy the connection string to the clipboard.
![Using the built-in connection string designer to generate a JDBC URL (Salesforce is shown.)]()
A typical JDBC URL is below:
jdbc:quickbookspos:

Query QuickBooks POS Data with the DBInputTable Component
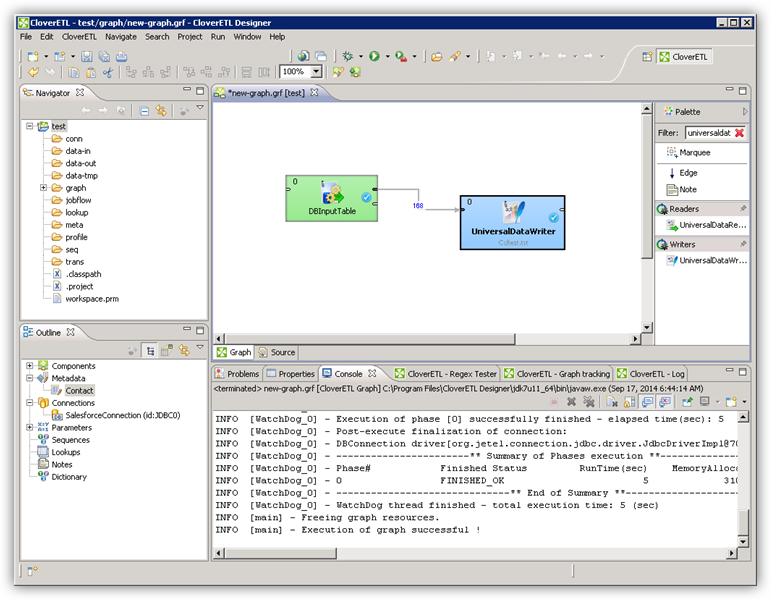
- Drag a DBInputTable from the Readers selection of the Palette onto the job flow and double-click it to open the configuration editor.
- In the DB connection property, select the QuickBooks POS JDBC data source from the drop-down menu.
- Enter the SQL query. For example:
SELECT ListId, AccountLimit FROM Customers
Write the Output of the Query to a UniversalDataWriter
- Drag a UniversalDataWriter from the Writers selection onto the jobflow.
- Double-click the UniversalDataWriter to open the configuration editor and add a file URL.
- Right-click the DBInputTable and then click Extract Metadata.
- Connect the output port of the DBInputTable to the UniversalDataWriter.
- In the resulting Select Metadata menu for the UniversalDataWriter, choose the Customers table. (You can also open this menu by right-clicking the input port for the UniversalDataWriter.)
- Click Run to write to the file.


