Discover how a bimodal integration strategy can address the major data management challenges facing your organization today.
Get the Report →How to Use CData Connect to Access Live Tally Data in Power Automate
CData Connect for Tally enables you to integrate Tally data into workflows built using Microsoft Power Automate Desktop.
CData Connect enables you to access live Tally data in workflow automation tools like Power Automate. This article shows how to integrate Tally data into a simple workflow, moving Tally data into a CSV file.
CData Connect provides a pure SQL interface for Tally, allowing you to easily integrate with live Tally data in Power Automate — without replicating the data. Connect looks exactly like a SQL Server database to Power Automate and uses optimized data processing out of the box to push all supported SQL operations (filters, JOINs, etc) directly to Tally, leveraging server-side processing to quickly return Tally data.
Create a Virtual SQL Database for Tally Data
CData Connect Server uses a straightforward, point-and-click interface to connect to data sources and generate APIs.
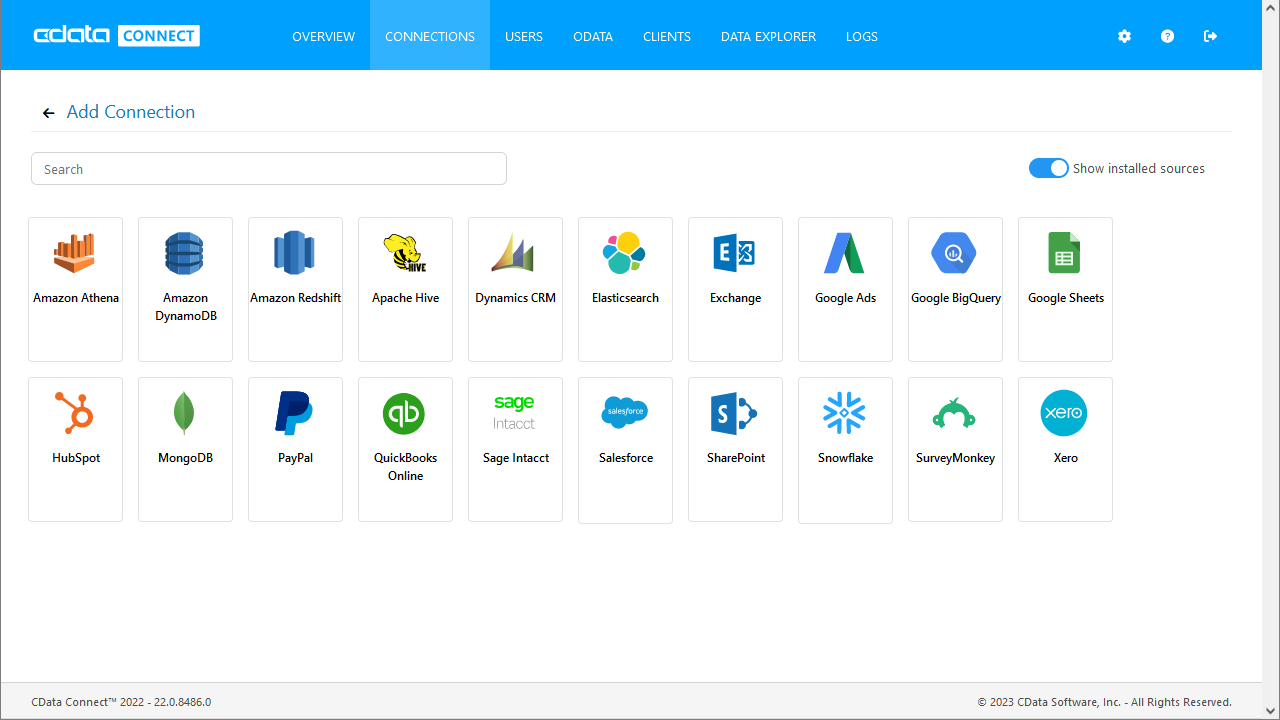
- Log into Connect Server and click Connections.
![Adding a connection]()
- Select "Tally" from Available Data Sources.
-
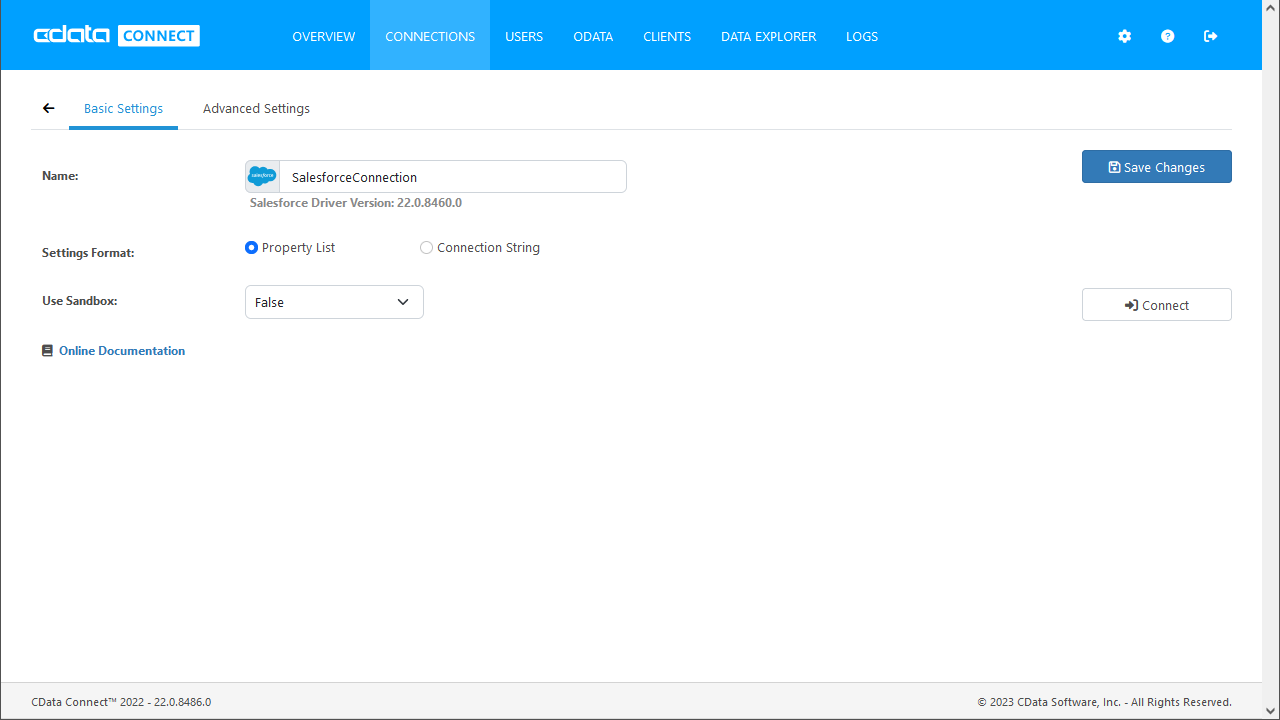
Enter the necessary authentication properties to connect to Tally.
Set the following connection properties to connect to Tally Instance:
- Url: Set this to the URL for your Tally instance. For example: http://localhost:9000.
![Configuring a connection (SQL Server is shown).]()
- Click Save Changes
- Click Privileges -> Add and add the new user (or an existing user) with the appropriate permissions.
How to Integrate Tally Data into Power Automate Workflows
After configuring CData Connect with Tally, you are ready to integrate Tally data into your Power Automate workflows. Open Microsoft Power Automate, add a new flow, and name the flow.
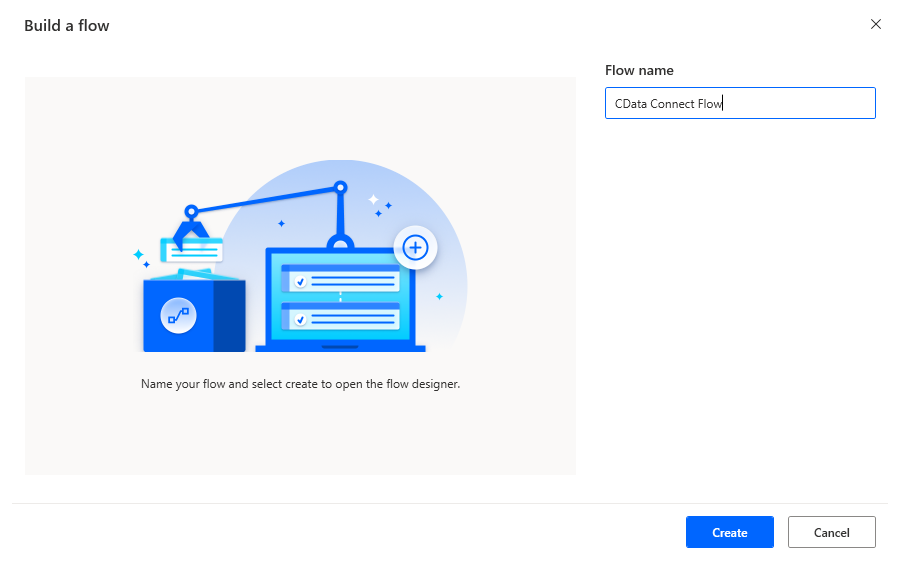
In the flow editor, you can add the actions to connect to Tally, query Tally using SQL, and write the query results to a CSV document.
Add an Open SQL Connection Action
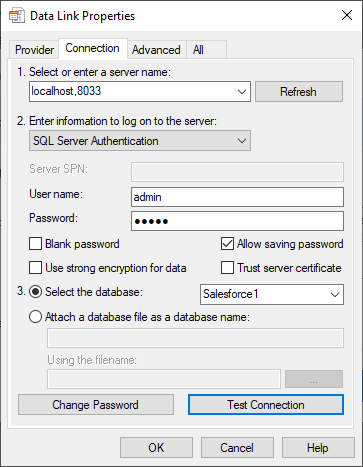
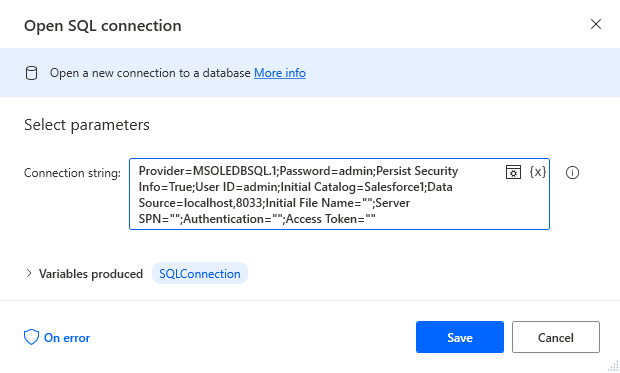
Add an "Open SQL connection" action (Actions -> Database) and click the option to build the Connection string. In the Data Link Properties wizard:
- On the Provider tab: select Microsoft OLE DB Driver for SQL Server
- On the Connection tab:
- Select or enter a server name: set to the address and port of the SQL (TDS) endpoint of CData Connect, separated by a comma (e.g. localhost,8033)
- Enter information to log onto the server: select "Use a specific username and password" and use CData Connect credentials
- Select the database: use the database configured above (e.g. Tally1)
- Click "Test Connection" to ensure the connection is configured properly
- Click "OK"
![A configured connection to CData Connect]()
After building the connection string in the Data Link Properties wizard, save the action.
Add an Execute SQL Statement Action
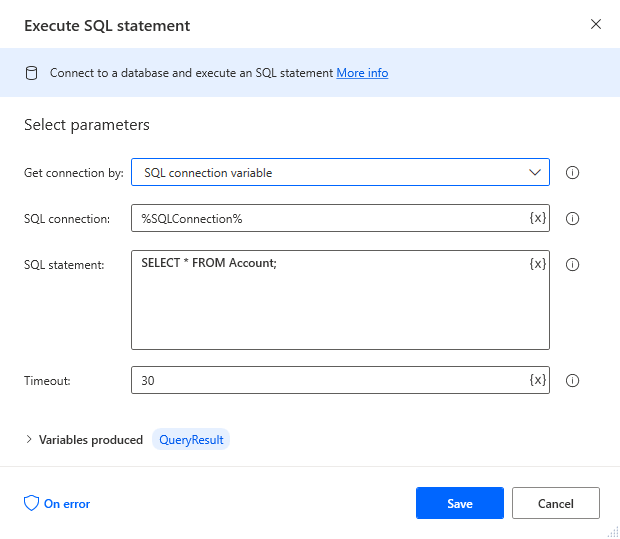
Add an "Execute SQL statement" action (Actions -> Database) and configure the properties.
- Get connection by: SQL connection variable
- SQL connection: %SQLConnection% (the variable from the "Open SQL connection" action above)
- SQL statement: SELECT * FROM Company
After configuring the properties, save the action.
Add a Write to CSV File Action
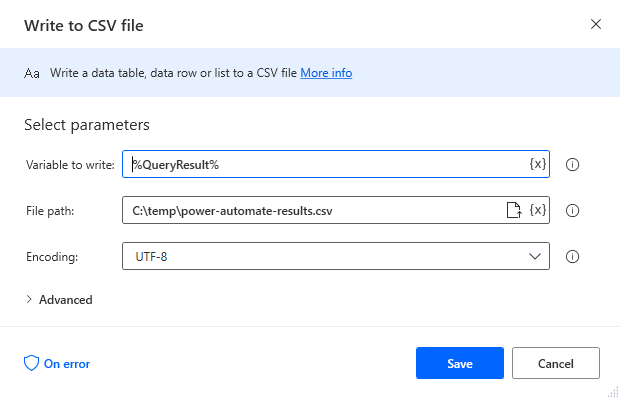
Add a "Write to CSV file" action (Actions -> File) and configure the properties.
- Variable to write to: %QueryResult% (the variable from the "Execute SQL statement" action above)
- File path: set to a file on disk
- Configure Advanced settings as needed.
After configuring the properties, save the action.
Add a Close SQL Connection Action
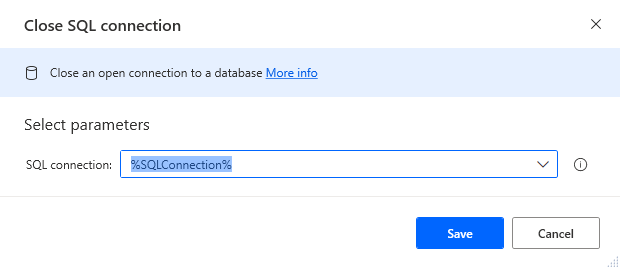
Add a "Close SQL connection" action (Actions -> Database) and configure the properties.
- SQL Connection: %SQLConnection% (the variable from the "Open SQL connection" action above)
After configuring the properties, save the action.
Save & Run the Flow
Once you have configured all the actions for the flow, click the disk icon to save the flow. Click the play icon to run the flow.
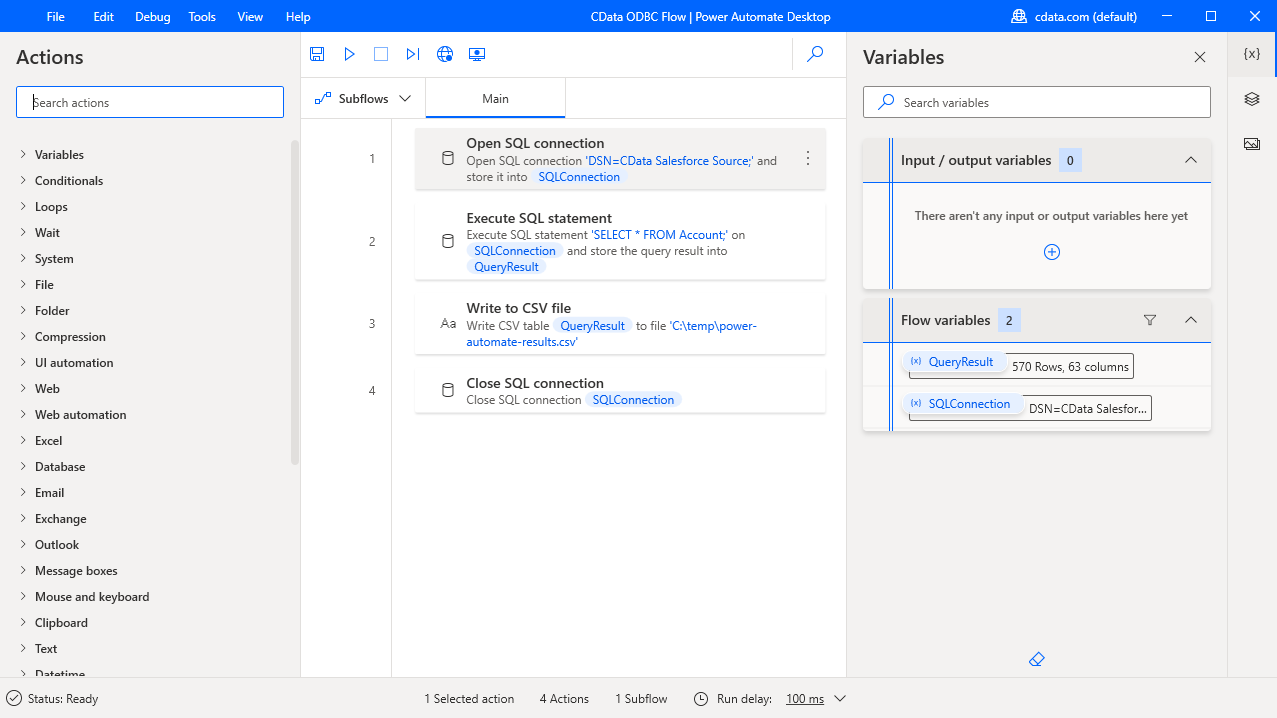
Now you have a workflow to move Tally data into a CSV file.
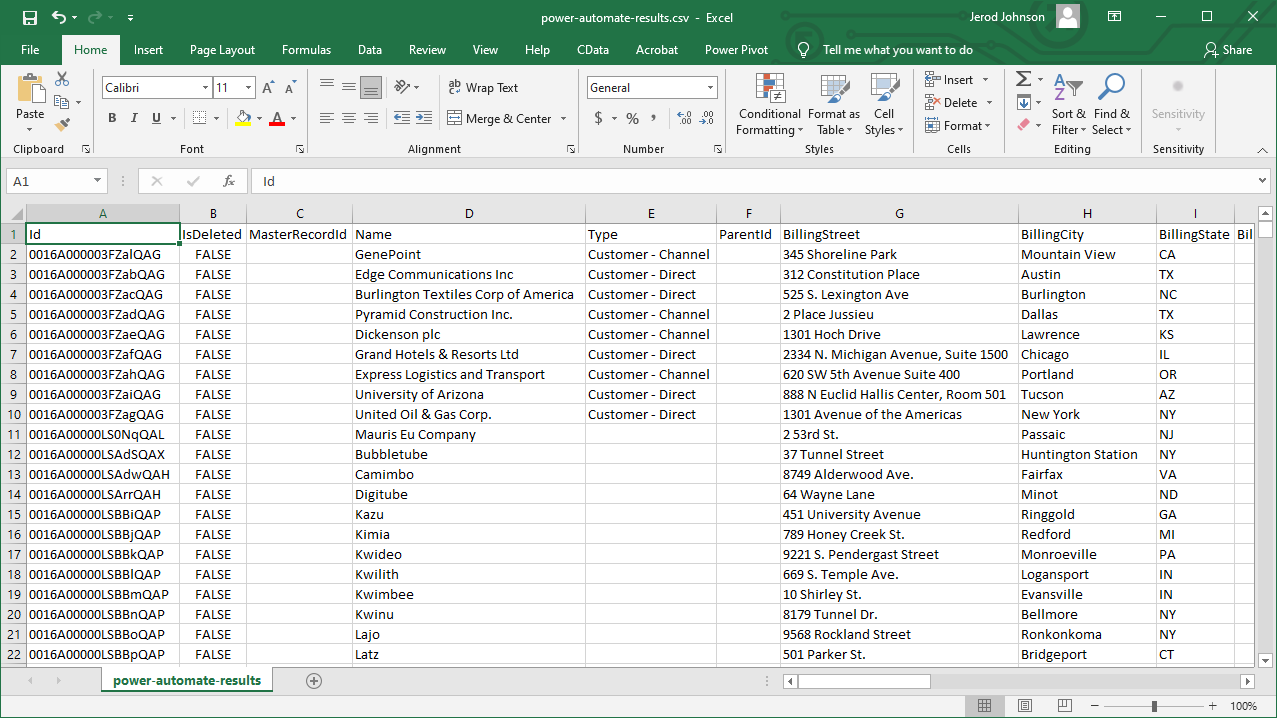
With CData Connect, you get live connectivity to Tally data within your Microsoft Power Automate workflows.
Related Power Automate Articles
This article walks through using CData Connect Server with Power Automate Desktop. Check out our other articles for more ways to work with Power Automate (Desktop & Online):


