ノーコードでクラウド上のデータとの連携を実現。
詳細はこちら →CData

こんにちは!プロダクトスペシャリストの宮本です。
CData Sync は、数百のSaaS / DB のデータをCassandra をはじめとする各種DB / データウェアハウスにノーコードで統合・レプリケーション(複製)が可能なデータパイプラインツールです。本記事では、Azure Data Lake Storage データをCData Sync を使ってCassandra に統合するデータパイプラインを作っていきます。
CData Sync は、レポーティング、アナリティクス、機械学習、AI などで使えるよう、社内のデータを一か所に統合して管理できるデータ基盤をノーコードで構築できるETL ツールで、以下の特徴を持っています。
CData Sync では、1.データソースとしてAzure Data Lake Storage の接続を設定、2.同期先としてCassandra の接続を設定、3.Azure Data Lake Storage からCassandra へのレプリケーションジョブの作成、という3つのステップだけでレプリケーション処理を作成可能です。以下に具体的な設定手順を説明します。
CData Sync はフルマネージド(SaaS)型・オンプレミス型・AWS でのホスティング、と多様なホスティング環境に対応しています。各オプションで無償トライアルを提供していますので、自社のニーズにフィットするオプションを以下から選択してお試しください。
無償トライアルへまずはじめに、CData Sync のブラウザ管理コンソールにログインします。CData Sync のインストールをまだ行っていない方は本記事の製品リンクからCData Sync をクリックして、30日の無償トライアルとしてCData Sync をインストールしてください。インストール後にCData Sync が起動して、ブラウザ設定画面が開きます。
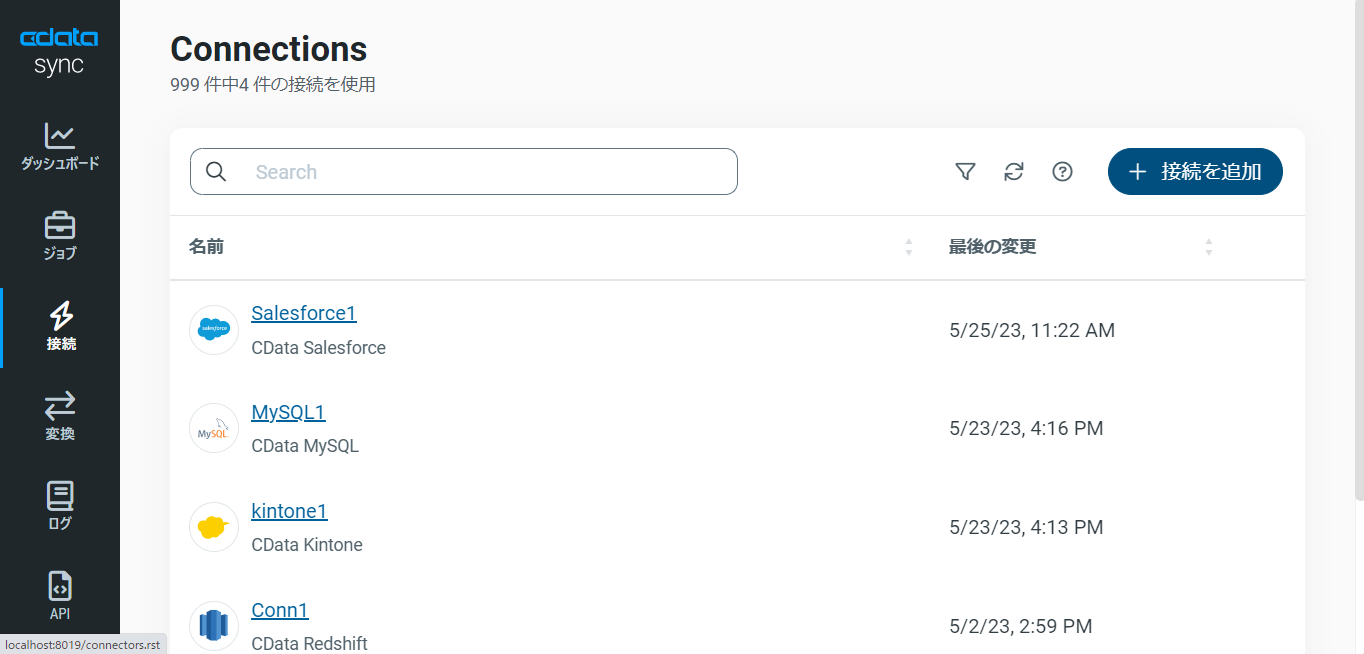
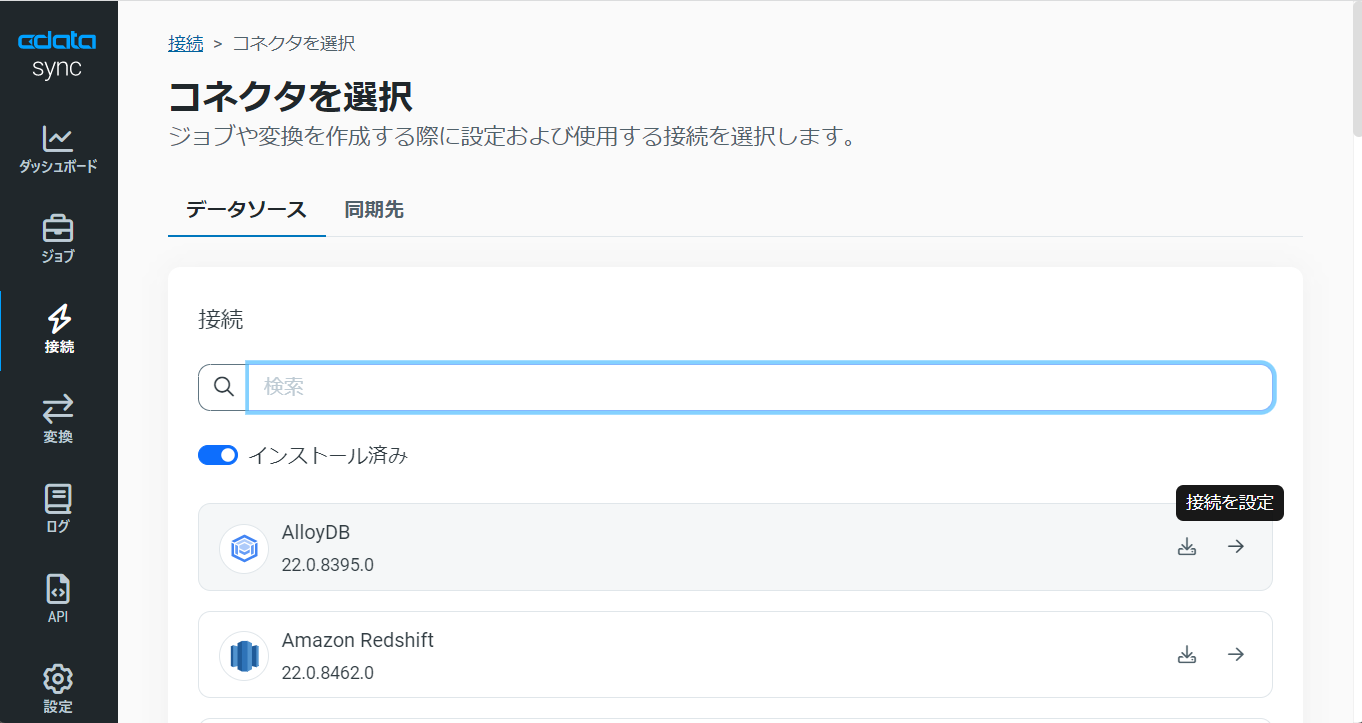
それでは、データソース側にAzure Data Lake Storage を設定していきましょう。左の[接続]タブをクリックします。
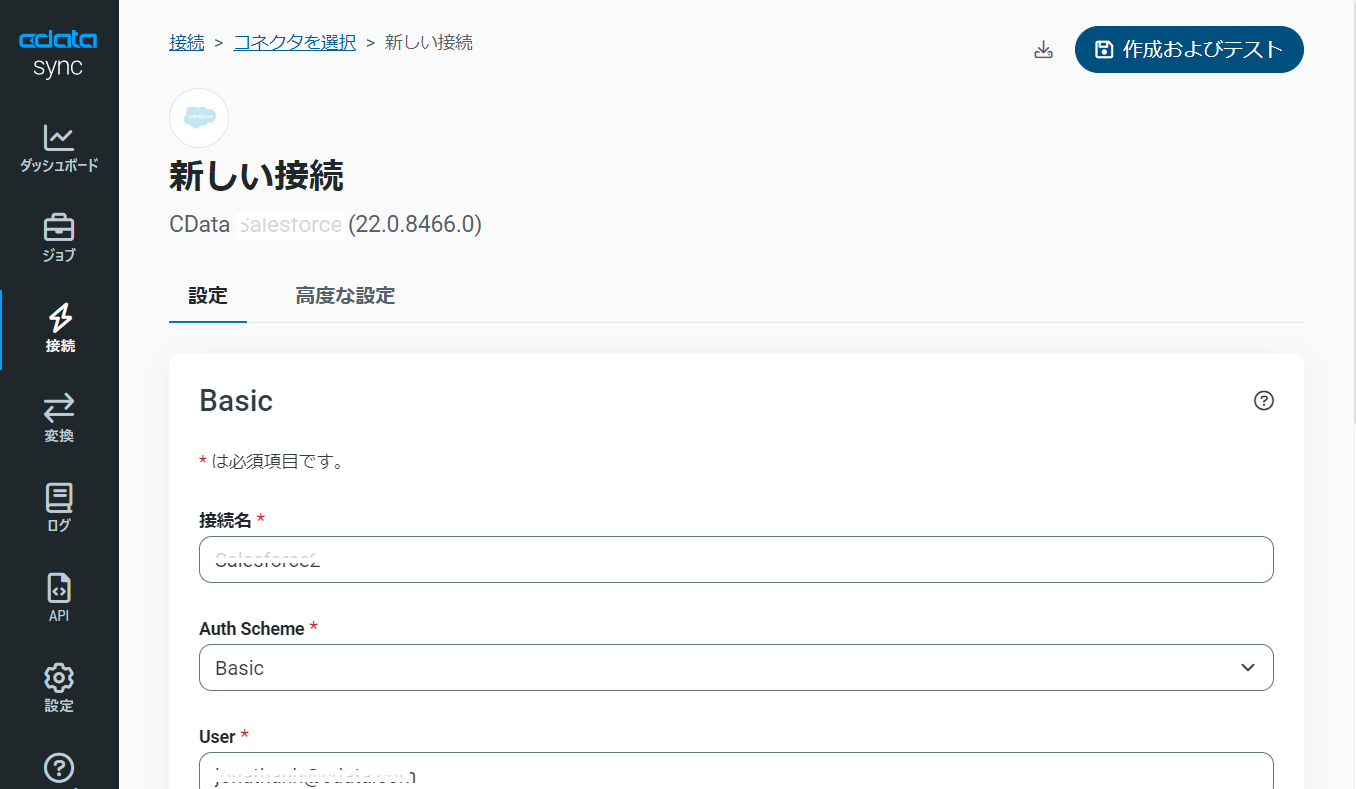
Gen 1 DataLakeStorage アカウントに接続するには、はじめに以下のプロパティを設定します。
Gen 1 は、認証方法としてAzure Active Directory OAuth(AzureAD)およびマネージドサービスID(AzureMSI)をサポートしています。認証方法は、ヘルプドキュメントの「Azure DataLakeStorage Gen 1 への認証」セクションを参照してください。
Gen 2 DataLakeStorage アカウントに接続するには、はじめに以下のプロパティを設定します。
Gen 2は、認証方法としてアクセスキー、共有アクセス署名(SAS)、Azure Active Directory OAuth(AzureAD)、マネージドサービスID(AzureMSI)など多様な方法をサポートしています。AzureAD、AzureMSI での認証方法は、ヘルプドキュメントの「Azure DataLakeStorage Gen 2 への認証」セクションを参照してください。
アクセスキーを使用して接続するには、AccessKey プロパティを取得したアクセスキーの値に、AuthScheme を「AccessKey」に設定します。
Azure ポータルからADLS Gen2 ストレージアカウントのアクセスキーを取得できます。
共有アクセス署名を使用して接続するには、SharedAccessSignature プロパティを接続先リソースの有効な署名に設定して、AuthScheme を「SAS」に設定します。 共有アクセス署名は、Azure Storage Explorer などのツールで生成できます。
次に、Azure Data Lake Storage データを書き込む先(=同期先)として、Cassandra を設定します。同じく[接続]タブを開きます。
必要な接続プロパティを入力します。CData Sync は、ログインクレデンシャルを使ったベーシック認証および、DataStax Enterprise(DSE)Cassandra の認証をサポートしています。以下が、認証メソッドで要求される接続プロパティです。
AuthScheme を対応するシステムの認証に設定します。cassandra.yaml ファイルの認証方法にauthenticator プロパティを設定します。ファイルは通常/etc/dse/cassandra か、DSN Cassandra では、DSE Unified Authonticator にあります。
ベーシック認証は、Cassandra のビルトインのデフォルトPasswordAuthenticator でサポートされています。
Kerberos 認証は、DataStax Enterprise Unified Authentication でサポートされています。
LDAP 認証は、DataStax Enterprise Unified Authentication でサポートされています。
CData Sync でクライアント証明書をSSLClientCert、SSLClientCertType、SSLClientCertSubject、SSLClientCertPassword で指定できます。
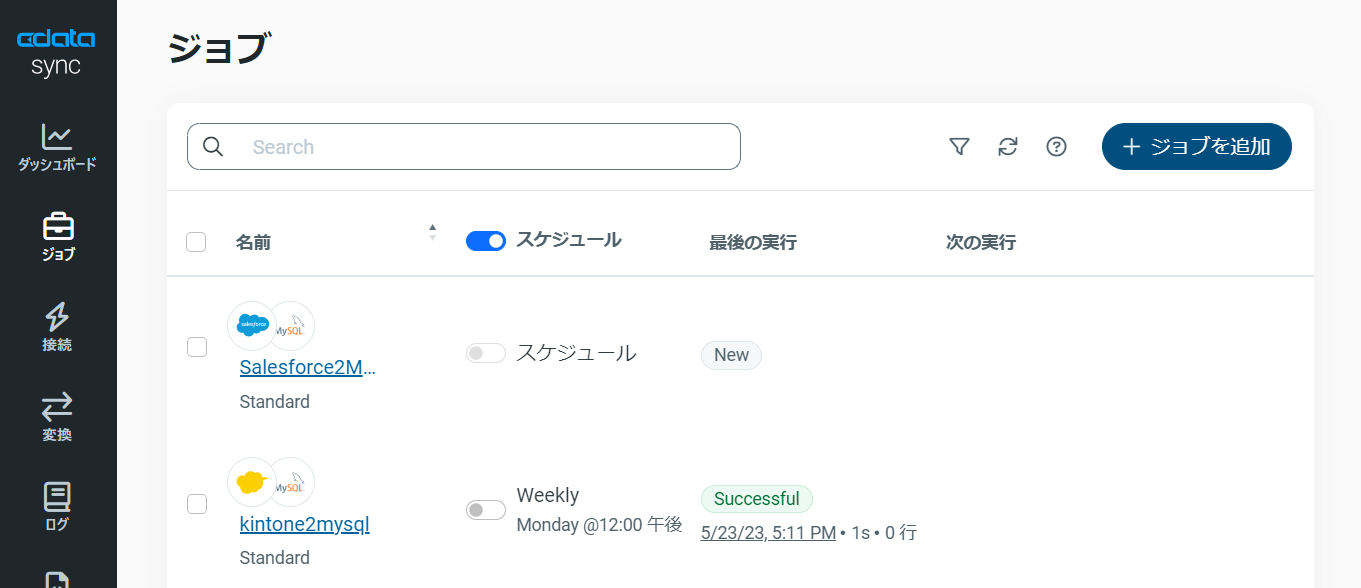
CData Sync では、レプリケーションをジョブ単位で設定します。ジョブは、Azure Data Lake Storage からCassandra という単位で設定し、複数のテーブルを含むことができます。レプリケーションジョブ設定には、[ジョブ]タブに進み、[+ジョブを追加]ボタンをクリックします。
[ジョブを追加]画面が開き、以下を入力します:
Azure Data Lake Storage のすべてのオブジェクト / テーブルをレプリケーションするには、[種類]セクションで[すべて同期]を選択して、[ジョブを追加]ボタンで確定します。
作成したジョブ画面で、右上の[▷実行]ボタンをクリックするだけで、全Azure Data Lake Storage テーブルのCassandra への同期を行うことができます。
Azure Data Lake Storage から特定のオブジェクト / テーブルを選択してレプリケーションを行うことが可能です。[種類]セクションでは、[標準(個別設定)]を選んでください。
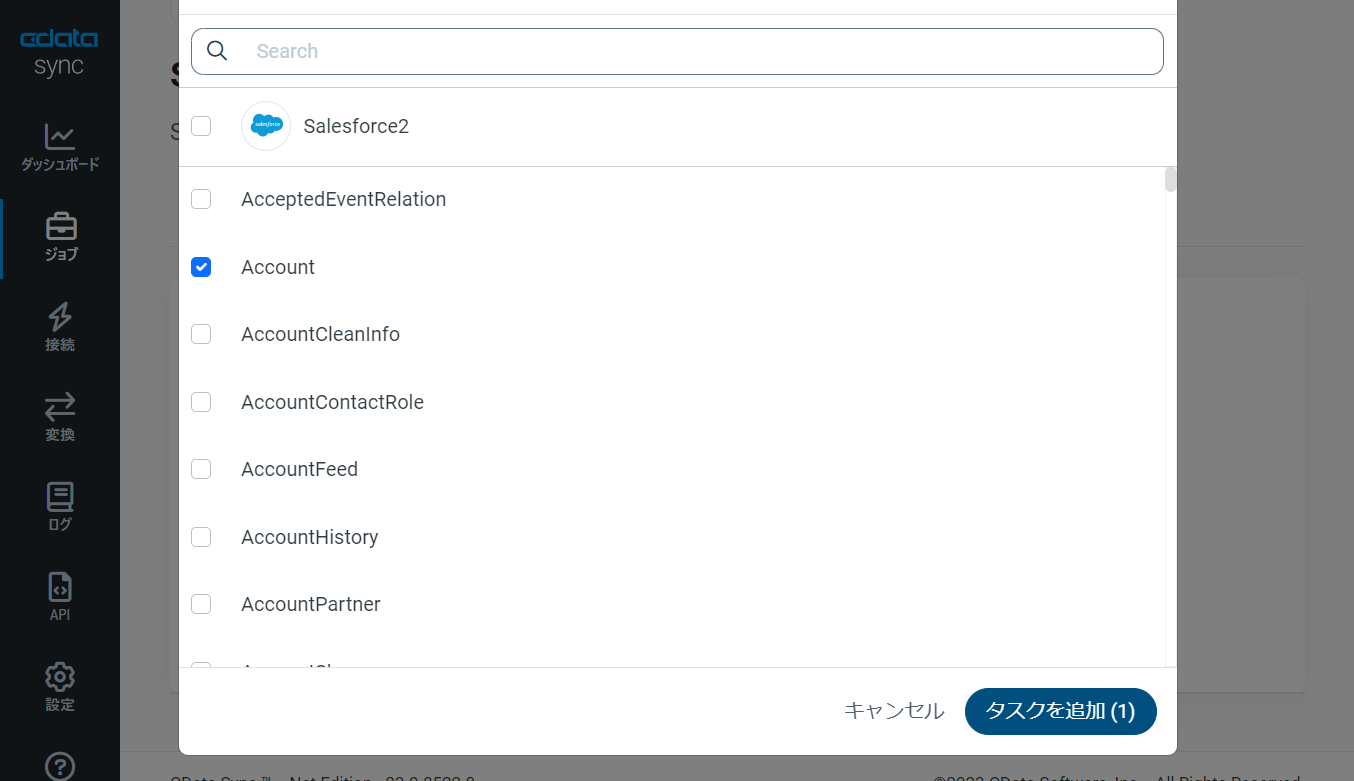
次に[ジョブ]画面で、[タスク]タブをクリックし、[タスクを追加]ボタンをクリックします。 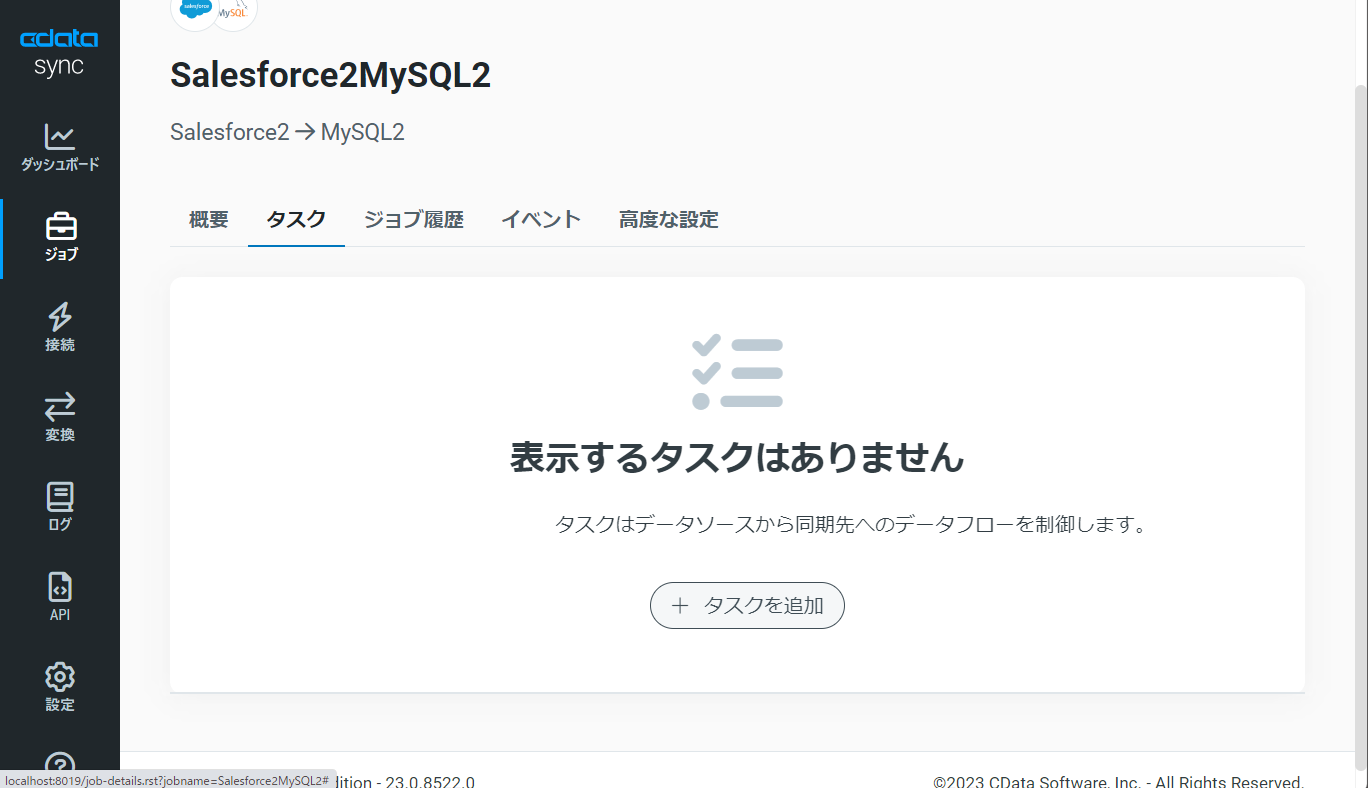
するとCData Sync で利用可能なオブジェクト / テーブルのリストが表示されるので、レプリケーションを行うオブジェクトにチェックを付けます(複数選択可)。[ジョブを追加]ボタンで確定します。
作成したジョブ画面で、[▷実行]ボタンをクリックして(もしくは各タスク毎の実行ボタンを押して)、レプリケーションジョブを実行します。 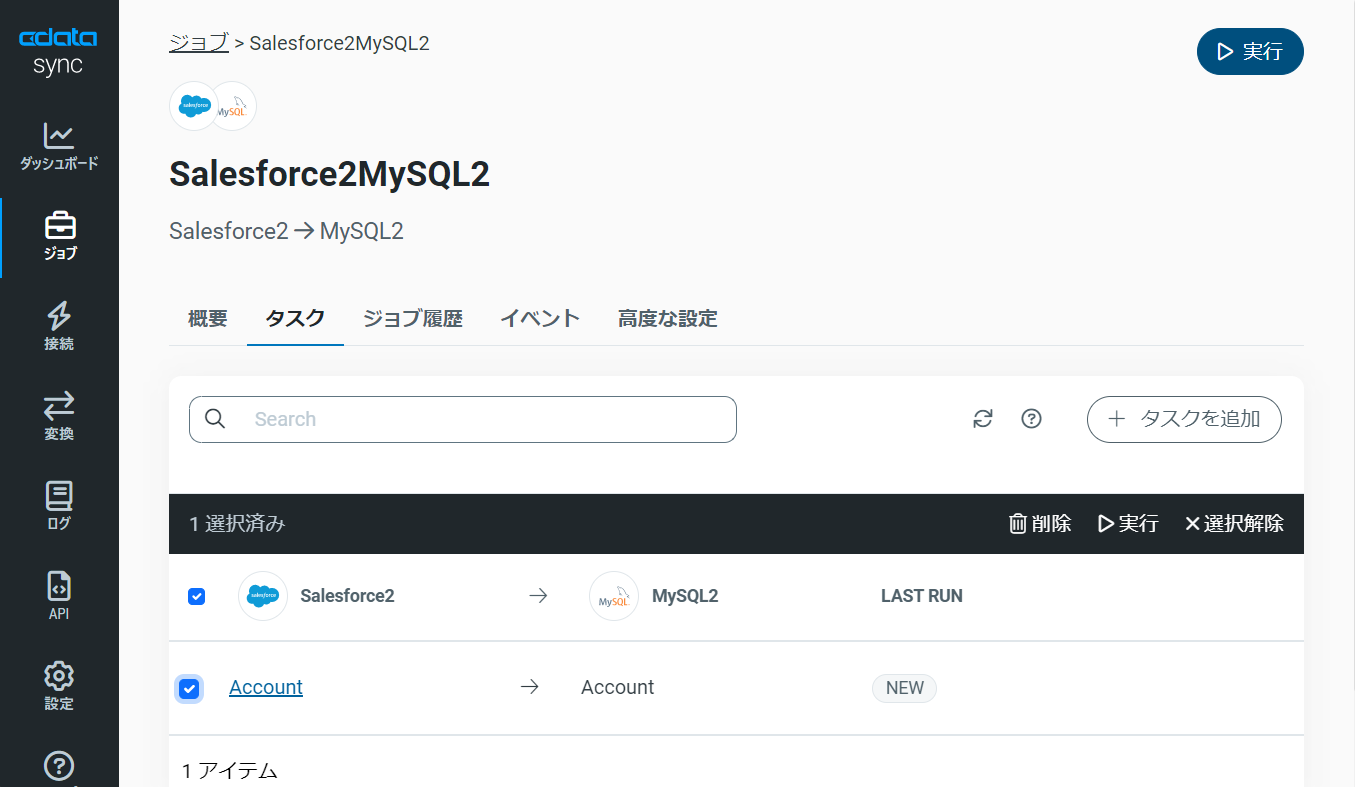
このようにとても簡単にAzure Data Lake Storage からCassandra への同期を行うことができました。
CData Sync では、同期ジョブを1日に1回や15分に1回などのスケジュール起動をすることができます。ジョブ画面の[概要]タブから[スケジュール]パネルを選び、[⚙設定]ボタンをクリックします。[間隔]と同期時間の[毎時何分]を設定し、[保存]を押して設定を完了します。これでCData Sync が同期ジョブをスケジュール実行してくれます。ユーザーはダッシュボードで同期ジョブの状態をチェックするだけです。 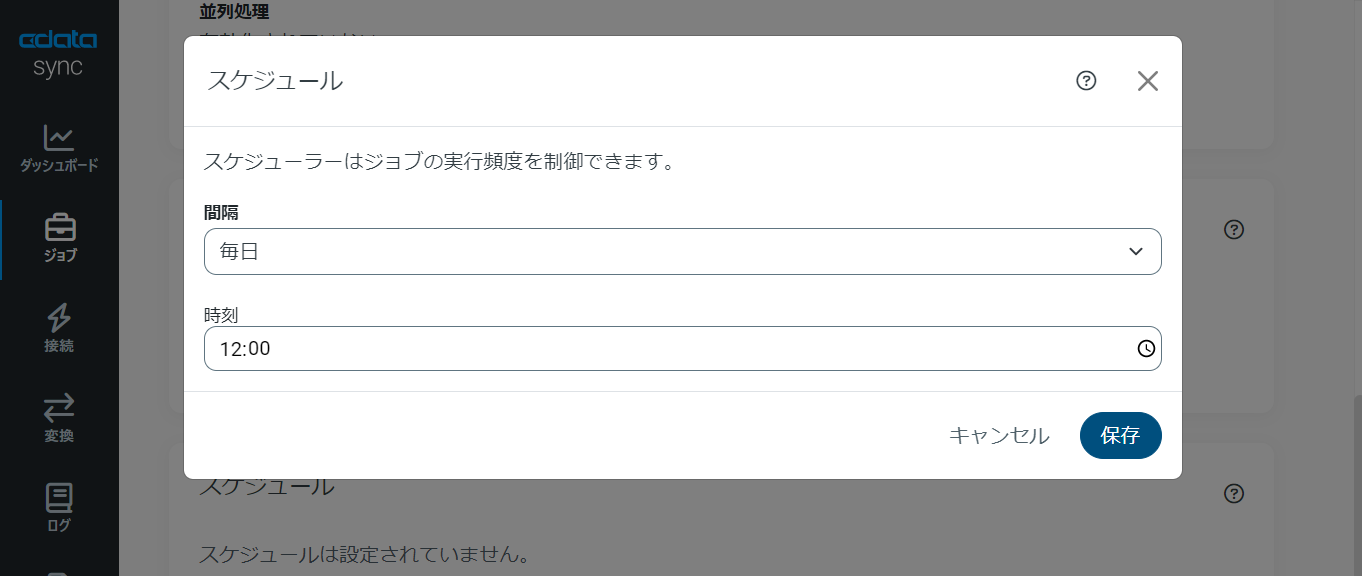
CData Sync では、主要なデータソースでは、差分更新が可能です。差分更新では、最後のジョブ実行時からデータソース側でデータの追加・変更があったデータだけを同期するので、レプリケーションのクエリ・通信のコストを圧倒的に抑えることが可能です。
差分更新を有効化するには、ジョブの[概要]タブから「差分更新」パネルを選び、[⚙設定]ボタンをクリックします。[開始日]と[レプリケーション間隔]を設定して、[保存]します。
CData Sync は、デフォルトではAzure Data Lake Storage のオブジェクト / テーブルをそのままCassandra に複製しますが、ここにSQL、またはdbt 連携でのETL 処理を組み込むことができます。テーブルカラムが多すぎる場合や、データ管理の観点から一部のカラムだけをレプリケーションしたり、さらにデータの絞り込み(フィルタリング)をしたデータだけをレプリケーションすることが可能です。
ジョブの[概要]タブ、[タスク]タブへと進みます。選択されたタスク(テーブル)の[▶]の左側のメニューをクリックし、[編集]を選びます。タスクの編集画面が開きます。
UI からカラムを選択する場合には、[カラム]タブから[マッピング編集]をクリックします。レプリケーションで使用しないカラムからチェックを外します。
SQL を記述して、フィルタリングなどのカスタマイズを行うには、[クエリ]タブをクリックし、REPLICATE [テーブル名]の後に標準SQL でフィルタリングを行います。
このようにノーコードで簡単にAzure Data Lake Storage データをCassandra にレプリケーションできます。データ分析、AI やノーコードツールからのデータ利用などさまざまな用途でCData Sync をご利用いただけます。30日の無償トライアルで、シンプルでパワフルなデータパイプラインを体感してください。
日本のユーザー向けにCData Sync は、UI の日本語化、ドキュメントの日本語化、日本語でのテクニカルサポートを提供しています。
CData Sync の 導入事例を併せてご覧ください。