こんにちは!テクニカルディレクターの桑島です。
Akorbi Digital RunMyProcess を使えば、予算申請や契約管理など複雑なビジネスプロセスをノーコードでアプリ化できます。CData Connect Server はAzure Data Lake Storage の仮想データベースを作成して、Azure Data Lake Storage のOData API(RunMyProcess でネイティブに使用可能)を生成するために使用します。RunMyProcess をCData Connect Server と連携することで、対応するすべてのSaaS、Big Data、およびNoSQL ソースへ接続でき、Azure Data Lake Storage データに素早くアクセスできます。
この記事では、二つのステップでAzure Data Lake Storage データへの接続方法を説明します。
- Connect Server からAzure Data Lake Storage への接続
- RunMyProcess からConnect Server に接続してAzure Data Lake Storage データを取得
Connect Server を構成してAzure Data Lake Storage に接続
RunMyProcess からAzure Data Lake Storage に接続するには、Connect Server インスタンス内でAzure Data Lake Storage への接続を設定します。
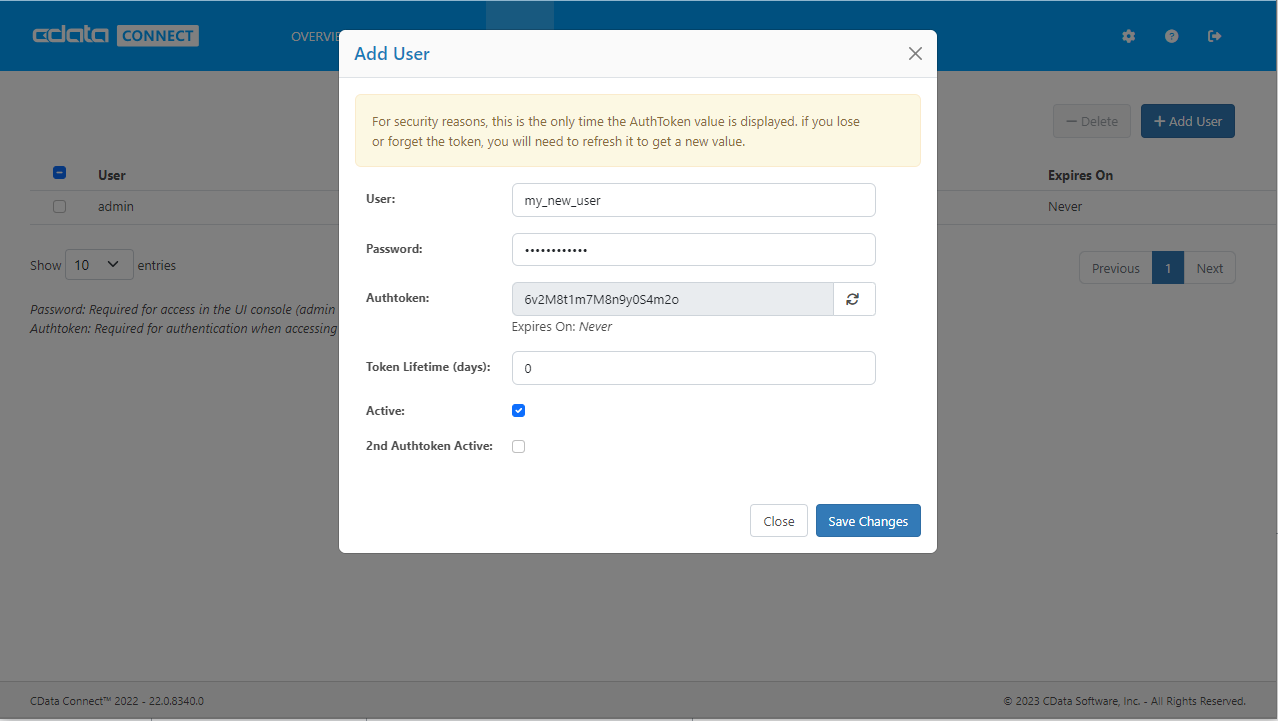
Connect Server ユーザーの追加
RunMyProcess からAzure Data Lake Storage に接続するConnect Server のユーザーを作成します。
- 「Users」->「 Add」の順にクリックします。
- ユーザーを設定します。
![新規ユーザーの作成]()
- 「Save Changes」をクリックして新しいユーザーのAuthtoken をメモします。
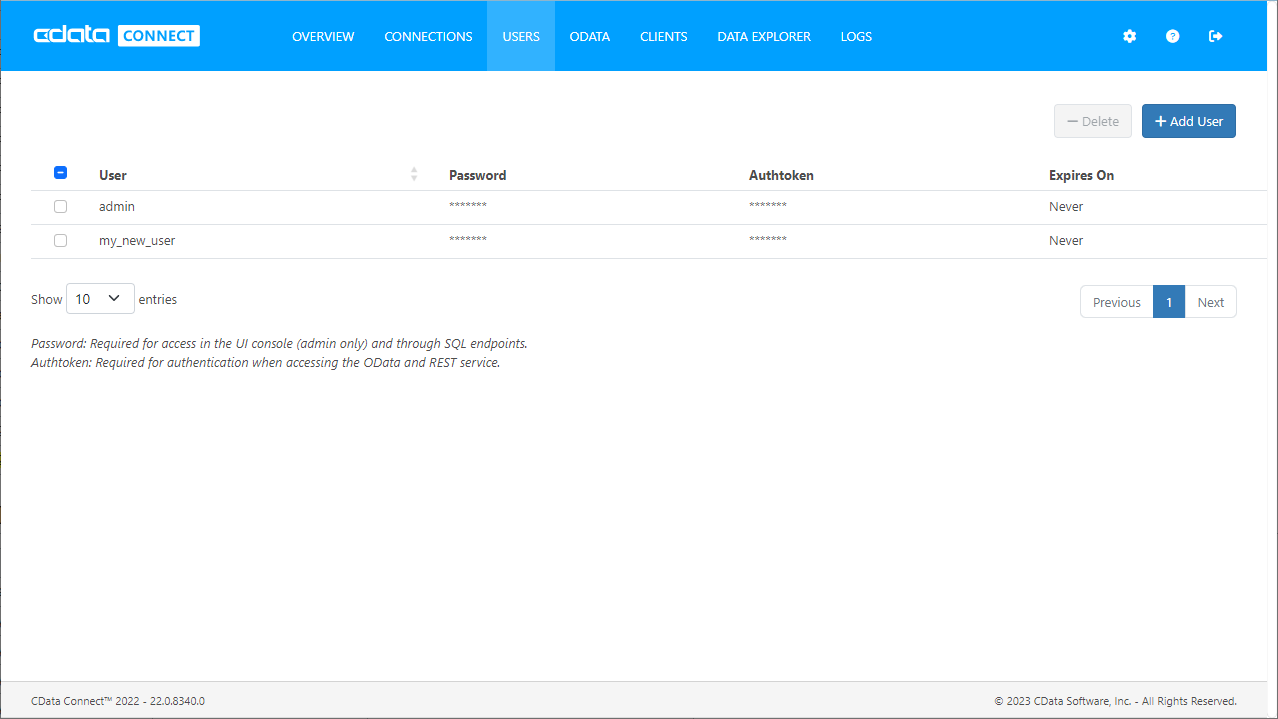
![Connect Server ユーザー]()
Connect Server からAzure Data Lake Storage に接続
CData Connect Server は、簡単なポイントアンドクリックインターフェースを使用してAPI を生成します。
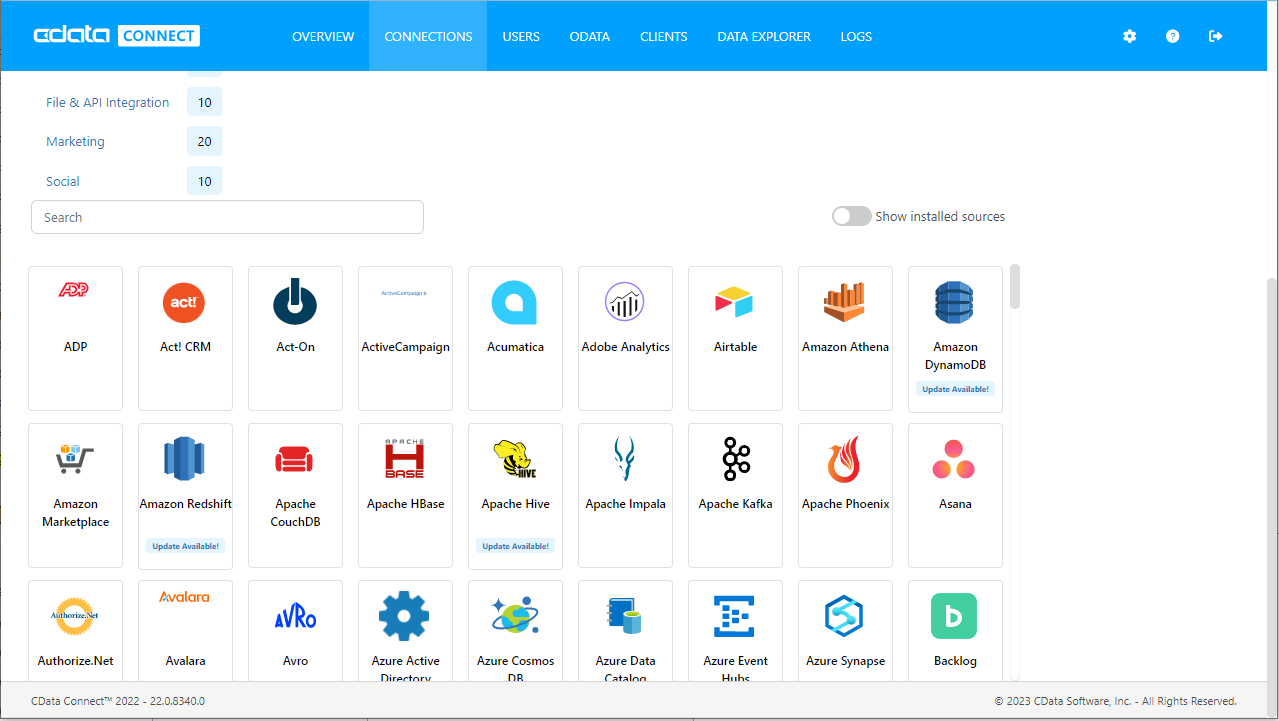
- Connect Server を開き、「Databases」をクリックします。
![データベースの作成]()
- 「Available Data Sources」から「Azure Data Lake Storage」を選択します。
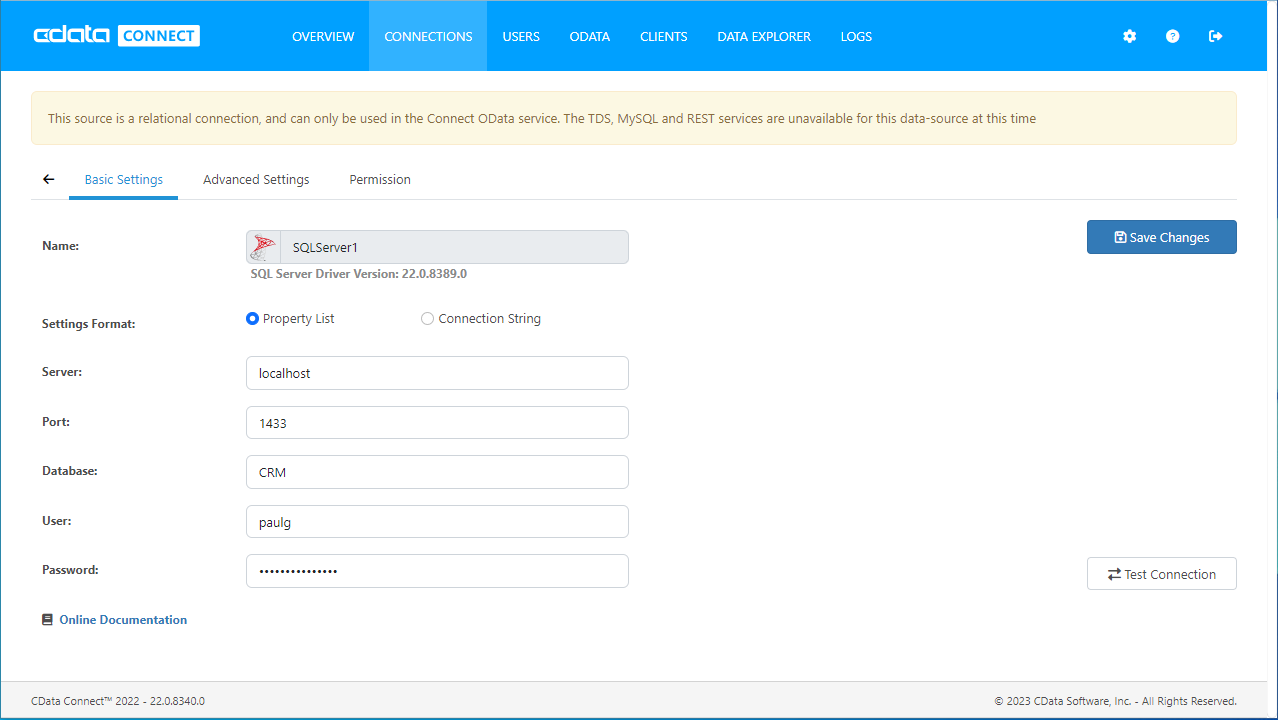
- 必要な認証プロパティを入力し、Azure Data Lake Storage に接続します。
Azure DataLakeStorage 接続プロパティの取得・設定方法
Azure DataLakeStorage Gen 1 への接続
Gen 1 DataLakeStorage アカウントに接続するには、はじめに以下のプロパティを設定します。
- Schema:ADLSGen1 を指定。
- Account:アカウント名に設定。
- AzureTenant:テナントId に設定。Azure Portal 内のAzure Data Lake プロパティから取得できます。
- Directory:(オプション)複製したファイルを格納するためのパスを設定。指定しない場合は、ルートディレクトリが使用されます。
Azure DataLakeStorage Gen 1 への認証
Gen 1 は、認証方法としてAzure Active Directory OAuth(AzureAD)およびマネージドサービスID(AzureMSI)をサポートしています。認証方法は、ヘルプドキュメントの「Azure DataLakeStorage Gen 1
への認証」セクションを参照してください。
Azure DataLakeStorage Gen 2 への接続
Gen 2 DataLakeStorage アカウントに接続するには、はじめに以下のプロパティを設定します。
- Schema:ADLSGen2 に設定。
- Account:ストレージアカウント名に設定。
- FileSystem:このアカウントで使用するファイルシステム名に設定。例えば、Azure Blob コンテナ名など。
- Directory:(オプション)複製したファイルを格納するためのパスを設定。指定しない場合は、ルートディレクトリが使用されます。
Azure DataLakeStorage Gen 2 への認証
Gen 2は、認証方法としてアクセスキー、共有アクセス署名(SAS)、Azure Active Directory
OAuth(AzureAD)、マネージドサービスID(AzureMSI)など多様な方法をサポートしています。AzureAD、AzureMSI での認証方法は、ヘルプドキュメントの「Azure DataLakeStorage Gen 2
への認証」セクションを参照してください。
アクセスキーを使用した認証
アクセスキーを使用して接続するには、AccessKey プロパティを取得したアクセスキーの値に、AuthScheme を「AccessKey」に設定します。
Azure ポータルからADLS Gen2 ストレージアカウントのアクセスキーを取得できます。
- Azure ポータルのADLS Gen2 ストレージアカウントにアクセスします。
- 設定で「アクセスキー」を選択します。
- 利用可能なアクセスキーの1つの値を「AccessKey」接続プロパティにコピーします。
共有アクセス署名(SAS)
共有アクセス署名を使用して接続するには、SharedAccessSignature プロパティを接続先リソースの有効な署名に設定して、AuthScheme を「SAS」に設定します。
共有アクセス署名は、Azure Storage Explorer などのツールで生成できます。
![接続の設定(画像はSalesforce)]()
- 「 Test Database」をクリックします。
- 「Permission」->「 Add」の順にクリックし、適切な権限を持つ新しいユーザー(または既存のユーザー)を追加します。
Connect Server にAzure Data Lake Storage OData エンドポイントを追加
Azure Data Lake Storage に接続したら、使用するテーブルのOData エンドポイントを作成します。
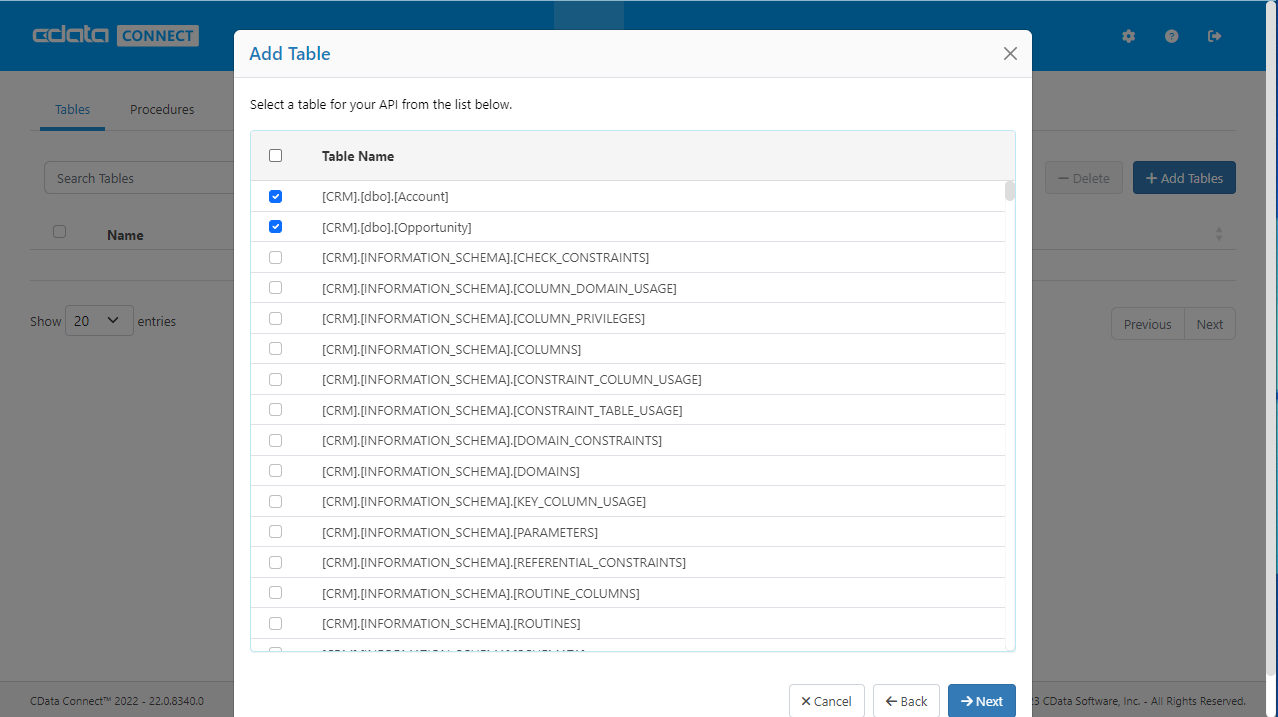
- 「OData」->「Tables」->「Add Tables」の順にクリックします。
- Azure Data Lake Storage データベースを選択します。
- 使用するテーブルを選択し、「Next」をクリックします。
![Selecting a Table (Salesforce is shown)]()
- (オプション)リソースを編集して特定のフィールドなどを選択します。
- 設定を保存します。
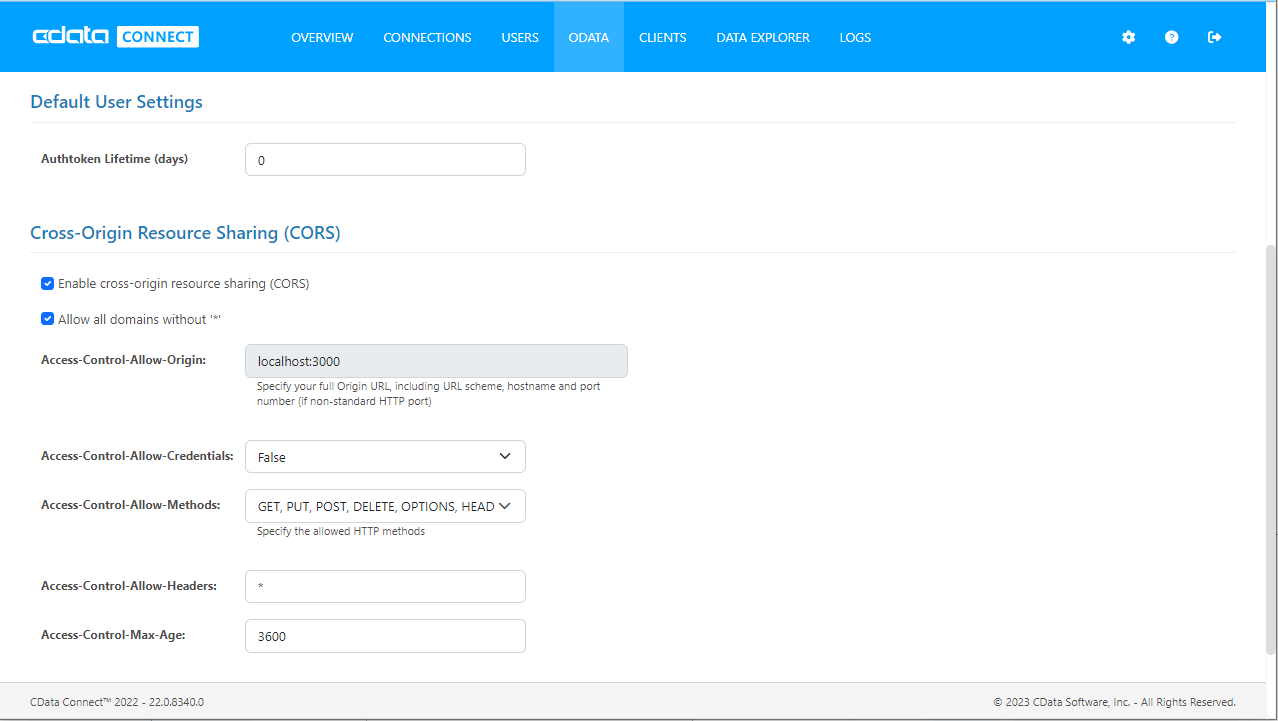
(オプション)Cross-Origin Resource Sharing (CORS) を構成
Ajax などのアプリケーションから複数のドメインにアクセスして接続すると、クロスサイトスクリプティングの制限に違反する恐れがあります。その場合には、[OData]->[Settings]でCORS 設定を構成します。
- Enable cross-origin resource sharing (CORS):ON
- Allow all domains without '*':ON
- Access-Control-Allow-Methods:GET, PUT, POST, OPTIONS
- Access-Control-Allow-Headers:Authorization
設定への変更を保存します。
![Configuring CORS settings]()
RunMyProcess DigitalSuite Studio からAzure Data Lake Storage データにアクセス
Azure Data Lake Storage への接続とOData エンドポイントがあれば、RunMyProcess からAzure Data Lake Storage データにアクセスできます。
Provider の作成
- RunMyProcess にログインして、「DigitalSuite Studio」を開きます。
- 「Resources」をクリックしてリソースページを表示したら、「CONNECTORS」タブを選択すると次のような画面が表示されます。
![リソースのConnectors タブ]()
- 「+」(New Provider)ボタンをクリックすると新規プロバイダー作成用の画面が表示されるので、リソースを使用するプロジェクトを選択して、「Confirm」ボタンをクリックします。
![新規プロバイダーの作成]()
- プロバイダーの設定画面が表示されるので、次の情報を入力します。
- URL:CData Connect の「Endpoints」ページにある、次のOData エンドポイントを指定します。https://www.cdatacloud.net/myconnectinstance/api.rsc/
- Authentication Schema:「Login/Password」を指定します。
- Login:設定したConnect Server のユーザー名を指定します。
- Password:上記のユーザー用のAuthtoken に設定します。
![Selecting a connector]()
- 「ACCEPTANCE」、「TEST」タブにも同じ情報を入力します。Note:その際、右上の「Copy this configuration」ボタンをクリックすることで設定をコピーでき、コピー先のタブで「Paste previously copied configuration」ボタンをクリックすることで既存の設定を反映できます。
- 完了したら、「Save」をクリックして保存します。
Connector を作成してAzure Data Lake Storage データを取得
- 次に「CONNECTORS」タブから、作成したプロバイダーの右端のボタンをクリックして、メニューから「Add connector」を選択します。
- 次のような画面が表示されるので、「Connector URL」にConnect Server で設定したテーブルのOData エンドポイントを指定します。例:odataendpoint/
![コネクタの設定画面]()
- 入力したら右上の「Save」ボタンをクリックしたあと、「Launch」ボタンをクリックしてコネクタのテスト実行用の画面を開き、右上の「Launch test」ボタンをクリックして実行します。次のように、指定したテーブルの情報がJSON で返ってくれば成功です。
![実行テスト画面]()
詳細と無料トライアル
これで、RunMyProcess からAzure Data Lake Storage データに接続できました。Azure Data Lake Storage や、その他250以上のデータソースのOData フィードを作成する方法は、Connect Server ページ を参照してください。無料トライアルにサインアップして、RunMyProcess からAzure Data Lake Storage データに連携してアプリを作成しましょう。