ノーコードでクラウド上のデータとの連携を実現。
詳細はこちら →
CData


こんにちは!ドライバー周りのヘルプドキュメントを担当している古川です。
この記事では、バックエンドデータベースに書き込むことなくAzure Analysis Services API の機能を活用するSAPUI5 アプリを作成するために、CData API サーバーおよびADO.NET Provider for AAS (または250+ の他のADO.NET Providers) を使用する方法を説明します。API サーバーは、サーバー上で実行されてAzure Analysis Services のOData フィードを生成する軽量のWeb アプリケーションです。OData は、Web を介したリアルタイムデータアクセスの標準であり、SAPUI5 およびOpenUI5 にビルトインのサポートがあります。
以下のステップに従って、安全なAzure Analysis Services OData サービスの作成を開始します。
API サーバーは独自のサーバーで実行されます。Windows では、スタンドアロンサーバーまたはIIS を使用して展開できます。Java サーブレットコンテナで、API Server WAR ファイルをドロップします。詳細とハウツーについては、ヘルプドキュメントを参照してください。
API Server は、Microsoft Azure、Amazon EC2、Heroku にも簡単にデプロイできます。
API サーバーとADO.NET Provider for AAS を展開した後、[Settings]->[Connections]をクリックし、API サーバー管理コンソールで新しい接続を追加してAzure Analysis Services に接続するために必要な認証値とその他の接続プロパティを指定します。
接続するには、認証に加えて、Url プロパティを有効なAzure Analysis Services サーバー(例えばasazure://southcentralus.asazure.windows.net/server)に設定します。必要に応じて、Database プロパティを設定して、サーバー上のどのAzure データベースに接続するかを指定できます。
Azure Analysis Services はOAuth 認証標準を使用します。CData 製品では組込みOAuth が利用できるので、接続プロパティを設定することなく接続を試行するだけで、ブラウザ経由でAAS に認証できます。詳しい設定方法については、ヘルプドキュメントの「Azure Analysis Services への認証」セクションを参照してください。
次に、[Settings]->[Resources]をクリックして、API サーバーへのアクセスを許可するAzure Analysis Services エンティティを選択できます。この記事では、例としてCustomer を用います。
作成するOData サービスを決定したら、[Settings]->[Users]をクリックしてユーザーを承認します。API サーバーは、認証トークンベースの認証を使用して主要な認証スキームをサポートします。SSL を使用して、接続を認証及び暗号化することができます。アクセスはIP アドレスによって制限することもできます。デフォルトでは、ローカルマシンのみに制限されています。
この記事では、ユーザーはSAPUI5 テーブルコントロールを介してAzure Analysis Services を表示および操作します。テーブルのカラムは、API サーバーのAPI エンドポイントから取得したメタデータから自動的に検出されます。次のテーブルを別のView.view.xml ファイルで定義します。
<mvc:View
  controllerName="sap.ui.table.sample.OData2.Controller"
  xmlns="sap.ui.table"
  xmlns:mvc="sap.ui.core.mvc"
  xmlns:u="sap.ui.unified"
  xmlns:c="sap.ui.core"
  xmlns:m="sap.m">
  <m:Page
    showHeader="false"
    enableScrolling="false"
    class="sapUiContentPadding">
    <m:content>
      <Table
        id="table"
        selectionMode="MultiToggle"
        visibleRowCount="10"
        enableSelectAll="false"
        rows="{/Customer}"
        threshold="15"
        enableBusyIndicator="true"
        columns="{
          path: 'meta>/dataServices/schema/[${namespace}===\'CData\']/entityType/[${name}===\'Customer\']/property',
          factory: '.columnFactory'
        }">
        <toolbar>
          <m:Toolbar>
            <m:Title text="Azure Analysis Services Customer"></m:Title>
          </m:Toolbar>
        </toolbar>
        <noData>
          <m:BusyIndicator class="sapUiMediumMargin"/>
        </noData>
      </Table>
    </m:content>
  </m:Page>
</mvc:View>
SAPUI5 では、OData クエリを作成する必要はありません。ODataModel インスタンスはアプリケーションのデータアクセスコマンドを処理します。 次に、API サーバーはクエリをAzure Analysis Services API 呼び出しに変換します。
コントローラーはユーザー入力を処理し、ビューを通じてユーザーに情報を表示します。新しいファイルであるController.controller.js でコントローラーを定義します。onInit 関数でモデルをインスタンス化します。API サーバーへのURL、API サーバーのOData エンドポイントへのアクセスを許可されたユーザー、そしてユーザーの認証トークンのプレースホルダー値を置き換える必要があります。
sap.ui.define([
  "sap/ui/core/mvc/Controller",
  "sap/ui/model/odata/v2/ODataModel",
  "sap/ui/model/json/JSONModel",
  "sap/ui/table/Column",
  "sap/m/Text",
], function(Controller, ODataModel, JSONModel, Column, Text ) {
  "use strict";


  return Controller.extend("sap.ui.table.sample.OData2.Controller", {

    onInit : function () {

      var oView = this.getView();
      var oDataModel = new ODataModel("http://myserver/api.rsc/",{user:"MyUser", password:"MyAuthToken"});

      oDataModel.getMetaModel().loaded().then(function(){
        oView.setModel(oDataModel.getMetaModel(), "meta");
      });
      oView.setModel(oDataModel);

      var oTable = oView.byId("table");
      var oBinding = oTable.getBinding("rows");
      var oBusyIndicator = oTable.getNoData();
      oBinding.attachDataRequested(function(){
      oTable.setNoData(oBusyIndicator);
      });
      oBinding.attachDataReceived(function(){
        oTable.setNoData(null); //use default again ("no data" in case no data is available)
      });
    },

    onExit : function () {
    },

    columnFactory : function(sId, oContext) {
      var oModel = this.getView().getModel();
      var sName = oContext.getProperty("name");
      var sType = oContext.getProperty("type");
      var iLen = oContext.getProperty("maxLength");
      iLen = iLen ? parseInt(iLen, 10) :10;

      return new Column(sId, {
        sortProperty: sName,
        filterProperty: sName,
        width: (iLen > 9 ? (iLen > 50 ?15 :10) :5) + "rem",
        label: new sap.m.Label({text: "{/#Customer/" + sName + "/@name}"}),
        hAlign: sType && sType.indexOf("Decimal") >= 0 ?"End" :"Begin",
        template: new Text({text: {path: sName}})
      });
    }

  });

});
アプリケーションのリソースを含むコンポーネントを作成します。Component.js で以下を定義します。
sap.ui.define([
  'sap/ui/core/UIComponent'
], function(UIComponent) {
  "use strict";

  return UIComponent.extend("sap.ui.table.sample.OData2.Component", {
    metadata : {
      rootView : "sap.ui.table.sample.OData2.View",
      dependencies : {
        libs : [
          "sap.ui.table",
          "sap.ui.unified",
          "sap.m"
        ]
      },

      config : {
        sample : {
          stretch : true,
          files : [
            "View.view.xml",
            "Controller.controller.js"
          ]
        }
      }
    }
  });

});
MVC アプリケーションを完了するには、ブートストラップと初期化コードを追加します。これらをindex.html に直接追加します。
<!DOCTYPE HTML>

<html>
<head>
  <meta http-equiv="x-ua-compatible" content="ie=edge" />
  <meta charset="utf-8">
  <title>Azure Analysis Services Customer</title>

  <script id="sap-ui-bootstrap"
    src="https://openui5.hana.ondemand.com/resources/sap-ui-core.js"
    data-sap-ui-libs="sap.m"
    data-sap-ui-theme="sap_bluecrystal"
    data-sap-ui-xx-bindingSyntax="complex"
    data-sap-ui-preload="async"
    data-sap-ui-compatVersion="edge"
    data-sap-ui-resourceroots='{"sap.ui.table.sample.OData2": "./", "sap.ui.demo.mock": "mockdata"}'>
  </script>

  <!-- application launch configuration -->
  <script>

      sap.ui.getCore().attachInit(function() {
        new sap.m.App ({
          pages: [
                new sap.m.Page({
                    title: "Azure Analysis Services Customer",
                    enableScrolling : false,
                  content: [ new sap.ui.core.ComponentContainer({
                  height :"100%", name : "sap.ui.table.sample.OData2"
                })]
            })
          ]
      }).placeAt("content");
    });

  </script>
</head>
  <!-- UI Content -->
<body class="sapUiBody" id="content" role="application">
</body>
</html>
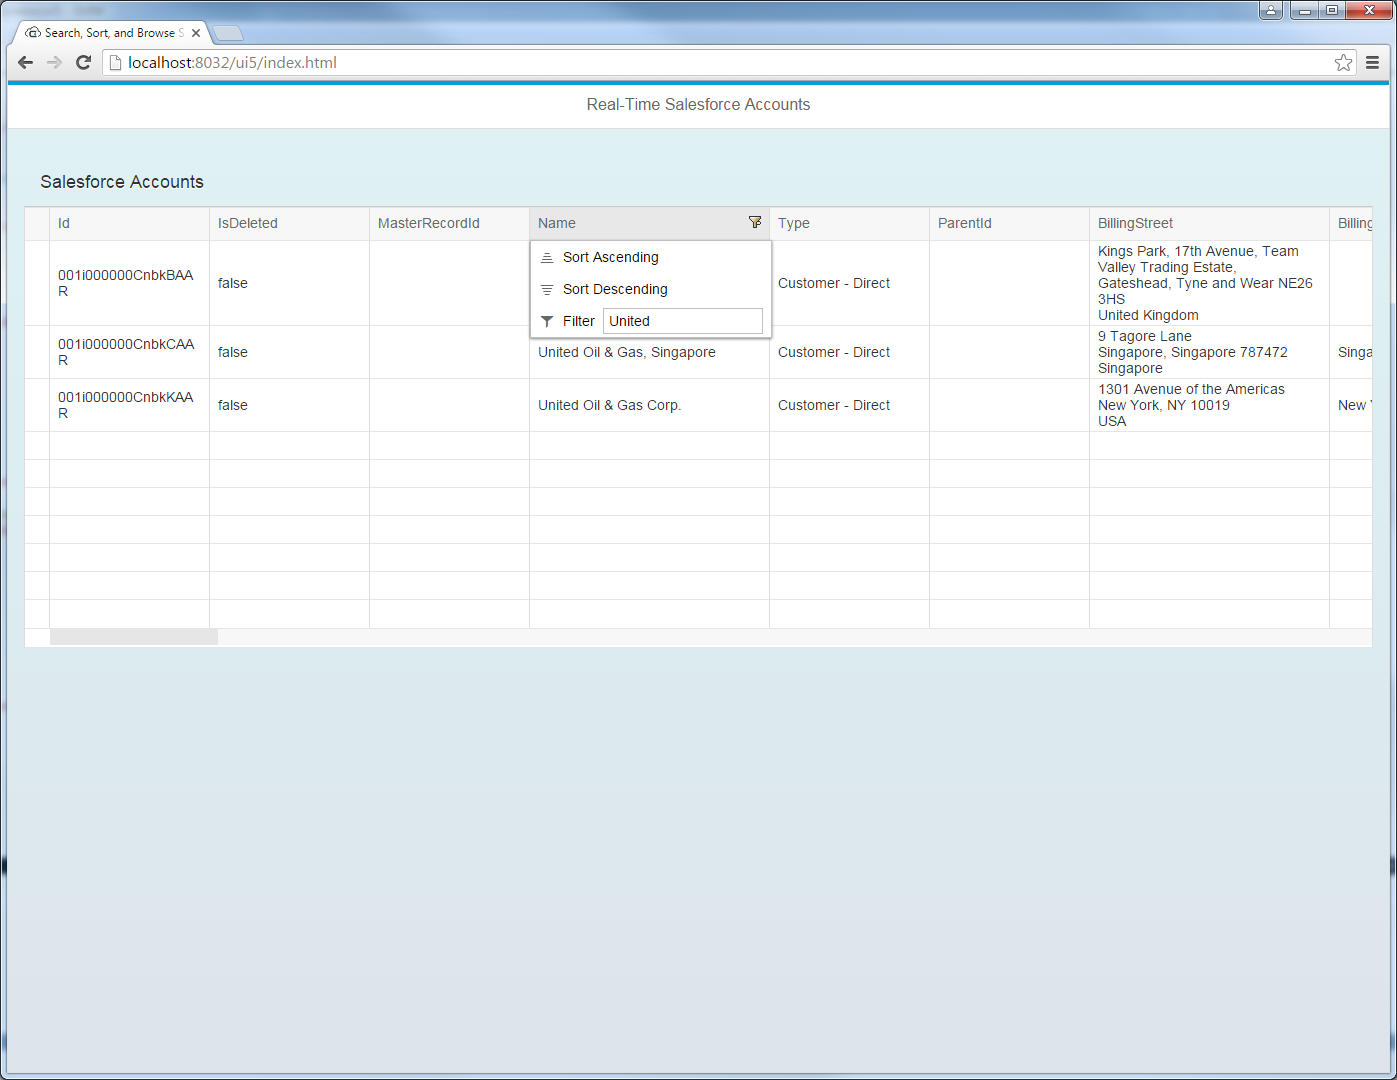
結果のSAPUI5 テーブルコントロールは、リモートAzure Analysis Services 内のテーブルへの変更を反映します。これで、現在のAzure Analysis Services を参照および検索できます。
