Discover how a bimodal integration strategy can address the major data management challenges facing your organization today.
Get the Report →How to create an RPA flow for Active Directory Data in UiPath Studio
Use the Active Directory ODBC Driver to create workflows that access real-time Active Directory data without any coding.
UiPath is a Robotic Process Automation (RPA) platform with rich features and an easy-to-use UI that enables non-developers to create process automation. By using UiPath Studio, you can build an RPA program just like drawing a diagram. With the CData ODBC Driver for Active Directory, users can embed Active Directory data in the workflow.
This article walks through using the Active Directory ODBC Driver in UiPath Studio to create an RPA program that accesses Active Directory data.

Configure the Connection to Active Directory
If you have not already, first specify connection properties in an ODBC DSN (data source name). This is the last step of the driver installation. You can use the Microsoft ODBC Data Source Administrator to create and configure ODBC DSNs.
To establish a connection, set the following properties:
- Valid User and Password credentials (e.g., Domain\BobF or cn=Bob F,ou=Employees,dc=Domain).
- Server information, including the IP or host name of the Server, as well as the Port.
BaseDN: This will limit the scope of LDAP searches to the height of the distinguished name provided.
Note: Specifying a narrow BaseDN may greatly increase performance; for example, cn=users,dc=domain will only return results contained within cn=users and its children.
Connect UiPath Studio to Active Directory Data
Now you are ready to use Active Directory data ODBC DSN in UiPath Studio with the following steps.
- From the Start page, click Blank to create a New Project.
- Click Manage Packages then search for and install UiPath.Database.Activities.
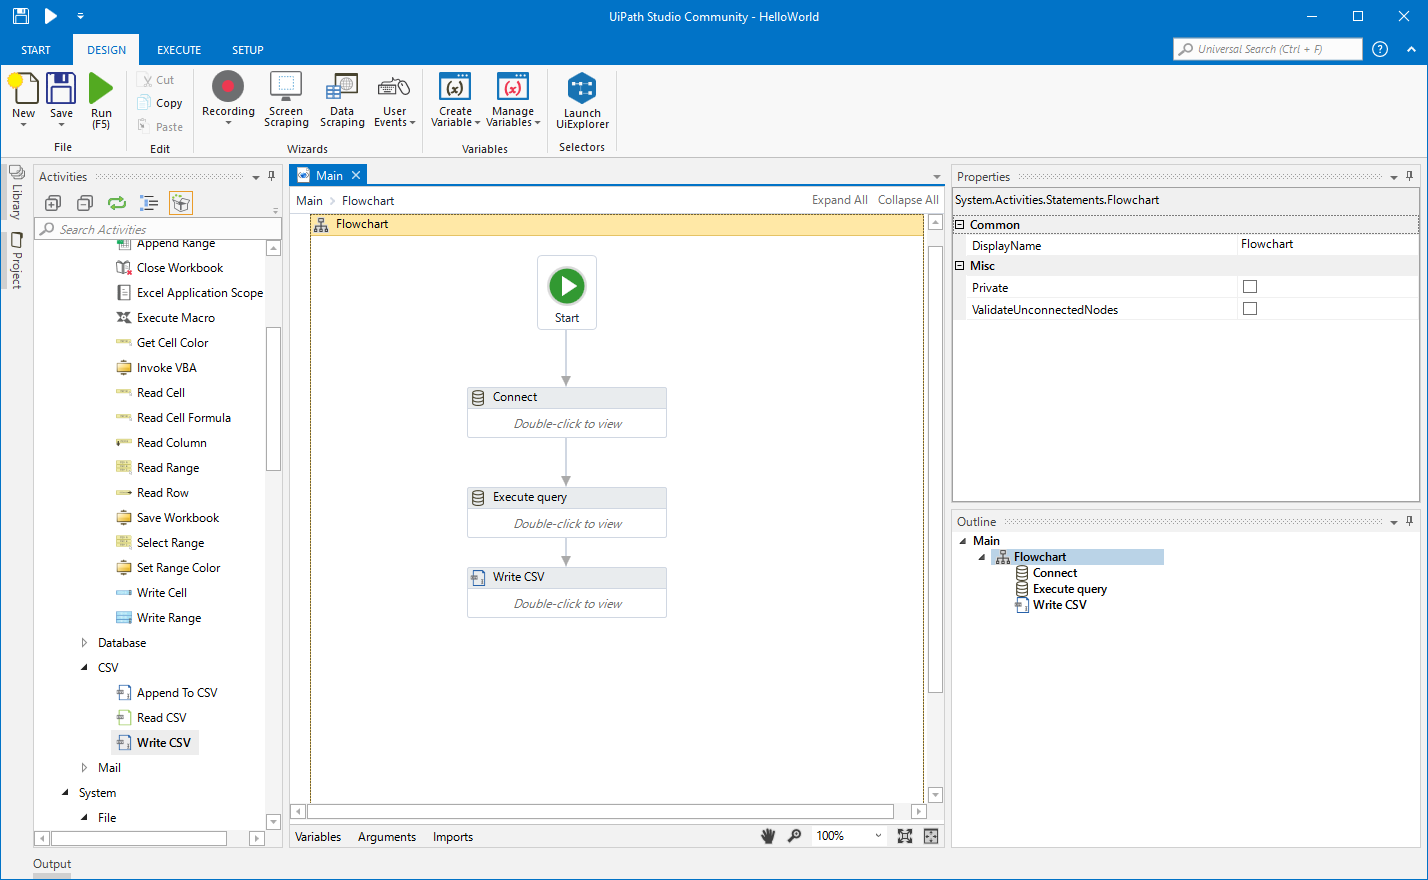
- Navigate to the Activities and drop a Flowchart (Workflow -> Flowchart -> Flowchart) onto the process.
- Drop a database Connect activity (App Integration -> Datbase -> Connect) after the Start activity.
- Double-click the Connect activity and configure the Connection.
![Configure the Connect Activity]()
- Click the Connection Wizard
- Select "Microsoft ODBC Data Source"
- In Connection Properties, select your DSN (CData ActiveDirectory Source) and click OK
- To store Connection info, create a variable and bind to Output in the Properties section. Choose DatabaseConnection in Output.
![Bind the Connection to the Output property.]()
Create an Execute Query Activity
With the connection configured, we are ready to query Active Directory data in our RPA.
- From the Activities navigation, select Execute Query and drop it on the Flowchart.
- Double-click the Execute Query activity and set the properties as follows:
- ExistingDbConnection: Your Connection variable
- Sql: SELECT statement like SELECT Id, LogonCount FROM User
- DataTable: Create and use a variable with the Type System.Data.DataTable
![Set the Query for the ODBC Driver.]()
Create Write CSV Activity
With the Connection and Execute Query activities configured, we are ready to add a Write CSV activity to the Flowchart to replicate the Active Directory data.
- From the Activities navigation, select Write CSV and drop it after the Execute Query activity.
- Double-click the Write CSV activity and set the properties as follows:
- FilePath: Set to a file (new or existing) on disk (i.e.: C:\UiPath[id]-data.csv
- DataTable: Set to the DataTable variable you created earlier
Connect the Activities and Run the Flowchart
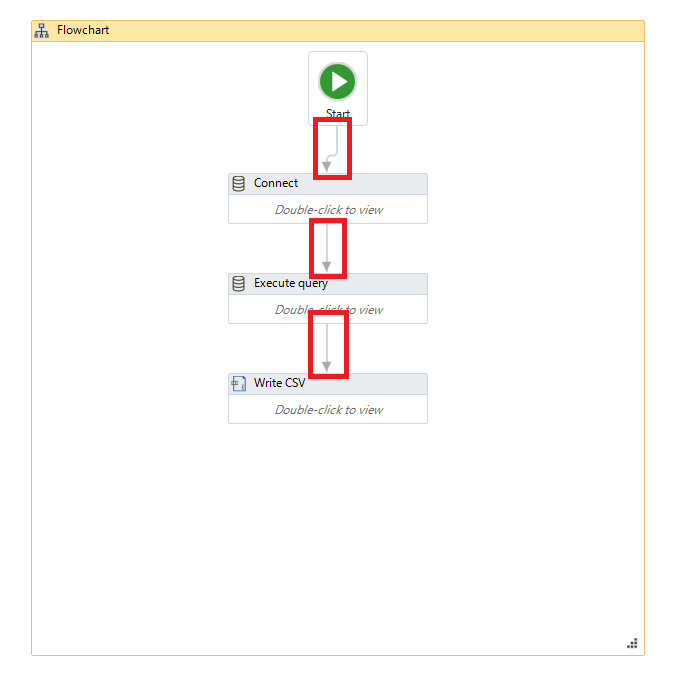
If they are not already connected, connect each Activity that you created to complete the RPA project for extracting Active Directory data and exporting it to CSV.

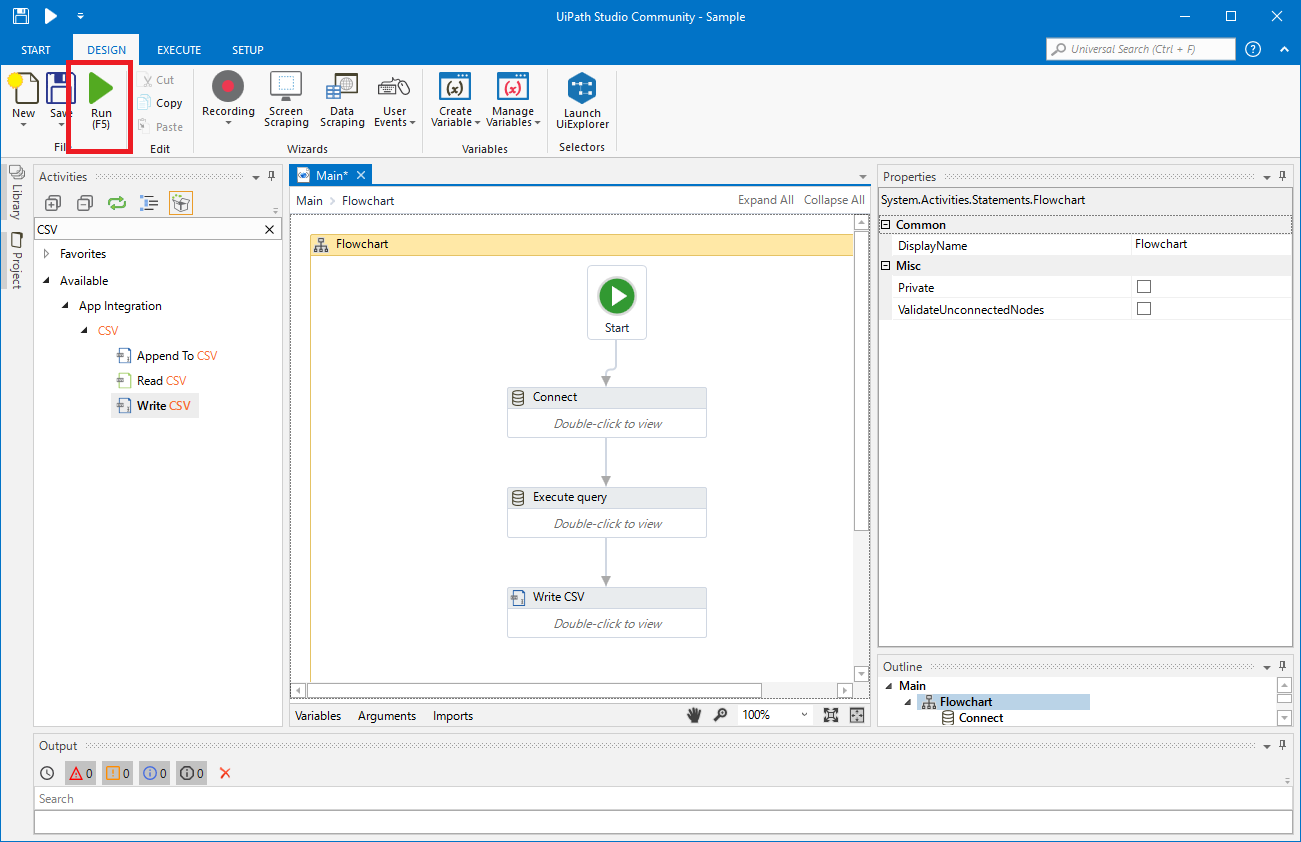
Click Run to extract Active Directory data and create a CSV file.

In this article, we used the CData ODBC Driver for Active Directory to create an automation flow that accesses Active Directory data in UiPath Studio. Download a free, 30-day trial of the ODBC Driver and start working with live Active Directory data in UiPath Studio today!


