Discover how a bimodal integration strategy can address the major data management challenges facing your organization today.
Get the Report →Feed AlloyDB Data into FineReport
How to set AlloyDB data as a JDBC data source in FineReport.
The CData JDBC Driver for AlloyDB fully implements the JDBC standard and can provide AlloyDB data connectivity to a wide variety of BI, reporting, and ETL tools and custom applications. In this article, we explain how to set AlloyDB data as JDBC data source in FineReport and view AlloyDB data as a table in the Report Designer.
Set Up a JDBC Data Source of AlloyDB Data
Follow the instruction below to set AlloyDB data as a FineReport database connection.
- Copy the cdata.jdbc.alloydb.jar file from the lib folder in the CData JDBC Driver for AlloyDB installation directory to the lib folder of the FineReport installation directory. You will need to copy the cdata.jdbc.alloydb.lic file as well.
- From the Server tab, select Define Data Connection, click to add a new connection, and click JDBC.
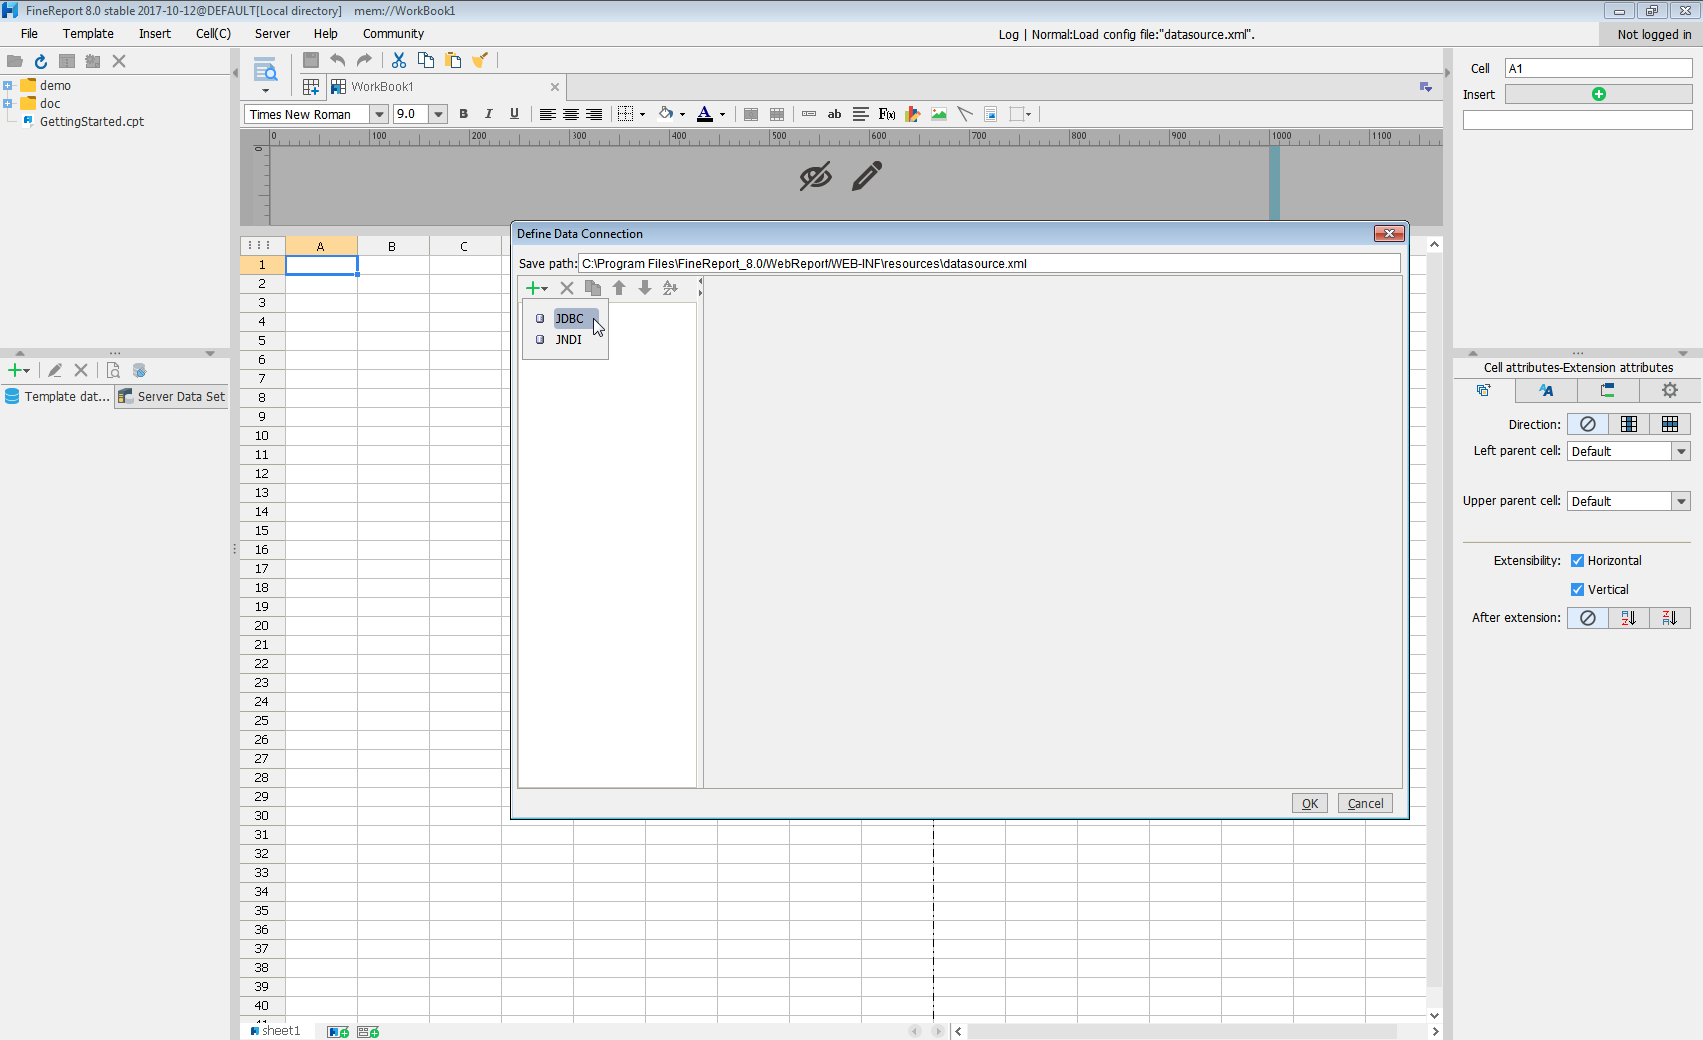
Next we will set up the data connection definition in the window.
- Database: Others
- JDBC Driver: cdata.jdbc.alloydb.AlloyDBDriver
-
URL: A standard JDBC connection string using semicolon-separated connection properties.
The following connection properties are usually required in order to connect to AlloyDB.
- Server: The host name or IP of the server hosting the AlloyDB database.
- User: The user which will be used to authenticate with the AlloyDB server.
- Password: The password which will be used to authenticate with the AlloyDB server.
You can also optionally set the following:
- Database: The database to connect to when connecting to the AlloyDB Server. If this is not set, the user's default database will be used.
- Port: The port of the server hosting the AlloyDB database. This property is set to 5432 by default.
Authenticating with Standard Authentication
Standard authentication (using the user/password combination supplied earlier) is the default form of authentication.
No further action is required to leverage Standard Authentication to connect.
Authenticating with pg_hba.conf Auth Schemes
There are additional methods of authentication available which must be enabled in the pg_hba.conf file on the AlloyDB server.
Find instructions about authentication setup on the AlloyDB Server here.
Authenticating with MD5 Authentication
This authentication method must be enabled by setting the auth-method in the pg_hba.conf file to md5.
Authenticating with SASL Authentication
This authentication method must be enabled by setting the auth-method in the pg_hba.conf file to scram-sha-256.
Authenticating with Kerberos
The authentication with Kerberos is initiated by AlloyDB Server when the ∏ is trying to connect to it. You should set up Kerberos on the AlloyDB Server to activate this authentication method. Once you have Kerberos authentication set up on the AlloyDB Server, see the Kerberos section of the help documentation for details on how to authenticate with Kerberos.
Built-in Connection String Designer
For assistance in constructing the JDBC URL, use the connection string designer built into the AlloyDB JDBC Driver. Either double-click the JAR file or execute the jar file from the command-line.
java -jar cdata.jdbc.alloydb.jarFill in the connection properties and copy the connection string to the clipboard.
![Using the built-in connection string designer to generate a JDBC URL (Salesforce is shown.)]()
When you configure the JDBC URL, you may also want to set the Max Rows connection property. This will limit the number of rows returned, which is especially helpful for improving performance when designing reports and visualizations.
A typical JDBC URL is below:
jdbc:alloydb:User=alloydb;Password=admin;Database=alloydb;Server=127.0.0.1;Port=5432 - Click Connection pool attributes and set Test before getting connections to No.
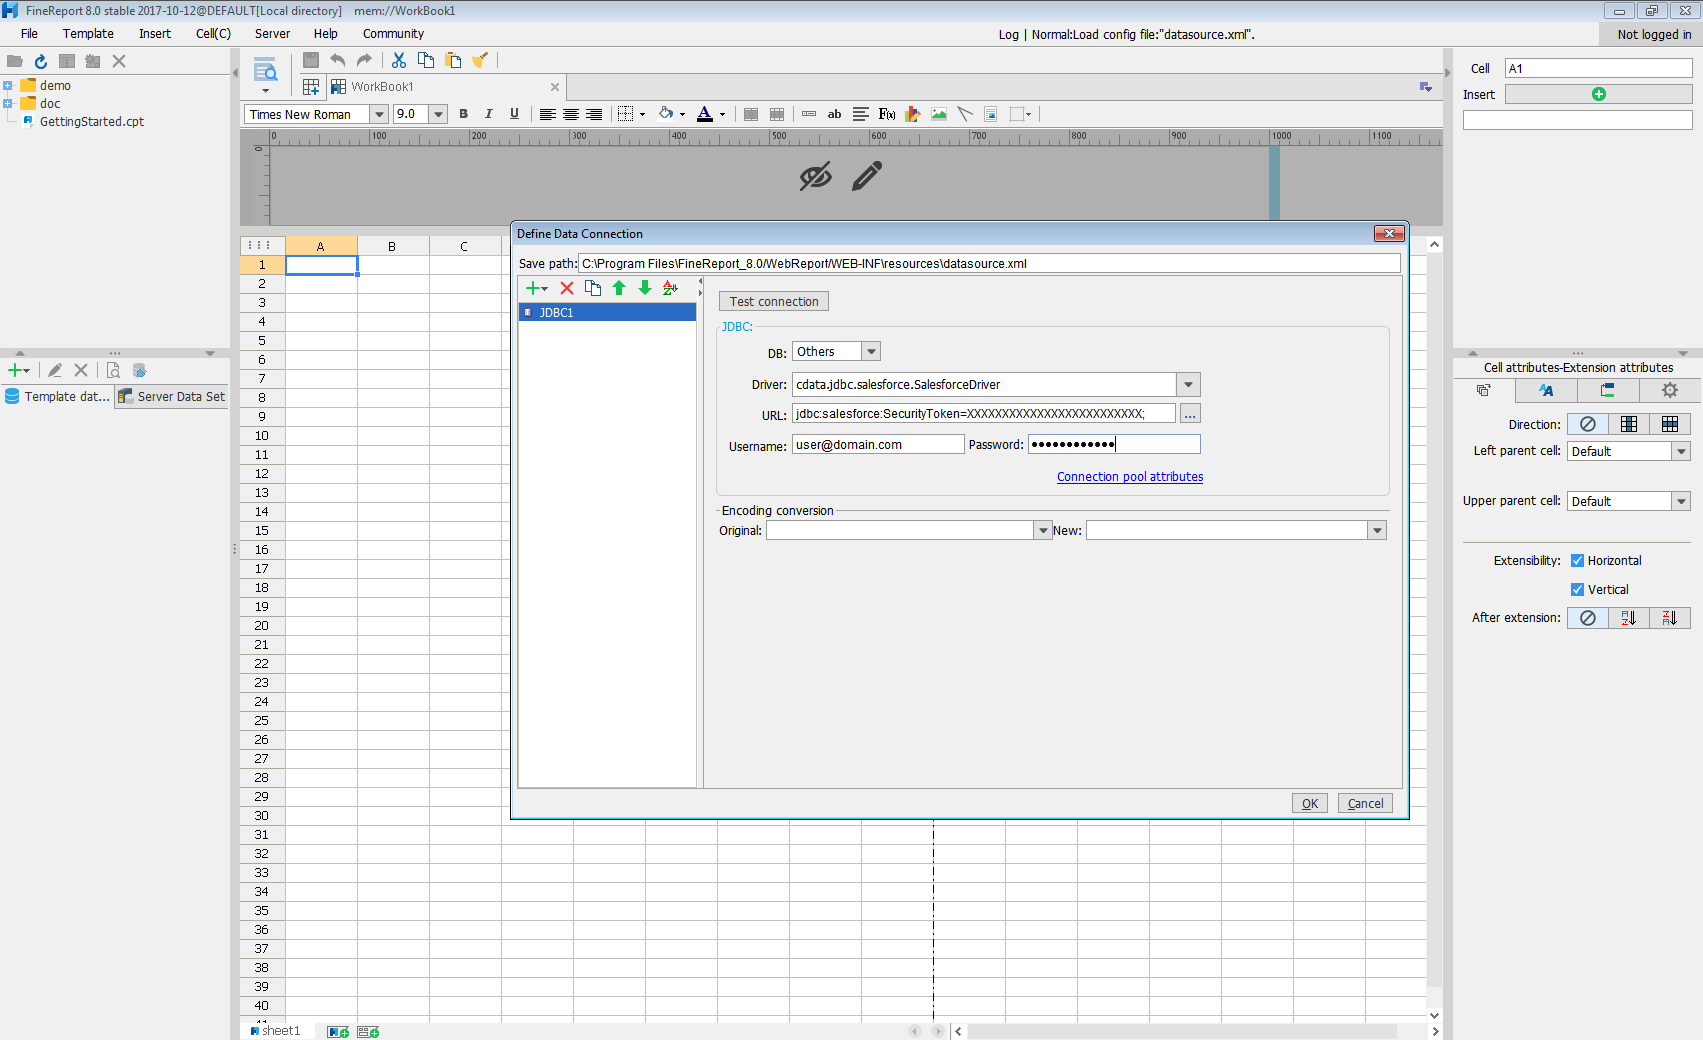
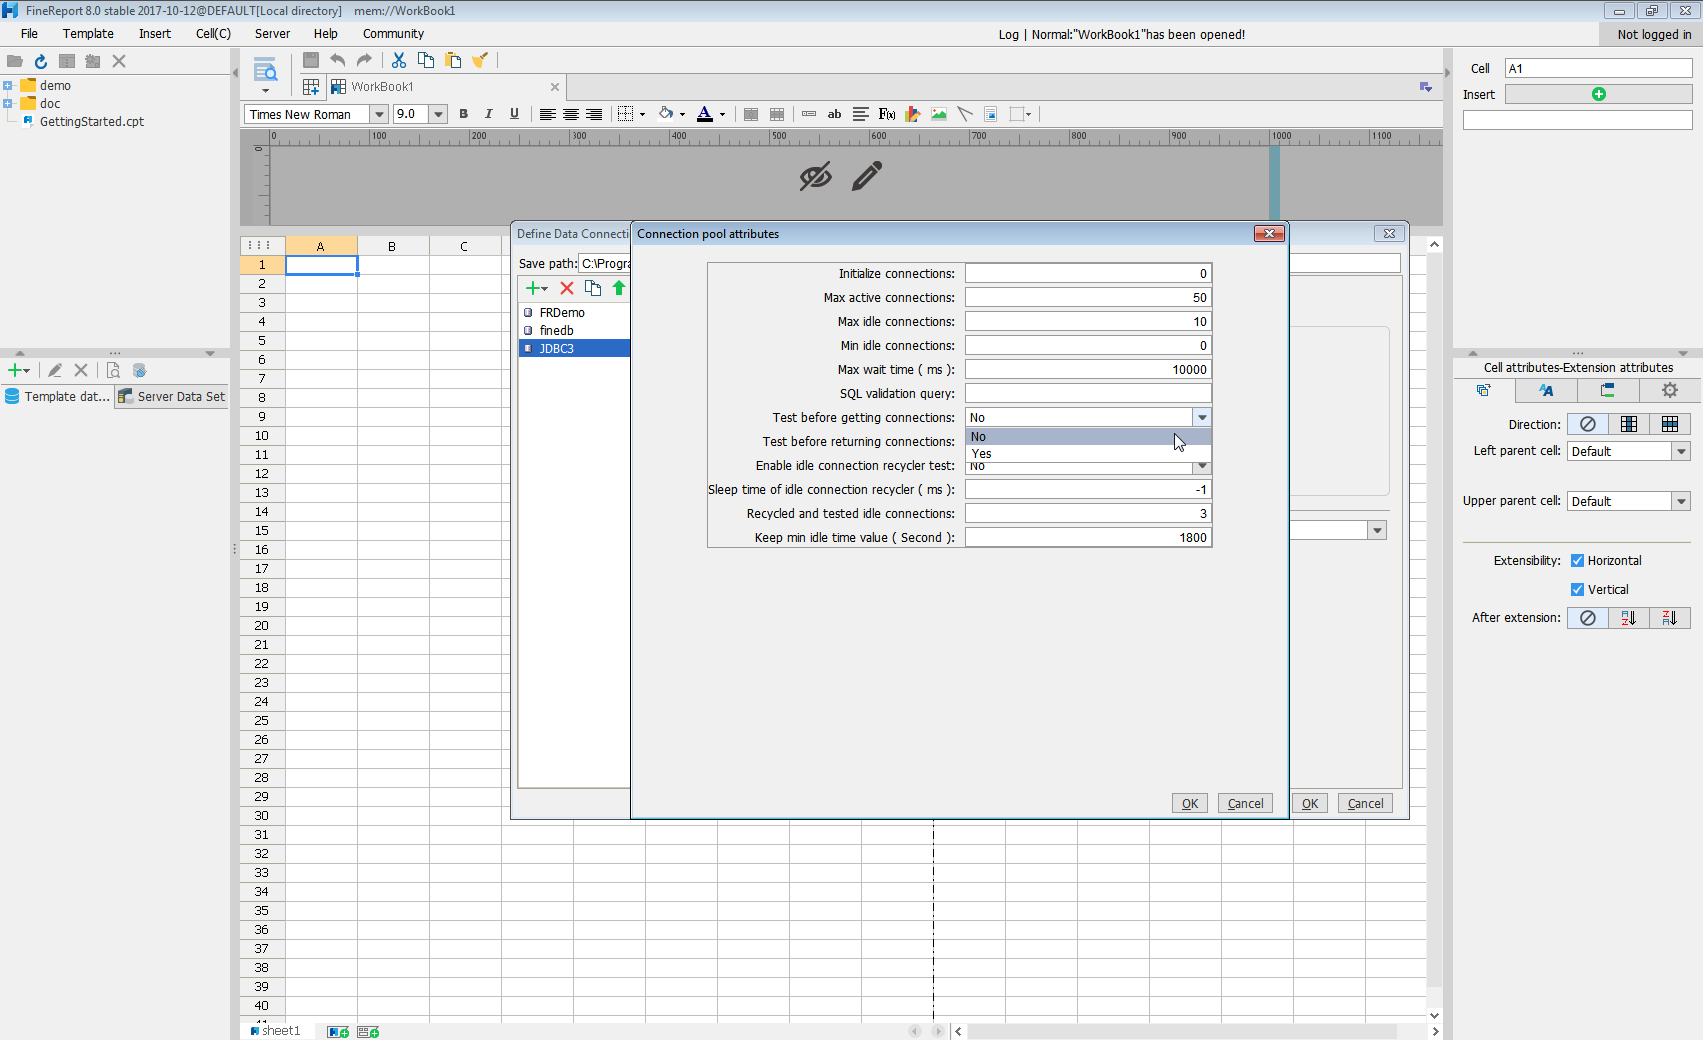
Click Test connection to ensure you have configured the connection properly. With the connection to AlloyDB set up, you can use it as FineReport data source.
Select AlloyDB Data in the Report Designer.
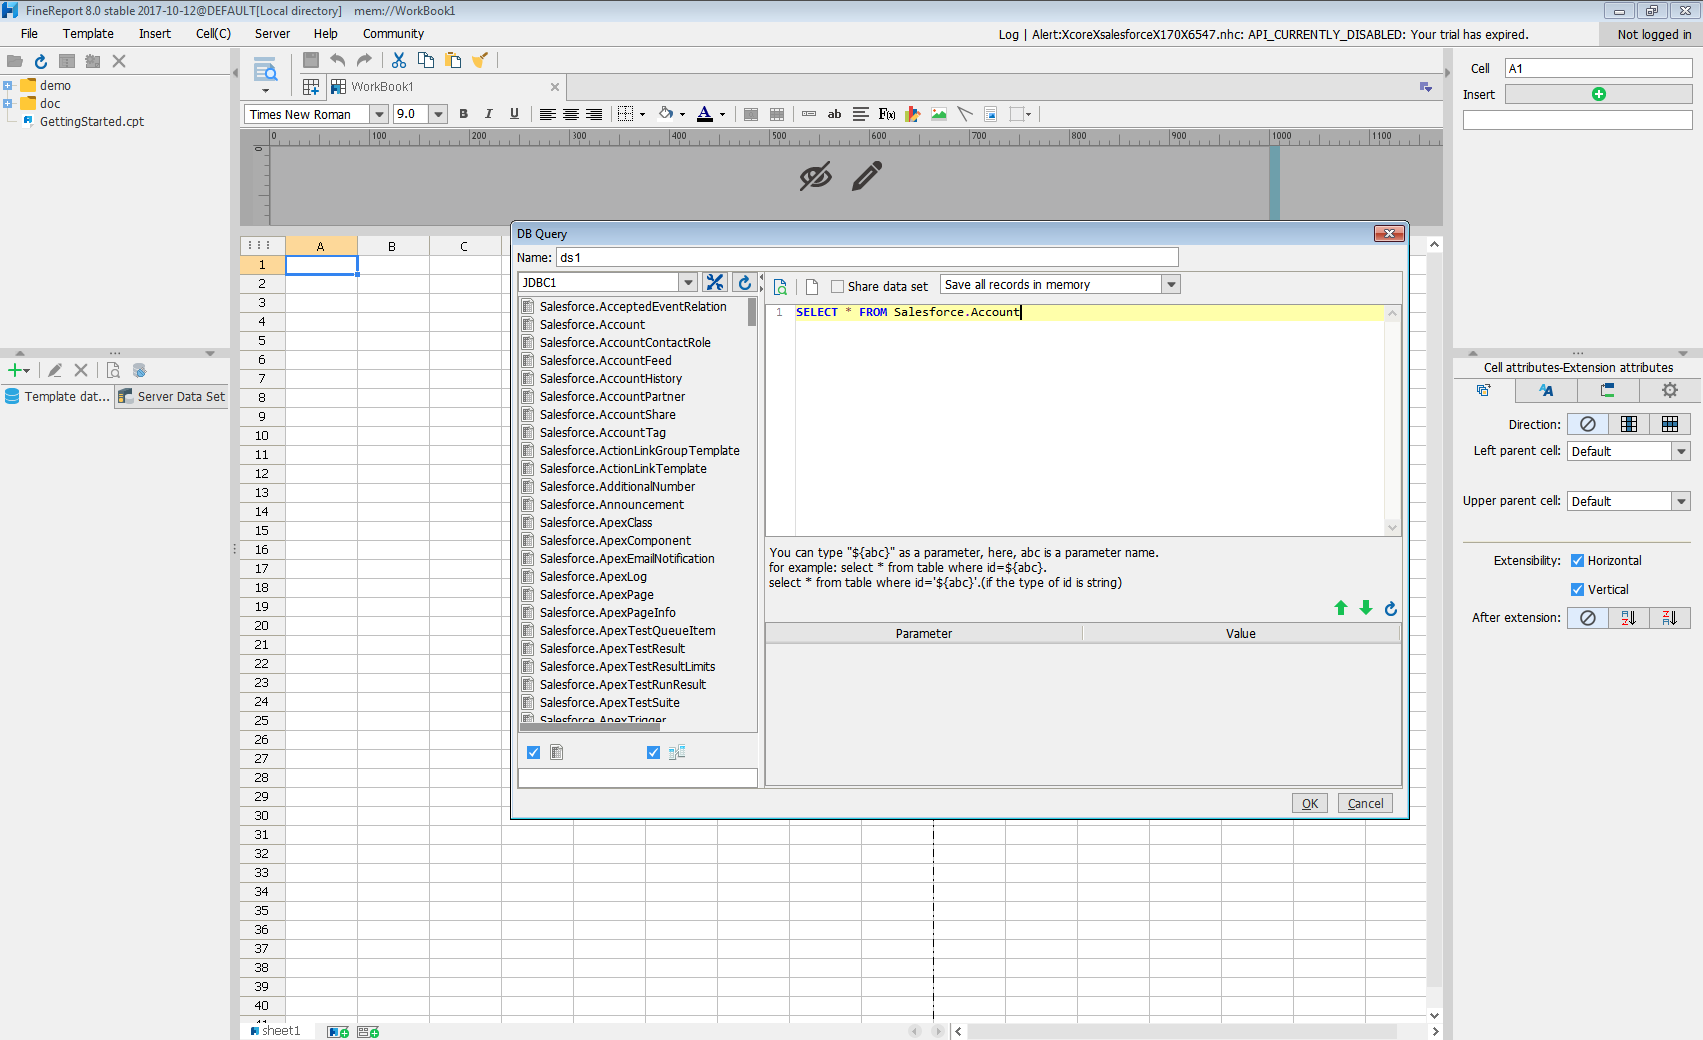
- Click to add a new template data set and select DB query to open the database query window.
- Choose the JDBC connection that you created from the dropdown list.
- The AlloyDB entities will appear as tables on the left pane.
- Write a SELECT statement for the AlloyDB data tables and columns that you want to load.
- Click preview and data is shown as table.
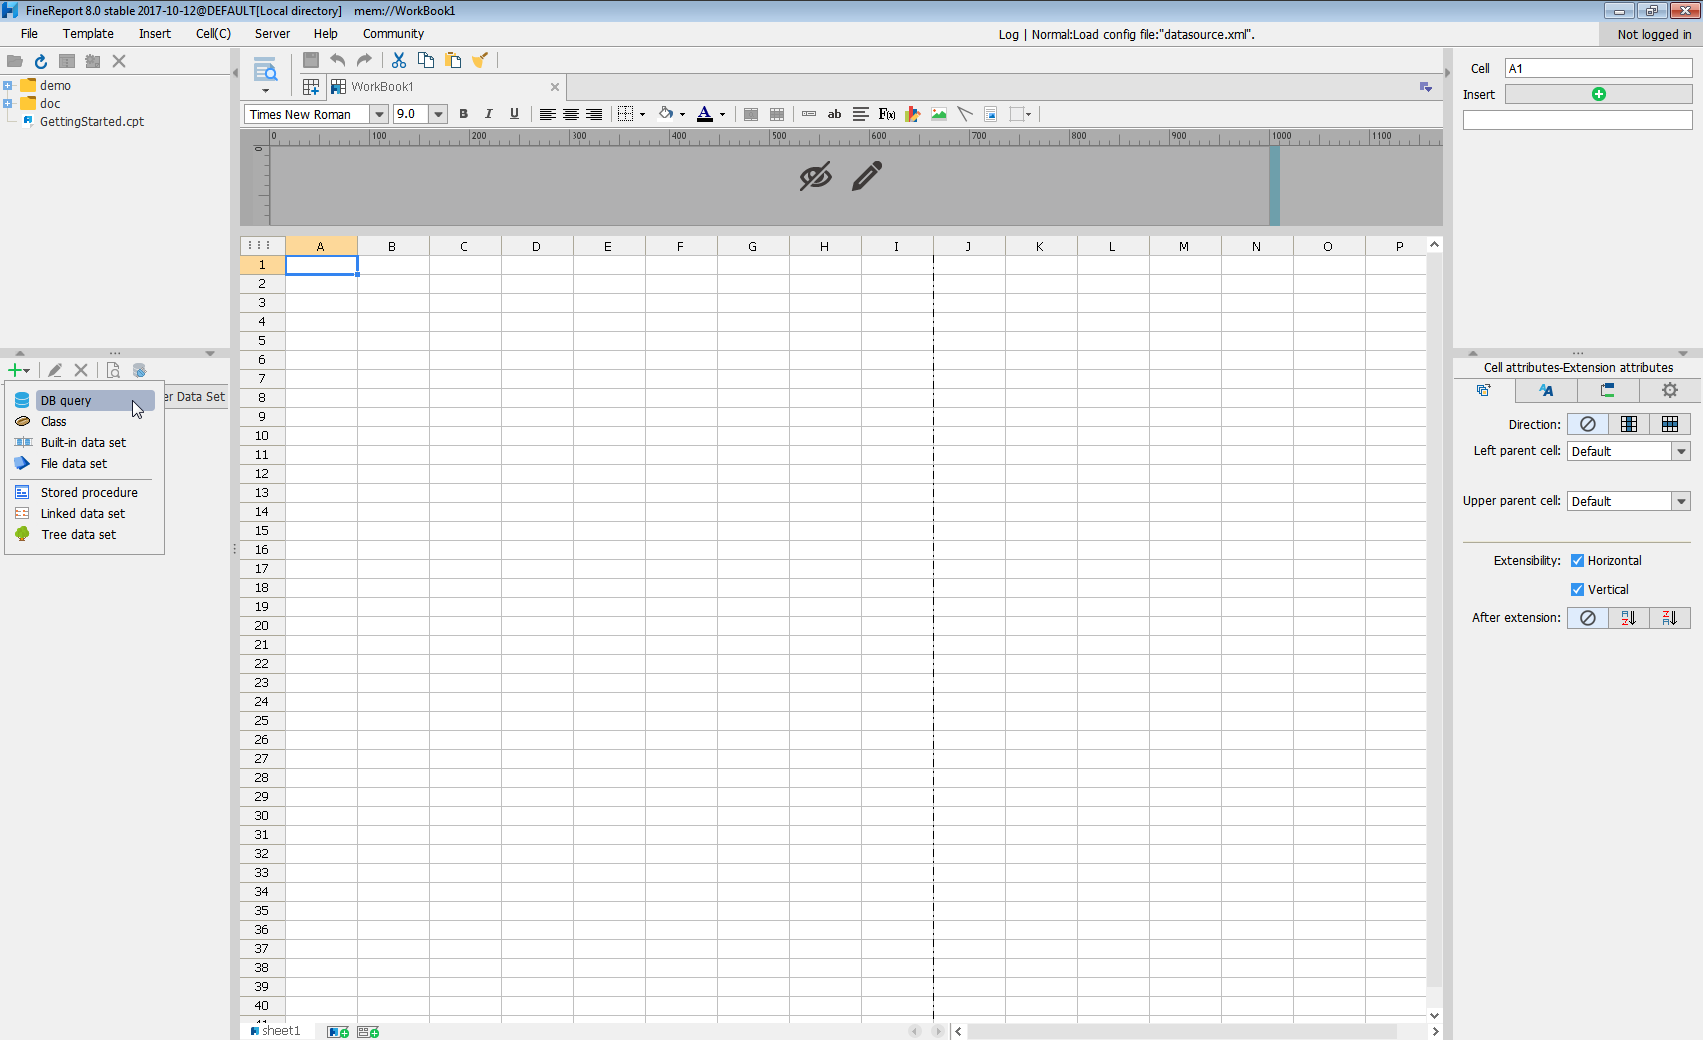
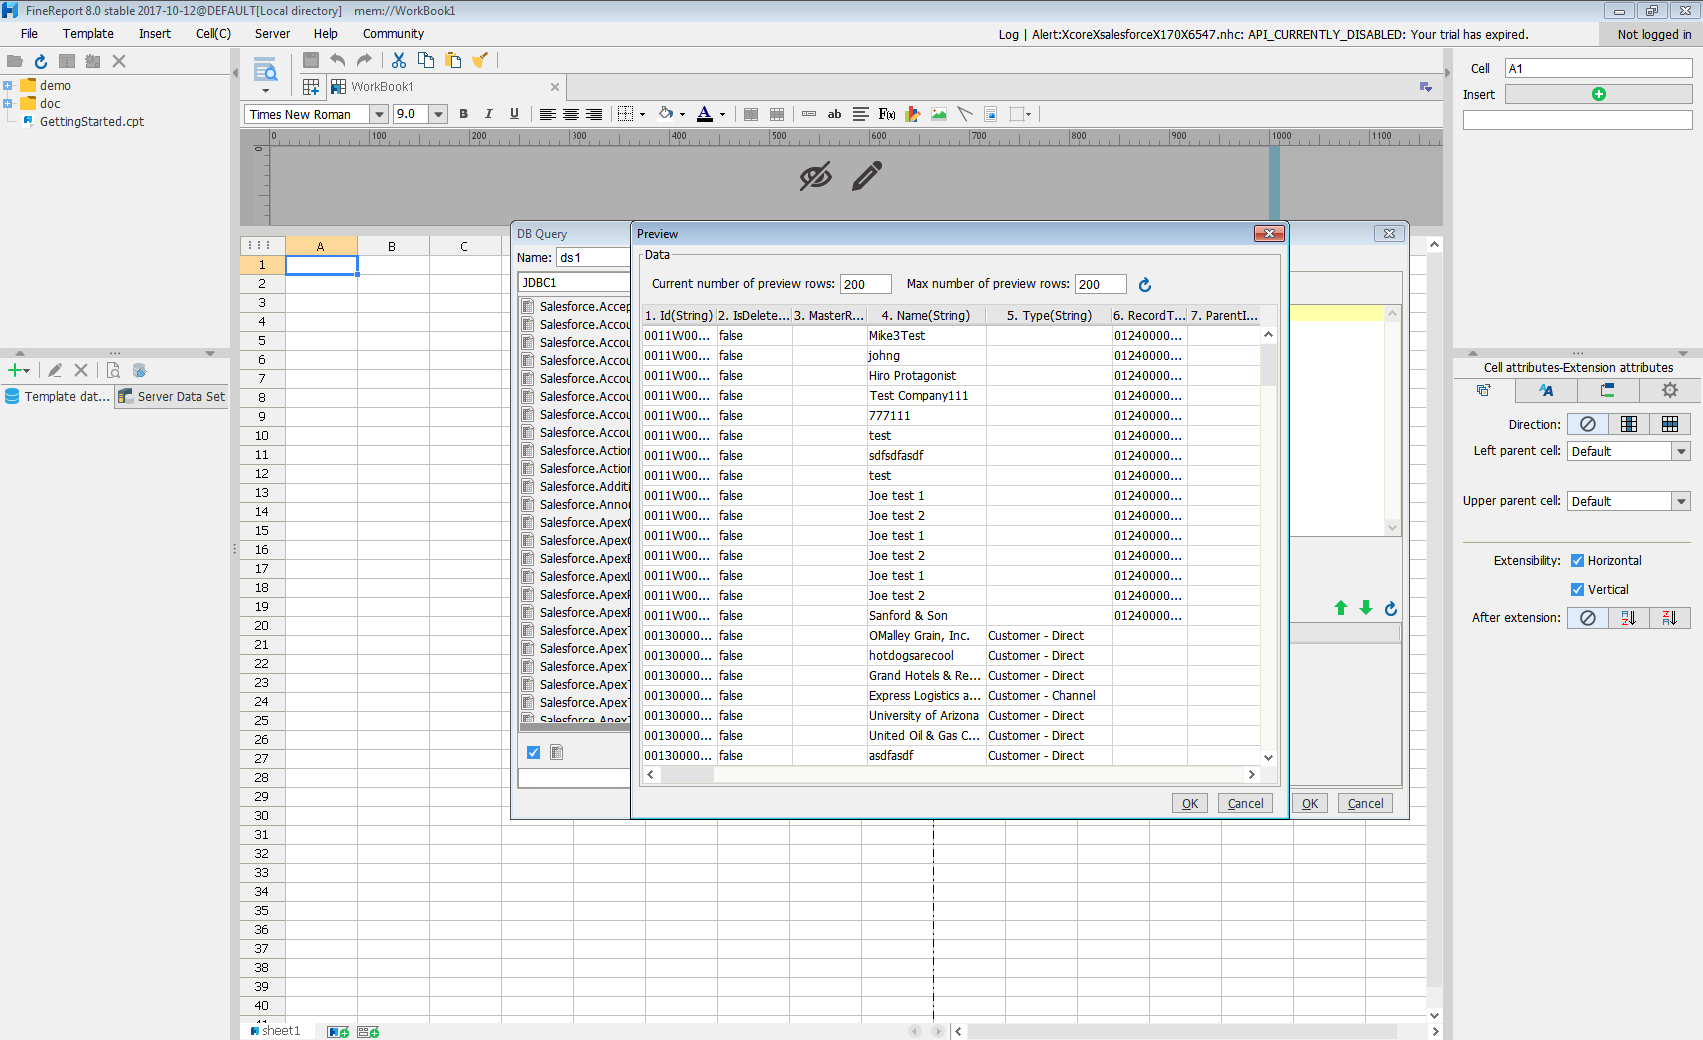
With these simple steps, AlloyDB can be used as a JDBC data source in FineReport.


