Discover how a bimodal integration strategy can address the major data management challenges facing your organization today.
Get the Report →Connect to Live Dynamics 365 Business Central Data in PostGresSQL Interface through CData Connect Cloud
Create a live connection to Dynamics 365 Business Central in CData Connect Cloud and connect to your Dynamics 365 Business Central data from PostgreSQL.
There are a vast number of PostgreSQL clients available on the Internet. PostgreSQL is a popular interface for data access. When you pair PostgreSQL with CData Connect Cloud, you gain database-like access to live Dynamics 365 Business Central data from PostgreSQL. In this article, we walk through the process of connecting to Dynamics 365 Business Central data in Connect Cloud and establishing a connection between Connect Cloud and PostgreSQL using a TDS foreign data wrapper (FDW).
CData Connect Cloud provides a pure SQL Server interface for Dynamics 365 Business Central, allowing you to query data from Dynamics 365 Business Central without replicating the data to a natively supported database. Using optimized data processing out of the box, CData Connect Cloud pushes all supported SQL operations (filters, JOINs, etc.) directly to Dynamics 365 Business Central, leveraging server-side processing to return the requested Dynamics 365 Business Central data quickly.
Connect to Dynamics 365 Business Central in Connect Cloud
CData Connect Cloud uses a straightforward, point-and-click interface to connect to data sources.
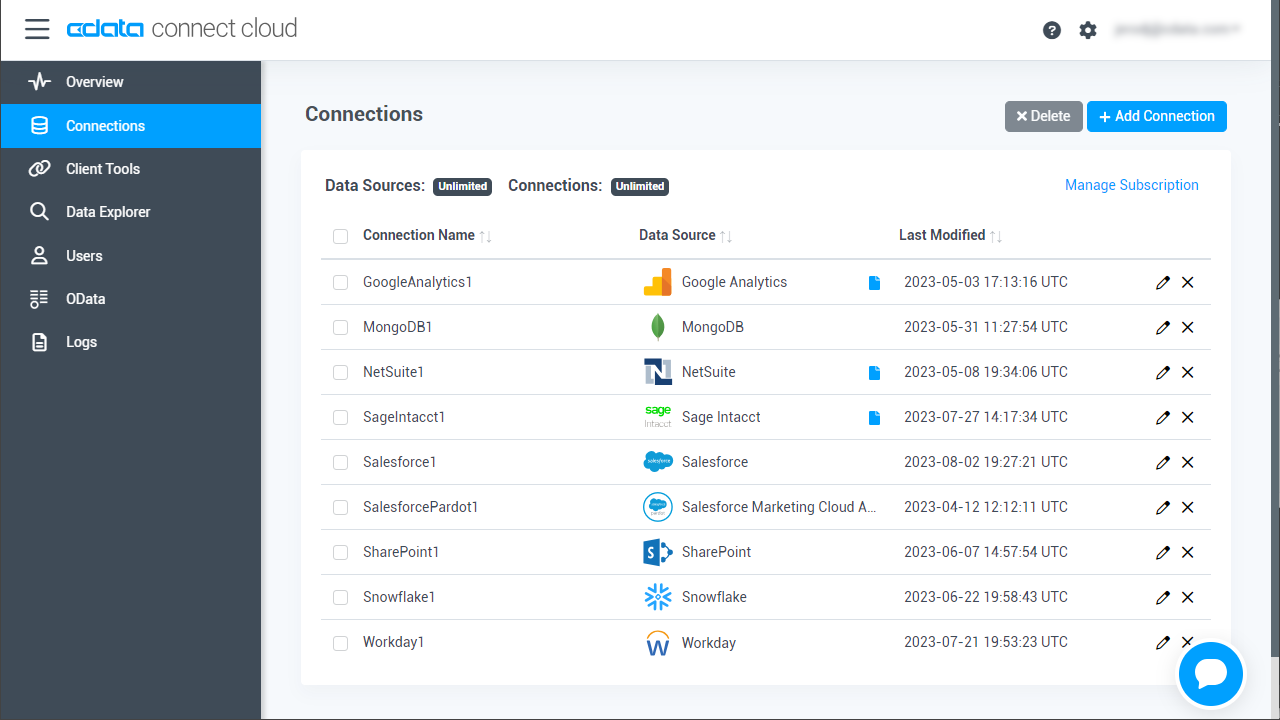
- Log into Connect Cloud, click Connections and click Add Connection
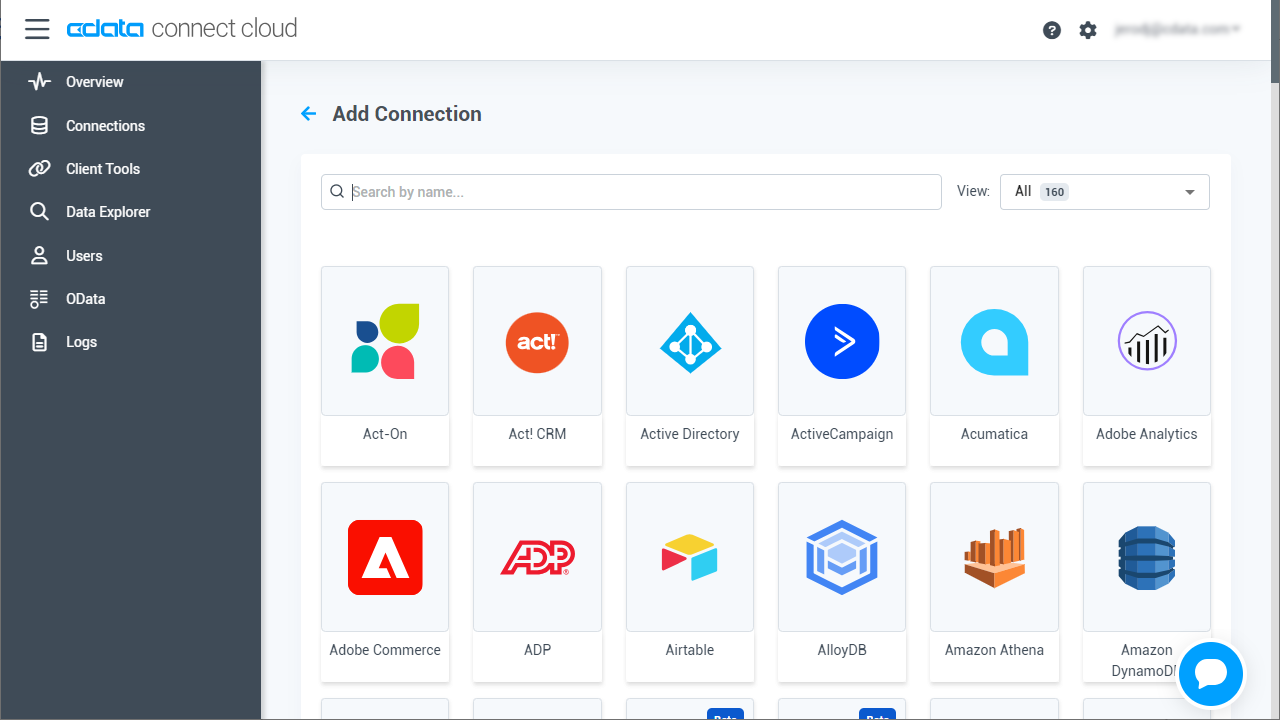
- Select "Dynamics 365 Business Central" from the Add Connection panel
-
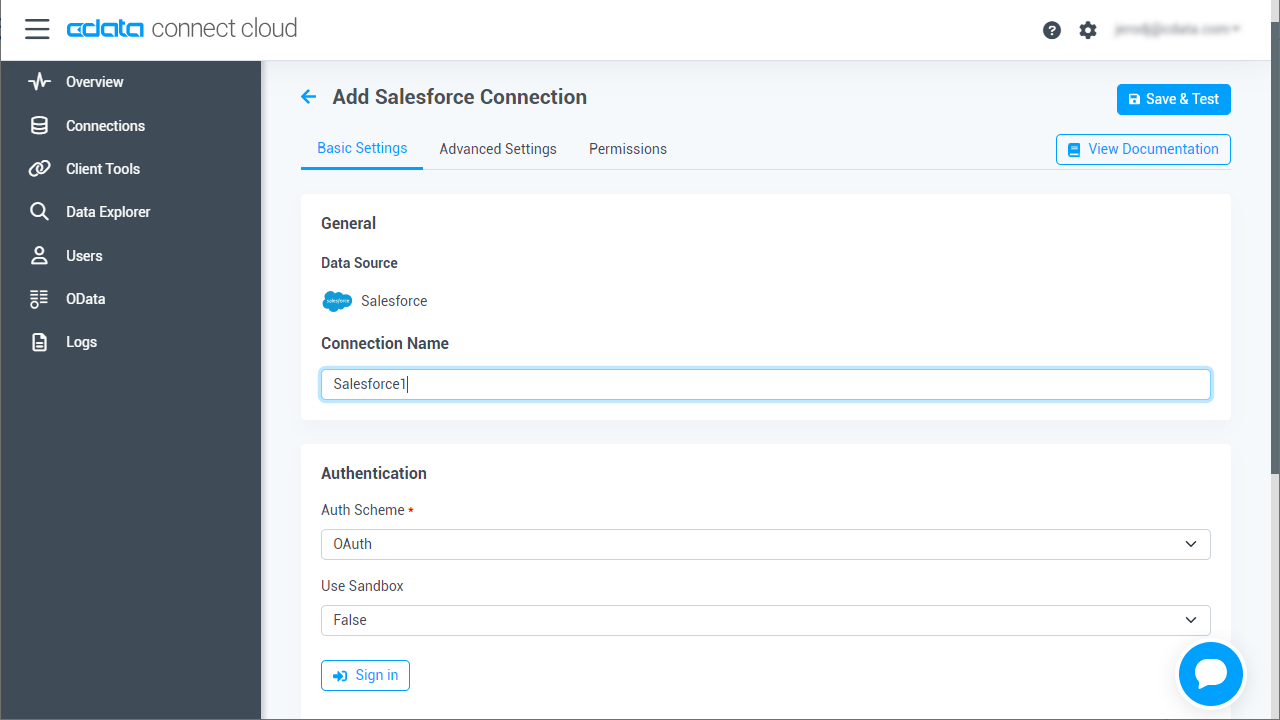
Enter the necessary authentication properties to connect to Dynamics 365 Business Central.
To authenticate to Dynamics 365 Business Central, you must provide the User and AccessKey properties.
To obtain the User and AccessKey values, navigate to the Users page in Dynamics 365 Business Central and then click on Edit. The User Name and Web Service Access Key values are what you will enter as the User and AccessKey connection string properties. Note that the User Name is not your email address. It is a shortened user name.
To connect to data, specify OrganizationUrl. If you have multiple companies in your organization, you must also specify the Company to indicate which company you would like to connect to. Company does not need to be specified if you have only one company.
![Configuring a connection (Salesforce is shown) Configuring a connection (Salesforce is shown)]()
- Click Create & Test
-
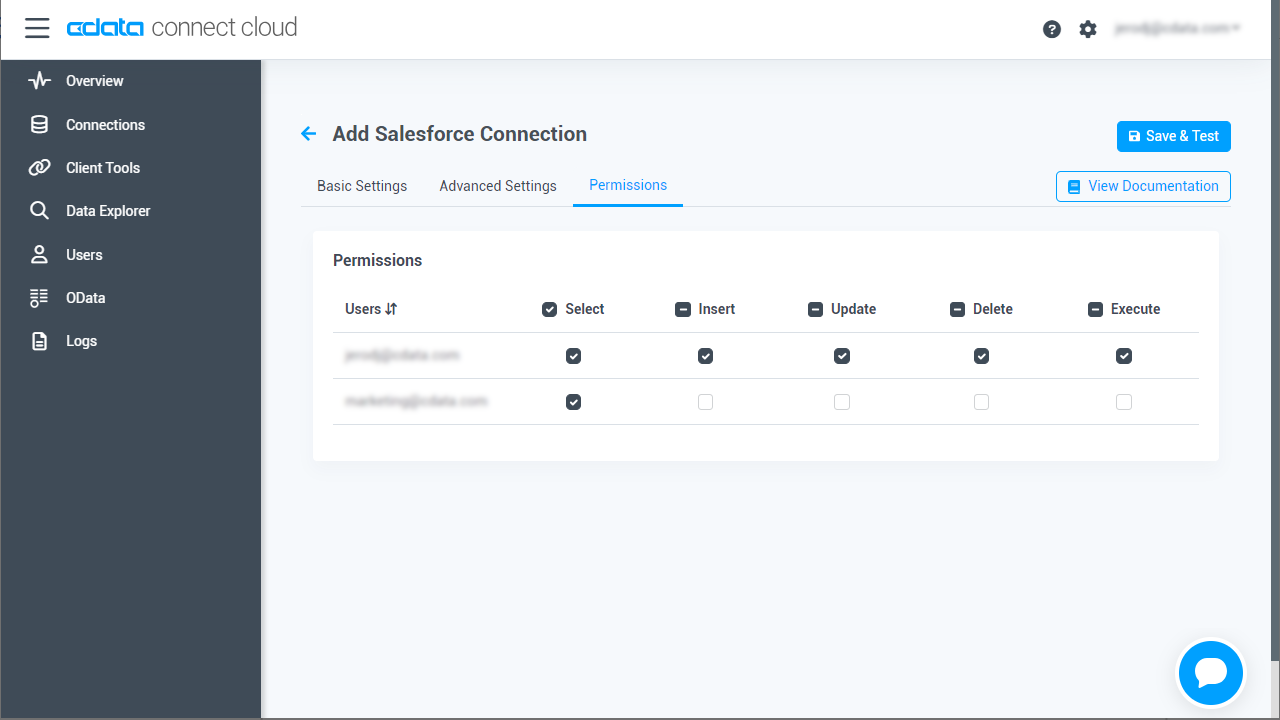
Navigate to the Permissions tab in the Add Dynamics 365 Business Central Connection page and update the User-based permissions.
![Updating permissions Updating permissions]()
Add a Personal Access Token
If you are connecting from a service, application, platform, or framework that does not support OAuth authentication, you can create a Personal Access Token (PAT) to use for authentication. Best practices would dictate that you create a separate PAT for each service, to maintain granularity of access.
- Click on your username at the top right of the Connect Cloud app and click User Profile.
- On the User Profile page, scroll down to the Personal Access Tokens section and click Create PAT.
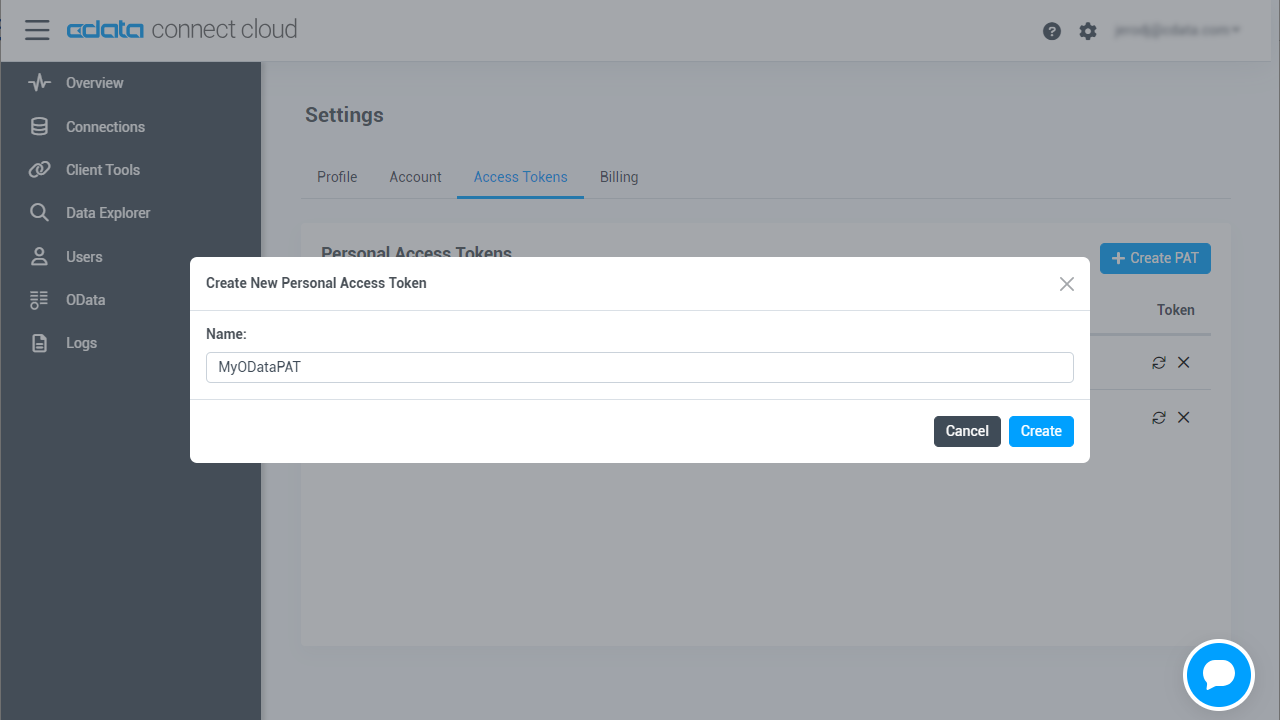
- Give your PAT a name and click Create.
- The personal access token is only visible at creation, so be sure to copy it and store it securely for future use.
Build the TDS Foreign Data Wrapper
The Foreign Data Wrapper can be installed as an extension to PostgreSQL, without recompiling PostgreSQL. The tds_fdw extension is used as an example (https://github.com/tds-fdw/tds_fdw).
- You can clone and build the git repository via something like the following view source:
sudo apt-get install git git clone https://github.com/tds-fdw/tds_fdw.git cd tds_fdw make USE_PGXS=1 sudo make USE_PGXS=1 installNote: If you have several PostgreSQL versions and you do not want to build for the default one, first locate where the binary for pg_config is, take note of the full path, and then append PG_CONFIG=after USE_PGXS=1 at the make commands. - After you finish the installation, then start the server:
sudo service postgresql start - Then go inside the Postgres database
psql -h localhost -U postgres -d postgresNote: Instead of localhost you can put the IP where your PostgreSQL is hosted.
Connect to Dynamics 365 Business Central data as a PostgreSQL Database and query the data!
After you have installed the extension, follow the steps below to start executing queries to Dynamics 365 Business Central data:
- Log into your database.
- Load the extension for the database:
CREATE EXTENSION tds_fdw; - Create a server object for Dynamics 365 Business Central data:
CREATE SERVER "D365BusinessCentral1" FOREIGN DATA WRAPPER tds_fdw OPTIONS (servername'tds.cdata.com', port '14333', database 'D365BusinessCentral1'); - Configure user mapping with your email and Personal Access Token from your Connect Cloud account:
CREATE USER MAPPING for postgres SERVER "D365BusinessCentral1" OPTIONS (username 'username@cdata.com', password 'your_personal_access_token' ); - Create the local schema:
CREATE SCHEMA "D365BusinessCentral1"; - Create a foreign table in your local database:
#Using a table_name definition: CREATE FOREIGN TABLE "D365BusinessCentral1".Accounts ( id varchar, Name varchar) SERVER "D365BusinessCentral1" OPTIONS(table_name 'D365BusinessCentral.Accounts', row_estimate_method 'showplan_all'); #Or using a schema_name and table_name definition: CREATE FOREIGN TABLE "D365BusinessCentral1".Accounts ( id varchar, Name varchar) SERVER "D365BusinessCentral1" OPTIONS (schema_name 'D365BusinessCentral', table_name 'Accounts', row_estimate_method 'showplan_all'); #Or using a query definition: CREATE FOREIGN TABLE "D365BusinessCentral1".Accounts ( id varchar, Name varchar) SERVER "D365BusinessCentral1" OPTIONS (query 'SELECT * FROM D365BusinessCentral.Accounts', row_estimate_method 'showplan_all'); #Or setting a remote column name: CREATE FOREIGN TABLE "D365BusinessCentral1".Accounts ( id varchar, col2 varchar OPTIONS (column_name 'Name')) SERVER "D365BusinessCentral1" OPTIONS (schema_name 'D365BusinessCentral', table_name 'Accounts', row_estimate_method 'showplan_all'); - You can now execute read/write commands to Dynamics 365 Business Central:
SELECT id, Name
FROM "D365BusinessCentral1".Accounts;
More Information & Free Trial
Now, you have created a simple query from live Dynamics 365 Business Central data. For more information on connecting to Dynamics 365 Business Central (and more than 100 other data sources), visit the Connect Cloud page. Sign up for a free trial and start working with live Dynamics 365 Business Central data in PostgreSQL.


