Discover how a bimodal integration strategy can address the major data management challenges facing your organization today.
Get the Report →How to connect to OData Services from IntelliJ
Integrate connectivity to OData services with wizards in IntelliJ.
The CData JDBC Driver for OData enables you to access OData as a JDBC data source, providing integration with rapid development tools in IDEs. This article shows how to use the data source configuration wizard to connect to OData services in IntelliJ.
About OData Data Integration
CData simplifies access and integration of live OData services data. Our customers leverage CData connectivity to:
- Access OData versions 2.0, 3.0, and 4.0, working with legacy services and the latest features and capabilities.
- Leverage advanced query options, including $filter, $select, and $expand, enhancing data retrieval from 3rd party tools.
- Use Server-side execution of aggregation and grouping to minimize data transfer and boost performance.
- Authenticate securely using a variety of schemes, including Azure AD, digest, negotiate, NTLM, OAuth, and more means secure authentication with every connection.
- Use SQL stored procedures to manage OData service entities - listing, creating, and removing associations between entities.
Customers use CData's solutions to regularly integrate their OData services with preferred tools, such as Power BI, MicroStrategy, or Tableau, and to replicate data from OData services to their databases or data warehouses.
Getting Started
Create a JBDC Data Source for OData
Follow the steps below to add the driver JAR and define connection properties required to connect to OData services.
- In the Data Sources window, right-click and then click Add Data Source -> DB Data Source.
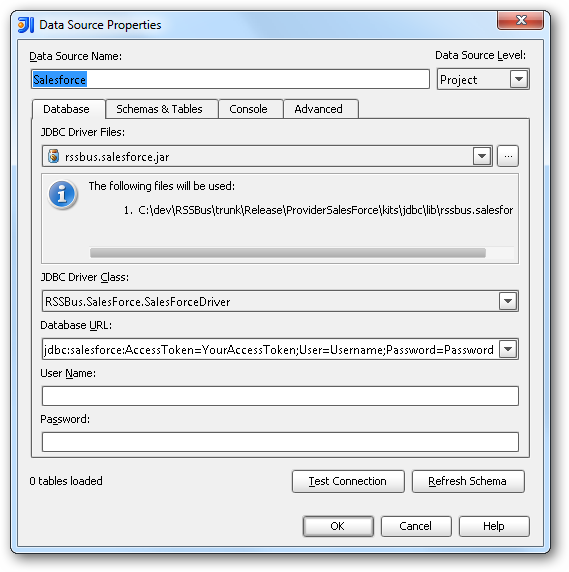
In the Data Source Properties dialog that appears, the following properties are required:
- JDBC Driver Files: Click the button next to this menu to add the JDBC Driver file cdata.jdbc.odata.jar, located in the installation directory.
- JDBC Driver Class: In this menu, select cdata.jdbc.odata.ODataDriver from the list.
Database URL: Enter the connection URL in the JDBC URL property. The URL must start with jdbc:odata: and includes connection properties separated with semicolons.
The User and Password properties, under the Authentication section, must be set to valid OData user credentials. In addition, you will need to specify a URL to a valid OData server organization root or OData services file.
Built-in Connection String Designer
For assistance in constructing the JDBC URL, use the connection string designer built into the OData JDBC Driver. Either double-click the JAR file or execute the jar file from the command-line.
java -jar cdata.jdbc.odata.jarFill in the connection properties and copy the connection string to the clipboard.
![Using the built-in connection string designer to generate a JDBC URL (Salesforce is shown.)]()
A typical JDBC URL is the following:
jdbc:odata:URL=http://services.odata.org/V4/Northwind/Northwind.svc;UseIdUrl=True;OData Version=4.0;Data Format=ATOM;

Edit and Save OData Services
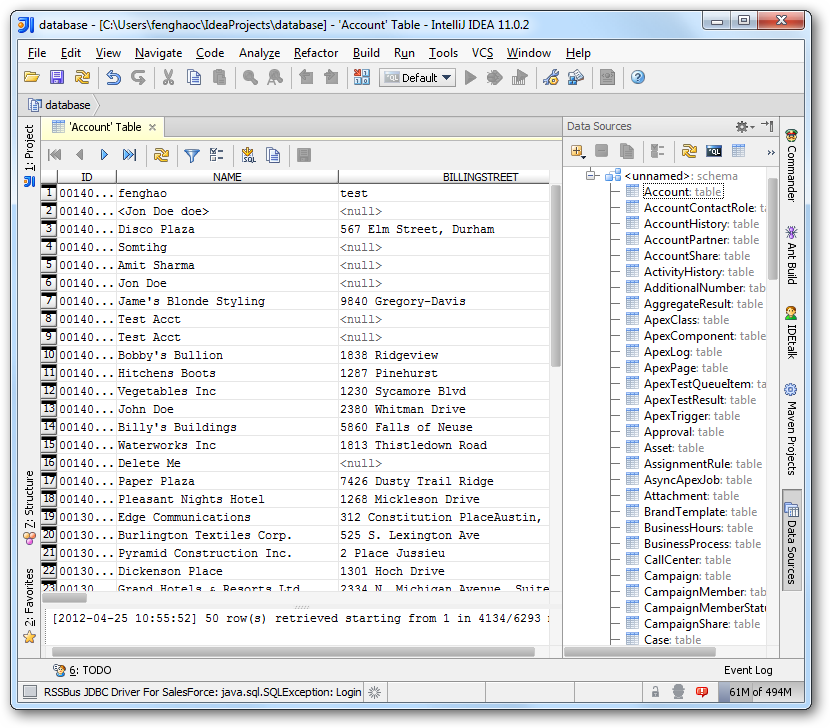
To discover schema information, right-click the data source you just created and click Refresh Tables. To query a table, right-click it and then click Open Tables Editor. You can also modify records in the Table Editor.


