Discover how a bimodal integration strategy can address the major data management challenges facing your organization today.
Get the Report →Automate Paylocity Data Replication to Azure Data Lake
Use CData Sync to customize and automate Paylocity data replication to Azure Data Lake.
Always-on applications rely on automatic failover capabilities and real-time data access. CData Sync integrates live Paylocity data into your Azure Data Lake instance, allowing you to consolidate all of your data into a single location for archiving, reporting, analytics, machine learning, artificial intelligence and more.
Configure Azure Data Lake as a Replication Destination
Using CData Sync, you can replicate Paylocity data to Azure Data Lake. To add a replication destination, navigate to the Connections tab.
- Click Add Connection.
- Select Azure Data Lake as a destination.
![Configure a Destination connection to Azure Data Lake.]()
Enter the necessary connection properties. To connect to Azure Data Lake, set the following properties, depending on your version of Azure Data Lake Storage:
Azure Data Lake Storage Gen1
- Generation: Must be set to 1.
- Account: The name of the Azure Data Lake Store account.
- Path: The path to store the replicated file (the root directory by default).
- TenantId: The tenant ID.
- OAuthClientId: The application ID for the Azure Directory web application (see the CData Sync Help for more information).
- OAuthClientSecret: The key generated for the Azure Directory web application (see the CData Sync Help for more information).
Azure Data Lake Storage Gen2
- Generation: Must be set to 2.
- Access Key: The access key used to authenticate (see the CData Sync Help for more information).
- Account: The name of the Azure Data Lake Store account.
- FileSystem: The file systems used for this account.
- Path: The path to store the replicated file (the root directory by default).
- Click Test Connection to ensure that the connection is configured properly.
![Configure a Destination connection (Generation 1 is shown).]()
- Click Save Changes.
Configure the Paylocity Connection
You can configure a connection to Paylocity from the Connections tab. To add a connection to your Paylocity account, navigate to the Connections tab.
- Click Add Connection.
- Select a source (Paylocity).
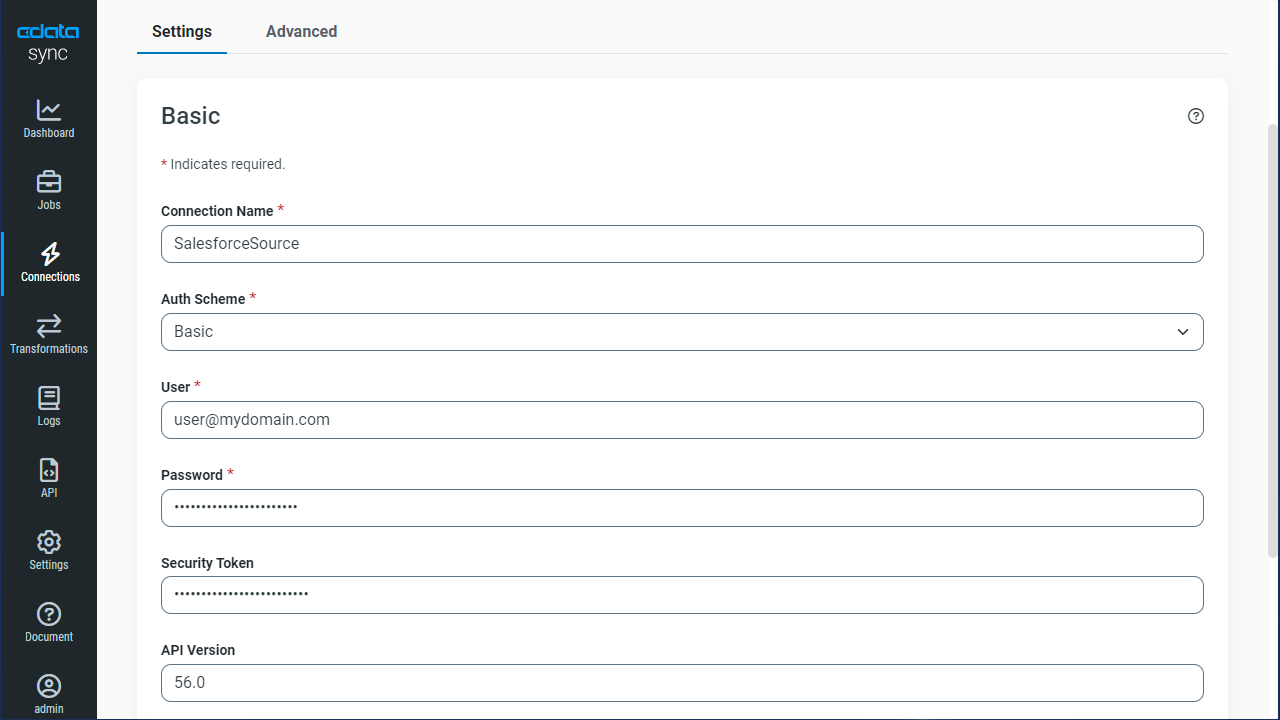
- Configure the connection properties.
Set the following to establish a connection to Paylocity:
- RSAPublicKey: Set this to the RSA Key associated with your Paylocity, if the RSA Encryption is enabled in the Paylocity account.
This property is required for executing Insert and Update statements, and it is not required if the feature is disabled.
- UseSandbox: Set to true if you are using sandbox account.
- CustomFieldsCategory: Set this to the Customfields category. This is required when IncludeCustomFields is set to true. The default value for this property is PayrollAndHR.
- Key: The AES symmetric key(base 64 encoded) encrypted with the Paylocity Public Key. It is the key used to encrypt the content.
Paylocity will decrypt the AES key using RSA decryption.
It is an optional property if the IV value not provided, The driver will generate a key internally. - IV: The AES IV (base 64 encoded) used when encrypting the content. It is an optional property if the Key value not provided, The driver will generate an IV internally.
Connect Using OAuth Authentication
You must use OAuth to authenticate with Paylocity. OAuth requires the authenticating user to interact with Paylocity using the browser. For more information, refer to the OAuth section in the Help documentation.
The Pay Entry API
The Pay Entry API is completely separate from the rest of the Paylocity API. It uses a separate Client ID and Secret, and must be explicitly requested from Paylocity for access to be granted for an account. The Pay Entry API allows you to automatically submit payroll information for individual employees, and little else. Due to the extremely limited nature of what is offered by the Pay Entry API, we have elected not to give it a separate schema, but it may be enabled via the UsePayEntryAPI connection property.
Please be aware that when setting UsePayEntryAPI to true, you may only use the CreatePayEntryImportBatch & MergePayEntryImportBatchgtable stored procedures, the InputTimeEntry table, and the OAuth stored procedures. Attempts to use other features of the product will result in an error. You must also store your OAuthAccessToken separately, which often means setting a different OAuthSettingsLocation when using this connection property.
![Configure a Source connection (Salesforce is shown).]()
- RSAPublicKey: Set this to the RSA Key associated with your Paylocity, if the RSA Encryption is enabled in the Paylocity account.
- Click Connect to ensure that the connection is configured properly.
- Click Save Changes.
Configure Replication Queries
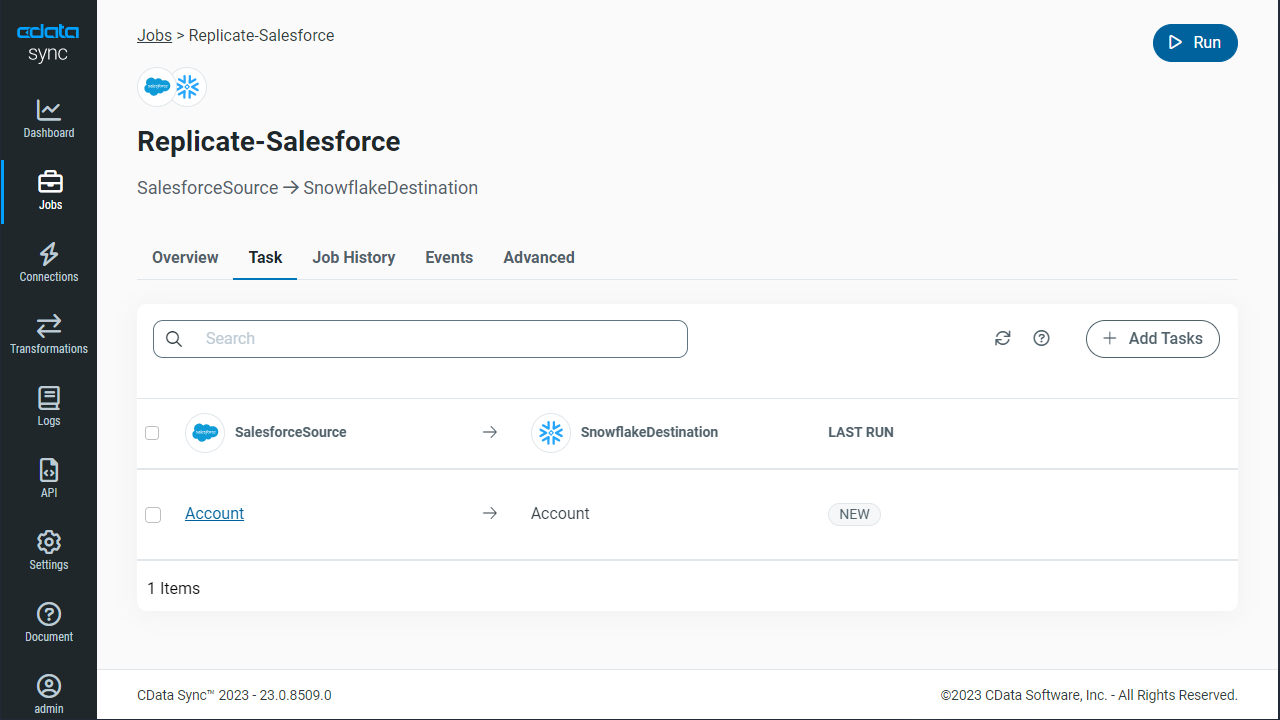
CData Sync enables you to control replication with a point-and-click interface and with SQL queries. For each replication you wish to configure, navigate to the Jobs tab and click Add Job. Select the Source and Destination for your replication.
Replicate Entire Tables
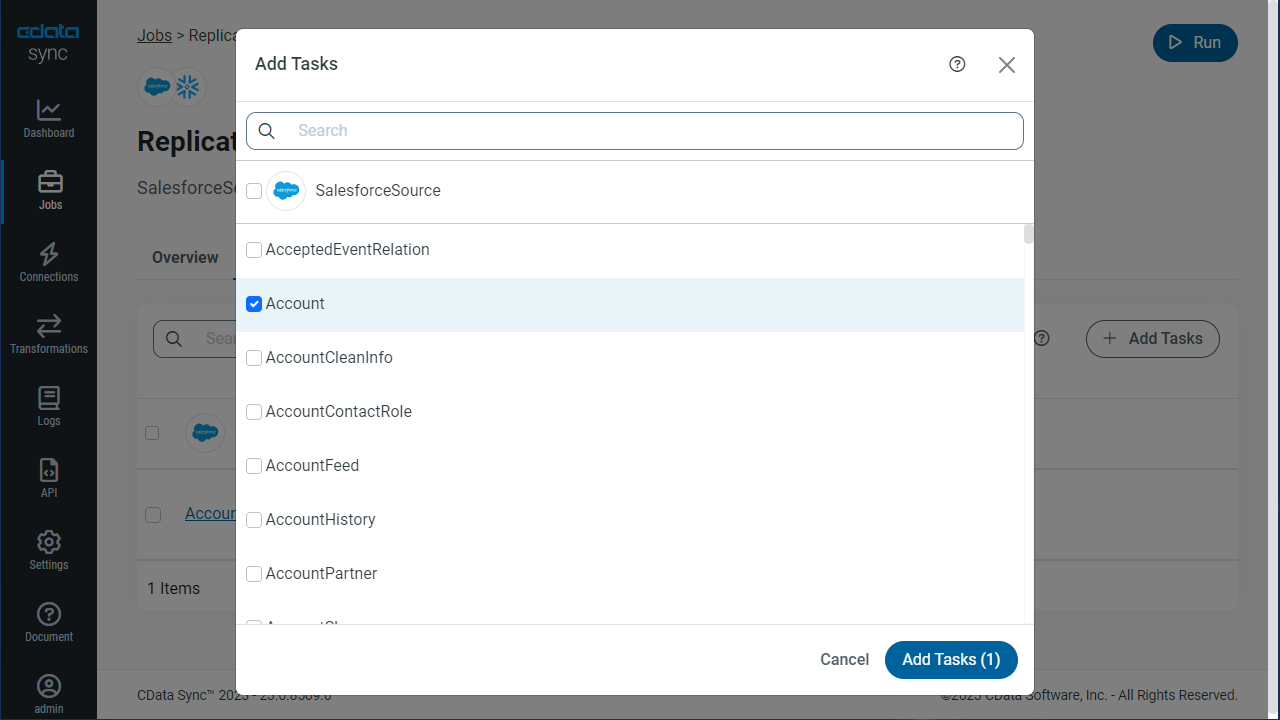
To replicate an entire table, click Add Tables in the Tables section, choose the table(s) you wish to replicate, and click Add Selected Tables.
Customize Your Replication
You can use the Columns and Query tabs of a task to customize your replication. The Columns tab allows you to specify which columns to replicate, rename the columns at the destination, and even perform operations on the source data before replicating. The Query tab allows you to add filters, grouping, and sorting to the replication.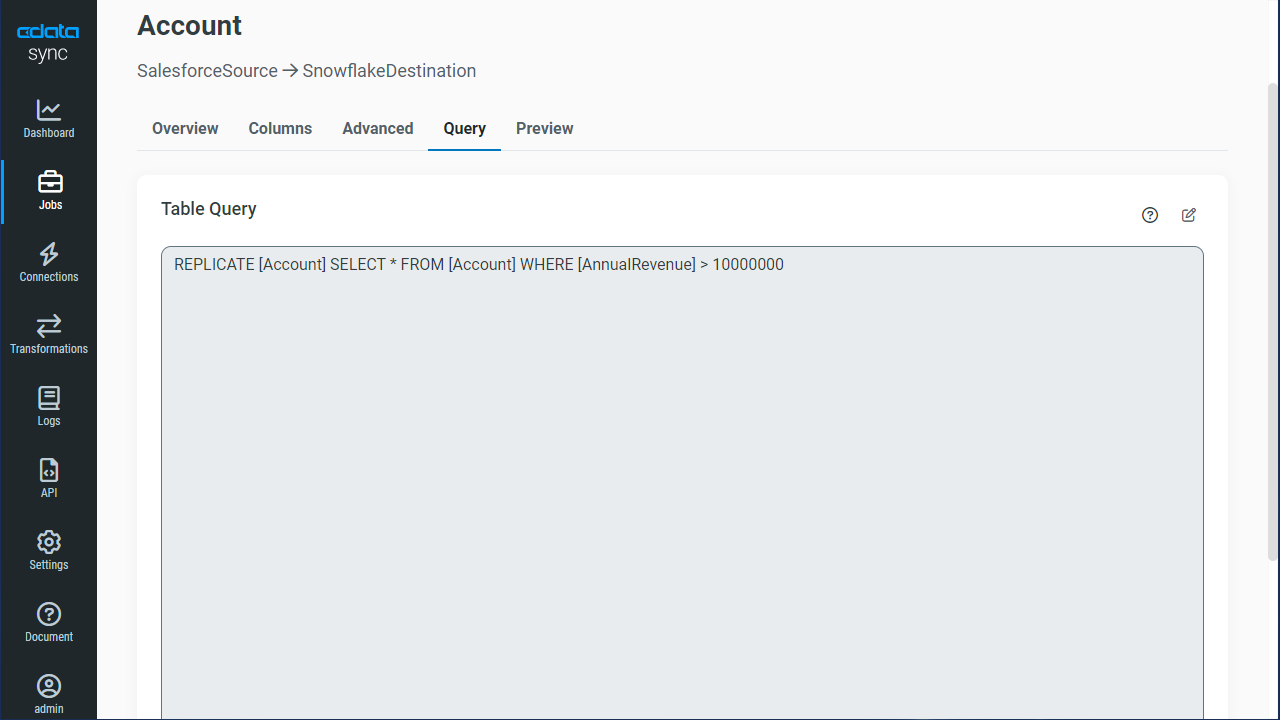
Schedule Your Replication
In the Schedule section, you can schedule a job to run automatically, configuring the job to run after specified intervals ranging from once every 10 minutes to once every month.
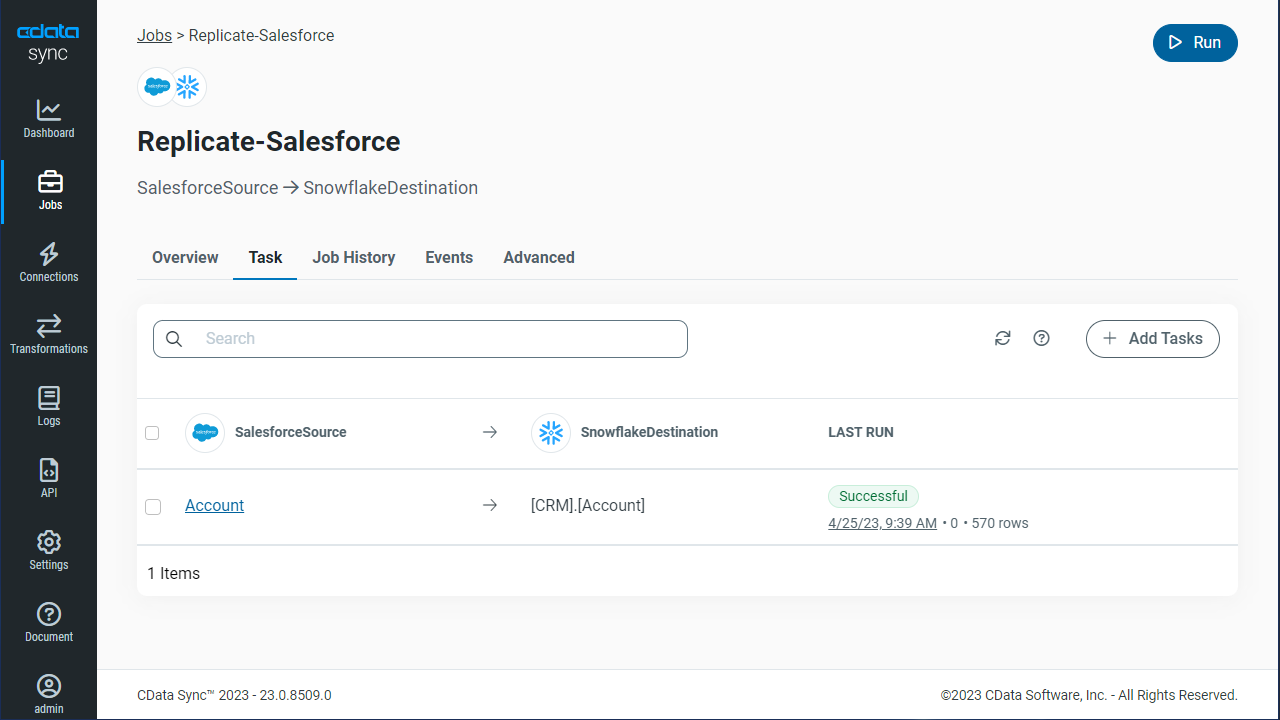
Once you have configured the replication job, click Save Changes. You can configure any number of jobs to manage the replication of your Paylocity data to PostgreSQL.


