Discover how a bimodal integration strategy can address the major data management challenges facing your organization today.
Get the Report →Edit and Search External Xero Objects in Salesforce Connect
Use CData Connect Cloud to securely provide OData feeds of Xero data to smart devices and cloud-based applications. Use the CData Connect and Salesforce Connect to create Xero Data objects that you can access from apps and the dashboard.
CData Connect Cloud, enables you to access Xero data from cloud-based applications like the Salesforce console and mobile applications like the Salesforce Mobile App. In this article, you will use CData Connect Cloud and Salesforce Connect to access external Xero objects alongside standard Salesforce objects.
Connect to Xero from Salesforce
To work with live Xero data in Salesforce Connect, we need to connect to Xero from Connect Cloud, provide user access to the connection, and create OData endpoints for the Xero data.
(Optional) Add a New Connect Cloud User
As needed, create Users to connect to Xero through Connect Cloud.
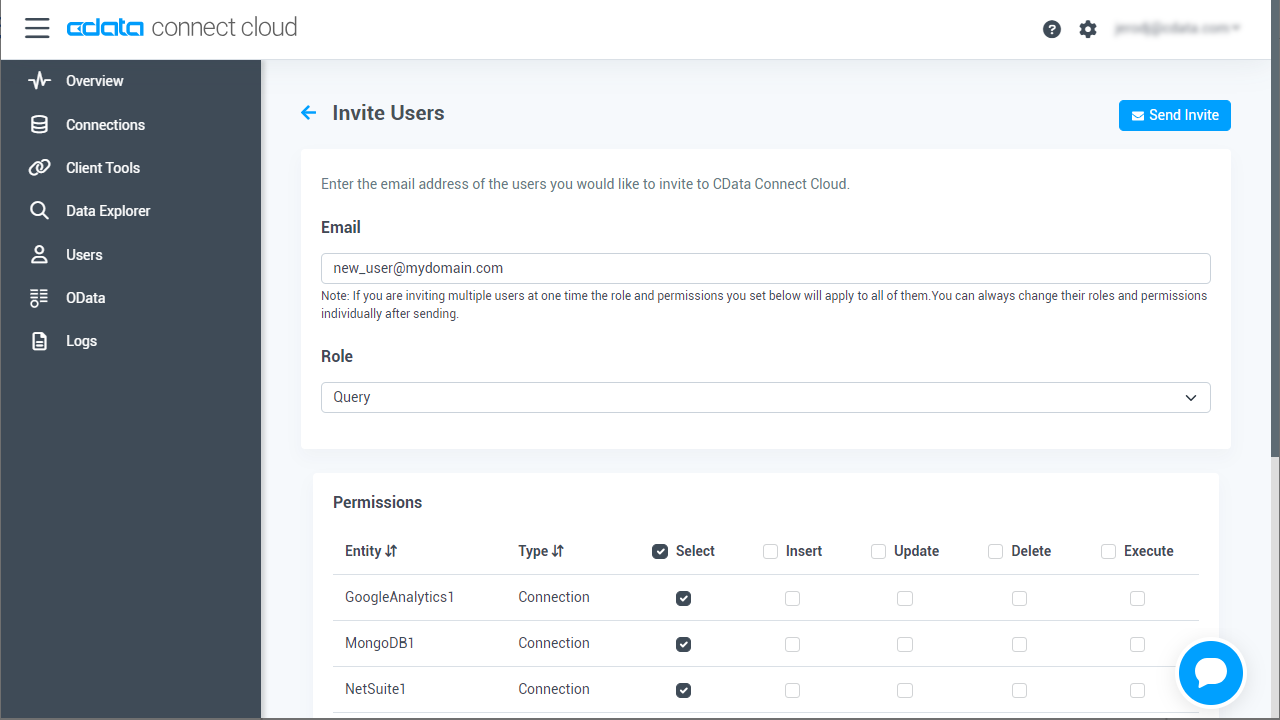
- Navigate to the Users page and click Invite Users
- Enter the new user's email address and click Send to invite the user
![Inviting a new user]()
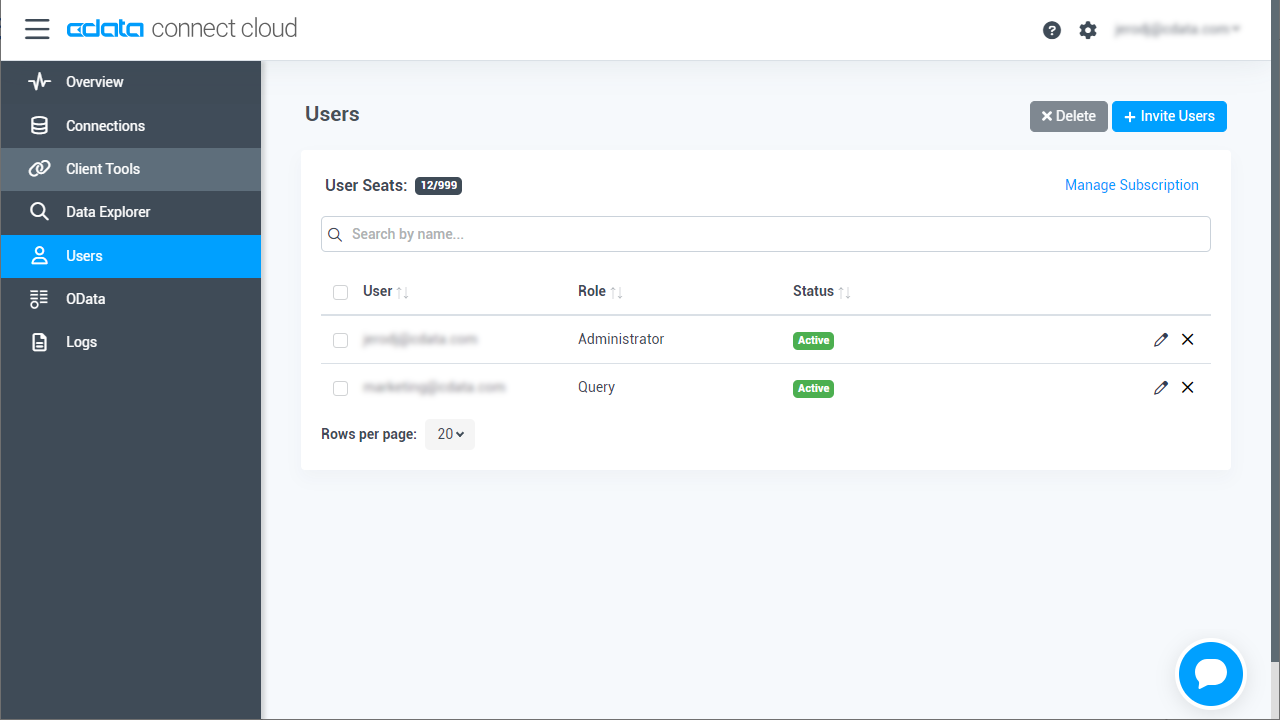
- You can review and edit users from the Users page
![Connect Cloud users]()
Add a Personal Access Token
If you are connecting from a service, application, platform, or framework that does not support OAuth authentication, you can create a Personal Access Token (PAT) to use for authentication. Best practices would dictate that you create a separate PAT for each service, to maintain granularity of access.
- Click on your username at the top right of the Connect Cloud app and click User Profile.
- On the User Profile page, scroll down to the Personal Access Tokens section and click Create PAT.
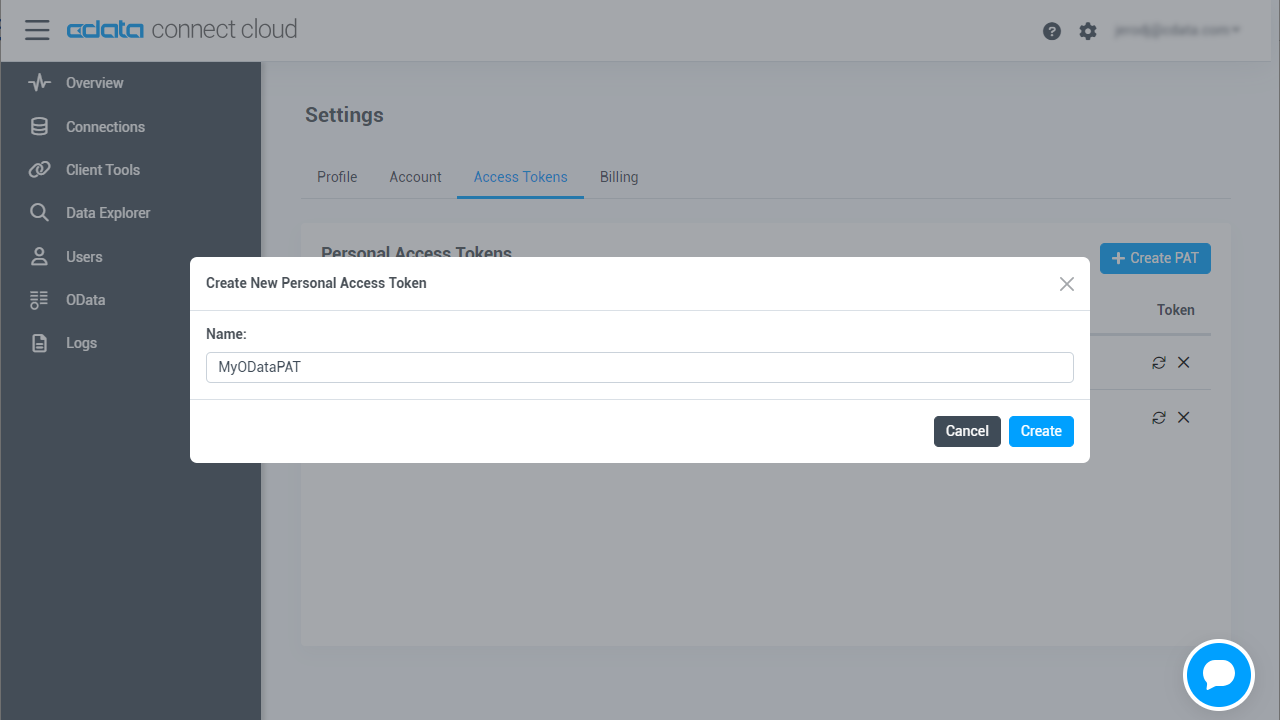
- Give your PAT a name and click Create.
![Creating a new PAT]()
- The personal access token is only visible at creation, so be sure to copy it and store it securely for future use.
Connect to Xero from Connect Cloud
CData Connect Cloud uses a straightforward, point-and-click interface to connect to data sources.
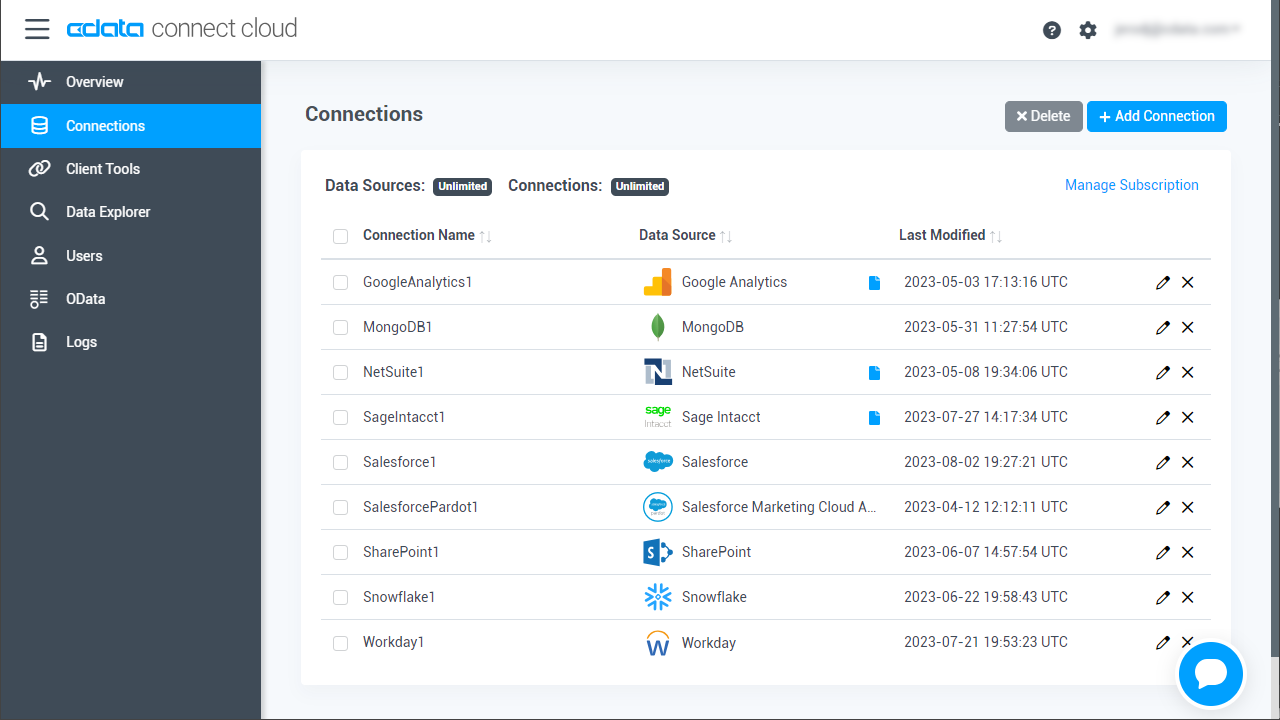
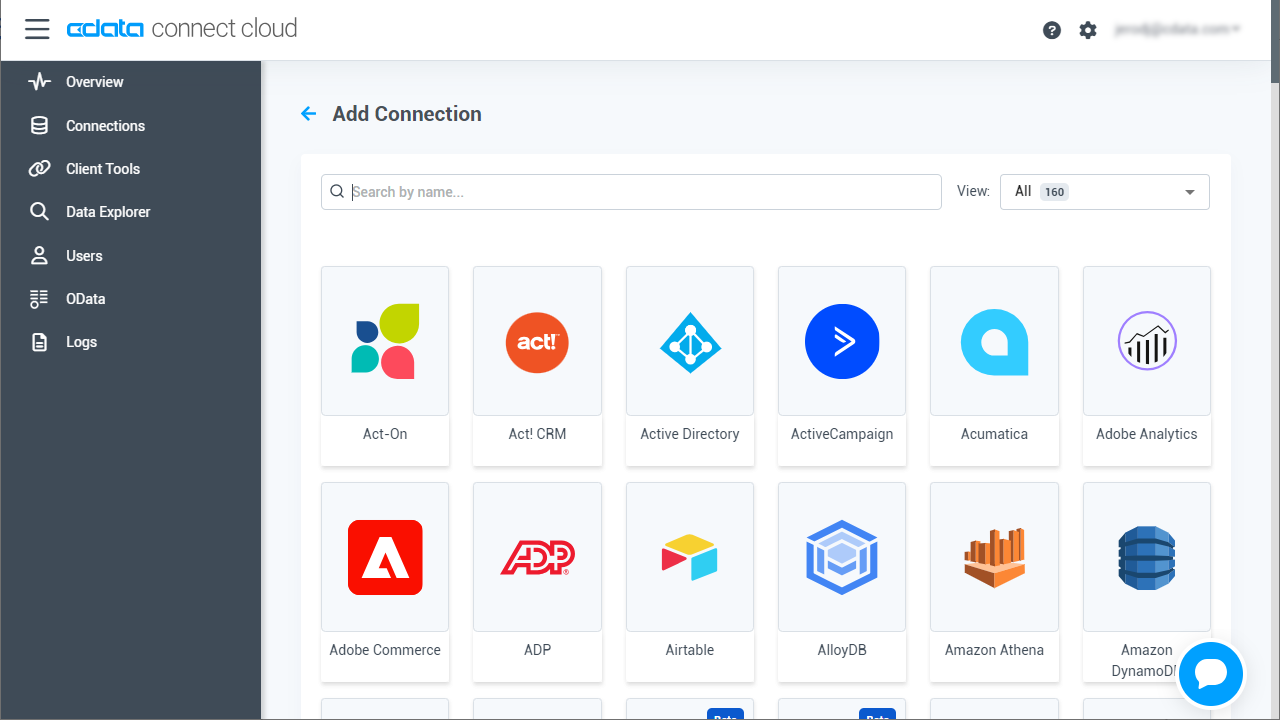
- Log into Connect Cloud, click Connections and click Add Connection
![Adding a Connection]()
- Select "Xero" from the Add Connection panel
![Selecting a data source]()
-
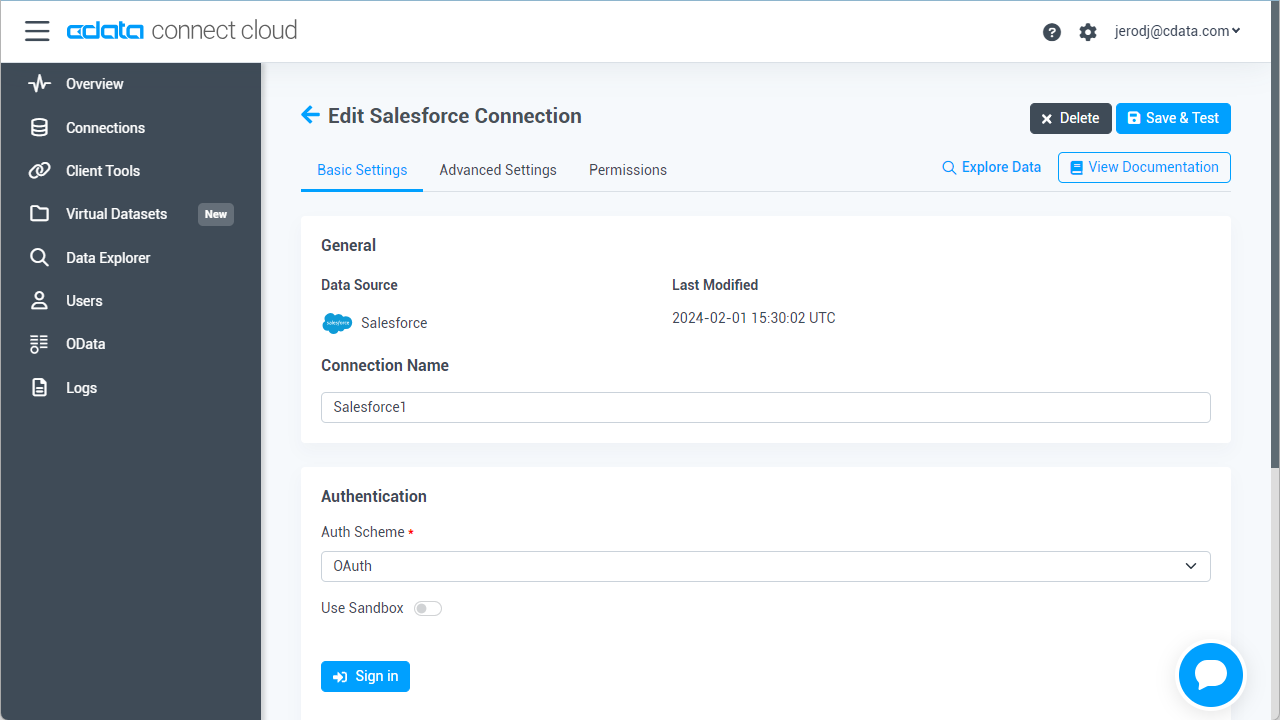
Xero uses OAuth to authenticate. Click "Sign in" to authenticate with Xero.
![Authenticating with OAuth (Salesforce is shown).]()
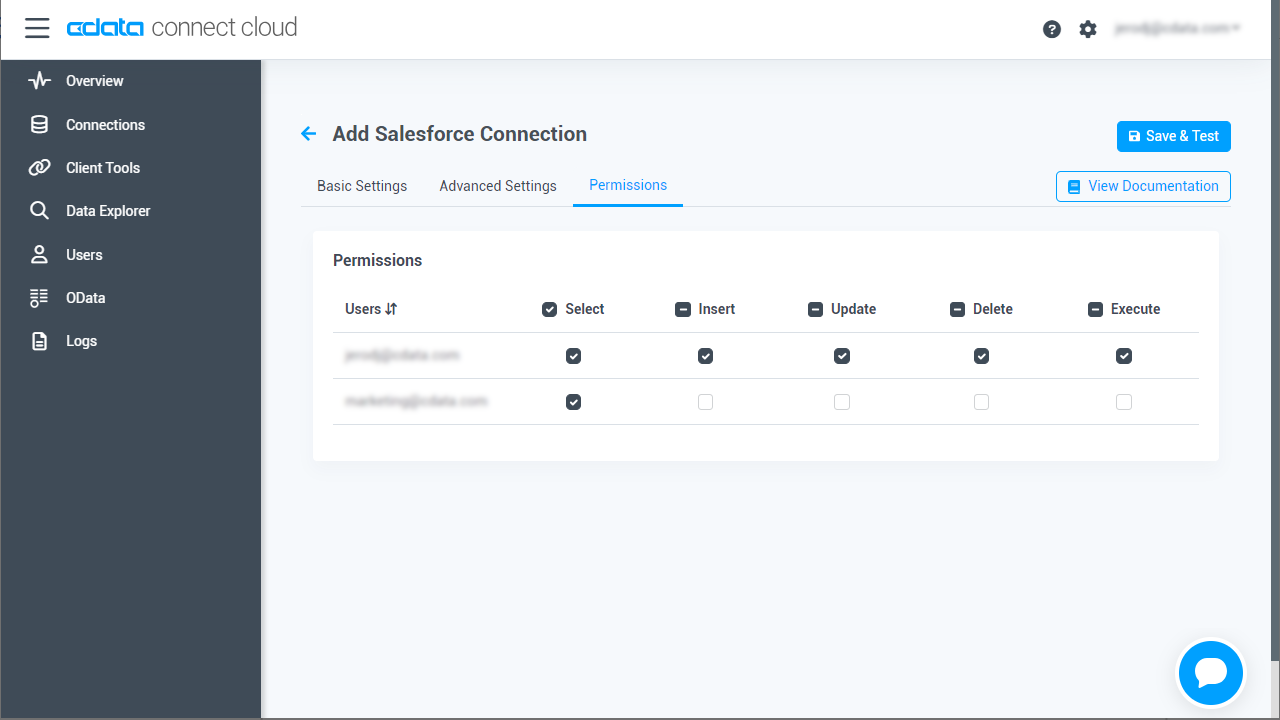
- Navigate to the Permissions tab in the Add Xero Connection page and update the User-based permissions.
![Updating permissions]()
Add Xero OData Endpoints in Connect Cloud
After connecting to Xero, create OData Endpoints for the desired table(s).
- Navigate to the OData page and click Add to create new OData endpoints
- Select the Xero connection (e.g. Xero1) and click Next
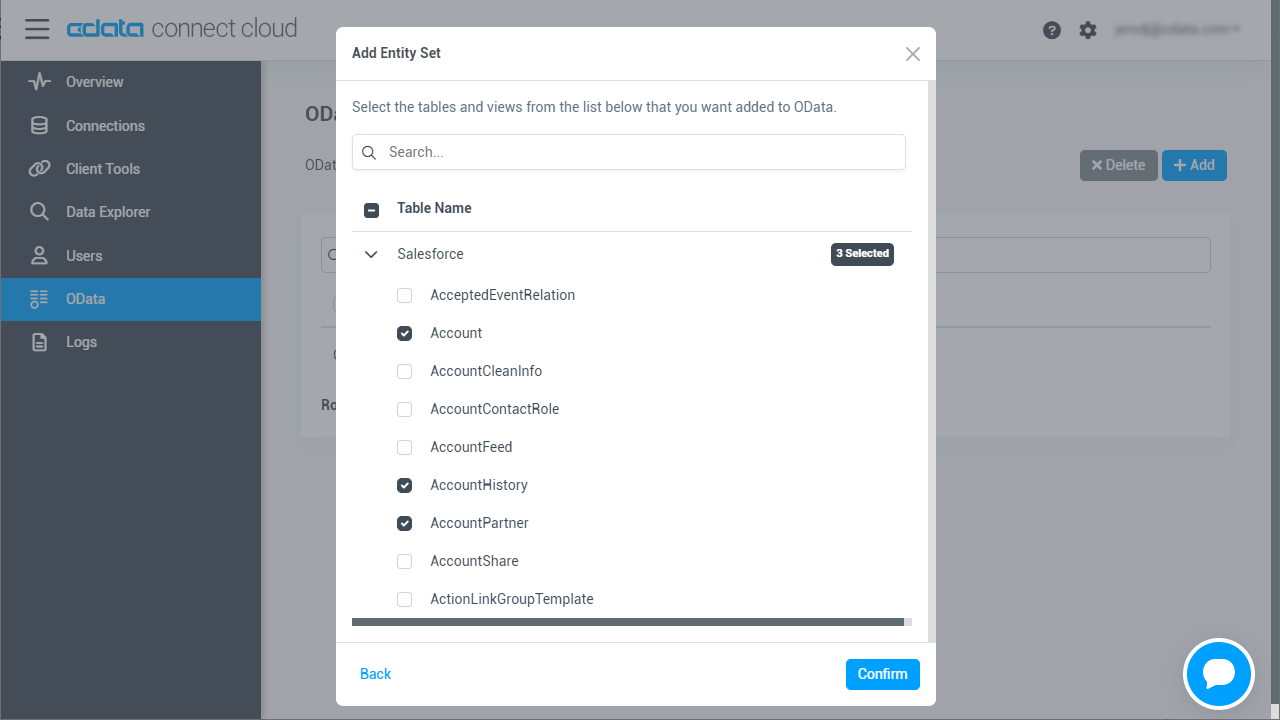
- Select the table(s) you wish to work with and click Confirm
![Selecting Tables (NetSuite is shown)]()
With the connection and OData endpoints configured, you are ready to connect to Xero data from Salesforce Connect.
Connect to Xero Data as an External Data Sources
Follow the steps below to connect to the feed produced by Connect Cloud.
- Log into Salesforce and click Setup -> Integrations -> External Data Sources.
- Click Now External Data Sources.
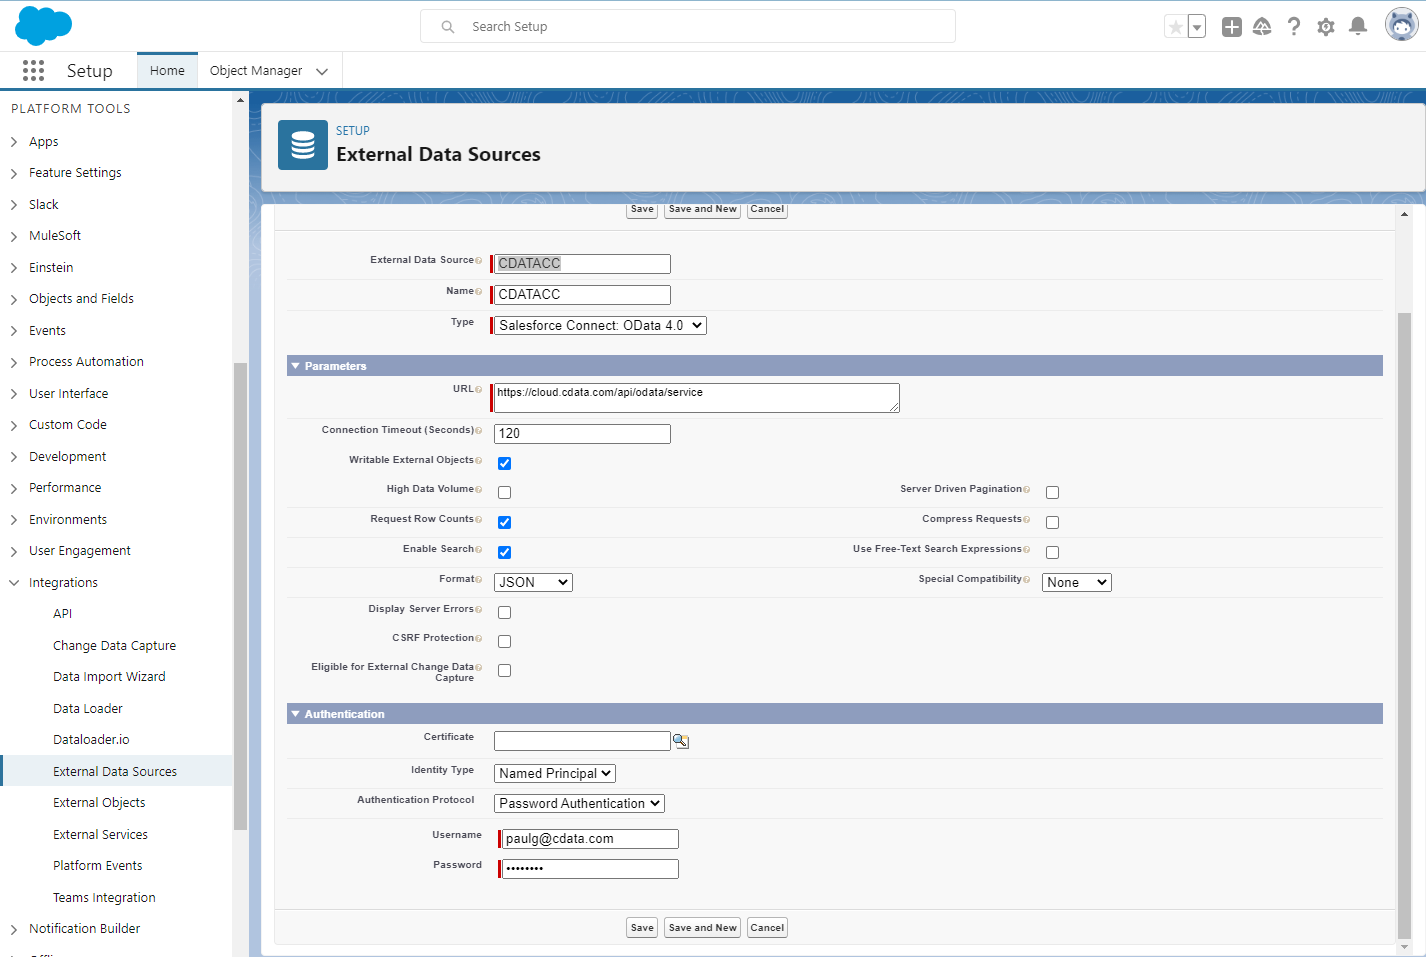
- Enter values for the following properties:
- External Data Sources: Enter a label to be used in list views and reports.
- Name: Enter a unique identifier.
- Type: Select the option "Salesforce Connect: OData 4.0".
- URL: Enter the URL to the OData endpoint of Connect Cloud: https://cloud.cdata.com/api/odata/service
- Select the Writable External Objects option.
- Select JSON in the Format menu.
- In the Authentication section, set the following properties:
- Identity Type: If all members of your organization will use the same credentials to access Connect Cloud, select "Named Principal". If the members of your organization will connect with their own credentials, select "Per User".
- Authentication Protocol: Select Password Authentication to use basic authentication.
- Certificate: Enter or browse to the certificate to be used to encrypt and authenticate communications from Salesforce to your server.
- Username: Enter a CData Connect Cloud username (e.g. user@mydomain.com.
- Password: Enter the user's PAT.
Synchronize Xero Objects
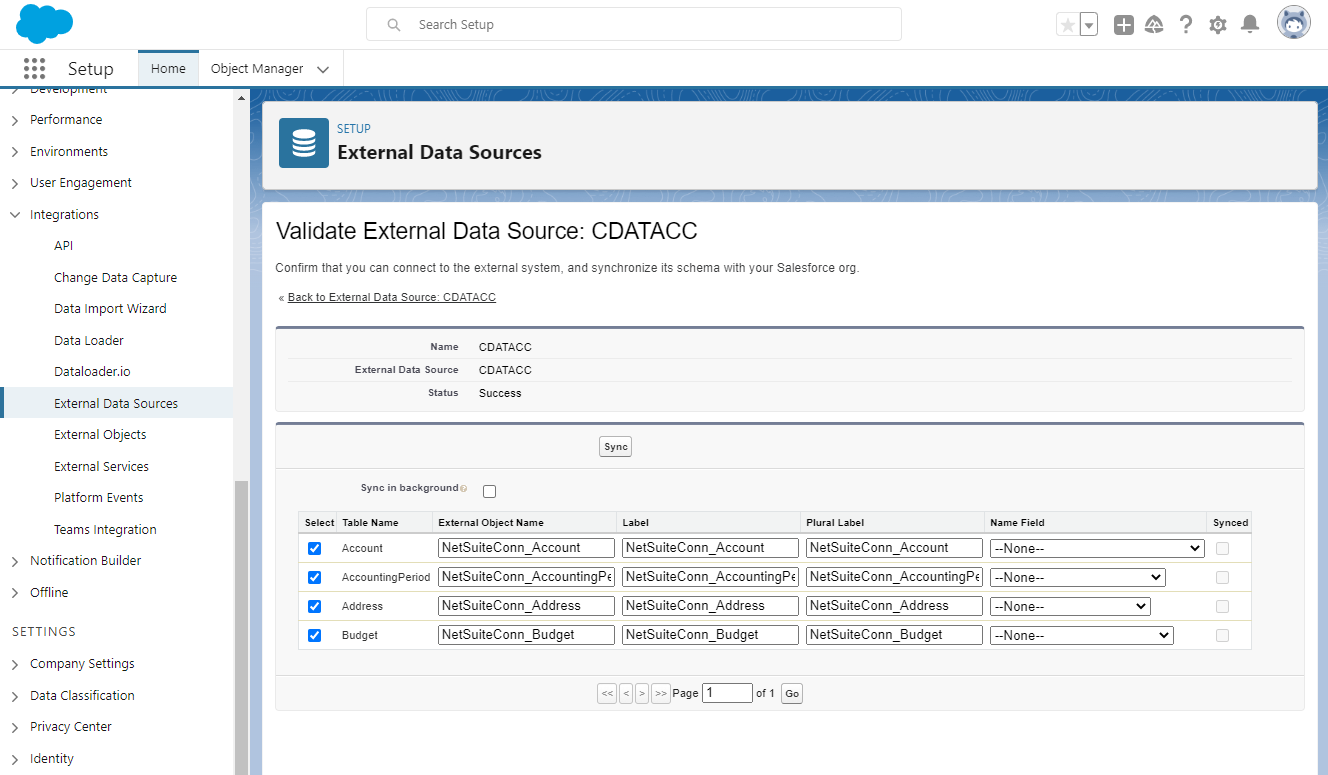
After you have created the external data source, follow the steps below to create Xero external objects that reflect any changes in the data source. You will synchronize the definitions for the Xero external objects with the definitions for Xero tables.
- Click the link for the external data source you created.
- Click Validate and Scan.
- Select the Xero tables you want to work with as external objects.
Access Xero Data as Salesforce Objects
After adding Xero data as an external data source and syncing Xero tables as external objects, you can use the external Xero objects just as you would standard Salesforce objects.
-
Create a new tab with a filter list view:
![Viewing external objects from Salesforce (NetSuite is shown)]()
-
Create reports of external objects:
![Reporting on external objects from Salesforce (NetSuite is shown)]()
-
Create, update, and delete Xero objects from the Salesforce dashboard:
![Editing external objects from Salesforce (NetSuite is shown)]()
Simplified Access to Xero Data from Cloud Applications
At this point, you have a direct, cloud-to-cloud connection to live Xero data from Salesforce. For more information on gaining simplified access to data from more than 100 SaaS, Big Data, and NoSQL sources in cloud applications like Salesforce, refer to our Connect Cloud page.


