Discover how a bimodal integration strategy can address the major data management challenges facing your organization today.
Get the Report →Replicate Zuora Data for Use in Salesforce Connect
Replicate Zuora data to a PostgreSQL database on Heroku and connect it to Salesforce using Salesforce Connect.
CData Sync is a stand-alone application that provides solutions for a variety of replication scenarios, such as replicating sandbox and production instances into your database. By replicating Zuora data to a PostgreSQL database in Heroku, you gain access to Zuora external objects (using Salesforce Connect) alongside standard Salesforce objects.
Requirements
For this replication example, you need the following:
- CData Sync (trial or licensed), along with a license (full or trial) for Zuora replication.
- A Heroku app with the Heroku Postgress and Heroku Connect add-ons provisioned.
- A Salesforce account.
Configure the Replication Destination
Using CData Sync, you can easily replicate Zuora data to a PostgreSQL database on Heroku. For this article, you need an existing PostgreSQL database on Heroku. To add your PostgreSQL database as a replication destination, navigate to the Connections tab.
- Click Add Connection.
- Select PostgreSQL as the destination and enter the necessary connection properties.
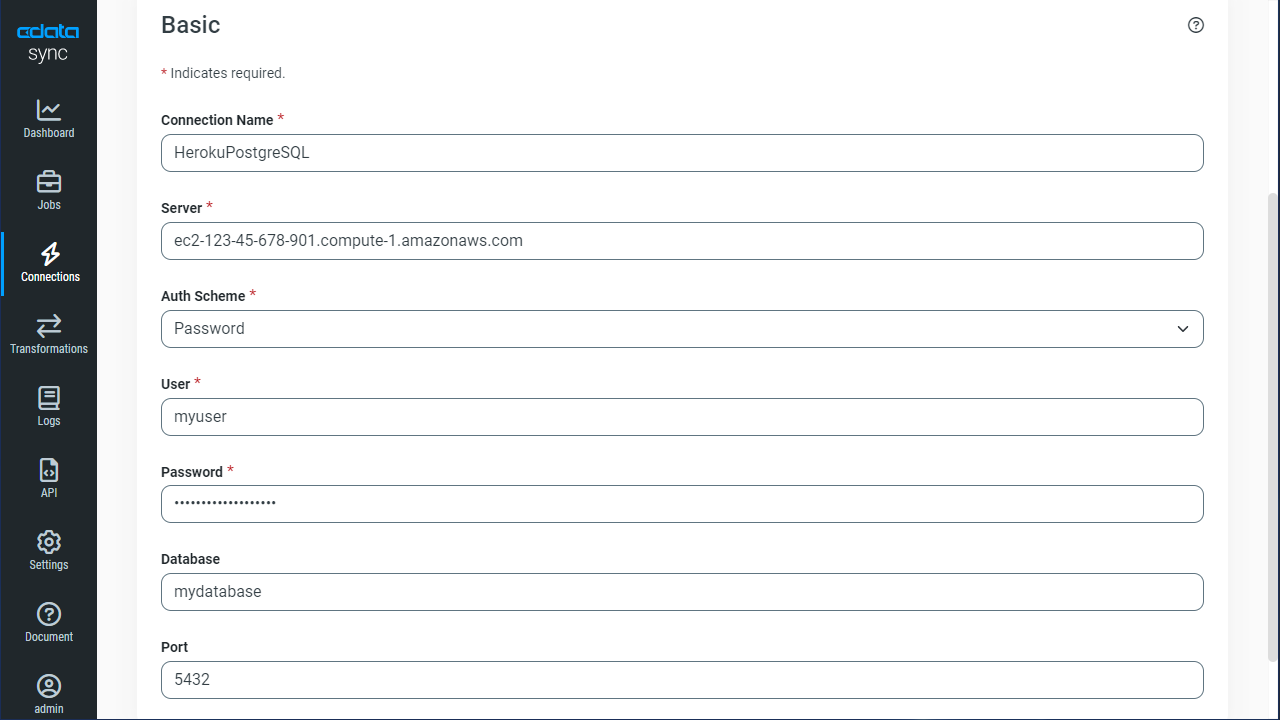
To connect to PostgreSQL, set the Host, Port (the default port is 5432) and Database connection properties, then set the user and password you wish to use to authenticate to the server. If the Database property is not specified, the data provider connects to the user's default database.
- Click Test Connection to ensure the connection is configured properly.
![Configure the connection to the PostgreSQL database.]()
- Click Save Changes.
Configure the Zuora Connection
You can configure a connection to Zuora from the Connections tab. To add a connection your Zuora data, navigate to the Connections tab.
- Click Add Connection.
- Select a source (Zuora).
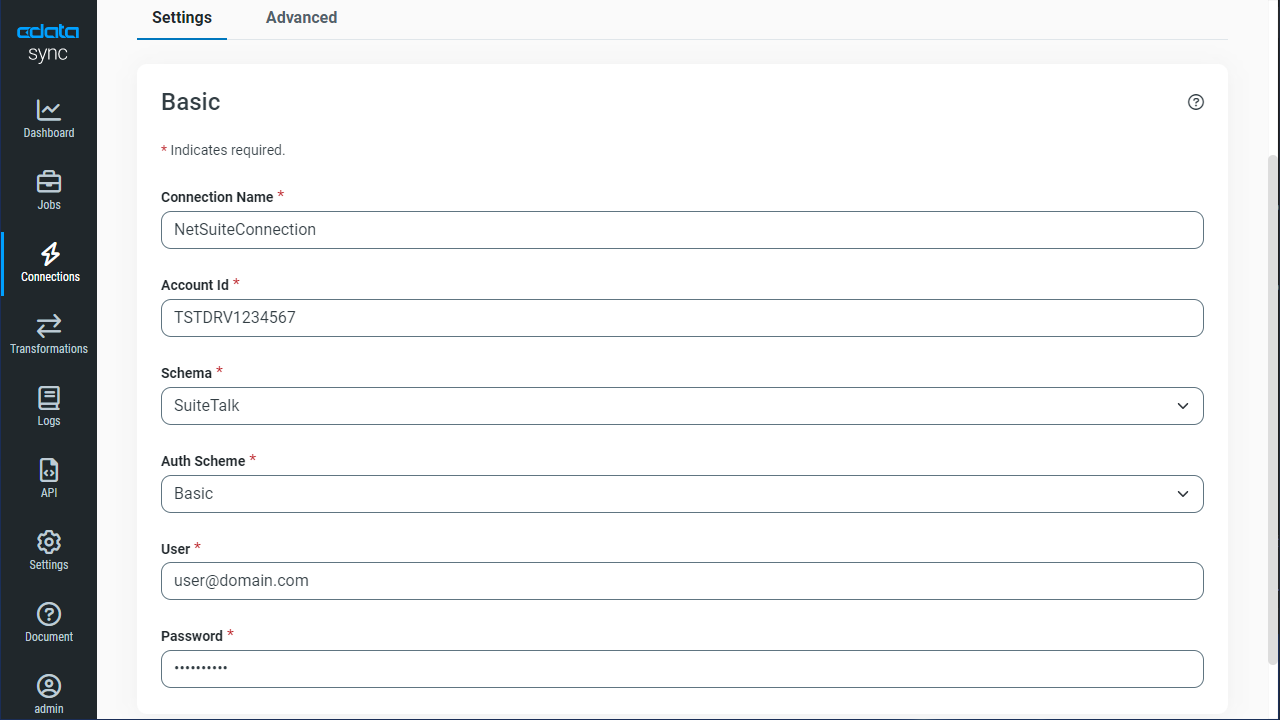
- Configure the connection properties.
Zuora uses the OAuth standard to authenticate users. See the online Help documentation for a full OAuth authentication guide.
Configuring Tenant property
In order to create a valid connection with the provider you need to choose one of the Tenant values (USProduction by default) which matches your account configuration. The following is a list with the available options:
- USProduction: Requests sent to https://rest.zuora.com.
- USAPISandbox: Requests sent to https://rest.apisandbox.zuora.com"
- USPerformanceTest: Requests sent to https://rest.pt1.zuora.com"
- EUProduction: Requests sent to https://rest.eu.zuora.com"
- EUSandbox: Requests sent to https://rest.sandbox.eu.zuora.com"
Selecting a Zuora Service
Two Zuora services are available: Data Query and AQuA API. By default ZuoraService is set to AQuADataExport.
DataQuery
The Data Query feature enables you to export data from your Zuora tenant by performing asynchronous, read-only SQL queries. We recommend to use this service for quick lightweight SQL queries.
Limitations- The maximum number of input records per table after filters have been applied: 1,000,000
- The maximum number of output records: 100,000
- The maximum number of simultaneous queries submitted for execution per tenant: 5
- The maximum number of queued queries submitted for execution after reaching the limitation of simultaneous queries per tenant: 10
- The maximum processing time for each query in hours: 1
- The maximum size of memory allocated to each query in GB: 2
- The maximum number of indices when using Index Join, in other words, the maximum number of records being returned by the left table based on the unique value used in the WHERE clause when using Index Join: 20,000
AQuADataExport
AQuA API export is designed to export all the records for all the objects ( tables ). AQuA query jobs have the following limitations:
Limitations- If a query in an AQuA job is executed longer than 8 hours, this job will be killed automatically.
- The killed AQuA job can be retried three times before returned as failed.
![Configure a Source connection (NetSuite is shown).]()
- Click Connect to ensure that the connection is configured properly.
- Click Save Changes.
Configure Queries for Each Zuora Instance
CData Sync enables you to control replication with a point-and-click interface. To configure a replication, navigate to the Jobs tab and click Add Job. Select the Source and Destination for your replication.
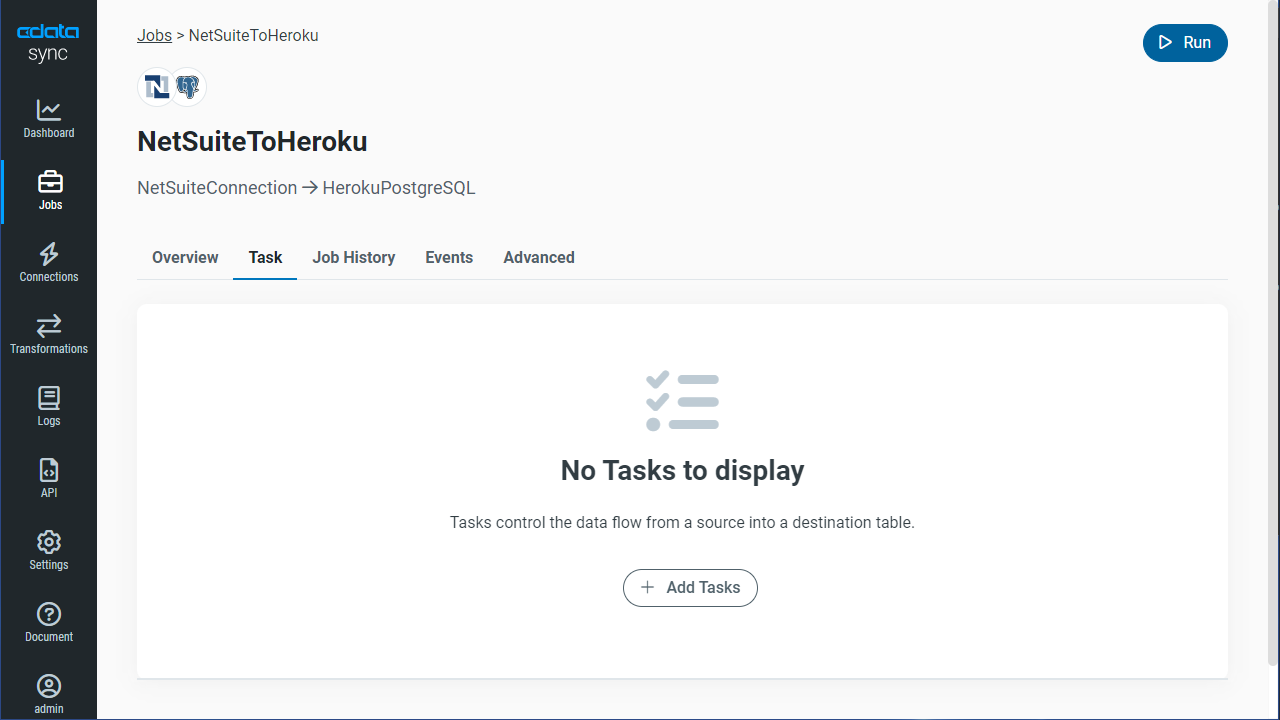
Replicate Entire Tables
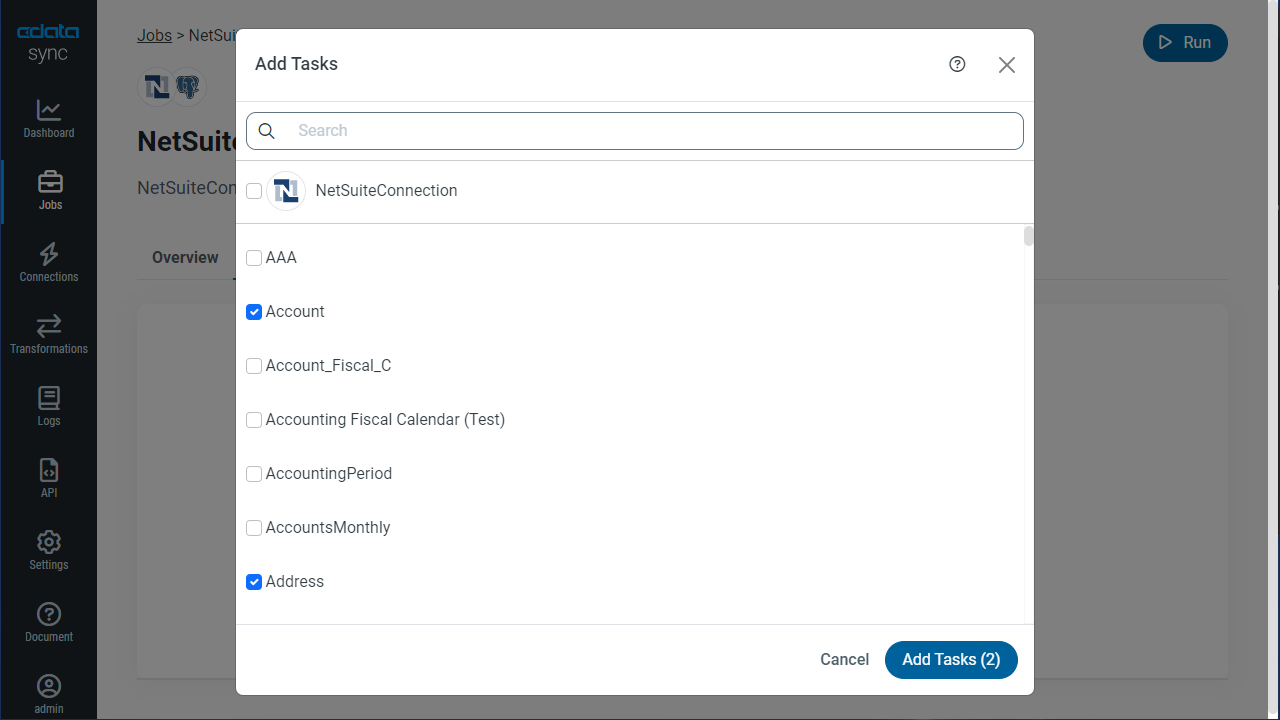
To replicate an entire table, click Add Tables in the Tables section, choose the table(s) you wish to replicate, and click Add Selected Tables.
Customize Your Replication
You can use the Transform feature to customize your replication, whether you want to only replicate specific fields, compute new fields based on existing fields, and/or filter the results based on specific conditions:
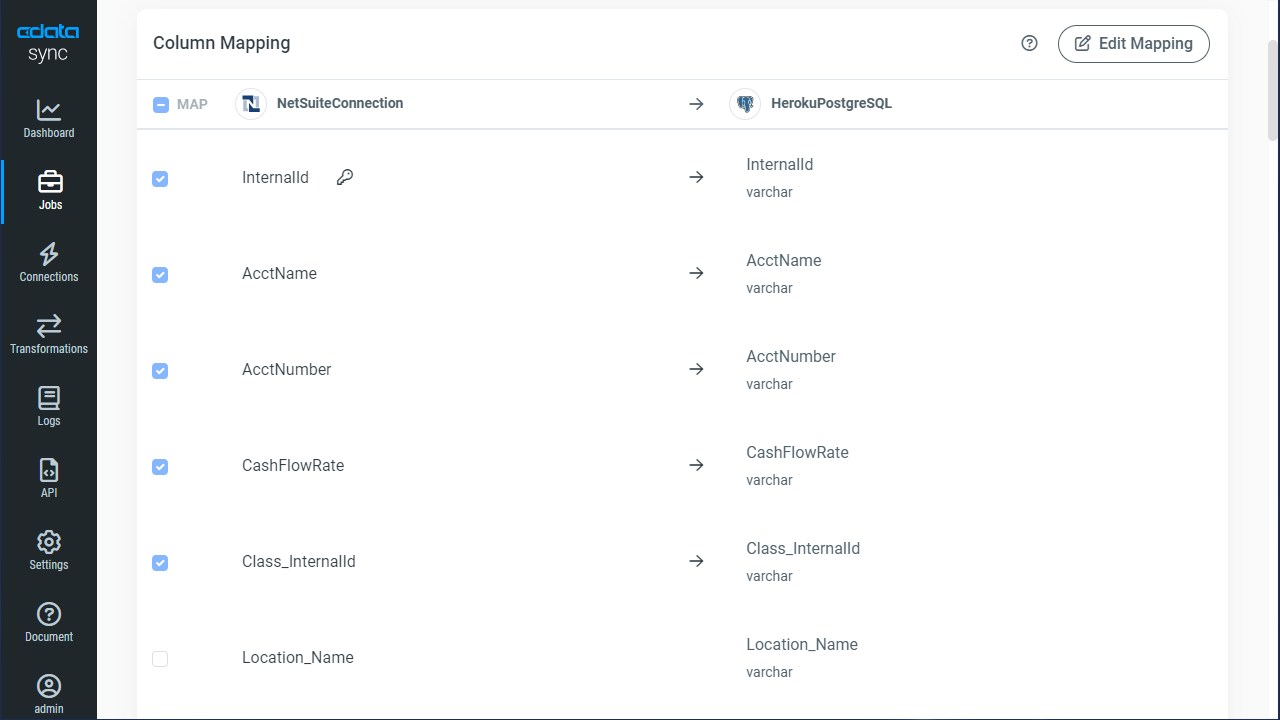
- Add or remove fields using the check boxes
![Choose which fields to replicate.]()
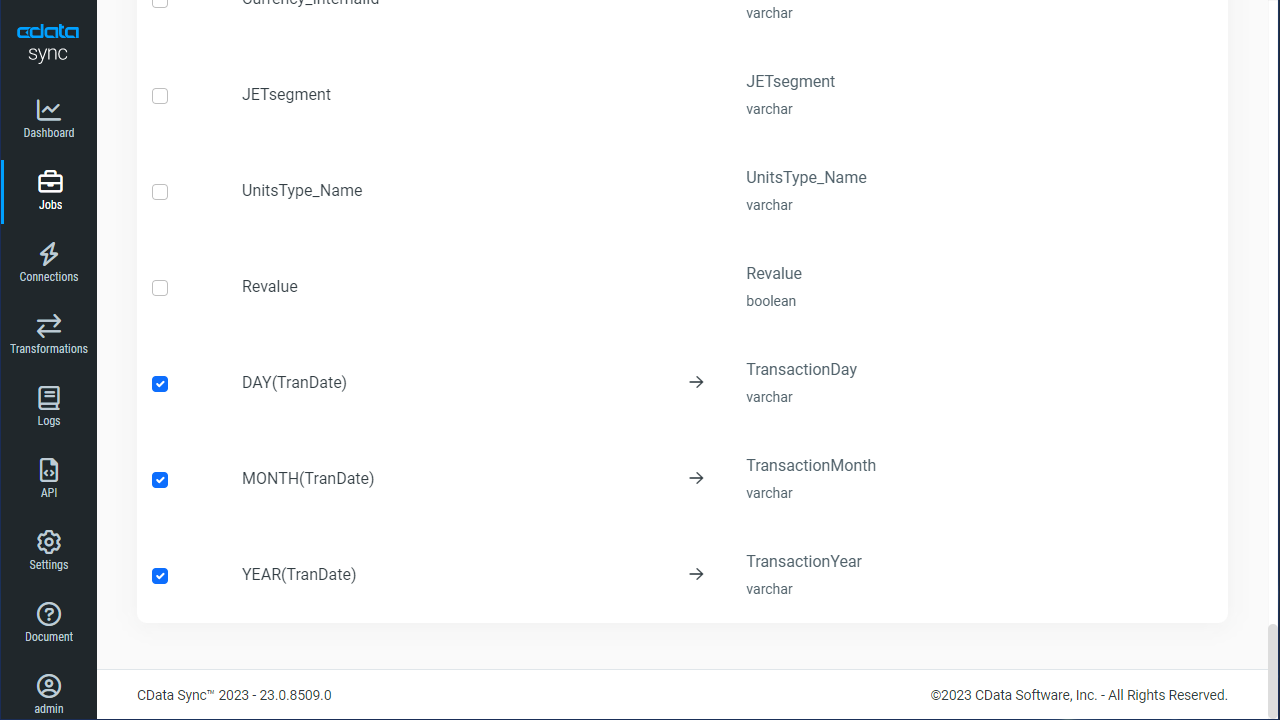
- Add computed fields to the bottom of the column listing
![Add a computed field.]()
- Add filters using the Filter section
![Add a replication filter.]()
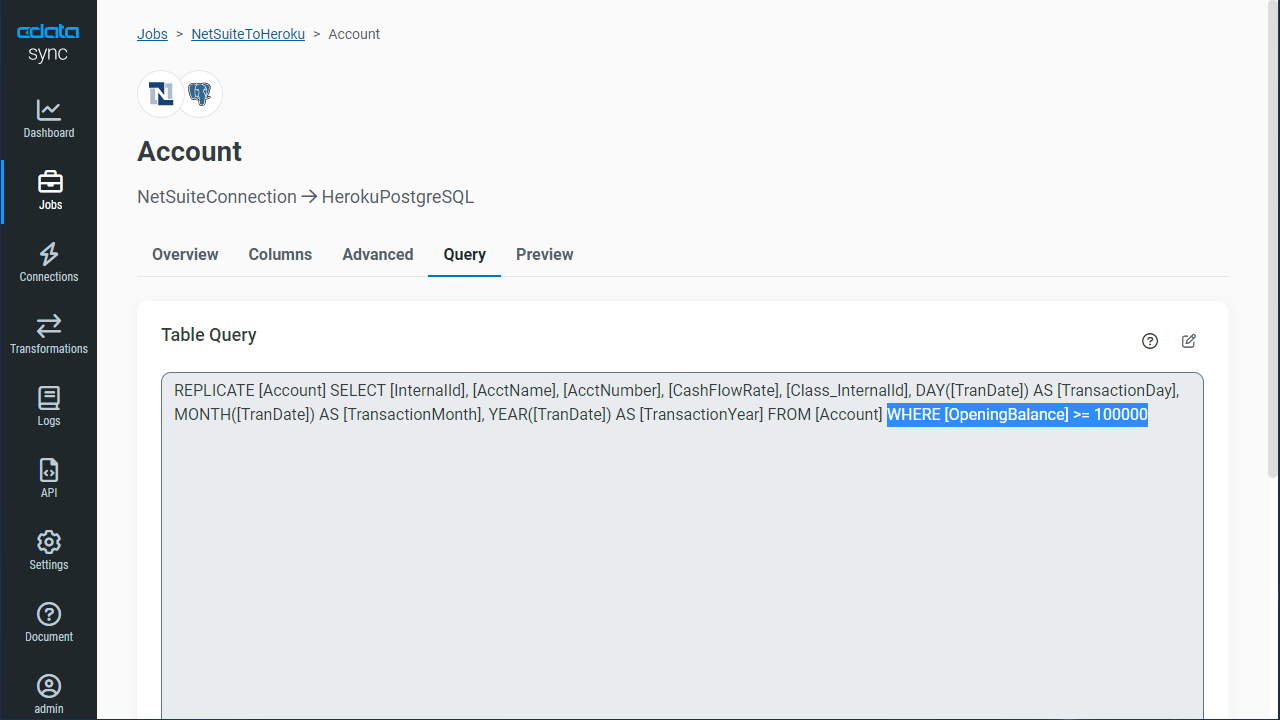
As you make changes using the interface, the SQL query used for the replication changes, going from something simple, like this:
REPLICATE [Invoices]
to something customized and more complex, like this:
REPLICATE [Invoices] SELECT [Id], [BillingCity] FROM [Invoices] WHERE [BillingState] = CA
Schedule Your Replication
In the Schedule section, you can schedule a job to run automatically, configuring the job to run after specified intervals, ranging from once every 10 minutes to once every month.
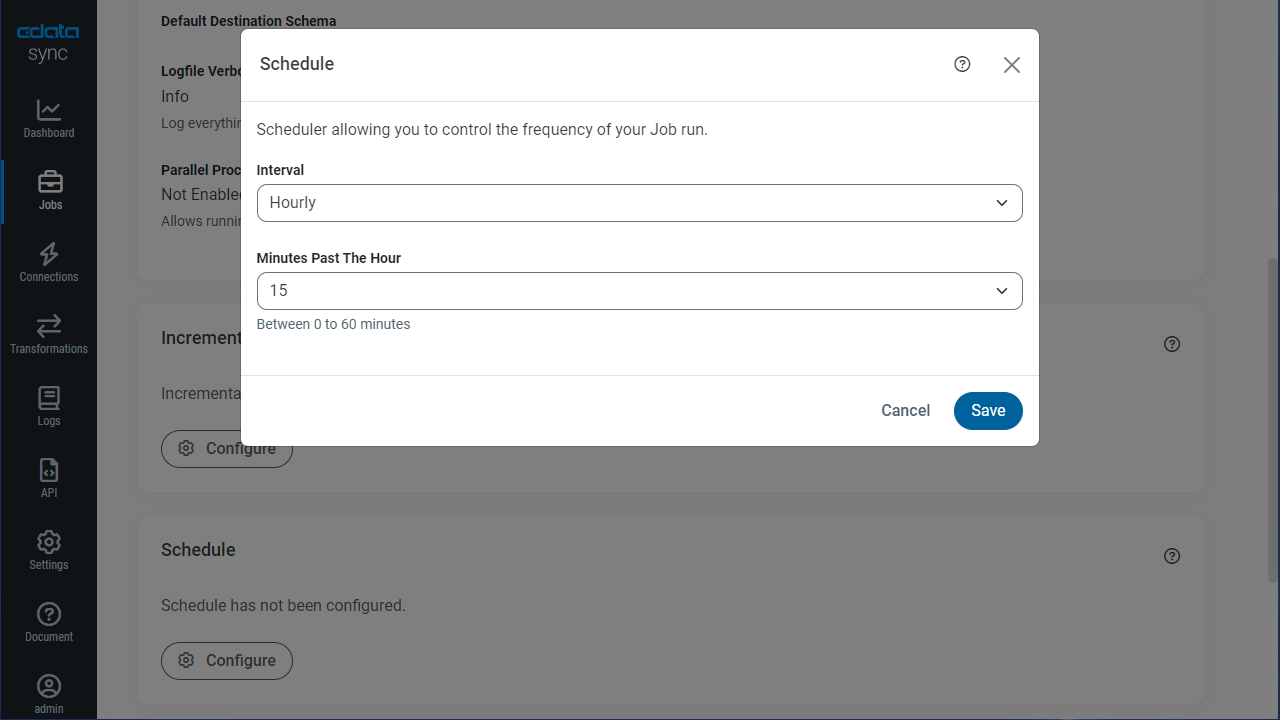
Once you configure the replication job, click Save Changes. You can configure any number of jobs to replicate Zuora data for use as external objects in Salesforce.
Connect to Your Replicated Zuora Data as an External Data Source
Once your Zuora data is replicated to the PostgreSQL database on Heroku, configure the OData interface for Heroku and connect to the database as an external data source via Salesforce Connect.
Configure the OData Service for Heroku
The first part of connecting to Zuora data replicated to a PostgreSQL database on Heroku is configuring the Heroku External Objects for the database.
- In your Heroku dashboard, click the Heroku Connect Add-On.
- Select External Objects. (If this is the first time using Heroku External Object, you will be prompted to create the OData service's login credentials)
- View the OData service URL and credentials (noting the URL and credentials to be used later from Salesforce Connect).
- In Data Sources, select which replicated tables to share.
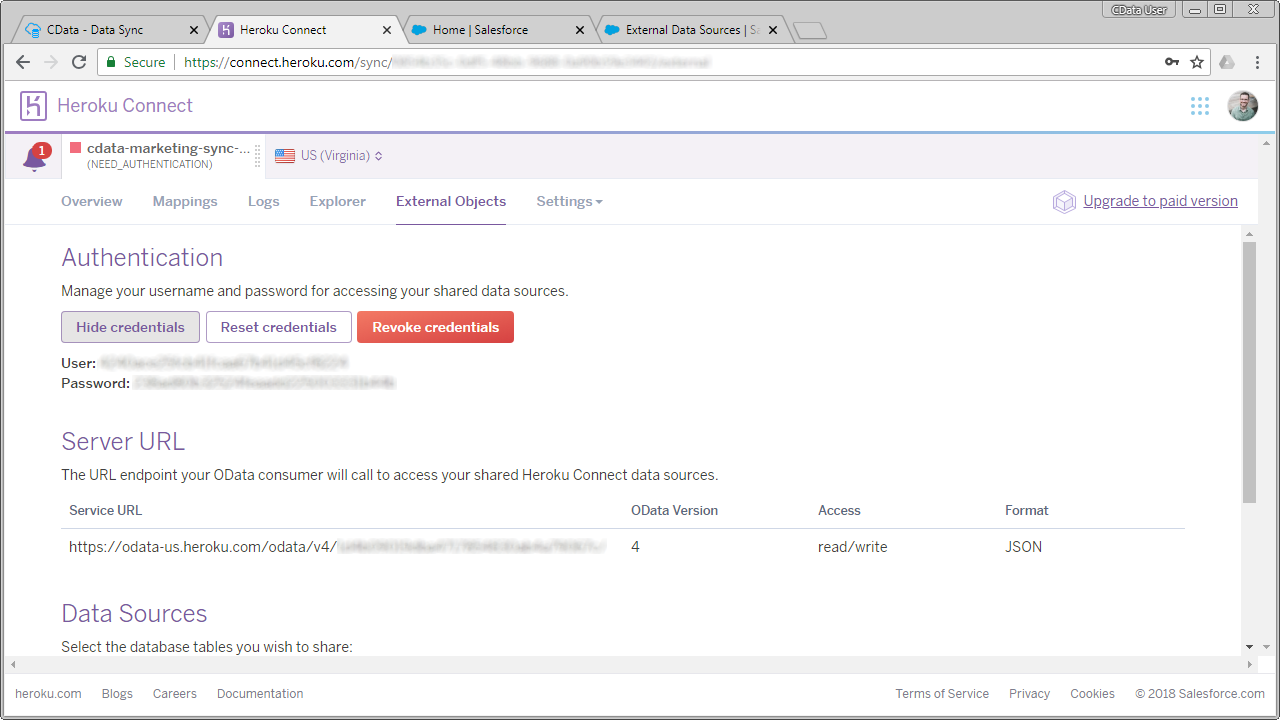
Refer to the Heroku documentation for more detailed instructions.
Configure an External Data Source in Salesforce
After the OData service for Heroku is configured, we can connect to the replicated Zuora data as an external data source from Salesforce Connect.
- In Salesforce, click Setup
- In the Administration section, click Data -> External Data Sources
- Set the data source parameter properties:
- External Data Source: the name you wish to display in the Salesforce user interface
- Name: a unique identifier for the API
- Type: Salesforce Connect: OData 4.0
- URL: Enter the OData endpoint from Heroku Connect (above)
- Format: JSON
- Set Authentication:
- Identity Type: Named Principal
- Authentication Protocol: Password Authentication
- Username: the Heroku Connect username
- Password: the Heroku Connect password
- Click Save.
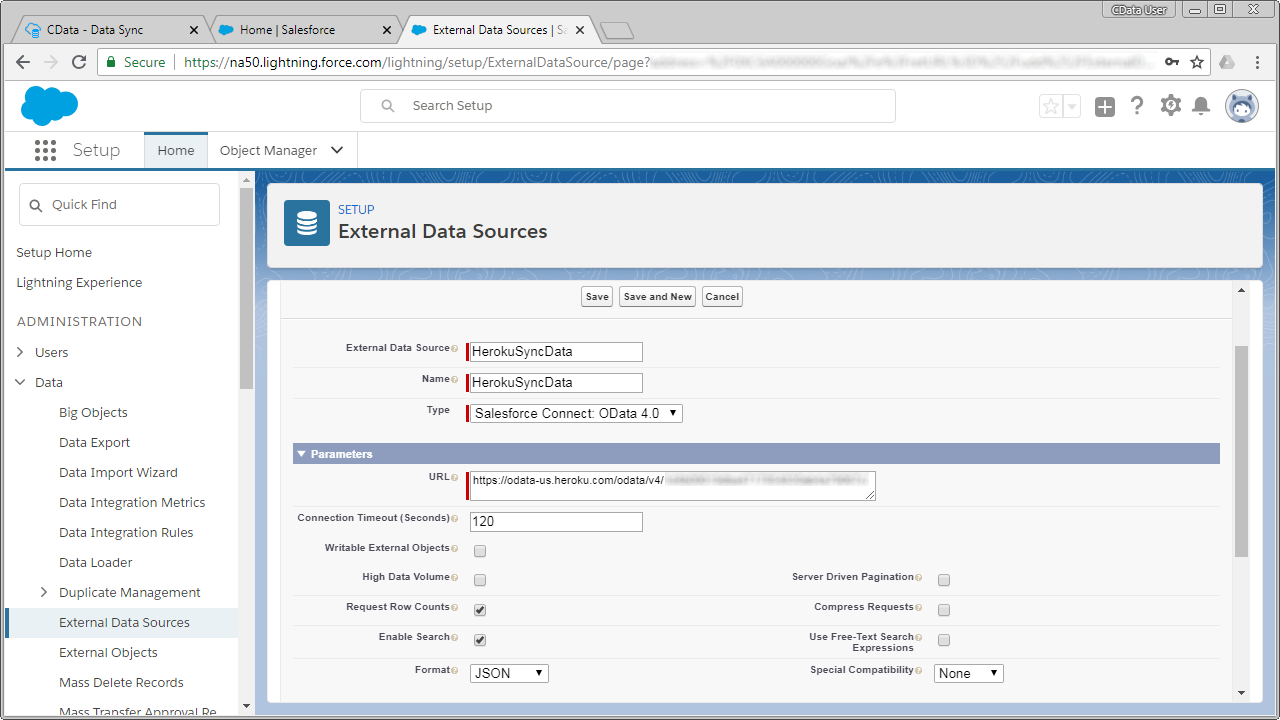
Synchronize Zuora Objects
After you have created the external data source in Salesforce, follow the steps below to create Zuora external objects that reflect any changes in the data source. You will synchronize the definitions for the Zuora external objects with the definitions for Zuora tables.
- Click the link for the external data source you created.
- Click Validate and Sync.
- Select the Zuora tables you want to work with as external objects and click Sync.
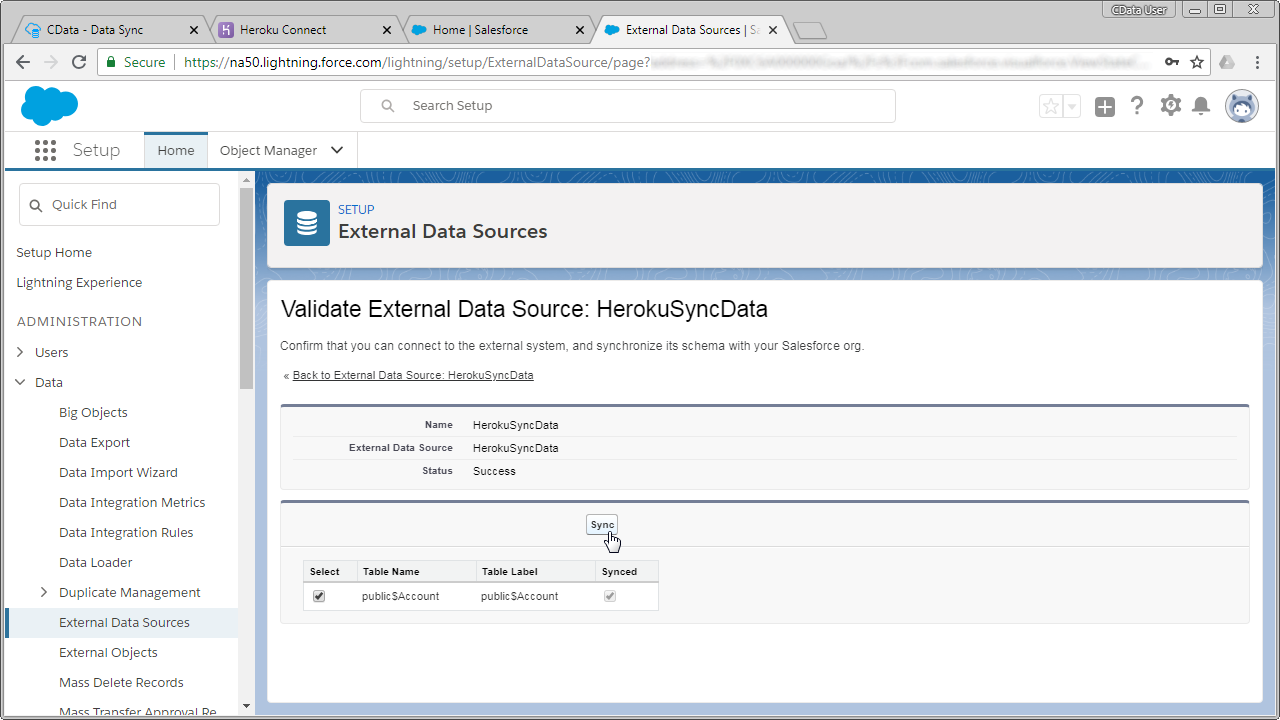
Access Zuora Data as Salesforce Objects
At this point, you will be able to connect to and work with your replicated Zuora entities as external objects just as you would with standard Salesforce objects, whether you are simply viewing the data or building related lists of external Zuora data alongside standard Salesforce objects.
Download a 30-day free trial of CData Sync and replicate your Zuora data for use with Salesforce Connect today!


