Discover how a bimodal integration strategy can address the major data management challenges facing your organization today.
Get the Report →Visualize REST Data in TIBCO Spotfire through OData
Integrate REST data into dashboards in TIBCO Spotfire.
OData is a major protocol enabling real-time communication among cloud-based, mobile, and other online applications. The CData Connect Server provides REST data to OData consumers like TIBCO Spotfire. This article shows how to use the Connect Server and Spotfire's built-in support for OData to access REST data in real time.
Configuring Connect Server
To work with live REST data in TIBCO Spotfire, we need to connect to REST from Connect Server, provide user access to the new virtual database, and create OData endpoints for the REST data.
Add a Connect Server User
Create a User to connect to REST from TIBCO Spotfire through Connect Server.
- Click Users -> Add
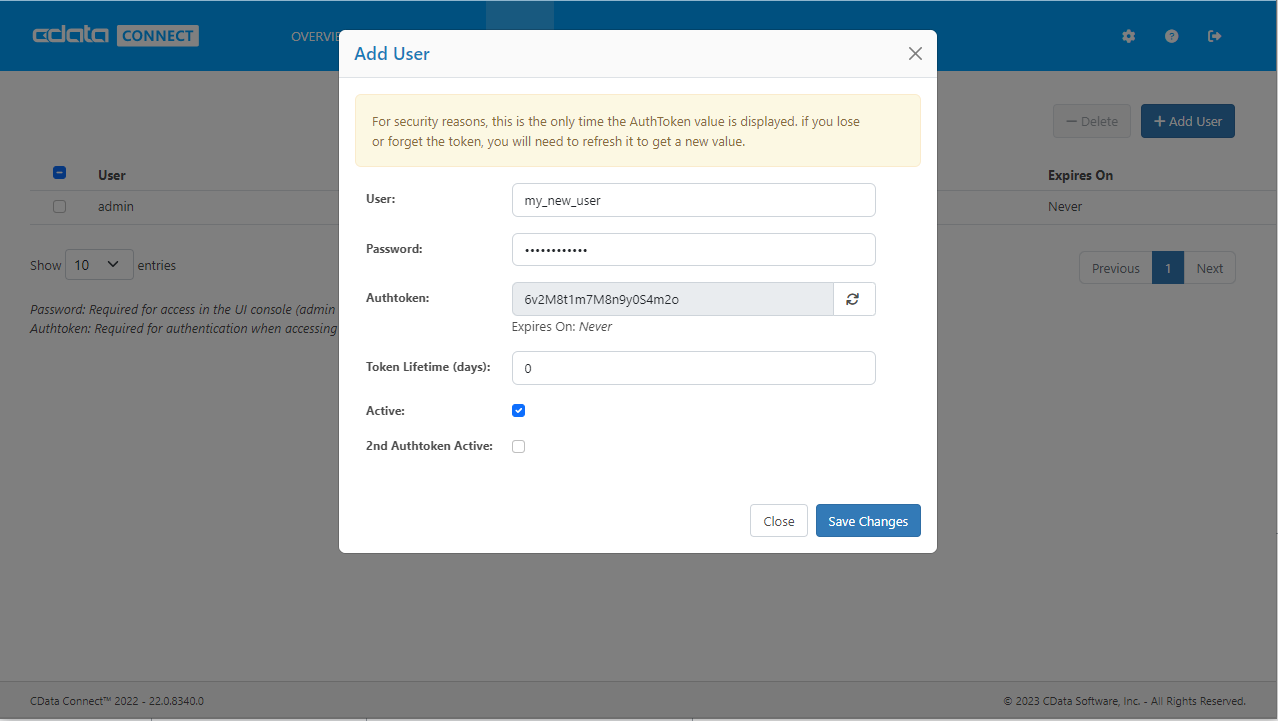
- Configure a User
![Creating a new user]()
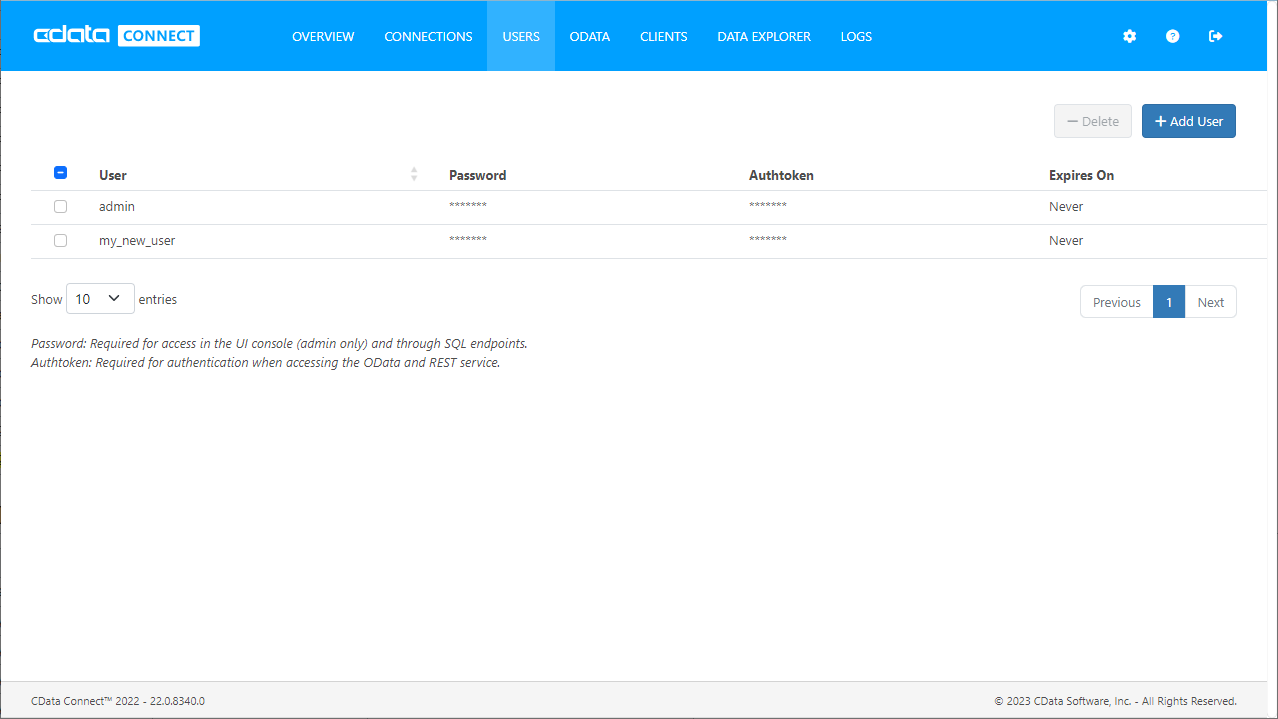
- Click Save Changes and make note of the Authtoken for the new user
![Connect Server users]()
Connect to REST from Connect Server
CData Connect Server uses a straightforward, point-and-click interface to connect to data sources and generate APIs.
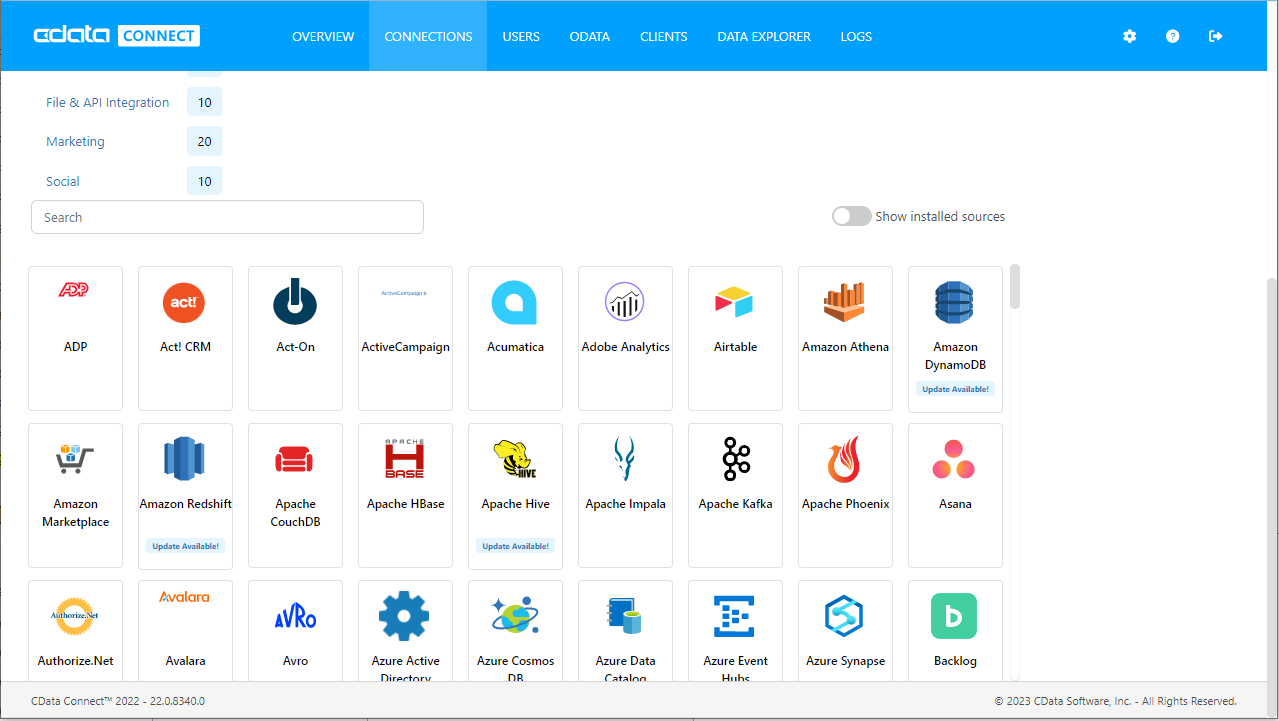
- Open Connect Server and click Connections
![Adding a connection]()
- Select "REST" from Available Data Sources
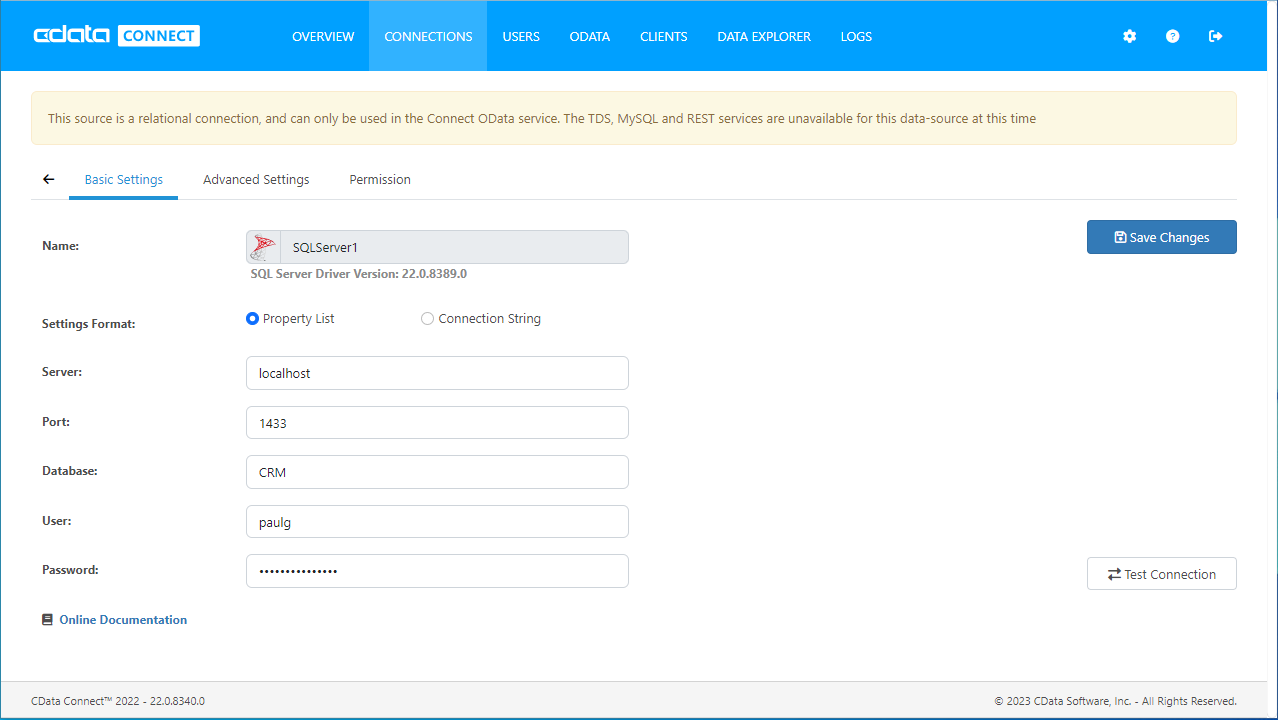
- Enter the necessary authentication properties to connect to REST.
See the Getting Started chapter in the data provider documentation to authenticate to your data source: The data provider models REST APIs as bidirectional database tables and XML/JSON files as read-only views (local files, files stored on popular cloud services, and FTP servers). The major authentication schemes are supported, including HTTP Basic, Digest, NTLM, OAuth, and FTP. See the Getting Started chapter in the data provider documentation for authentication guides.
After setting the URI and providing any authentication values, set Format to "XML" or "JSON" and set DataModel to more closely match the data representation to the structure of your data.
The DataModel property is the controlling property over how your data is represented into tables and toggles the following basic configurations.
- Document (default): Model a top-level, document view of your REST data. The data provider returns nested elements as aggregates of data.
- FlattenedDocuments: Implicitly join nested documents and their parents into a single table.
- Relational: Return individual, related tables from hierarchical data. The tables contain a primary key and a foreign key that links to the parent document.
See the Modeling REST Data chapter for more information on configuring the relational representation. You will also find the sample data used in the following examples. The data includes entries for people, the cars they own, and various maintenance services performed on those cars.
![Configuring a connection (SQL Server is shown).]()
- Click Save Changes
- Click Privileges -> Add and add the new user (or an existing user) with the appropriate permissions (SELECT is all that is required for Reveal).
Add REST OData Endpoints in Connect Server
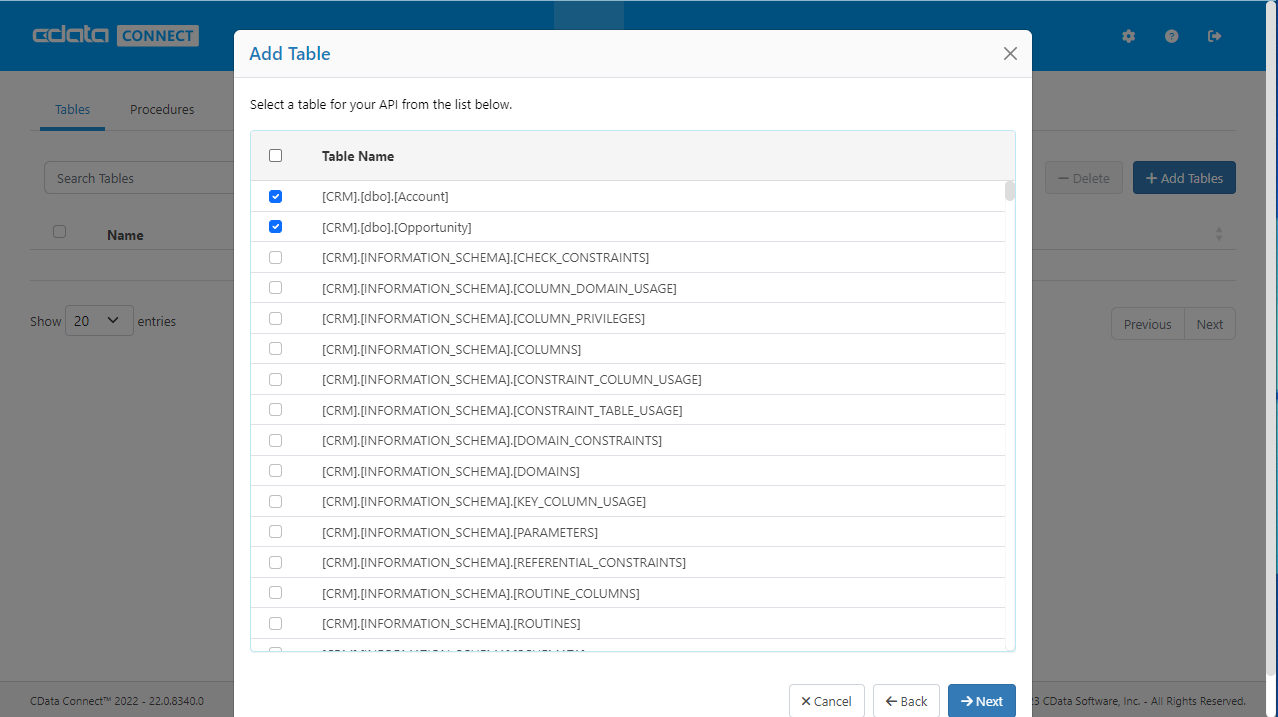
After connecting to REST, create OData Endpoints for the desired table(s).
- Click OData -> Tables -> Add Tables
- Select the REST database
- Select the table(s) you wish to work with and click Next
![Selecting a Table (SQL Server is shown)]()
- (Optional) Edit the resource to select specific fields and more
- Save the settings
(Optional) Configure Cross-Origin Resource Sharing (CORS)
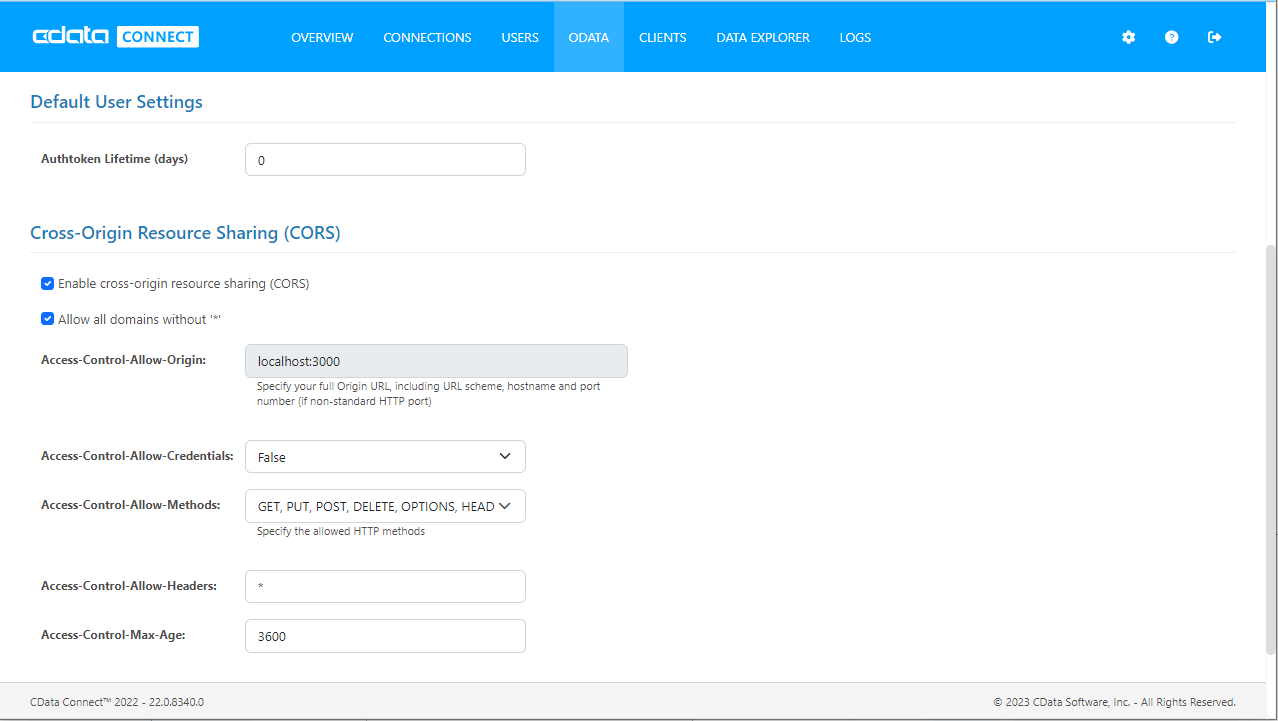
When accessing and connecting to multiple domains from an application such as Ajax, there is a possibility of violating the limitations of cross-site scripting. In that case, configure the CORS settings in OData -> Settings.
- Enable cross-origin resource sharing (CORS): ON
- Allow all domains without '*': ON
- Access-Control-Allow-Methods: GET, PUT, POST, OPTIONS
- Access-Control-Allow-Headers: Authorization
Save the changes to the settings.
Create Data Visualizations on External REST Data
- Open Spotfire and click Data -> Add data...
- Then, click "Connect to" -> OData -> New Connection. In the OData Connection dialog, enter the following information:
- Service URL: Enter the Connect Server's OData endpoint. For example:
http://localhost:8080/odata.rsc - Authentication Method: Select Username and Password.
- Username: Enter the username of a Connect Server user. You can create API users on the Security tab of the administration console.
- Password: Enter the authtoken of a Connect Server user.
![Required connection settings to connect to the Connect Server.]()
- Service URL: Enter the Connect Server's OData endpoint. For example:
- Select the tables and columns you want to add to the dashboard. This example uses people.
![Connect Server API Entities. (SQL Server is shown.)]()
![Required connection settings to connect to the Connect Server.]()
-
If you want to work with the live data, click the Keep Data Table External option. This option enables your dashboards to reflect changes to the data in real time.
If you want to load the data into memory and process the data locally, click the Import Data Table option. This option is better for offline use or if a slow network connection is making your dashboard less interactive.
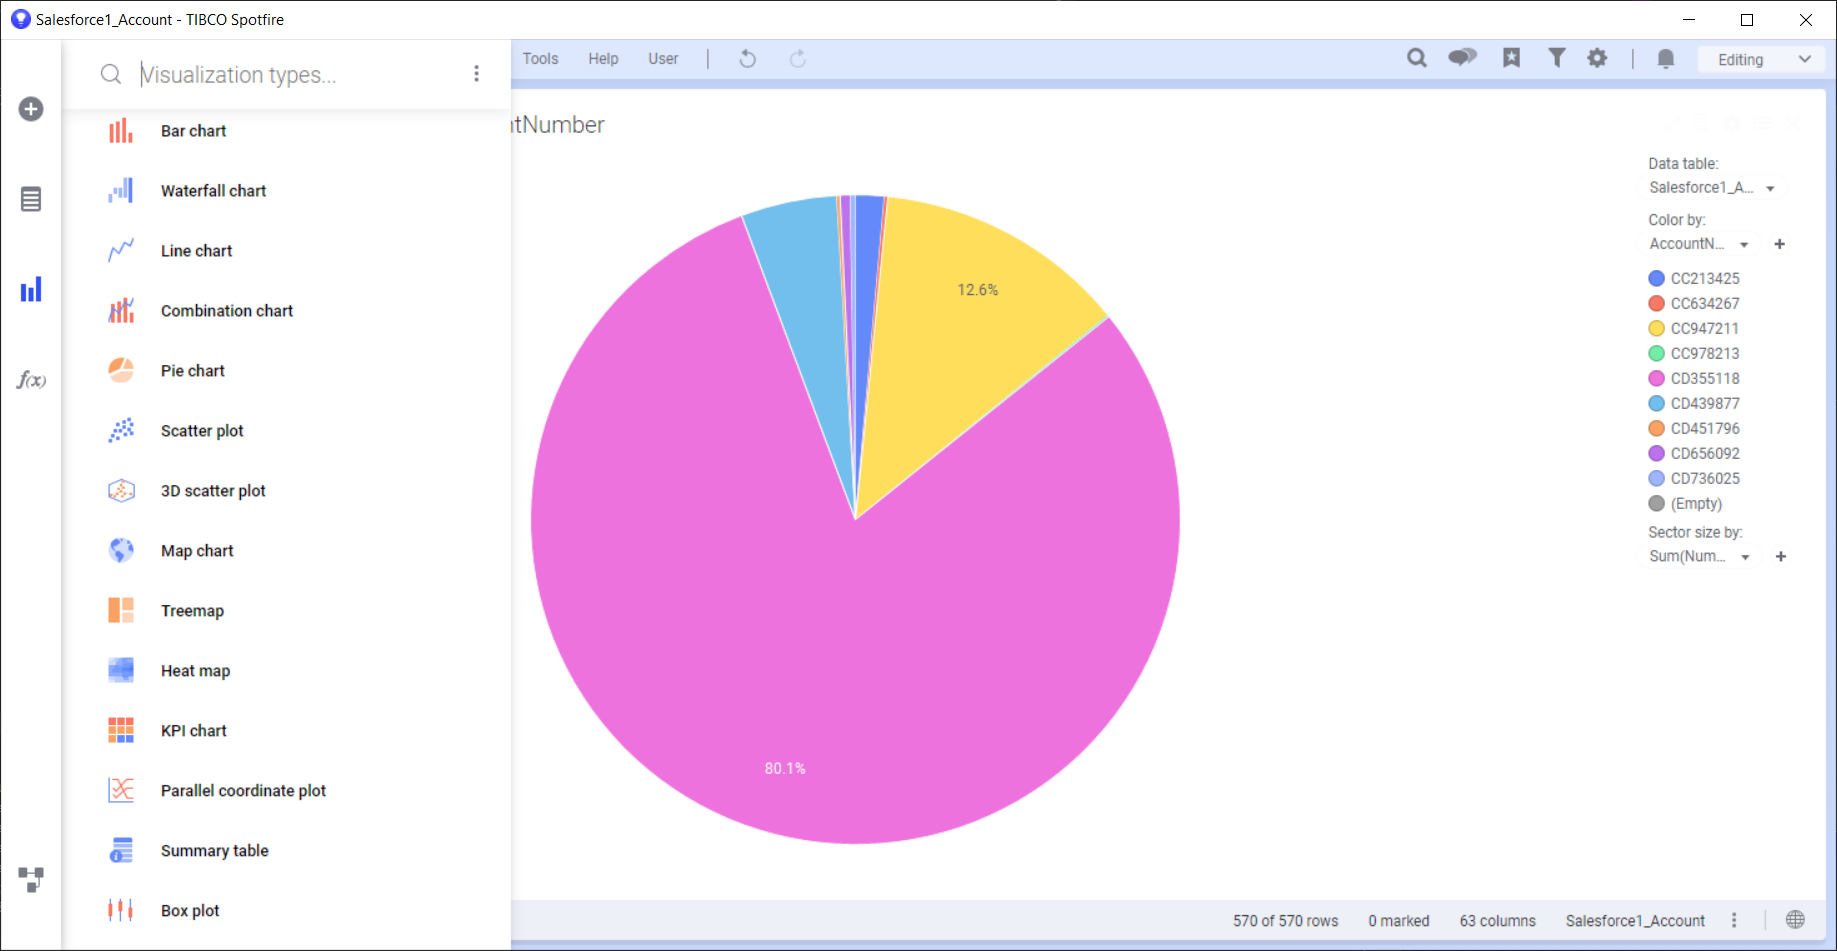
- After you have selected a table, Spotfire uses the data to detect number, time, and other categories. You are now on your way to creating new visualizations for analytics, reporting, and more.
Free Trial & More Information
If you are interested in connecting to your REST data (or data from any of our other supported data sources) from TIBCO Spotfire, sign up for a free trial of CData Connect Server today! For more information on Connect Server and to see what other data sources we support, refer to our CData Connect page.


