





Interact with Live ADP Data in Warp via CData Connect AI

Warp is an agentic development environment that combines a modern terminal with an AI agent. It supports large language model (LLM) interactions and Model Context Protocol (MCP) server integrations, so the agent can reach live external data sources without leaving the terminal.
By integrating Warp with CData Connect AI through its built-in MCP Server, the Warp Agent gets governed, real-time access to live ADP data. You can explore ADP data, ask questions in plain language, and work with your records without writing custom integration code.
This article walks through configuring ADP connectivity in Connect AI, configuring the CData MCP Server in Warp, and interacting with live ADP data from the Warp Agent.
Step 1: Configure ADP connectivity for Warp
Connectivity to ADP from Warp is made possible through Connect AI's Remote MCP Server. To interact with ADP data from Warp, start by creating and configuring a ADP connection in Connect AI.
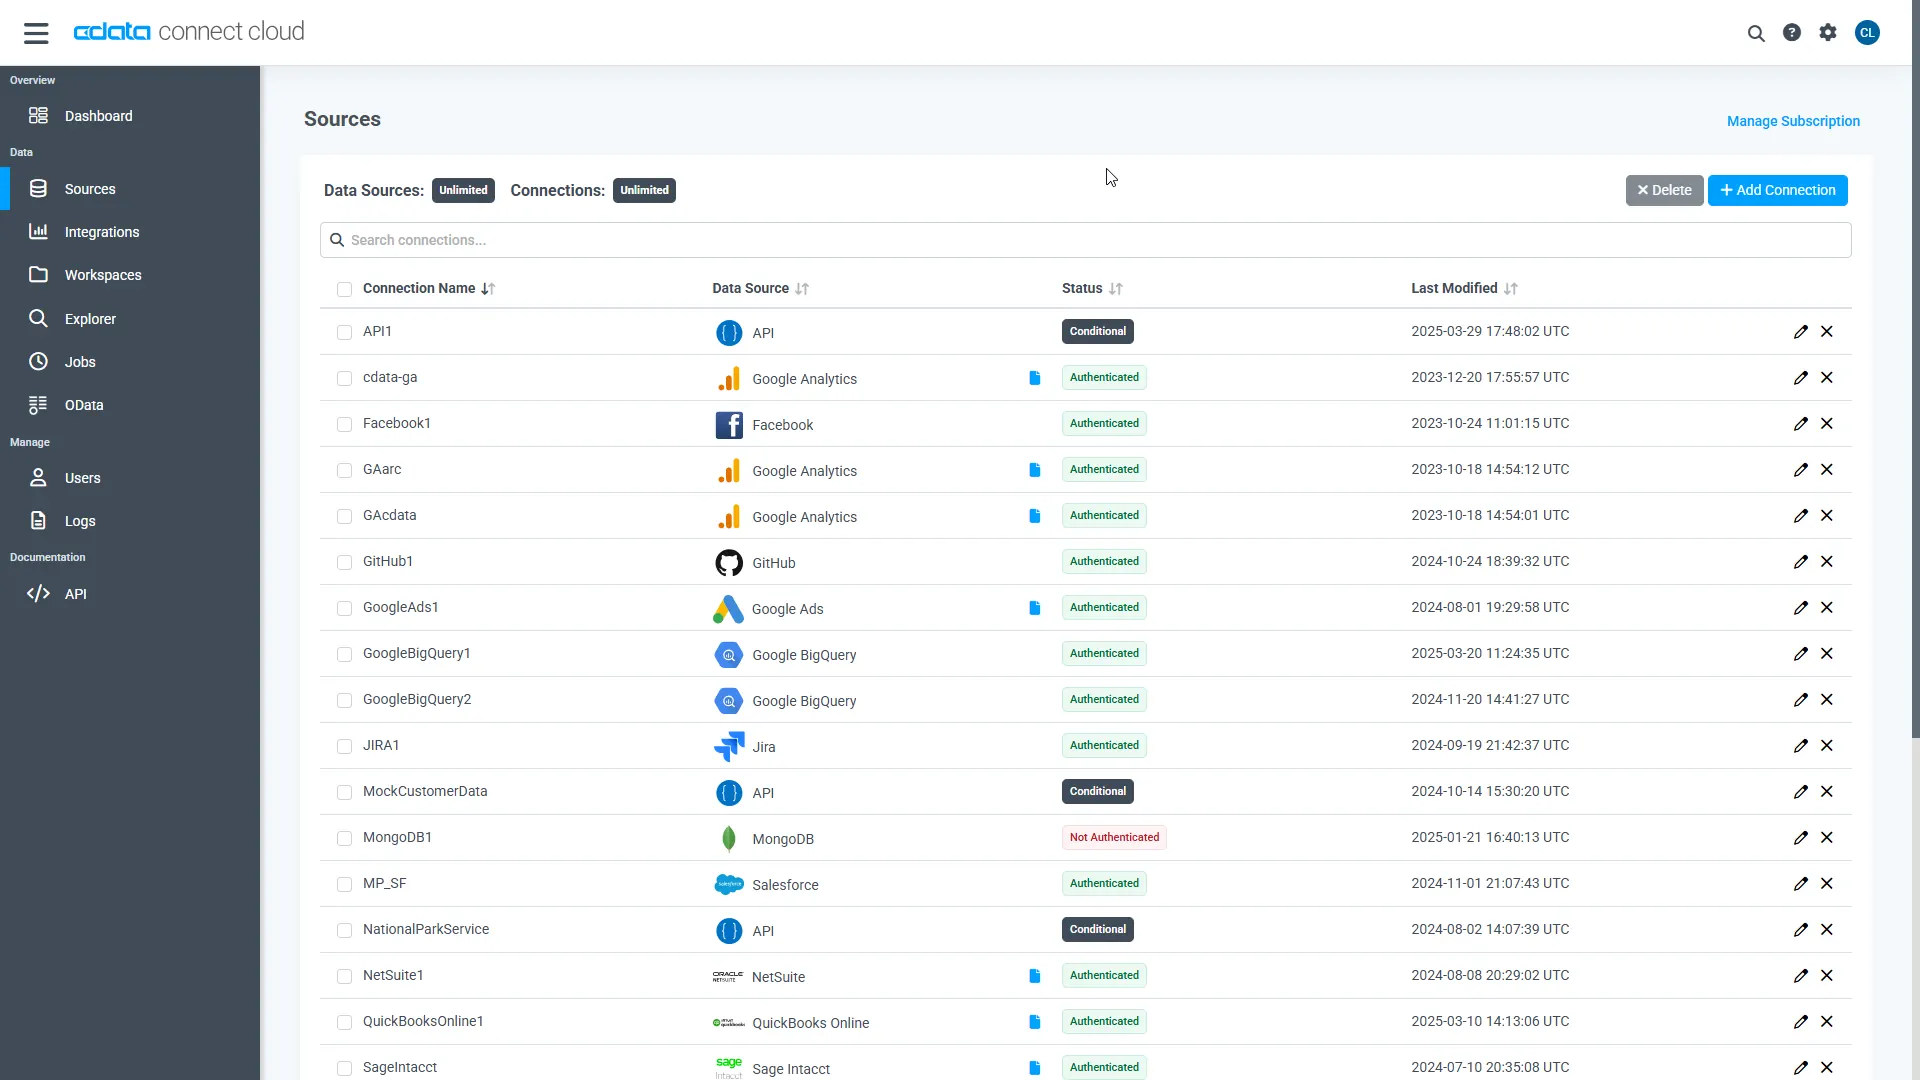
- Log into Connect AI, click Sources, and then click Add Connection
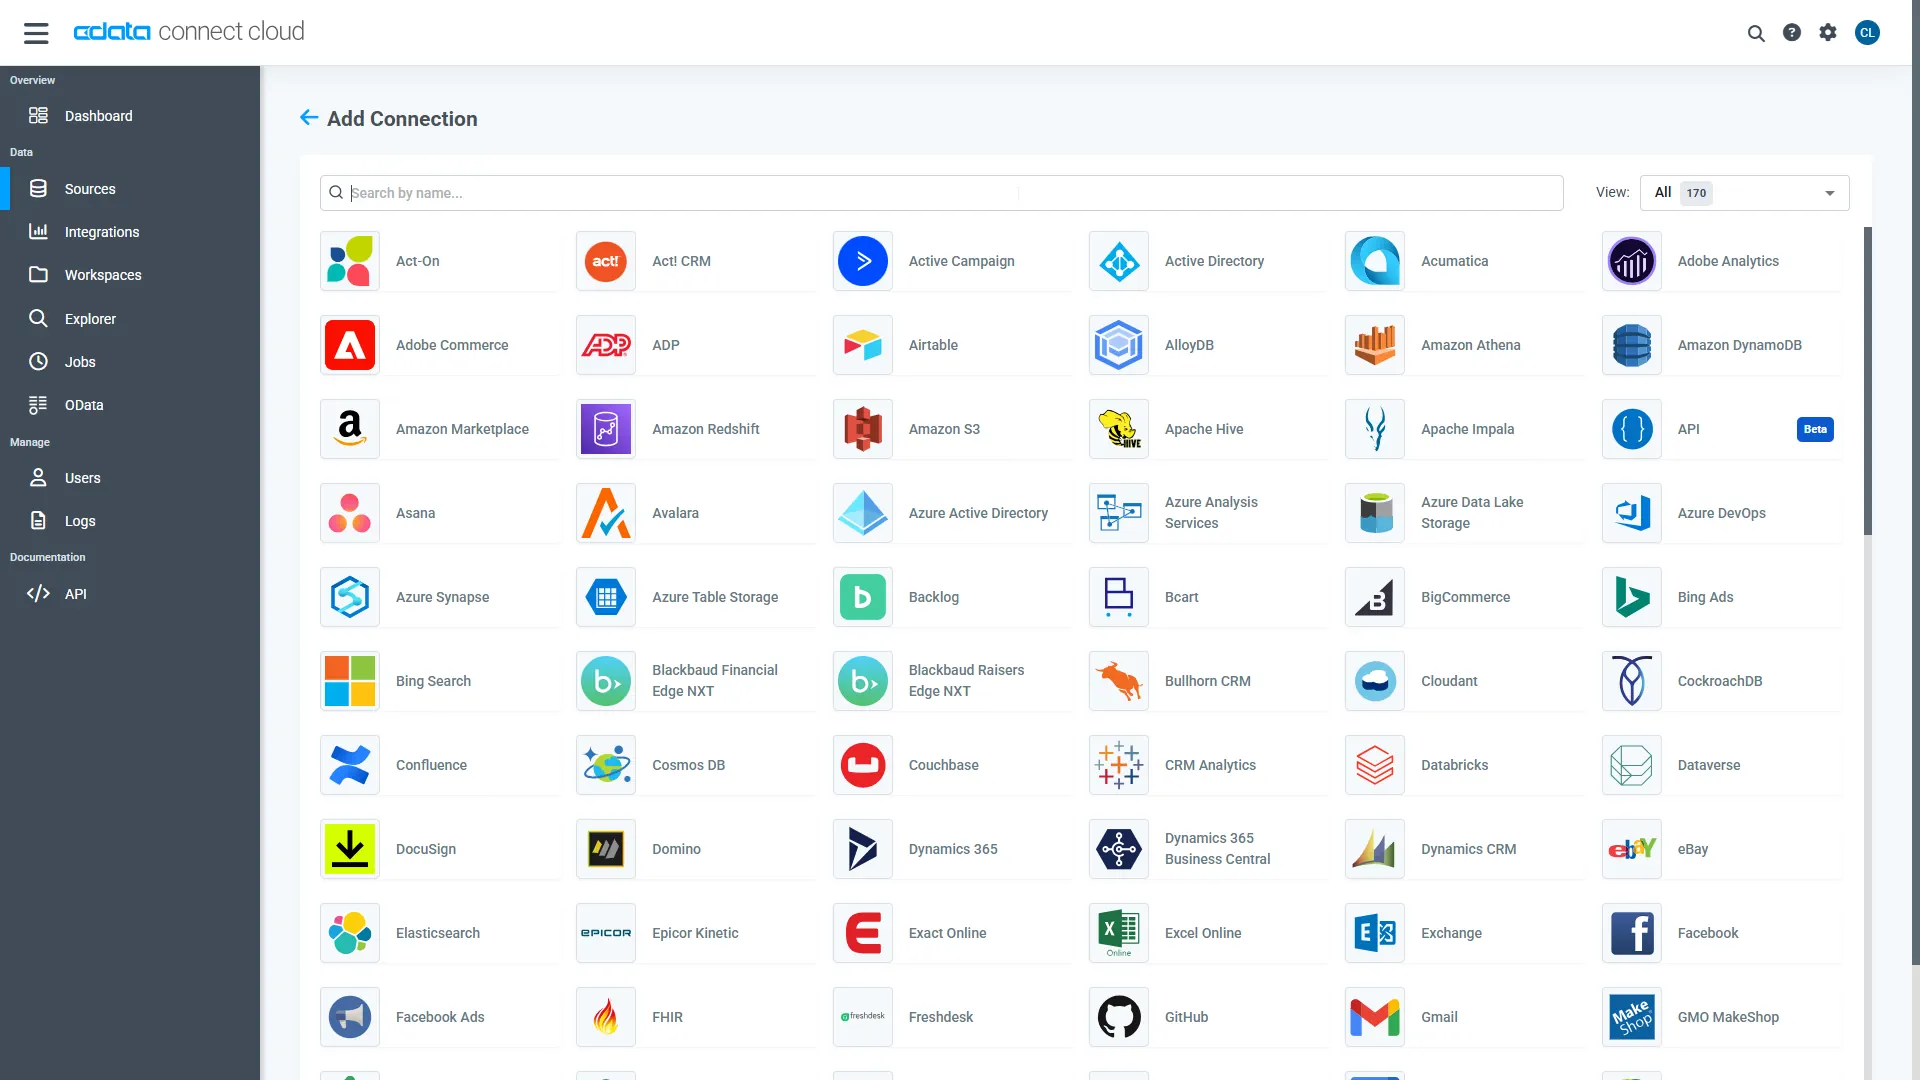
- Select ADP from the Add Connection panel
-
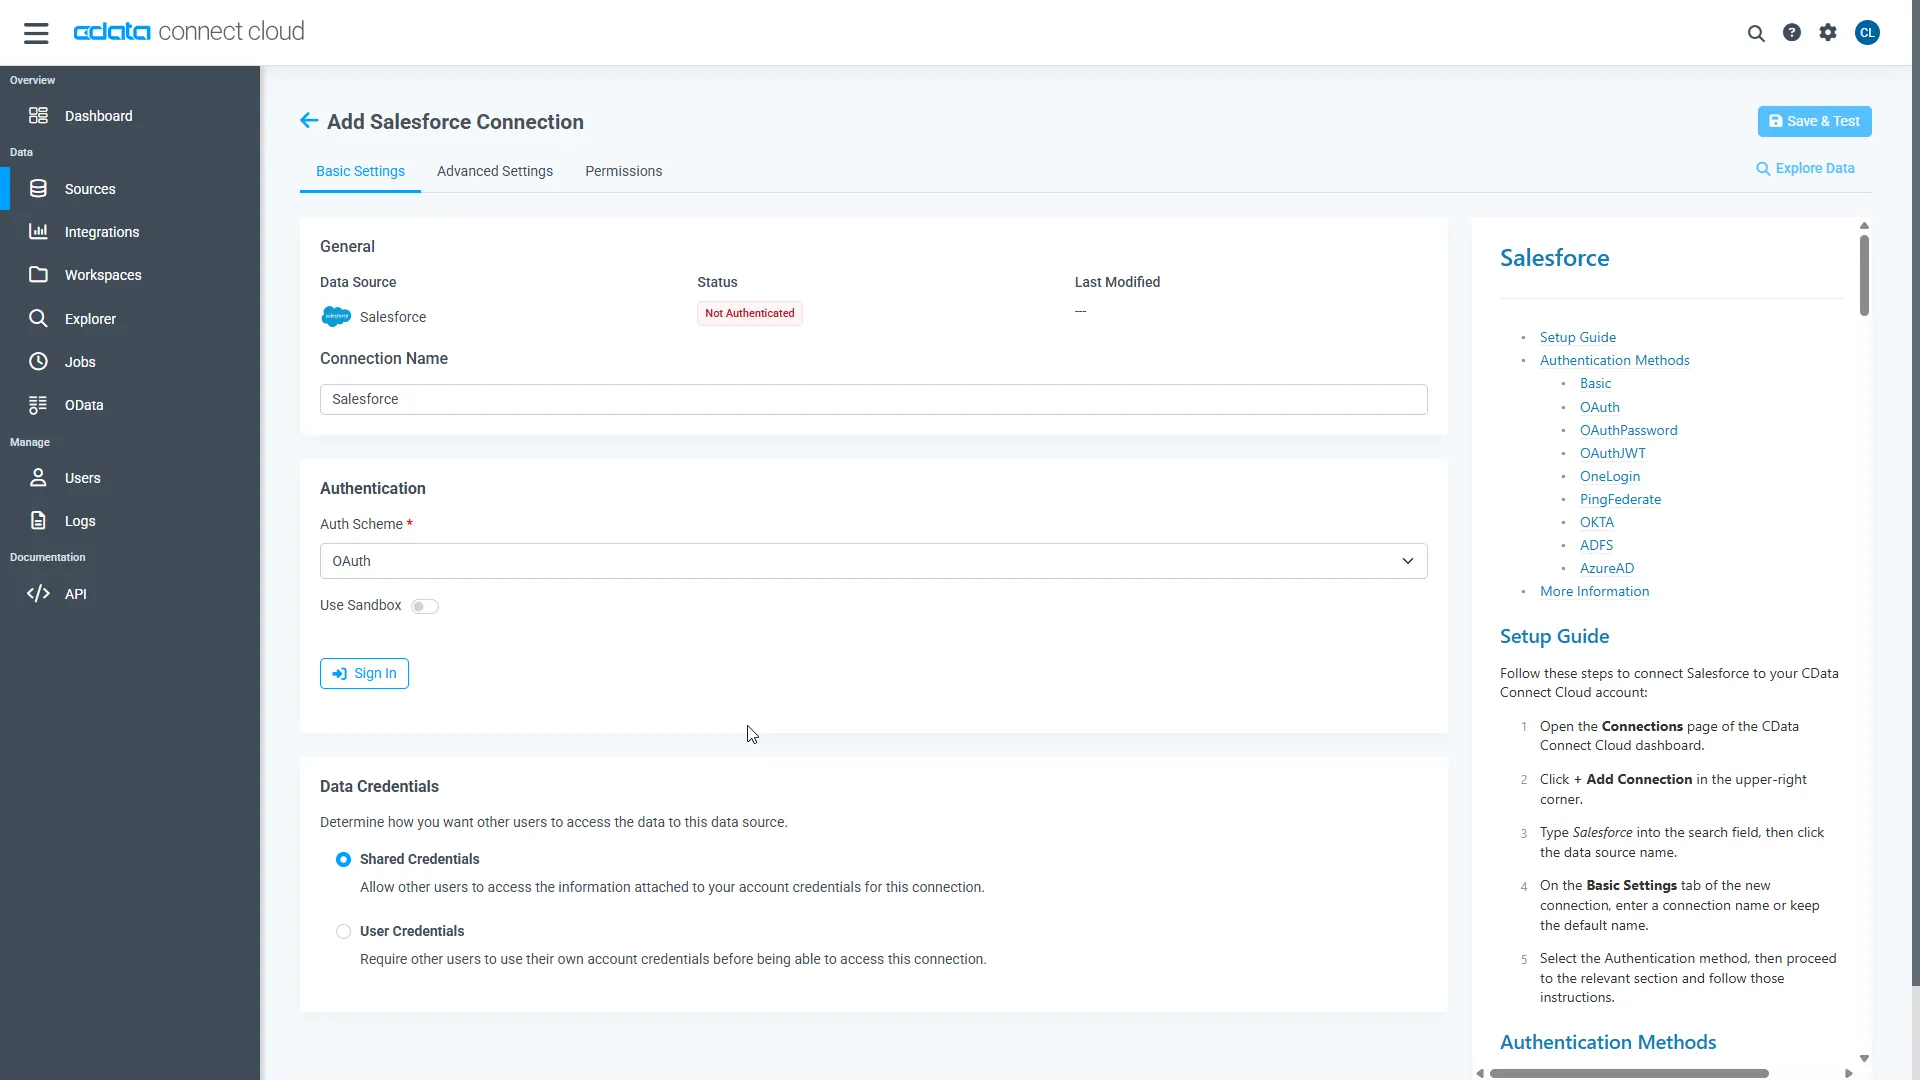
Enter the necessary authentication properties to connect to ADP.
Connect to ADP by specifying the following properties:
- OAuthClientId: The client Id of the custom OAuth application you obtained from ADP.
- OAuthClientSecret: The custom OAuth application's client secret.
- SSLClientCert: Set this to the certificate provided during registration.
- SSLClientCertPassword: Set this to the password of the certificate.
- UseUAT: The connector makes requests to the production environment by default. If using a developer account, set UseUAT = true.
- RowScanDepth: The maximum number of rows to scan for the custom fields columns available in the table. The default value will be set to 100. Setting a high value may decrease performance.
The connector uses OAuth to authenticate with ADP. OAuth requires the authenticating user to interact with ADP using the browser. OAuth access can be configured in ADP through ADP API Central. For more information, refer ADP's API Central Quick Start Guide and the OAuth section in CData's Help documentation.
- Click Save & Test
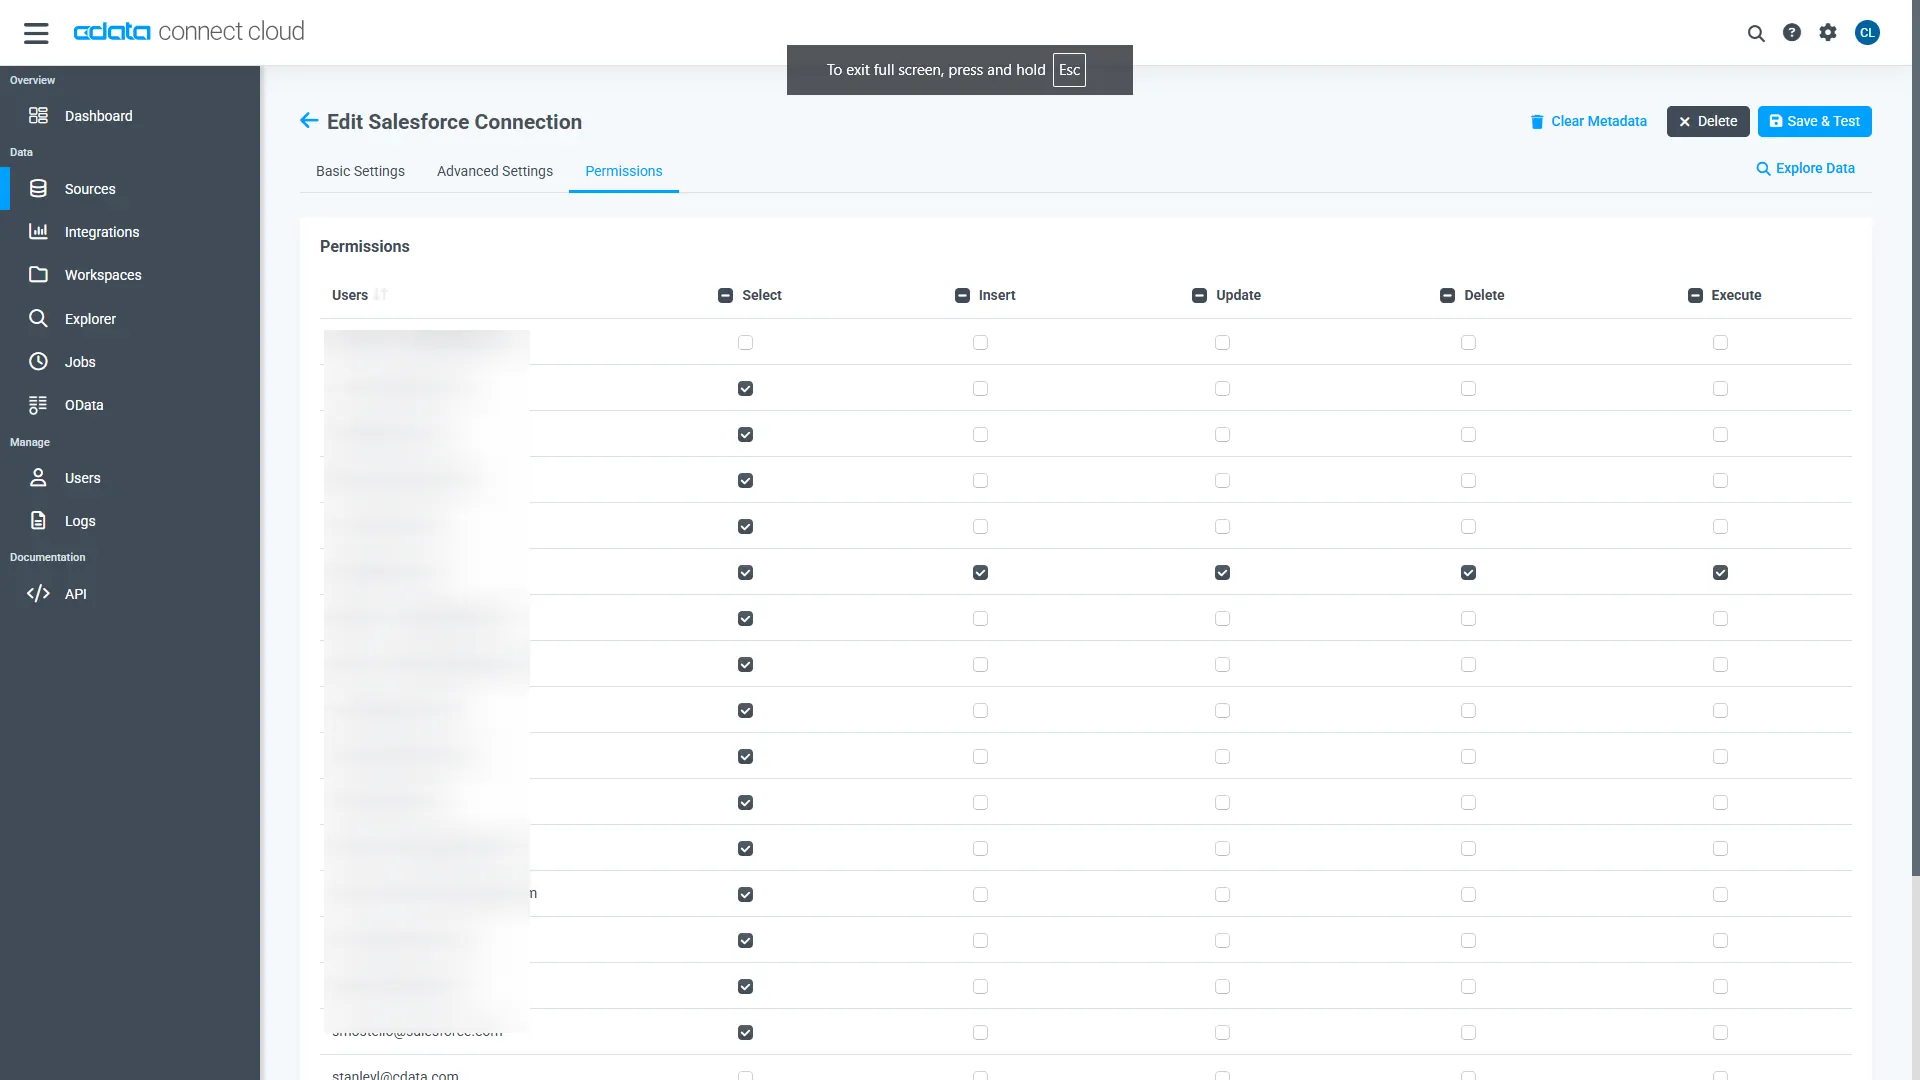
- Navigate to the Permissions tab and update user-based permissions
Add a Personal Access Token
A Personal Access Token (PAT) is used to authenticate the connection to Connect AI from Warp. It is best practice to create a separate PAT for each integration to maintain granular access control.
- Click the gear icon () at the top right of the Connect AI app to open Settings
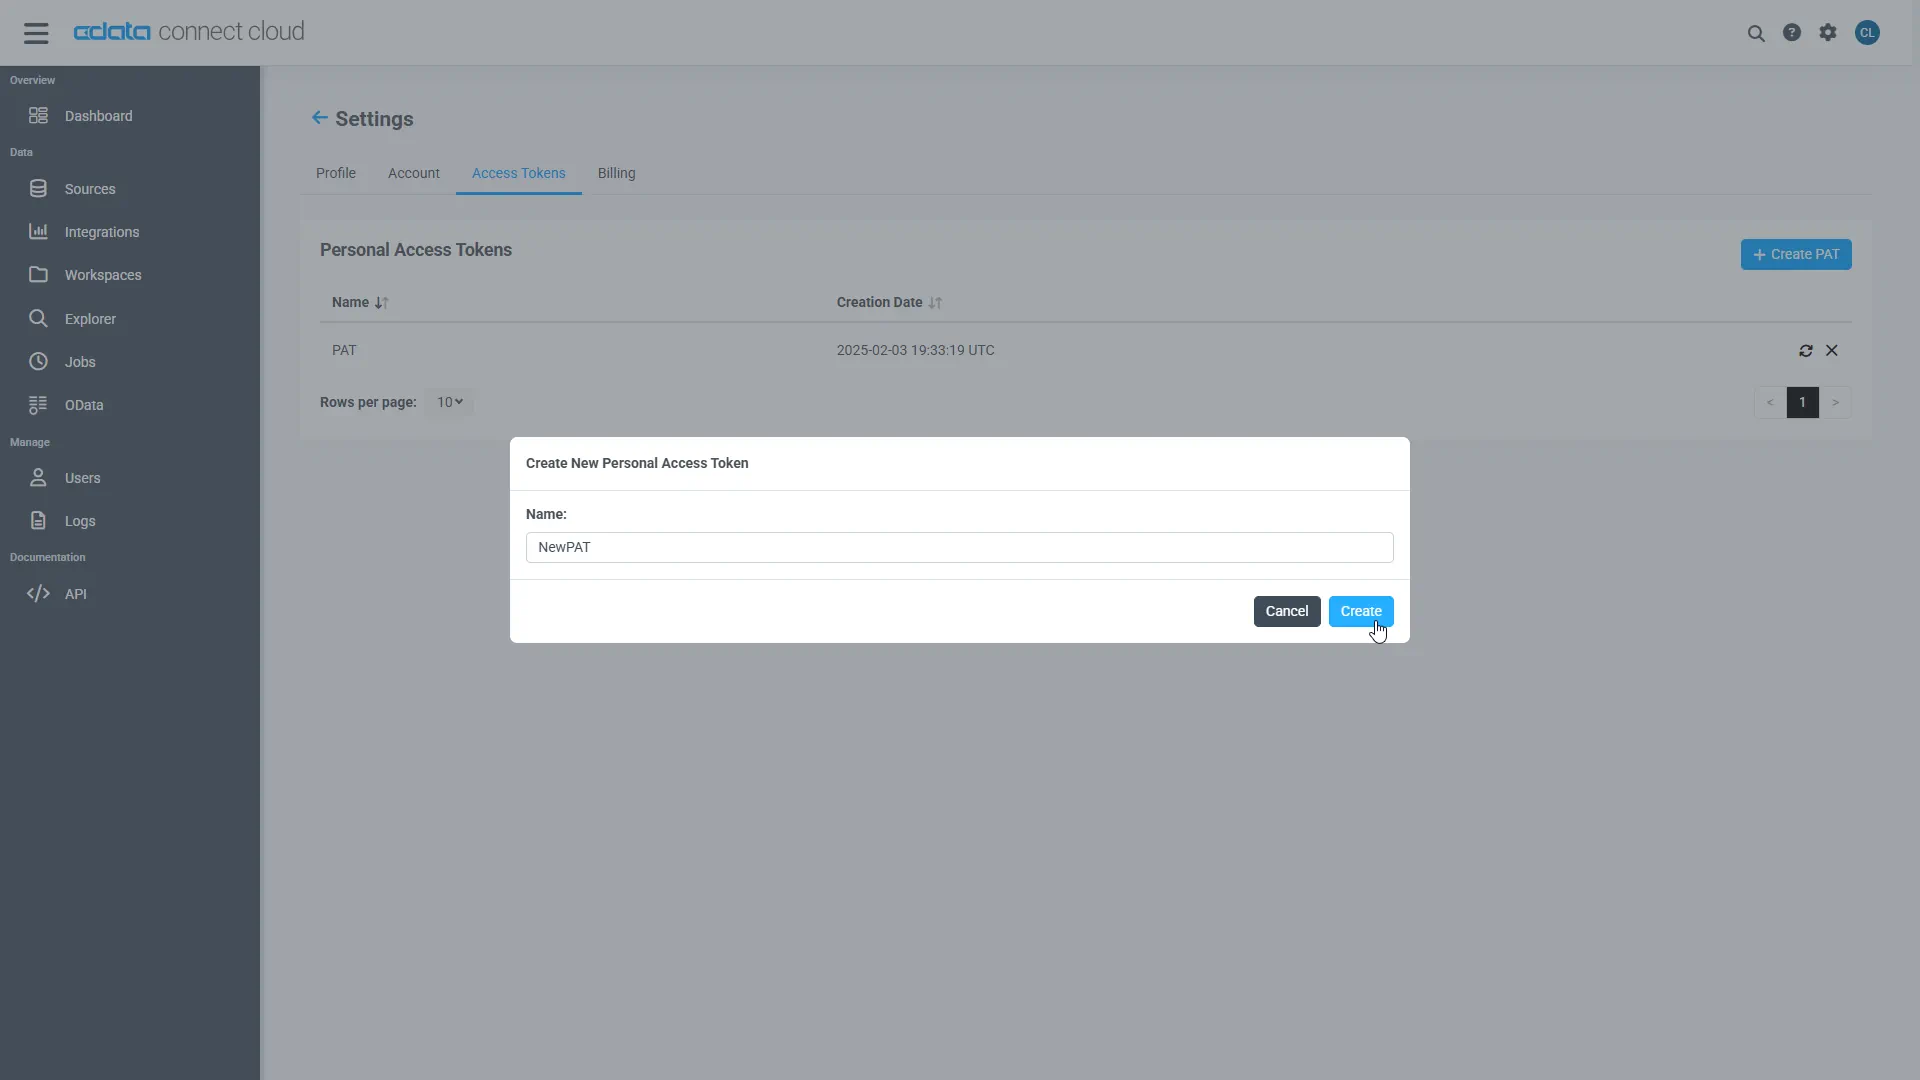
- On the Settings page, go to the Personal Access Tokens section and click Create PAT
- Give the PAT a descriptive name and click Create
- Copy the token when displayed and store it securely. It will not be shown again
With the ADP connection configured and a PAT generated, Warp can now connect to ADP data through Connect AI.
Step 2: Configure Connect AI in Warp
Enable the Warp Agent, configure an LLM provider, and the Connect AI MCP endpoint in Warp so the agent can discover and call live data tools.
- Download and install Warp, and then sign up or log in to your Warp account
-
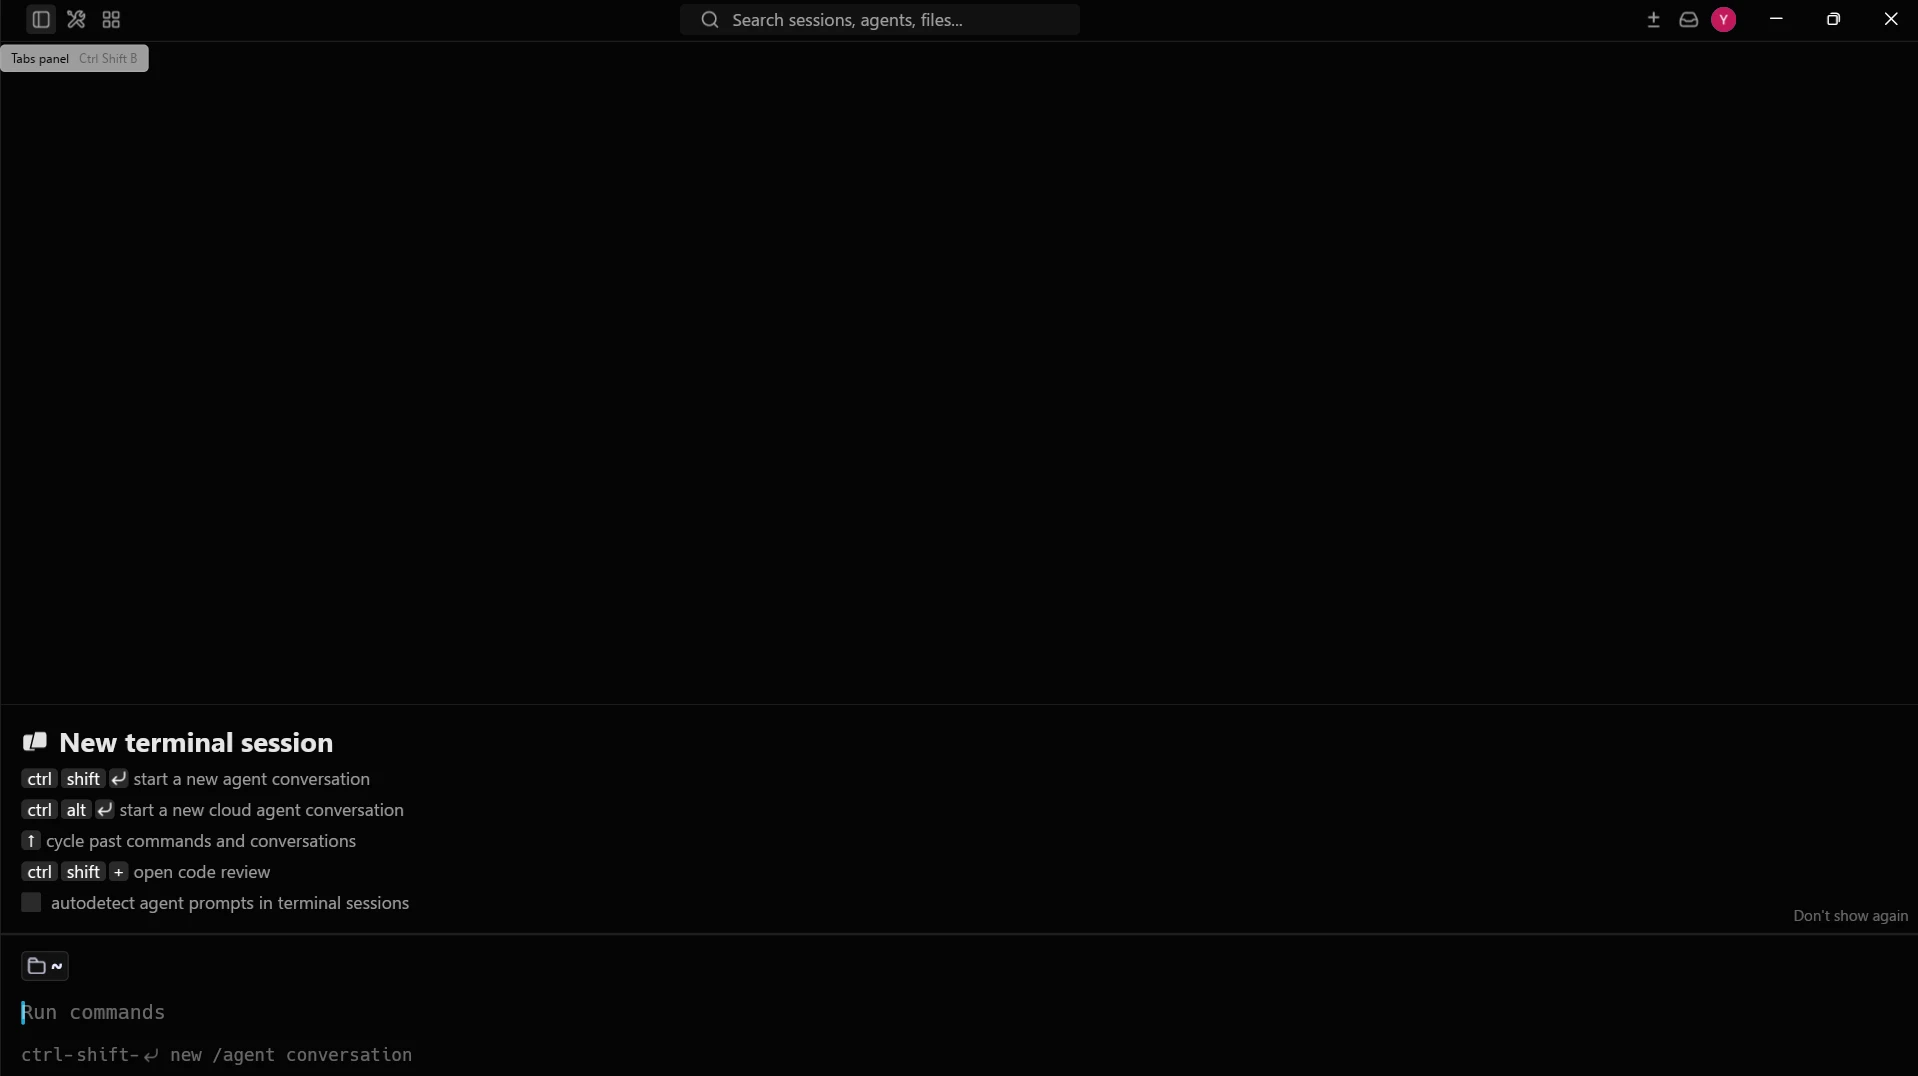
Click the Tabs panel icon at the top left of the window, or press Ctrl + Shift + B
-
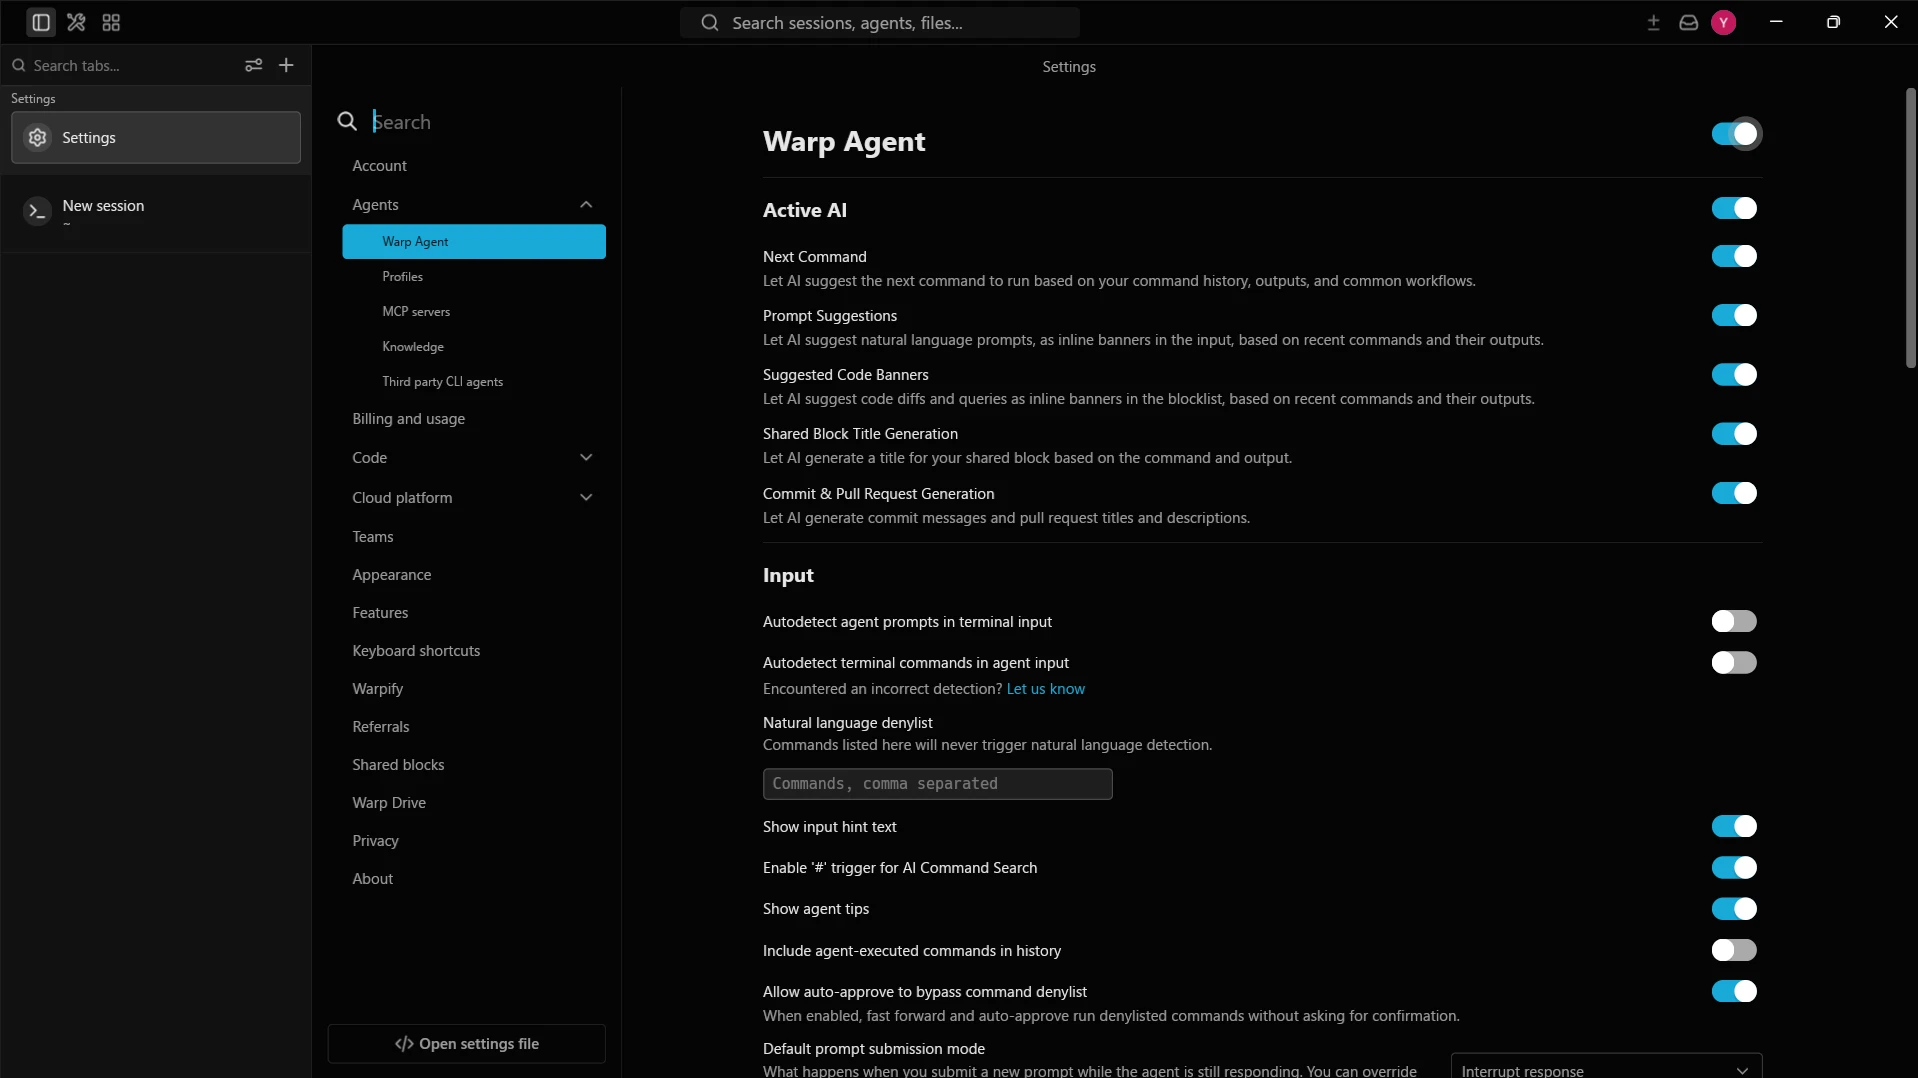
Click Settings, expand Agents, select Warp Agent, and toggle Warp Agent on
Configure an LLM provider
The Warp Agent needs an LLM provider to interpret your prompts and decide which MCP tools to call. Add an API key for your preferred provider.
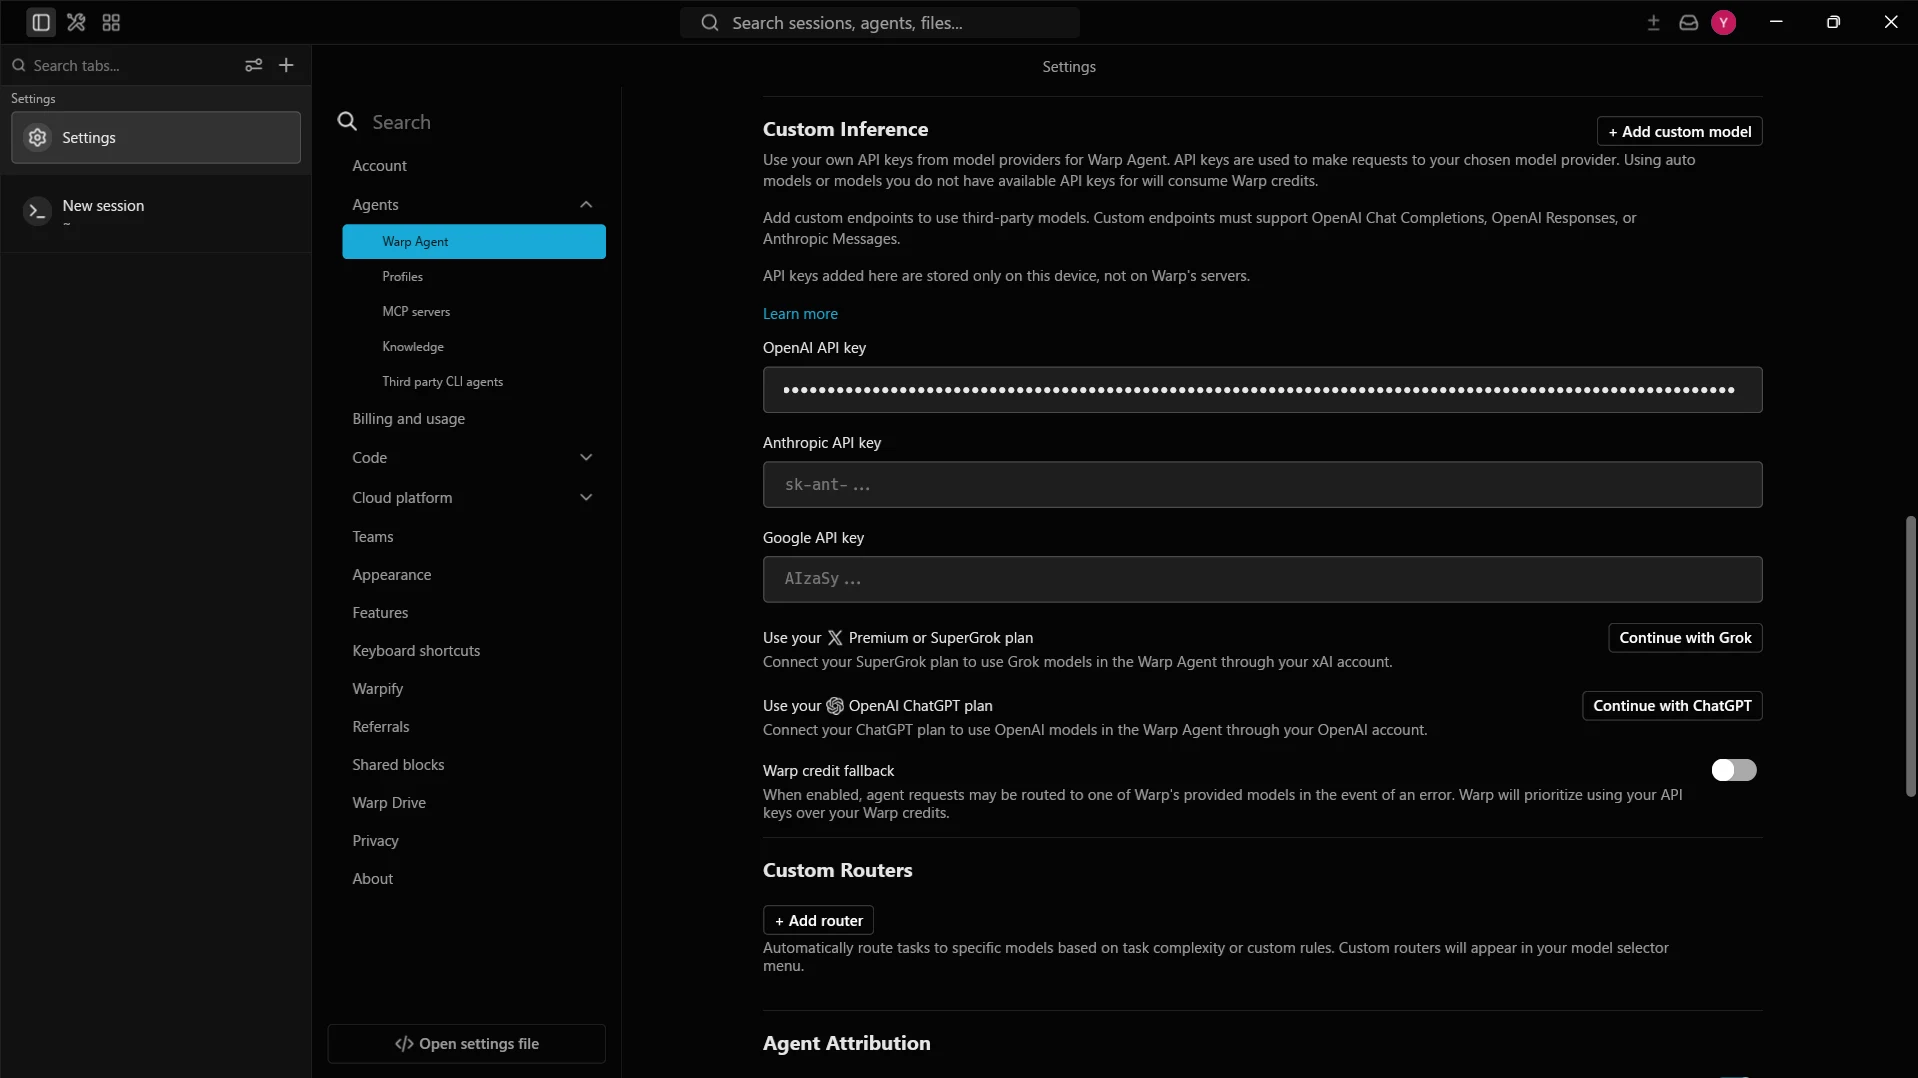
- On the same Warp Agent page, scroll down to the Custom Inference section
-
Enter the API key for the LLM provider of your choice (e.g., OpenAI, Anthropic, or Google)
Add the Connect AI MCP Server
-
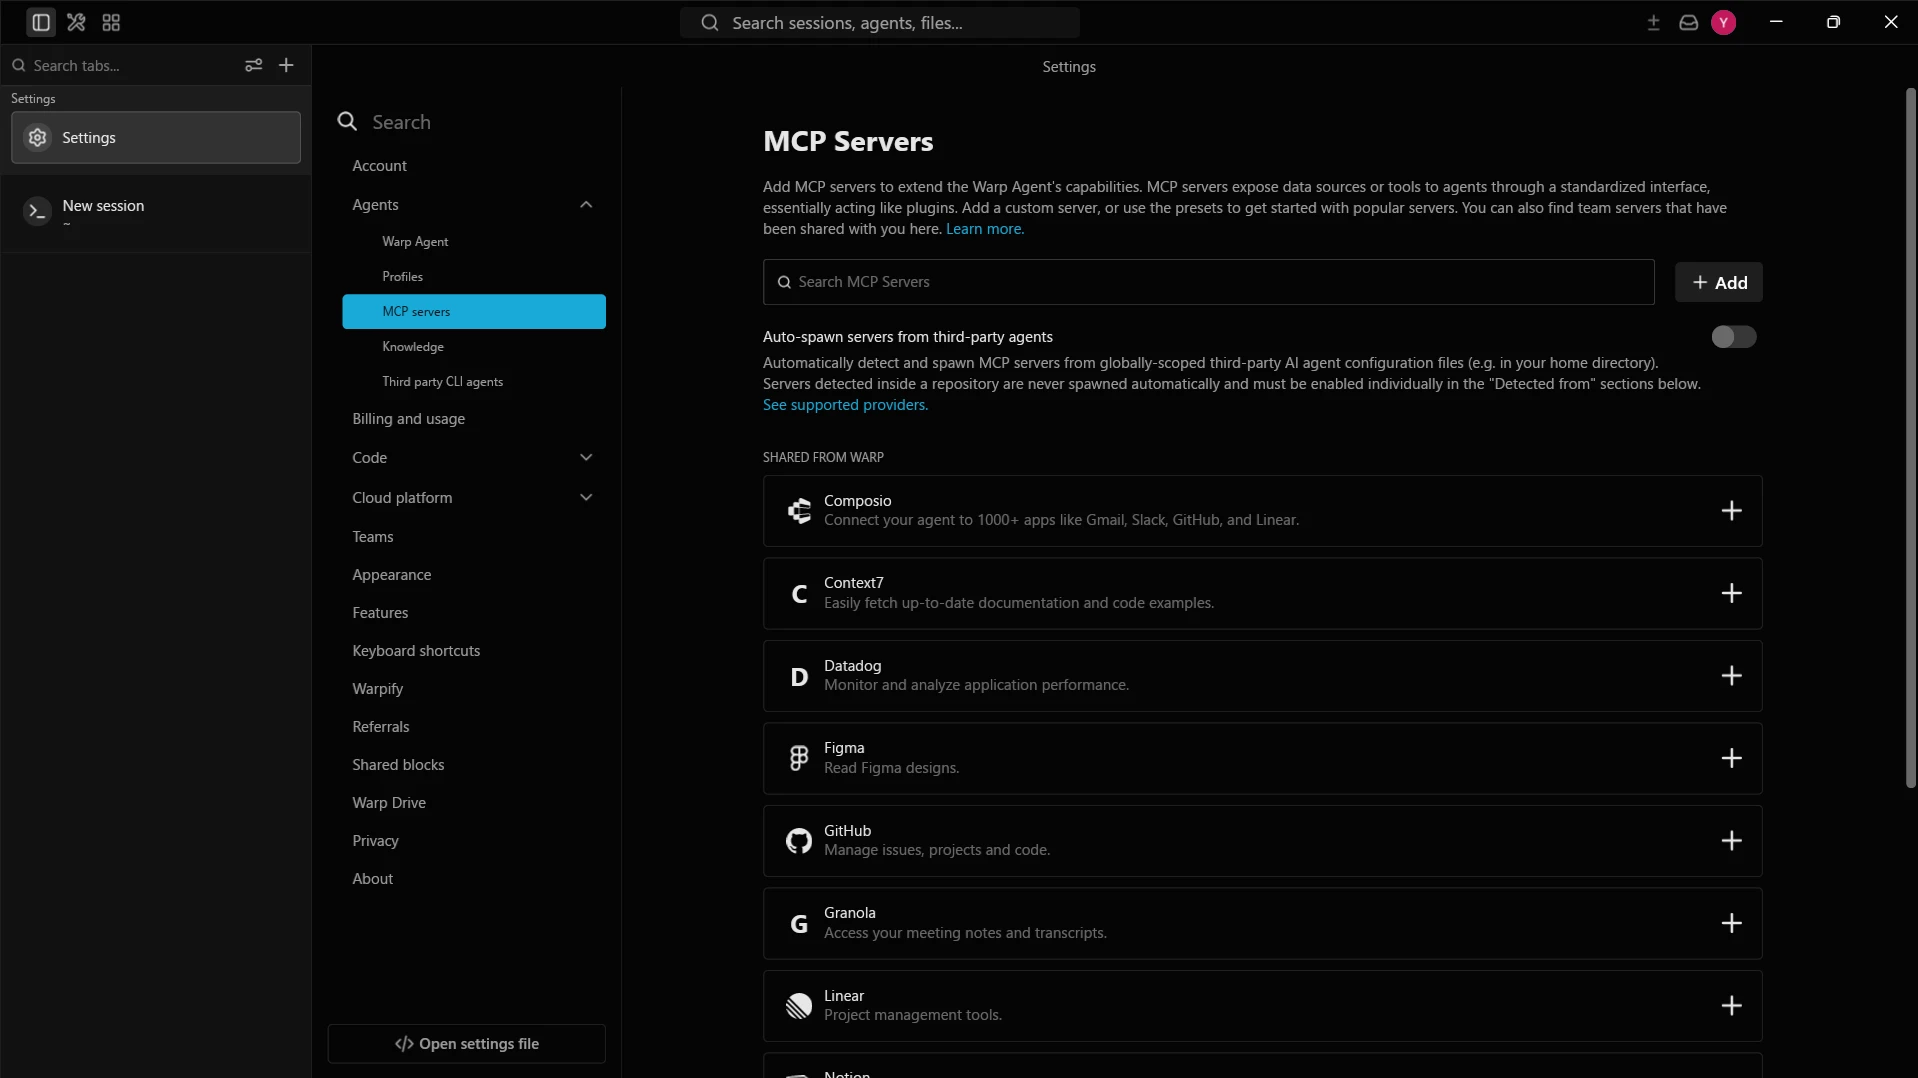
Under Agents, click MCP servers, and then click Add
-
In the Add New MCP Server editor, paste the following JSON configuration:
{
  "mcpServers": {
    "CData_Connect_AI": {
      "url": "https://mcp.cloud.cdata.com/mcp",
      "headers": {
        "Authorization": "Basic your_base64_encoded_email_PAT"
      }
    }
  }
}
Note: Combine your Connect AI email and PAT in the format email:PAT, Base64 encode the combined string, and prefix it with Basic. For example, given [email protected]:ABC123...XYZ, the header value becomes something like: Basic dXNlckBteWRvbWFpbjphSzkvbVB4Mi9Rcjd2TjQ...
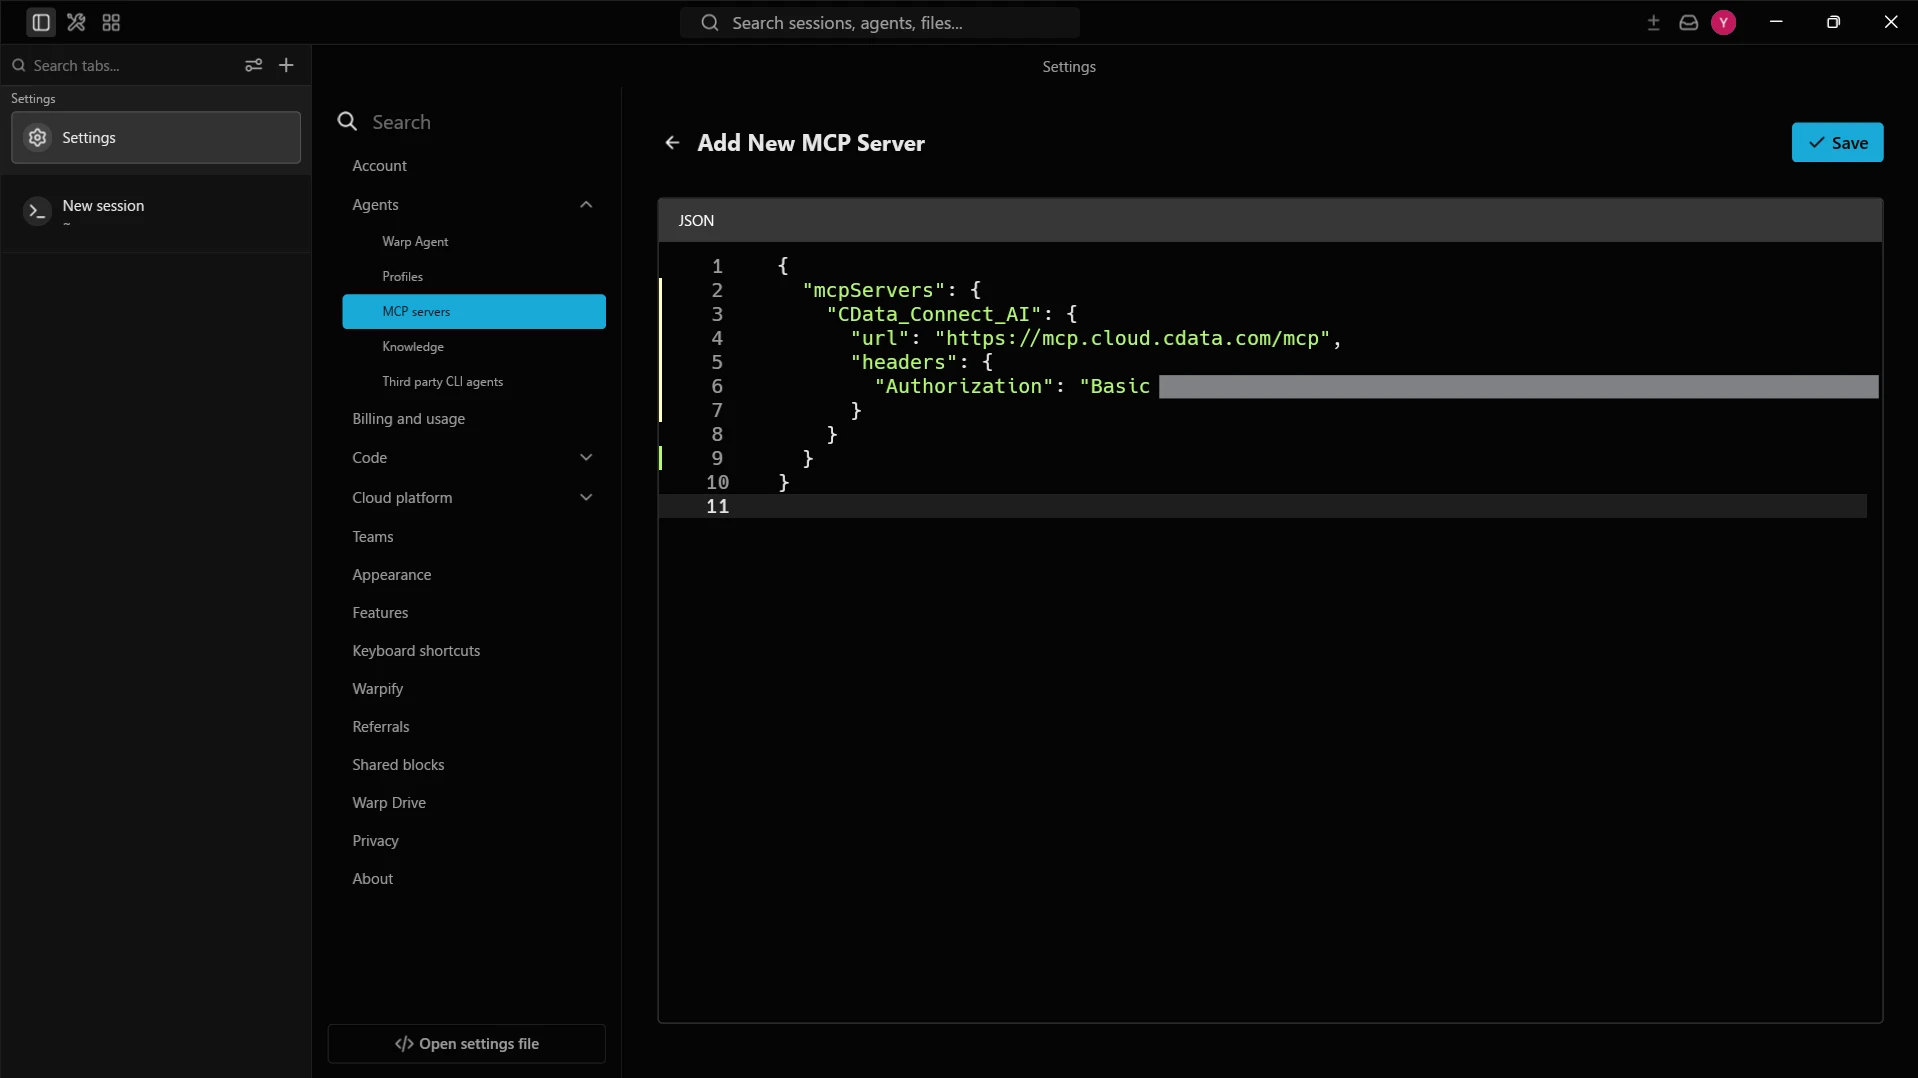
- Click Save to add the MCP server
-
Under My MCPs, confirm that CData_Connect_AI appears with the toggle enabled and the tools available
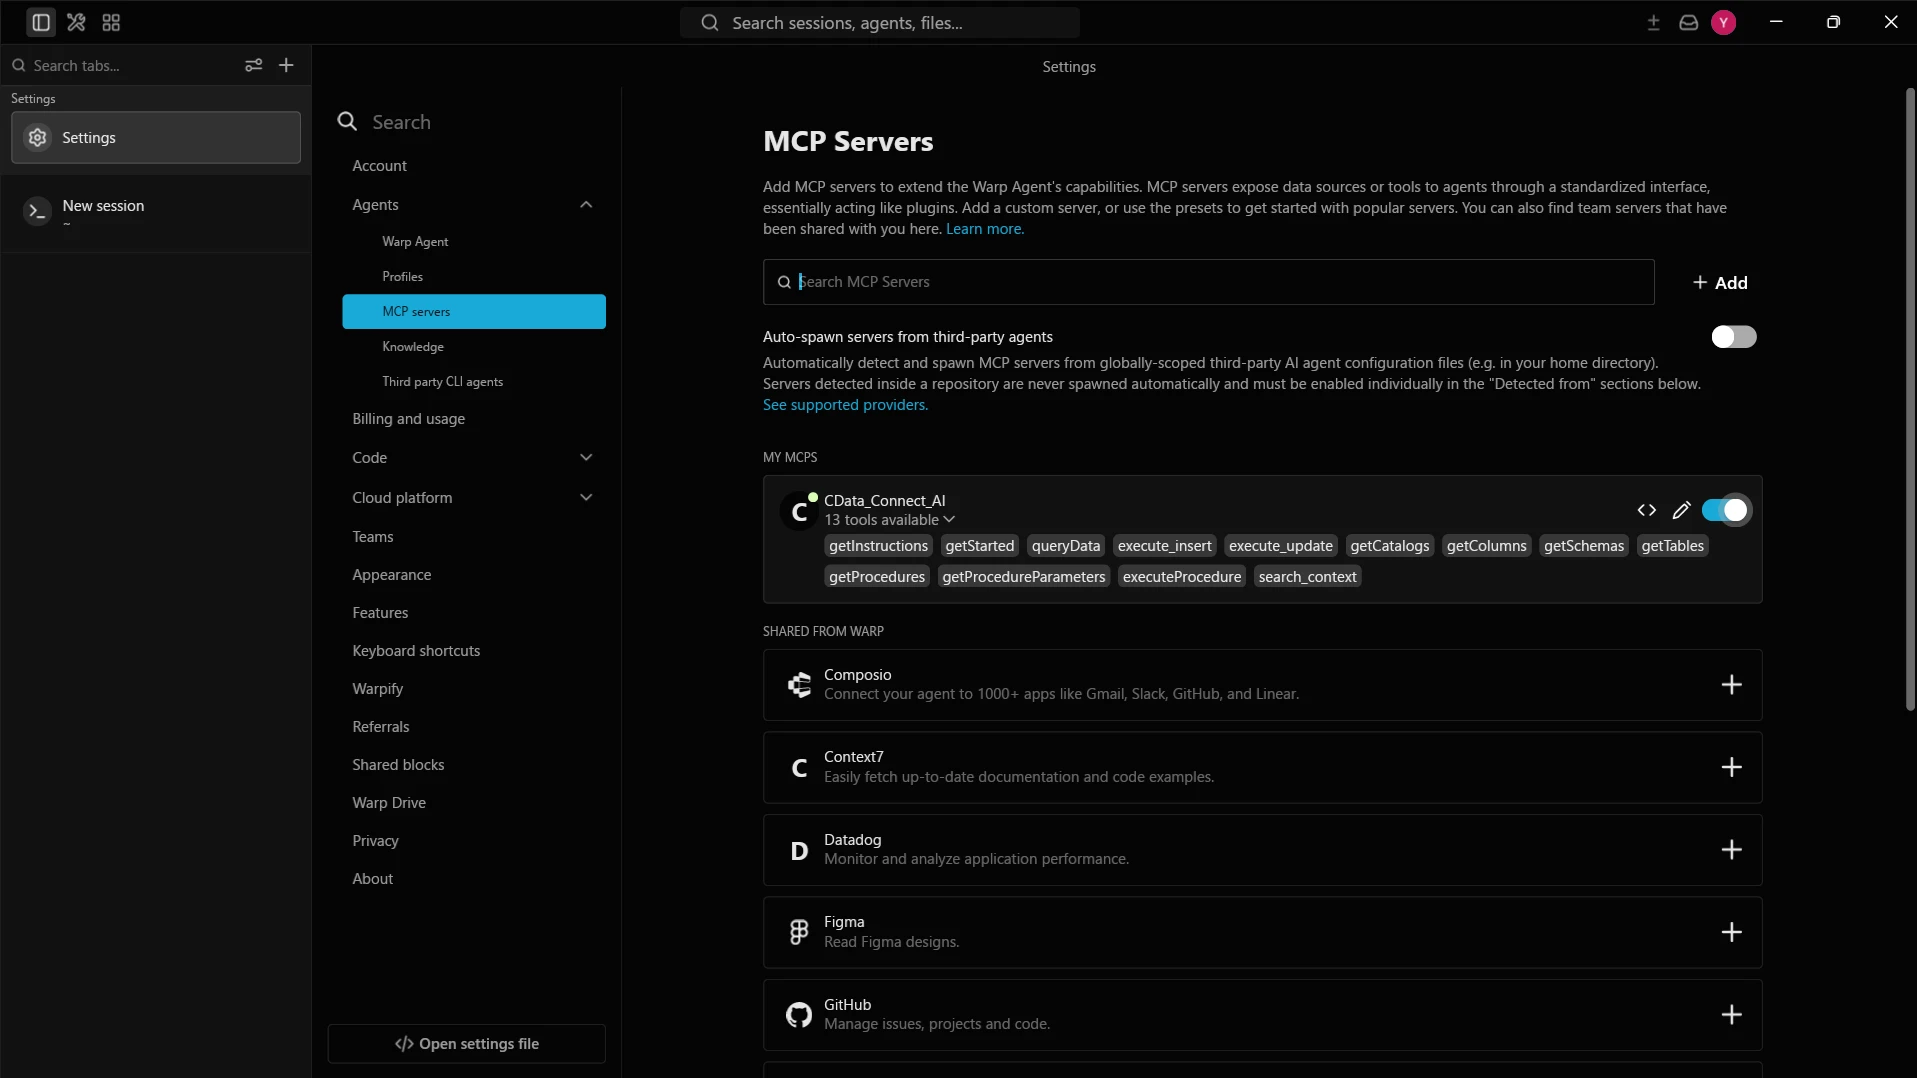
With the MCP server and an LLM provider configured, the Warp Agent is ready to interact with live ADP data through Connect AI.
Step 3: Interact with live ADP data from the Warp Agent
Use natural language prompts in the Warp Agent to explore live ADP data.
-
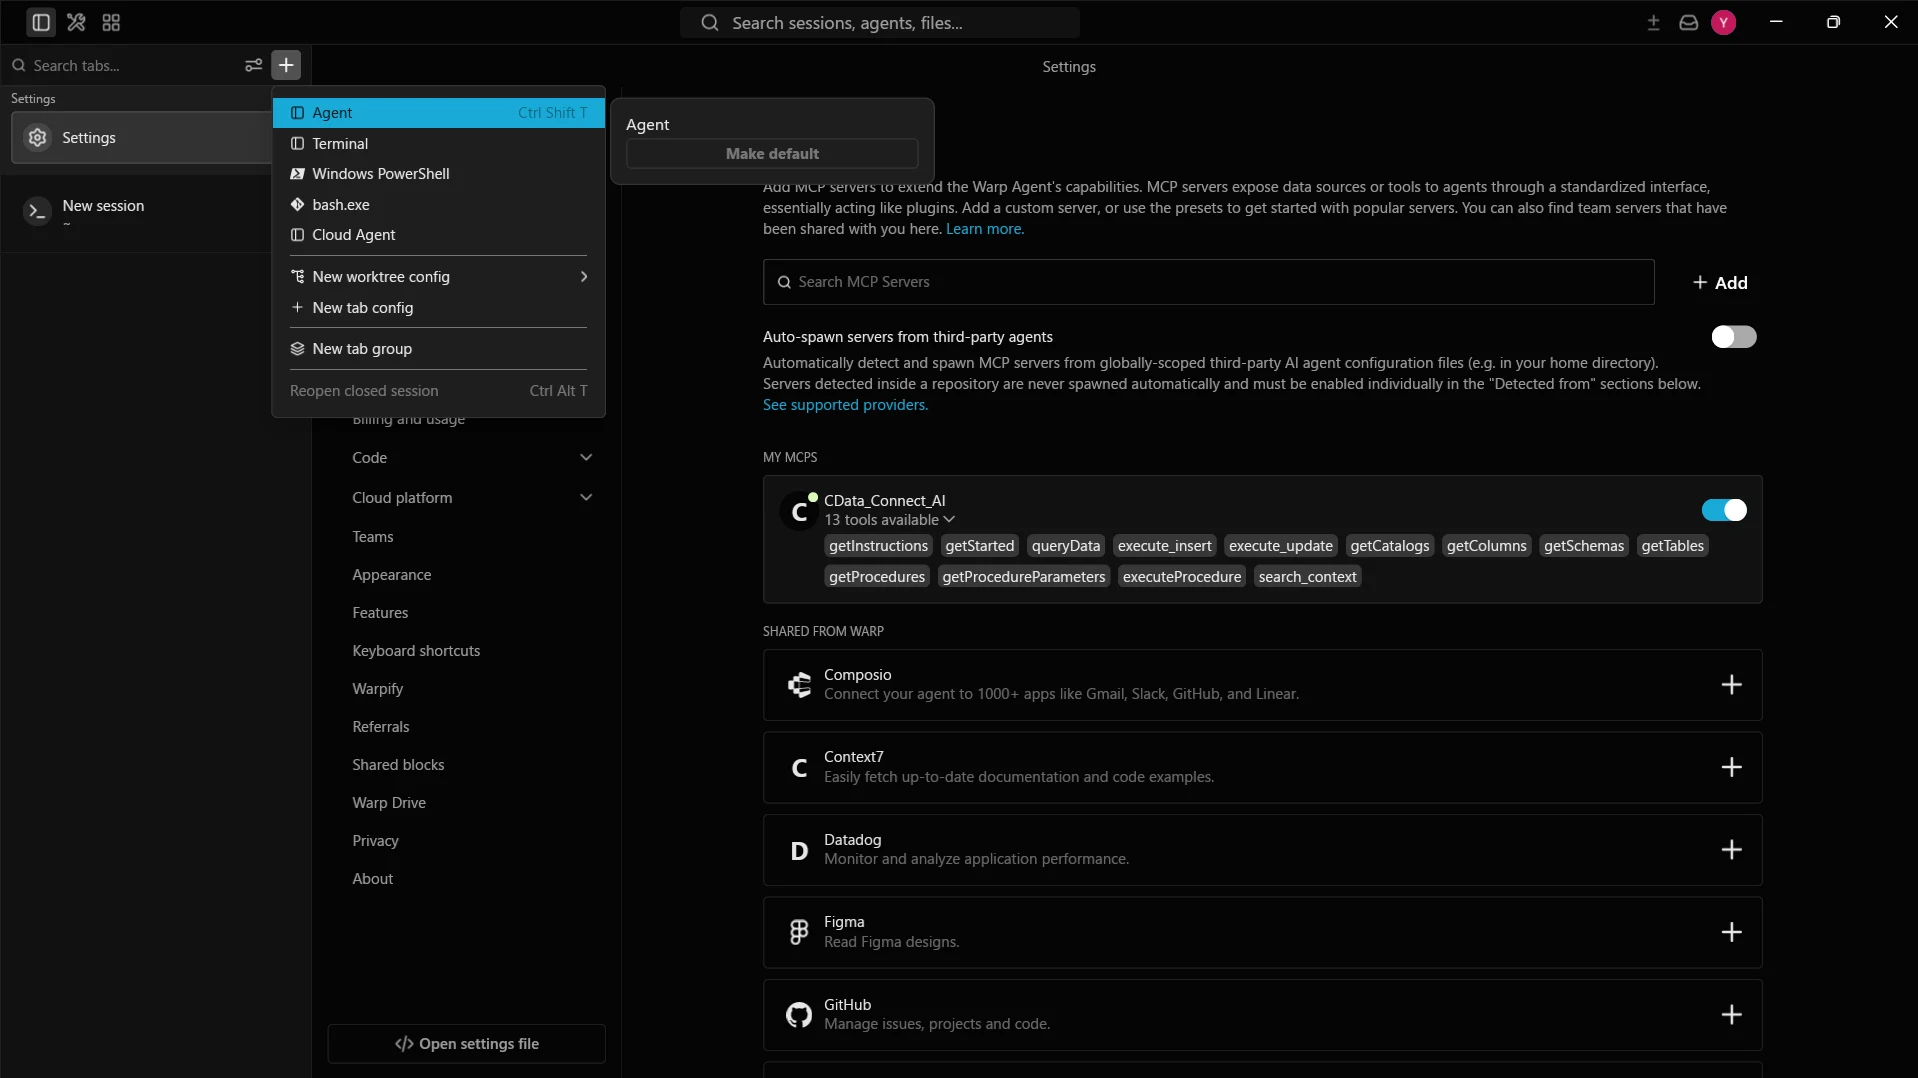
Click the icon in the left navigation bar and select Agent
-
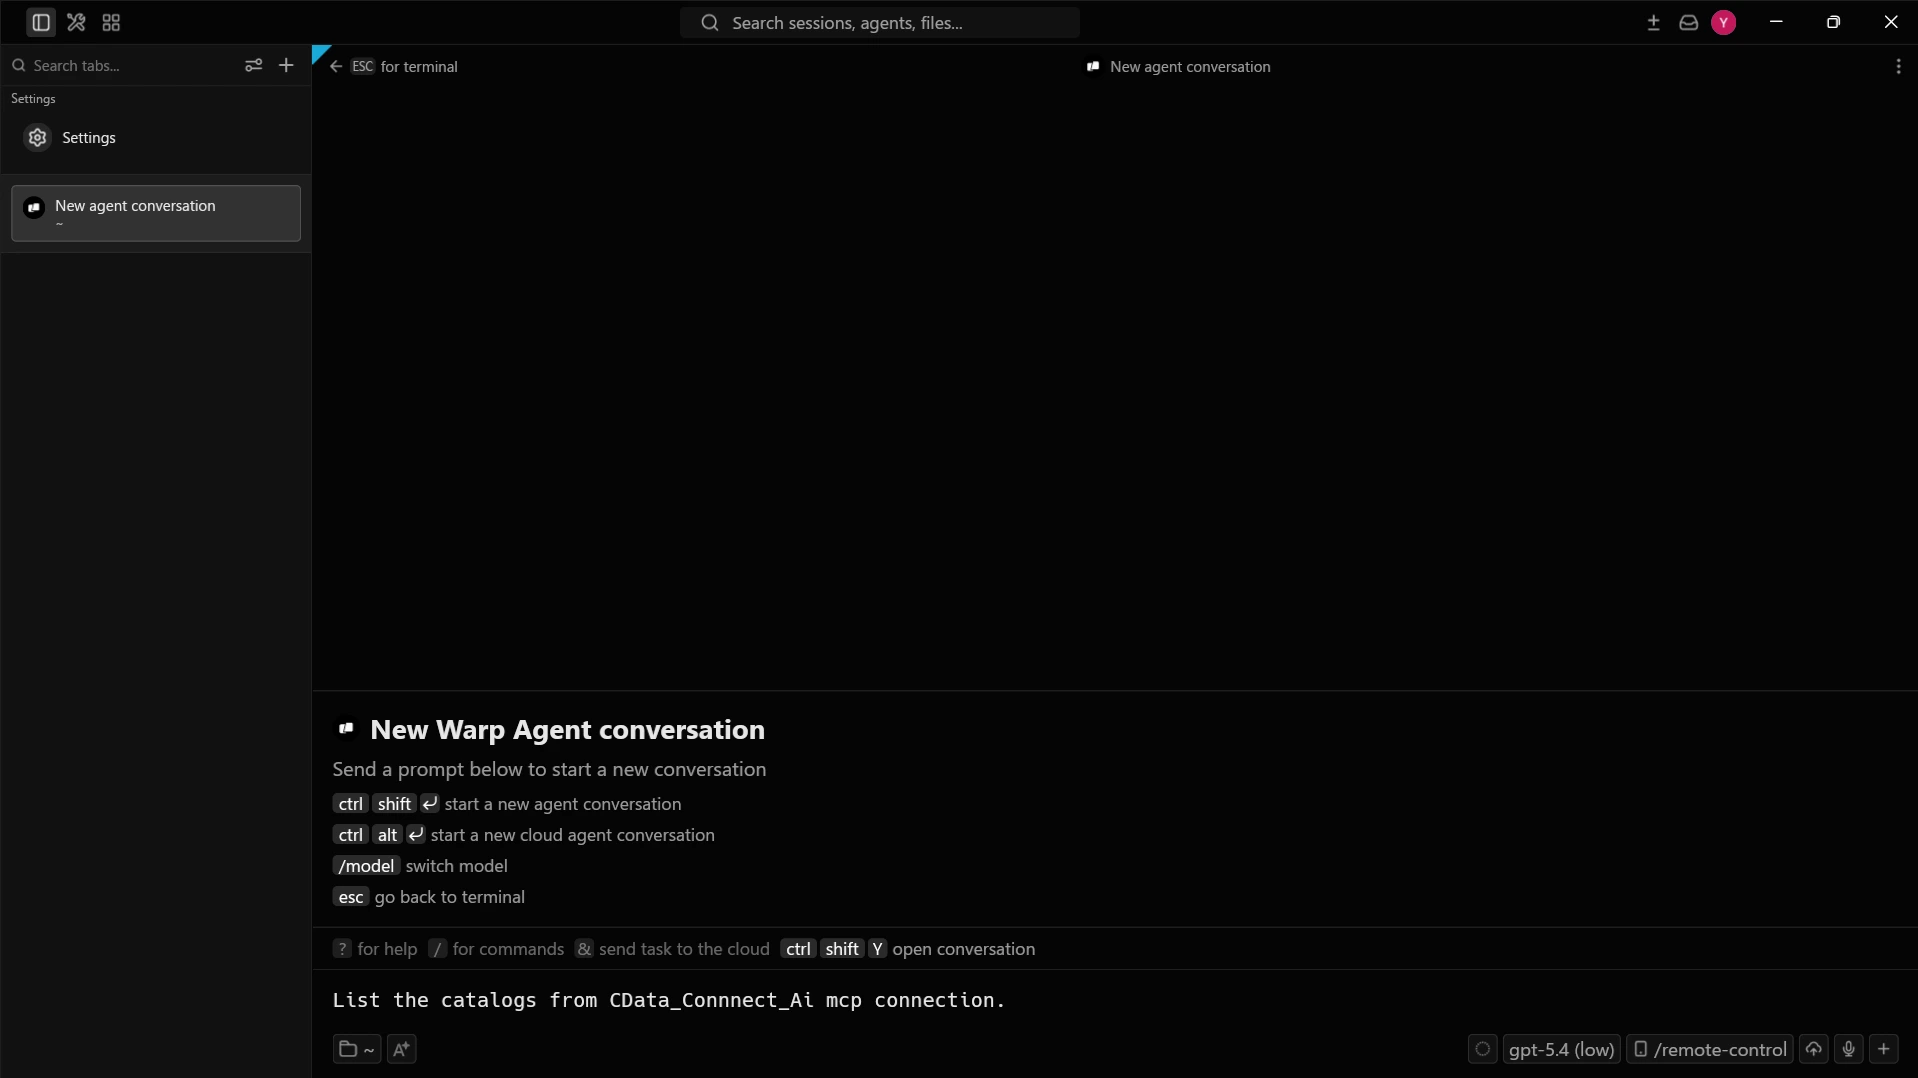
Enter a prompt to interact with your data, for example:
- List the sources available in my CData_Connect_AI mcp connection
- Show me what I can explore in ADP
- Fetch the five most recent records from ADP data
-
The agent calls the Connect AI MCP Server and returns live results from ADP data
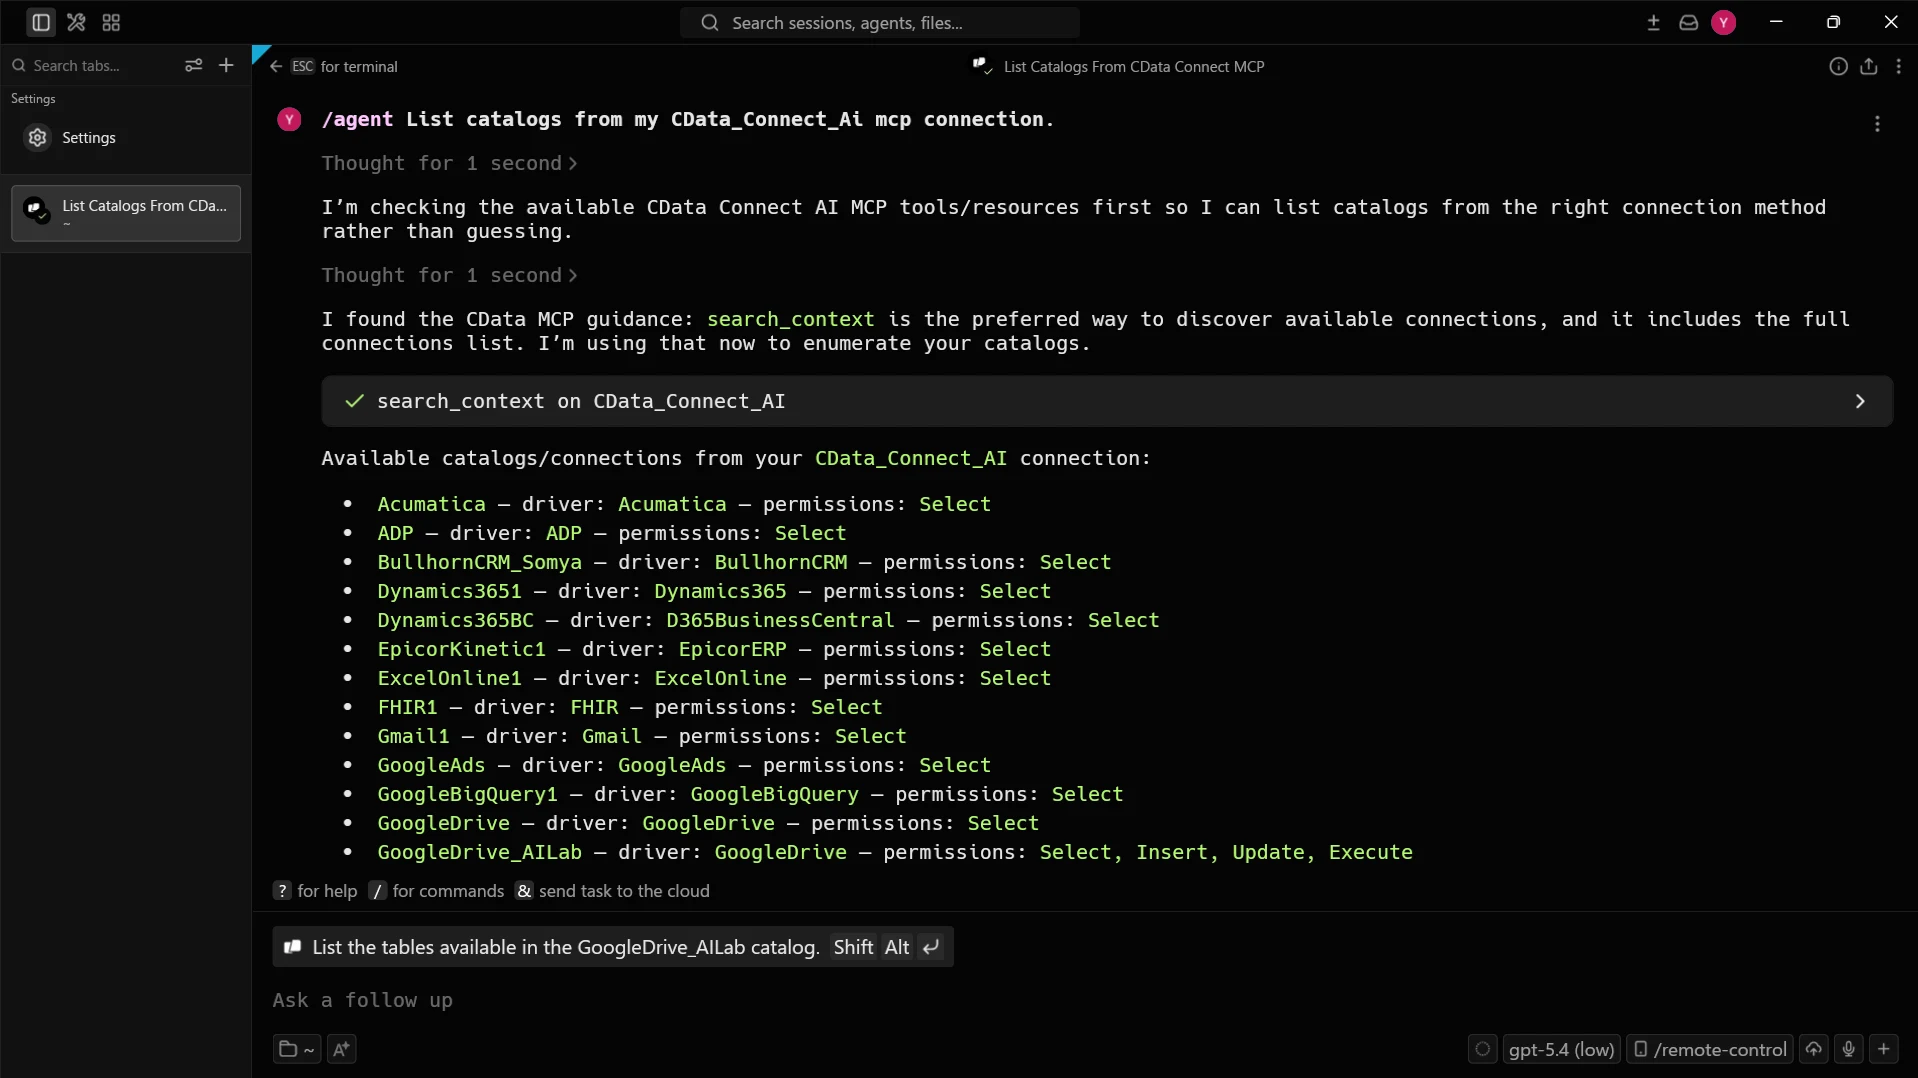
Your Warp Agent now calls the Connect AI MCP Server to interact with live ADP data through remote MCP tools, all from the terminal.
Get CData Connect AI
To interact with hundreds of SaaS and enterprise data sources directly from your AI agents and cloud applications, try CData Connect AI. Download a free 14-day trial of CData Connect AI, and our Support Team is available to answer any questions.