





Integrating the CData JDBC Driver for Azure Data Lake Storage with Ignition SCADA

Ignition is an industrial supervisory control and data acquisition (SCADA) and industrial Internet of Things (IIoT) platform from Inductive Automation. Its central Gateway service manages device connections, tags, and database connections. Ignition doesn't ship with a connector for Azure Data Lake Storage, so reaching Azure Data Lake Storage data usually means custom middleware or manual exports.
The CData JDBC Driver for Azure Data Lake Storage bridges this gap by exposing Azure Data Lake Storage as a standard Java Database Connectivity (JDBC) data source. Ignition treats any JDBC driver as a standard database connection. Once the driver is registered in the Gateway, you can query live Azure Data Lake Storage data from the Script Console, SQL Bridge, tags, or a Perspective or Vision screen, without replication, custom connectors, or extract, transform, load (ETL) pipelines.
This guide outlines the steps to install and commission Ignition, register the CData JDBC Driver for Azure Data Lake Storage, create the connection, and verify it with a live query.
Prerequisites
- Ignition for Windows (Windows 10/11 or Windows Server), with administrator rights to install a Windows service
- CData JDBC Driver for Azure Data Lake Storage
- A Azure Data Lake Storage account with valid credentials and application programming interface (API) access enabled
- A supported desktop browser (Google Chrome, Mozilla Firefox, Microsoft Edge, or Safari) to open the Gateway web interface
Step 1: Install and set up Ignition
If Ignition is already installed and running, skip to Step 2.
Download Ignition
-
Go to the Inductive Automation downloads page and download Ignition for Windows.
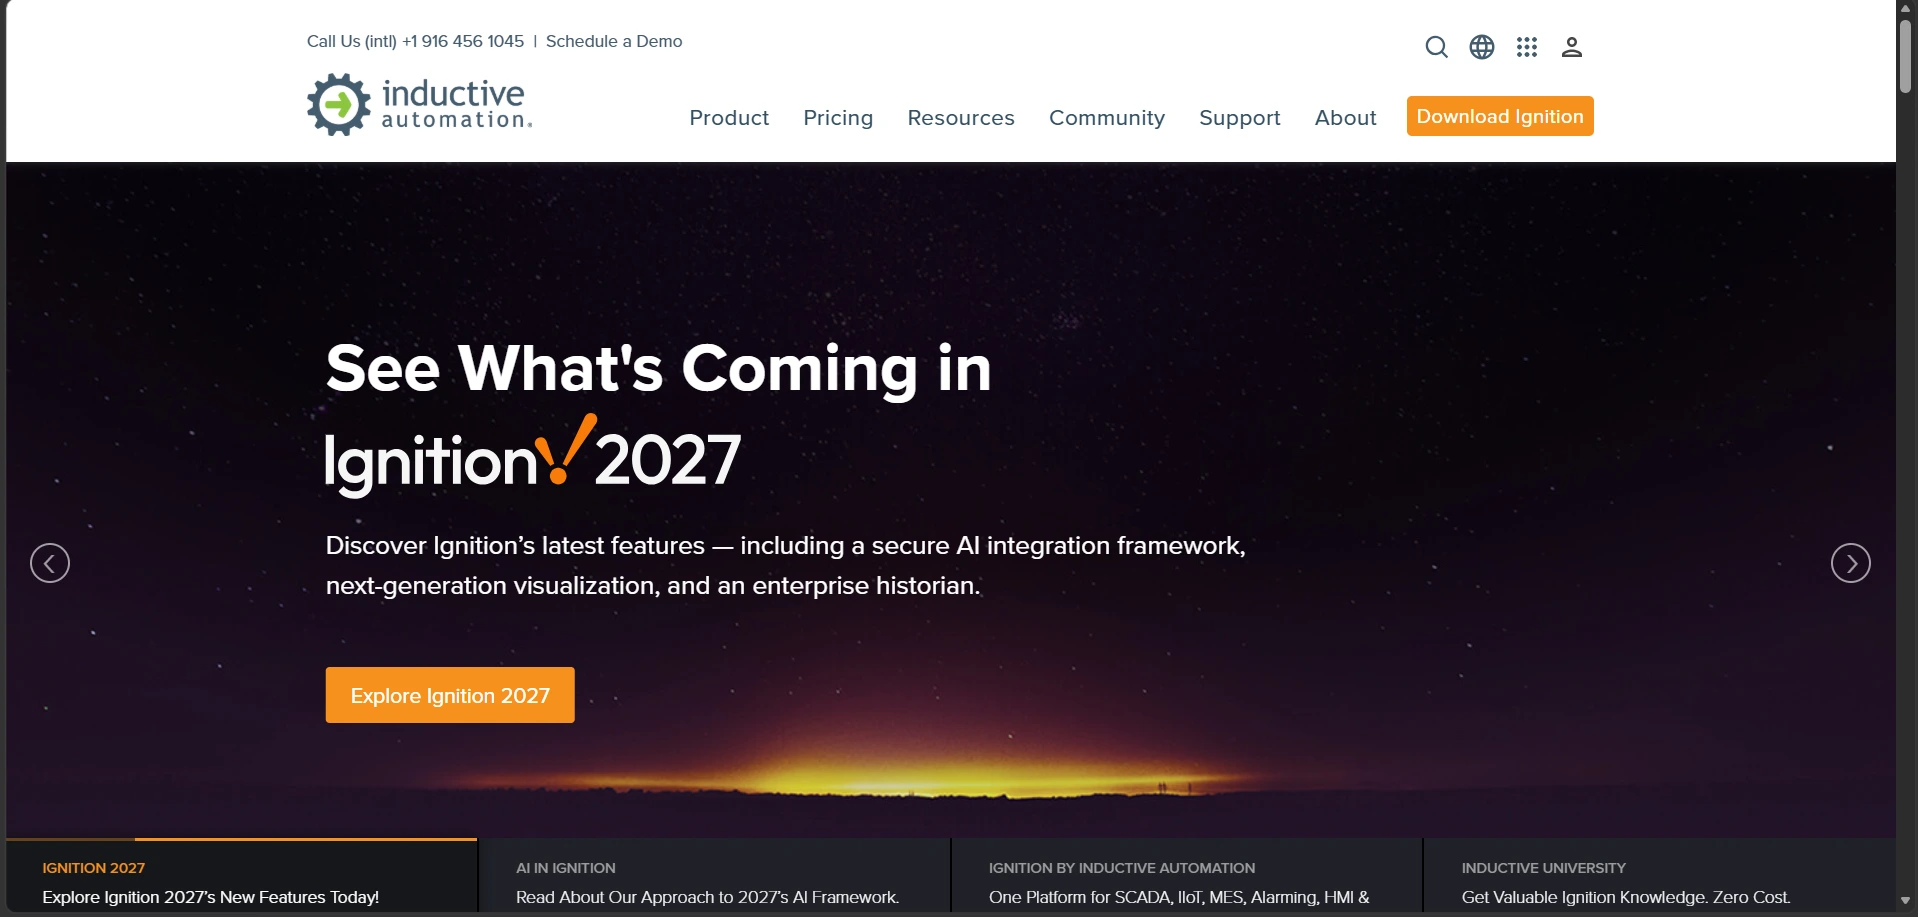
- This single download is the full Ignition Gateway installer. It includes both the Gateway service and the Designer Launcher, so you don't need a separate Designer download.
Install Ignition
- Run the installer, accept the license agreement, and choose an install location.
- Leave Install as a Windows Service checked so the Gateway starts with Windows.
- Finish the installer. The Gateway service starts, and a browser window opens to http://localhost:8088 and shows the Commissioning wizard. If the page shows a Browser Not Supported notice, open the same address in Chrome, Firefox, Edge, or Safari.
Commission the Gateway
- In the Commission Ignition Gateway wizard, set a Gateway Name and create an administrator username and password.
- Accept the End User License Agreement, then start a trial or activate a purchased Ignition license.
-
When commissioning finishes, log in with the administrator account. You land on the Gateway Home page.
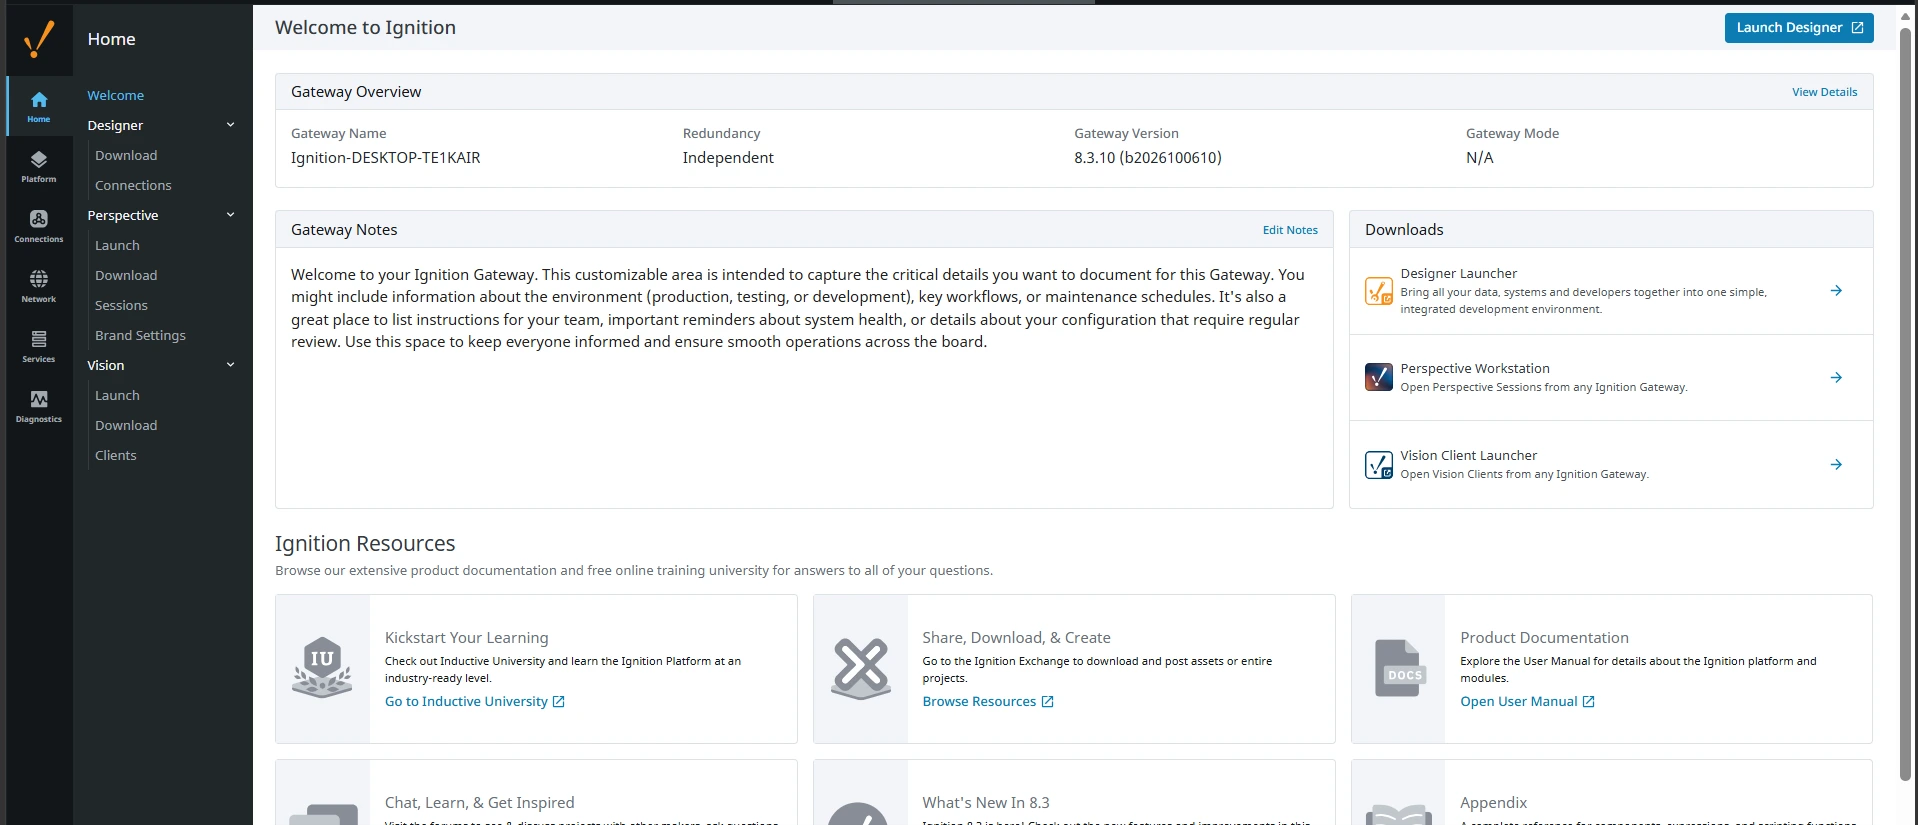
Note: A trial shows a countdown timer on every Gateway page, and the timer resets when the Gateway service restarts. This is fine for testing, but production use requires a license.
Step 2: Register the CData JDBC Driver in Ignition
Ignition lets you upload any third-party JDBC driver through the Gateway web interface, without touching the file system directly.
- Log in to the Gateway as an administrator.
- Go to Connections > Databases > Settings, open the Drivers tab, and click Create JDBC Driver.
-
In the dialog, enter the following:
- Name: Azure Data Lake Storage
- Classname: cdata.jdbc.adls.ADLSDriver
- Driver Type: Generic
- Default Validation Query: SELECT FullPath FROM Resources LIMIT 1
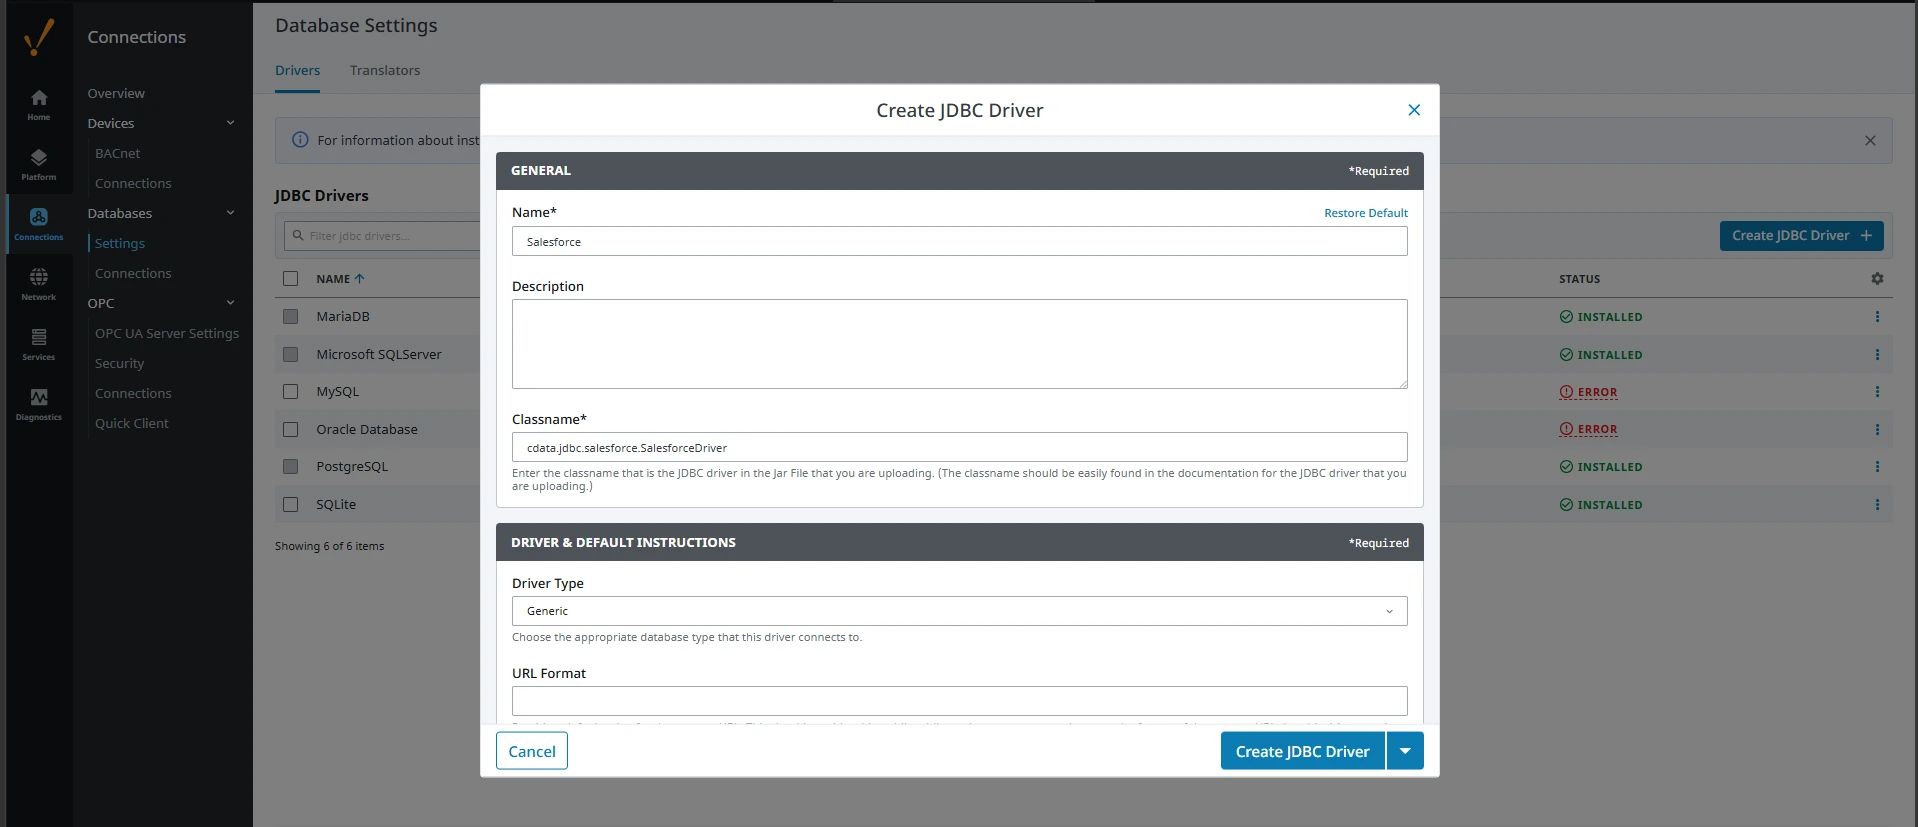
- Click Create JDBC Driver. In current Ignition 8.3 releases, the create dialog doesn't include a Java archive (JAR) file upload field, so you add the JAR file in the next step.
- Open the menu at the right of the new driver row, choose Manage JAR files, upload cdata.jdbc.adls.jar from the lib folder of the driver installation, and save.
-
Confirm the driver shows an INSTALLED status in the drivers list.
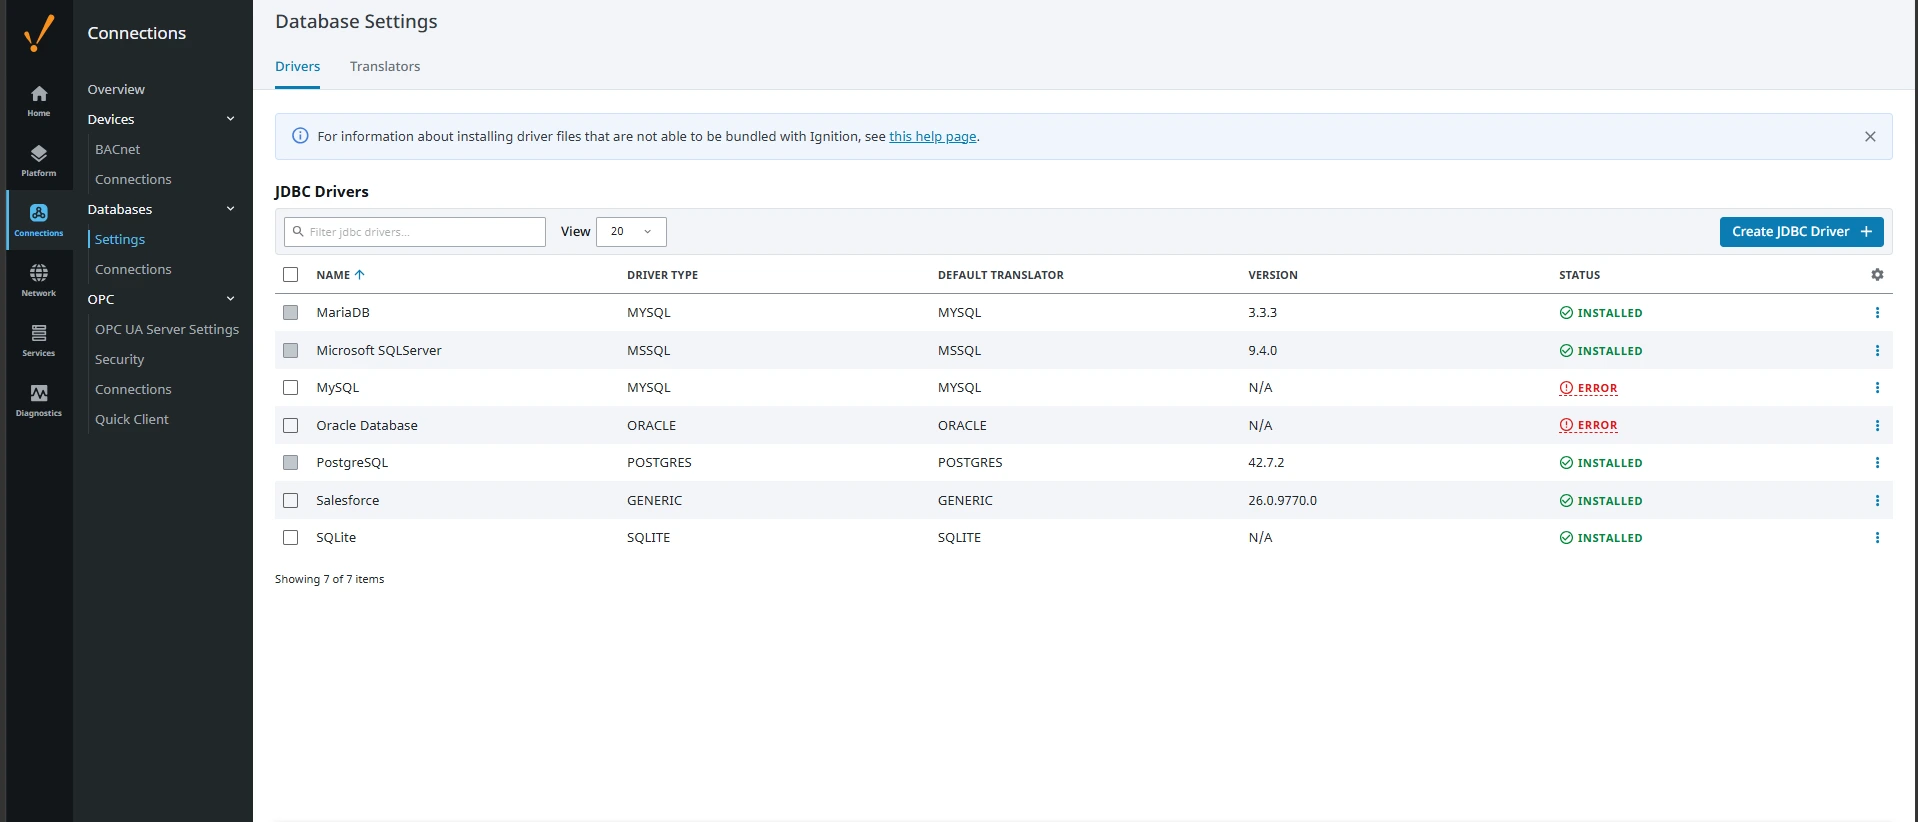
Step 3: Create the Azure Data Lake Storage connection
- Go to Connections > Databases > Connections and click Create Database Connection.
-
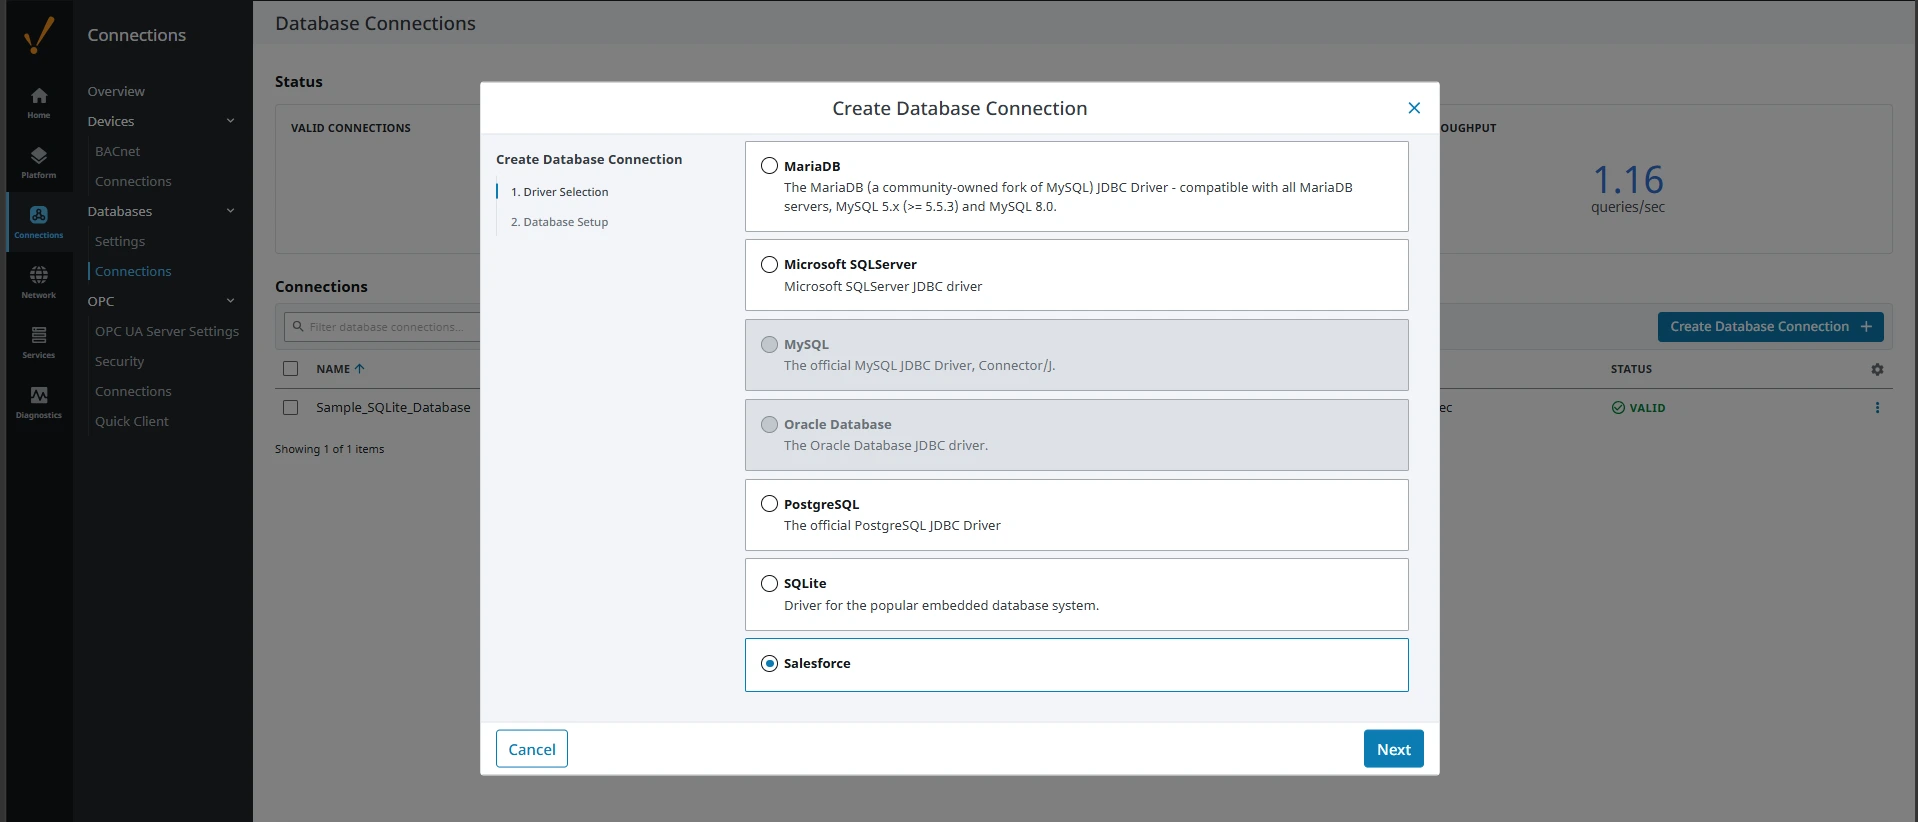
On the Driver Selection step, select Azure Data Lake Storage and click Next.
- On the Database Setup step, set the Name to Azure Data Lake Storage. Leave Username empty and select None for Password, because the credentials go in the connect URL.
-
In Connect URL, enter the connection string:
jdbc:adls:Schema=ADLSGen2;Account=myAccount;FileSystem=myFileSystem;AccessKey=myAccessKey;InitiateOAuth=GETANDREFRESH;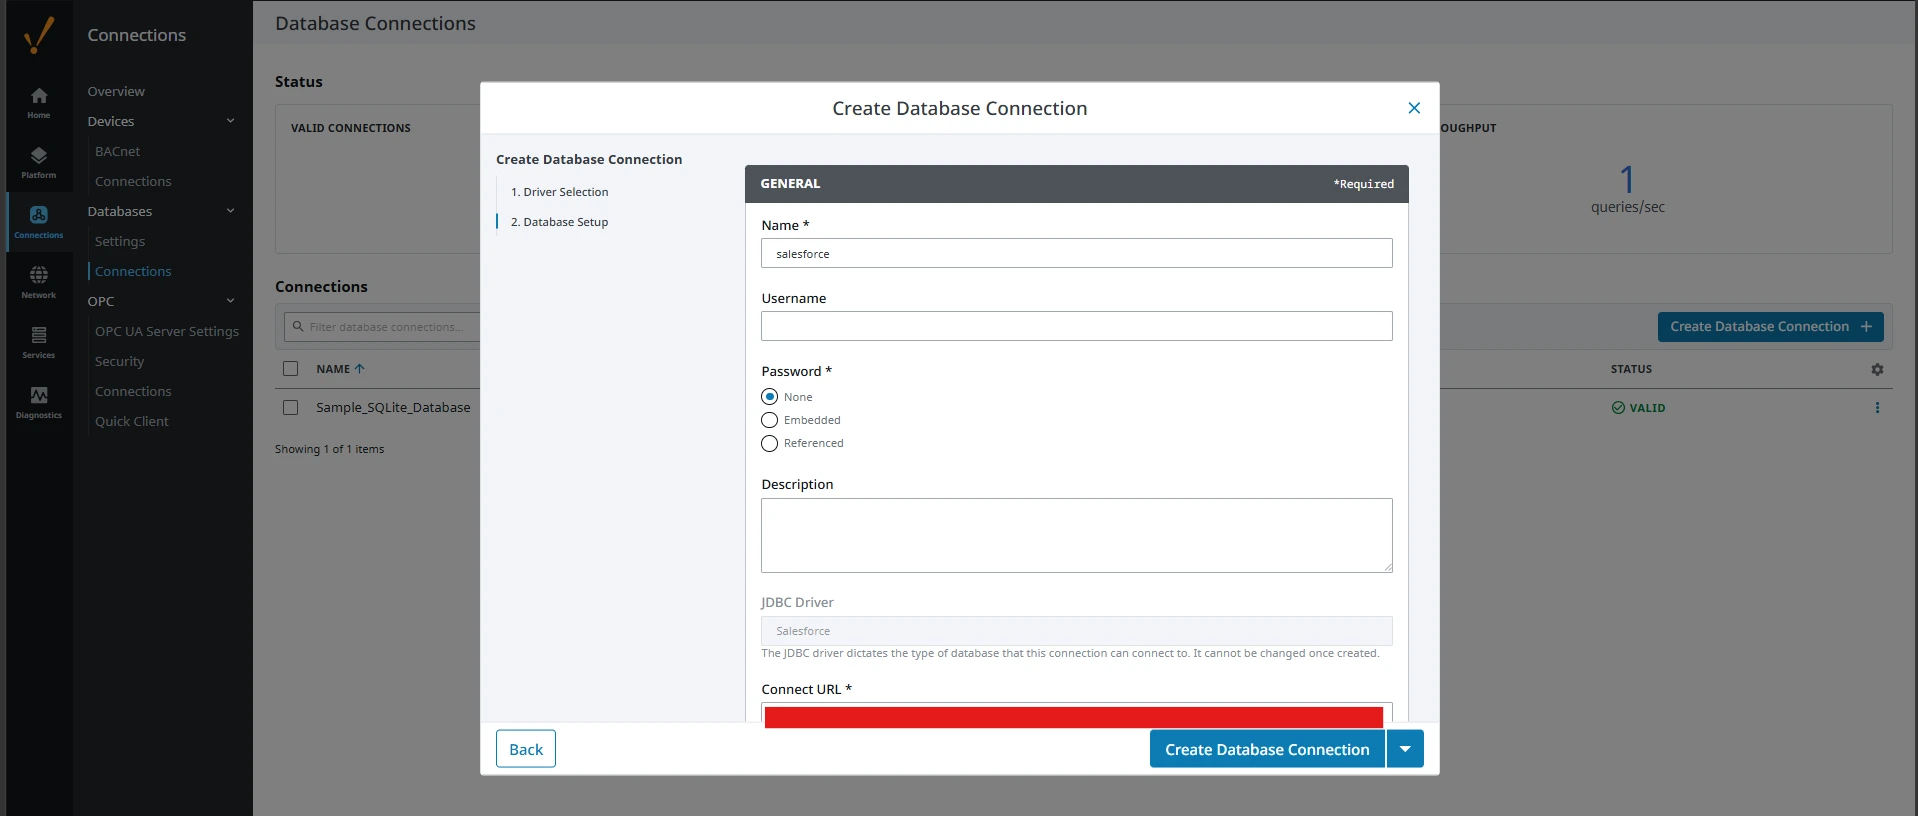
-
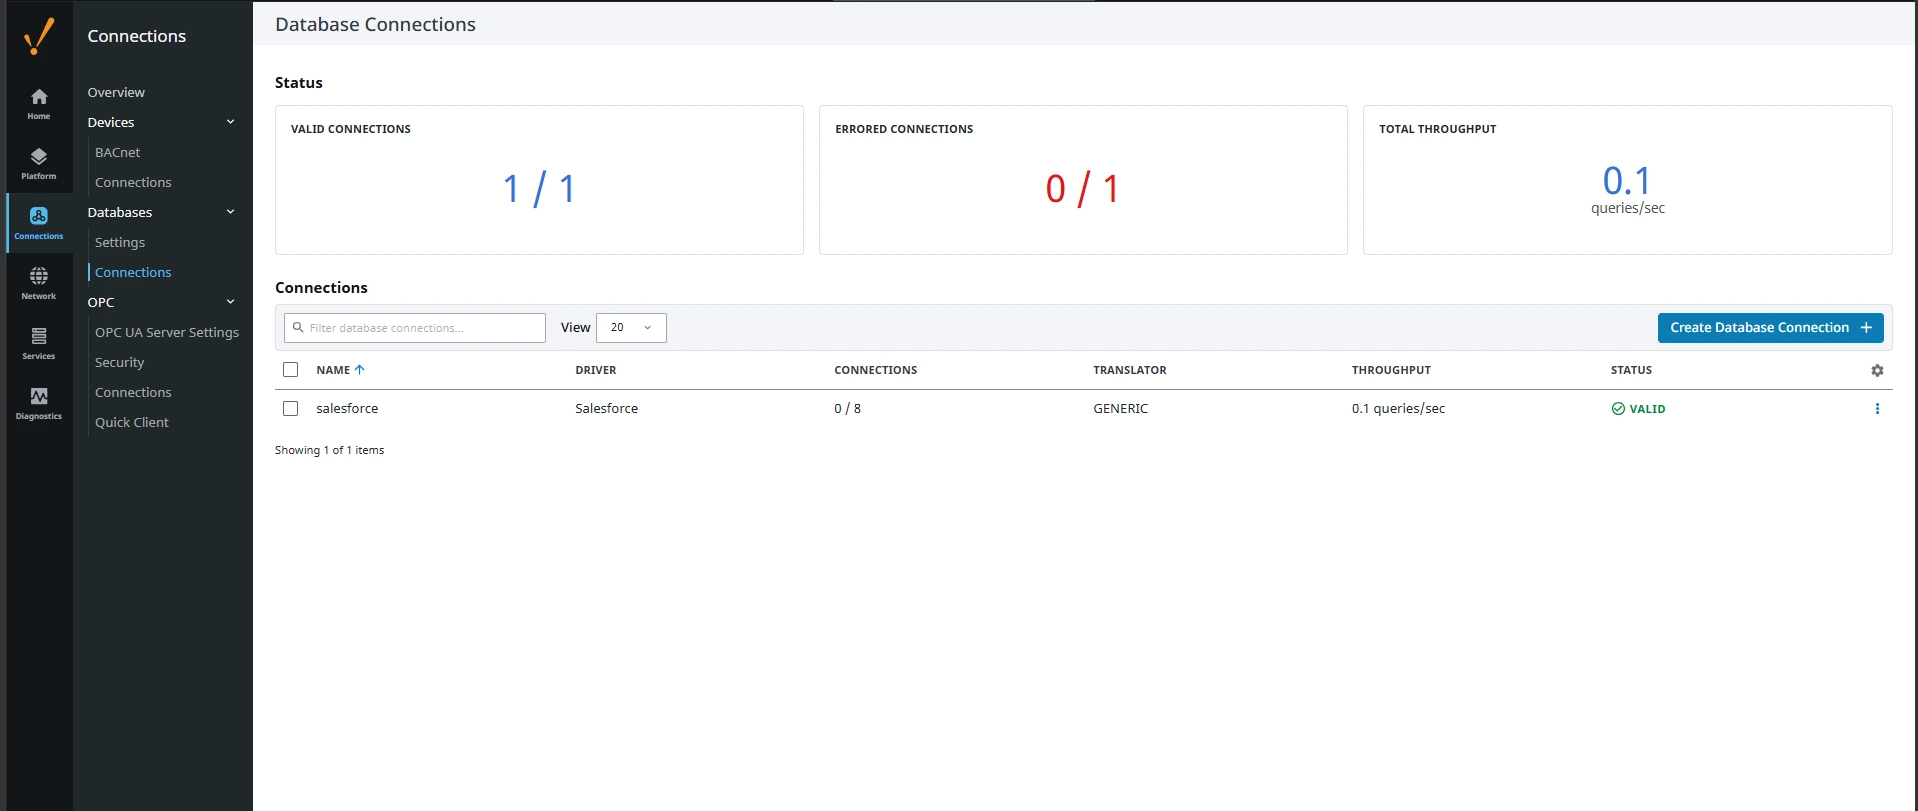
Click Create Database Connection and confirm the connection shows a VALID status on the Database Connections page.
Connection properties for Azure Data Lake Storage
Authenticating to a Gen 1 DataLakeStore Account
Gen 1 uses OAuth 2.0 in Entra ID (formerly Azure AD) for authentication.
For this, an Active Directory web application is required. You can create one as follows:
To authenticate against a Gen 1 DataLakeStore account, the following properties are required:
- Schema: Set this to ADLSGen1.
- Account: Set this to the name of the account.
- OAuthClientId: Set this to the application Id of the app you created.
- OAuthClientSecret: Set this to the key generated for the app you created.
- TenantId: Set this to the tenant Id. See the property for more information on how to acquire this.
- Directory: Set this to the path which will be used to store the replicated file. If not specified, the root directory will be used.
Authenticating to a Gen 2 DataLakeStore Account
To authenticate against a Gen 2 DataLakeStore account, the following properties are required:
- Schema: Set this to ADLSGen2.
- Account: Set this to the name of the account.
- FileSystem: Set this to the file system which will be used for this account.
- AccessKey: Set this to the access key which will be used to authenticate the calls to the API. See the property for more information on how to acquire this.
- Directory: Set this to the path which will be used to store the replicated file. If not specified, the root directory will be used.
Note: If a password or token contains a semicolon, the connect URL breaks, so reset it to a value without one.
Step 4: Query live Azure Data Lake Storage data from Ignition
With the connection valid, you can query live Azure Data Lake Storage data from the Designer.
-
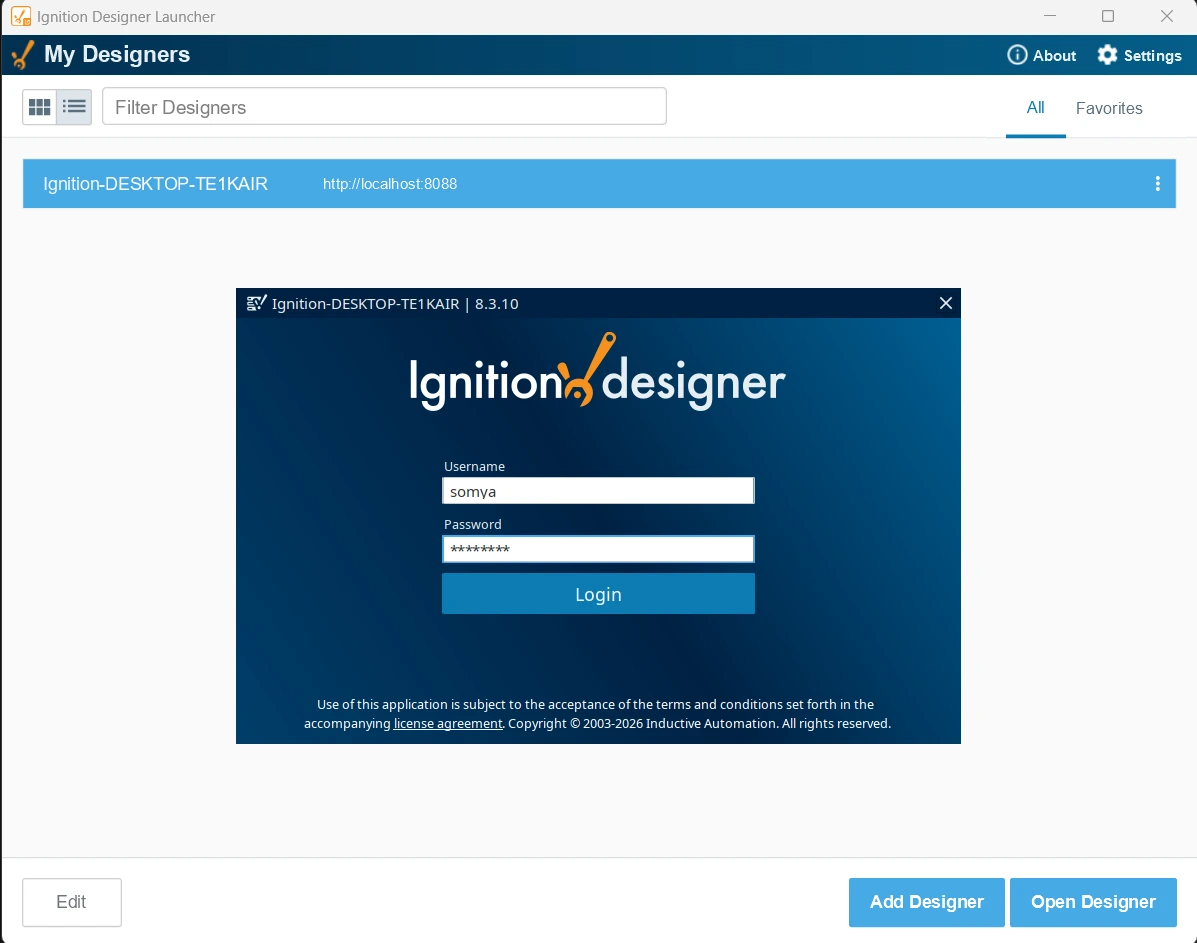
Open the Ignition Designer Launcher, select your Gateway (click Add Designer and enter http://localhost:8088 if it isn't listed), and click Open Designer. Log in with the Gateway administrator account.
-
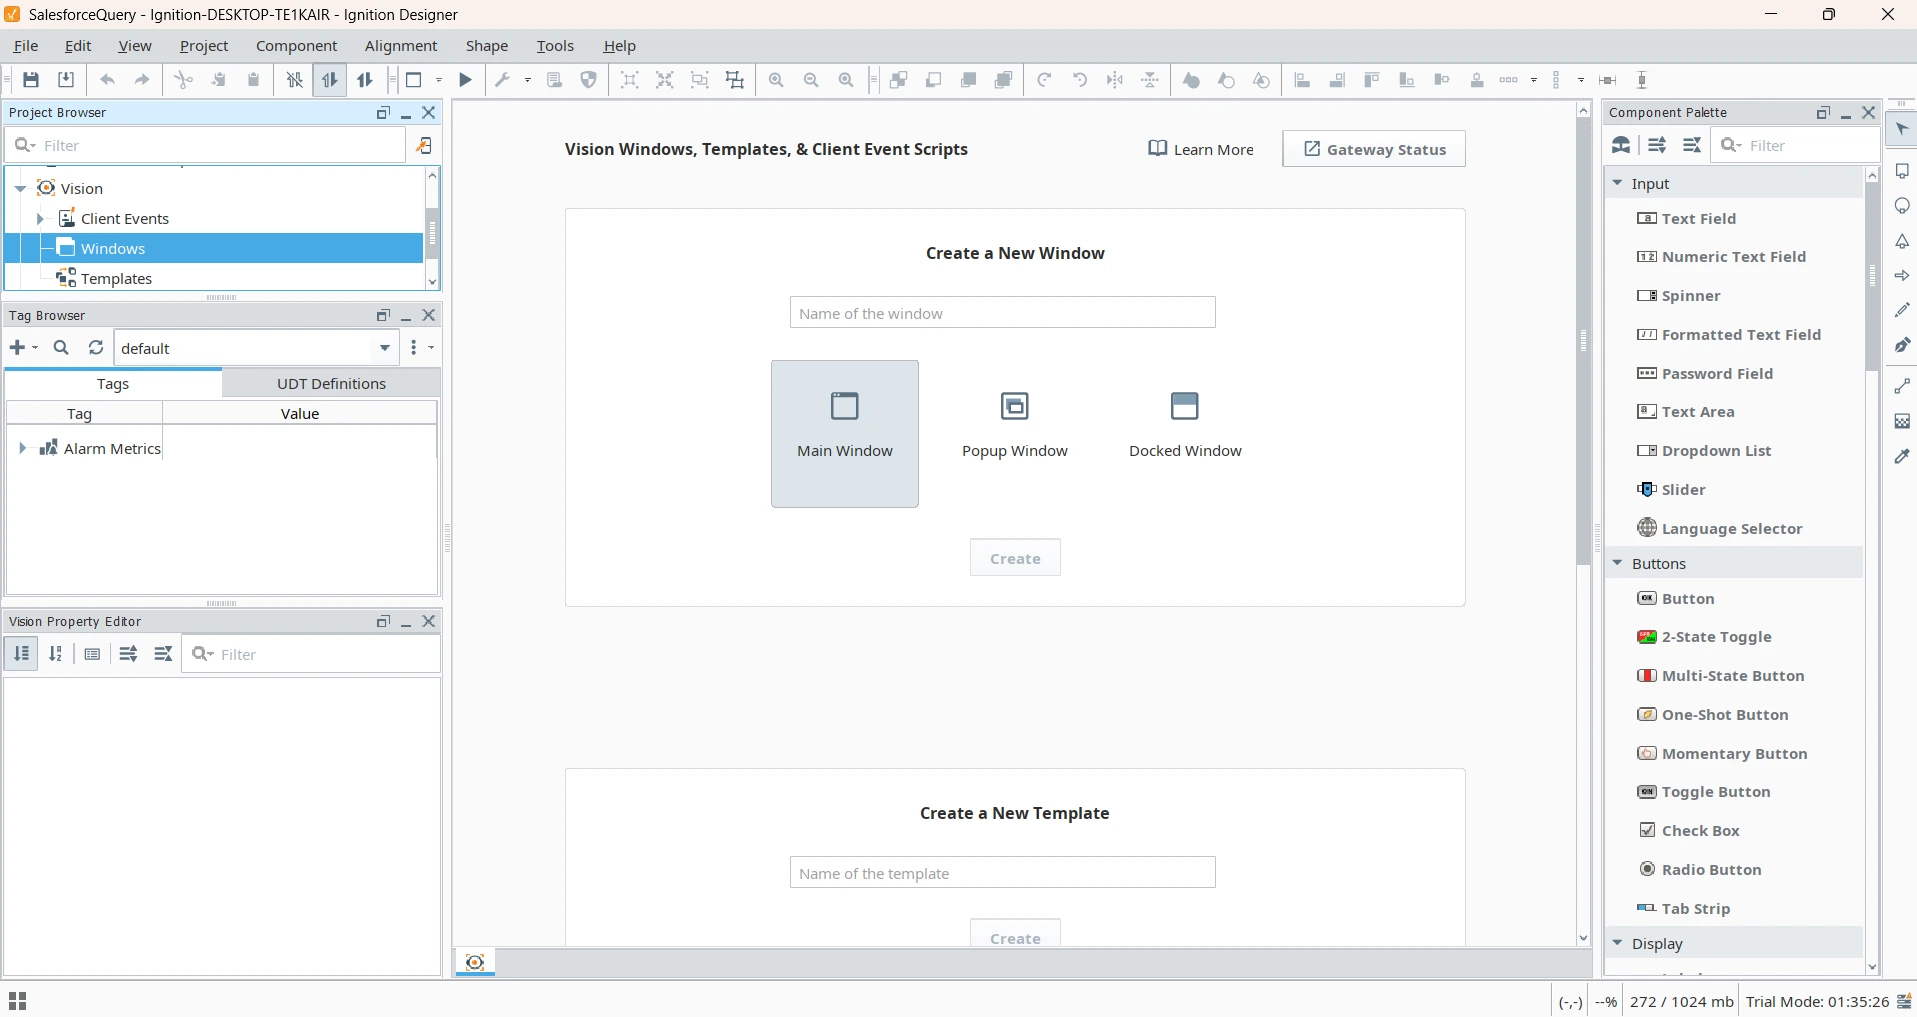
Open or create a project. The Designer opens with the Project Browser, Tag Browser, and Component Palette panels.
-
In the Designer, go to Tools > Script Console. In the Multiline Buffer, enter a test query and click Execute. Replace Resources with any table available in your Azure Data Lake Storage connection:
print system.db.runQuery(
    "SELECT FullPath, Permission FROM Resources LIMIT 10",
    "Azure Data Lake Storage")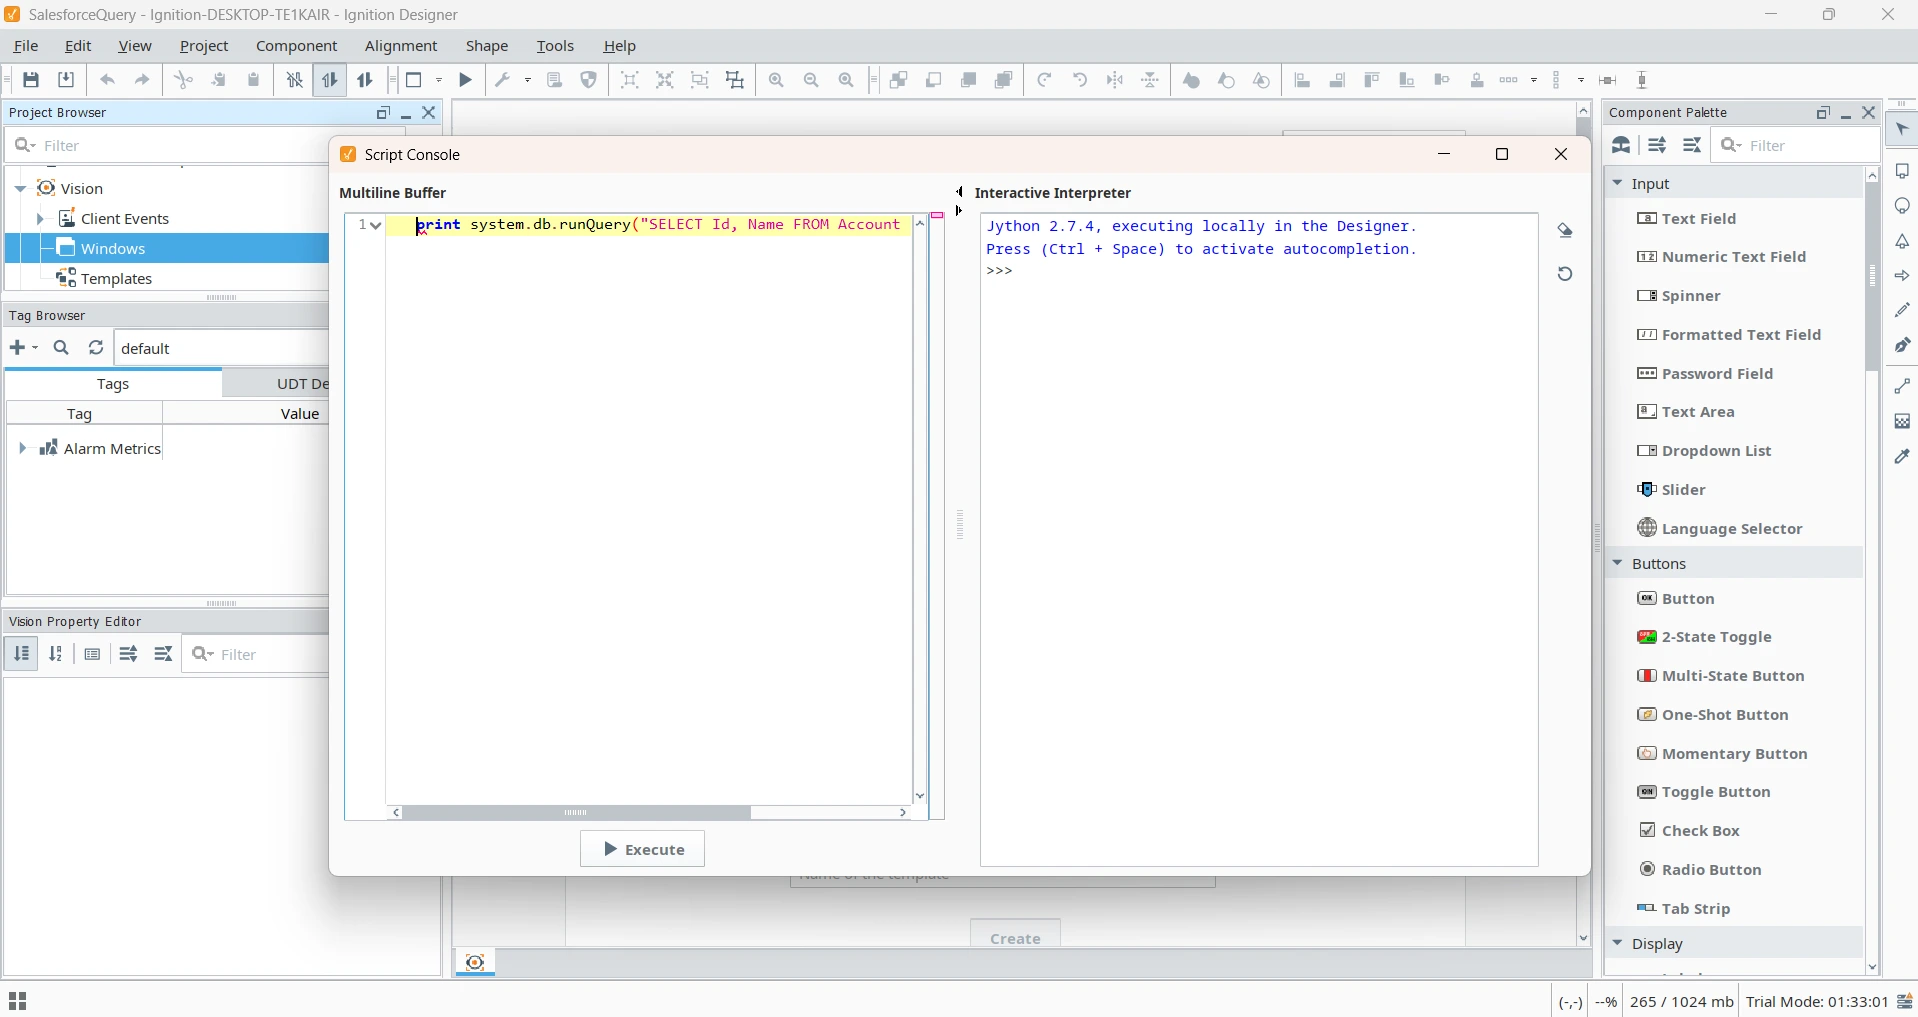
- A successful query prints PyDataset rows:10 cols:2 in the Interactive Interpreter panel, which confirms Ignition retrieved live data from Azure Data Lake Storage through the CData JDBC Driver.
Note: The connection name in the script must match the name you gave the connection in Step 3.
Step 5: Verify the results
-
Print the rows and compare the values with the same records in Azure Data Lake Storage:
ds = system.db.runQuery("SELECT FullPath, Permission FROM Resources LIMIT 10", "Azure Data Lake Storage") for row in ds: print row["FullPath"], row["Permission"] - Optionally, run a second query against another table and a filtered query to confirm schema discovery and filtering.
- Optionally, restart the Gateway service and confirm the connection returns to VALID.
Troubleshooting
| Symptom | Likely cause and fix |
|---|---|
| Driver status shows ERROR | The classname is wrong, or the JAR file hasn't been uploaded through Manage JAR files. |
| Connection status shows FAULTED | The credentials are wrong, outbound web traffic (HTTPS) is blocked, or the CData license isn't found. Click the status to read the error. |
| Error: Could not find a valid license | The Gateway runs as a Windows service and can't read a license stored in your user profile. In an administrator command prompt, run java -jar cdata.jdbc.adls.jar --license from the driver's lib folder, copy the generated .lic file to C:\Windows\system32\config\systemprofile\.CData\, and restart the Gateway service. |
| Database connection not found | The connection name in the script doesn't match the Gateway connection name exactly. |
Test the driver outside Ignition
To confirm the driver works independently of the Gateway, run this standalone Java example. The cdata.jdbc.adls.jar and cdata.jdbc.adls.lic files must be in the same directory and on the classpath.
import java.sql.Connection;
import java.sql.DriverManager;
import java.sql.ResultSet;
import java.sql.Statement;

public class CDataExample {
    public static void main(String[] args) throws Exception {
        Class.forName("cdata.jdbc.adls.ADLSDriver");
        String connectionString = "jdbc:adls:Schema=ADLSGen2;Account=myAccount;FileSystem=myFileSystem;AccessKey=myAccessKey;InitiateOAuth=GETANDREFRESH;";
        try (Connection conn = DriverManager.getConnection(connectionString)) {
            Statement stmt = conn.createStatement();
            ResultSet rs = stmt.executeQuery("SELECT FullPath, Permission FROM Resources LIMIT 10");
            while (rs.next()) {
                System.out.println(rs.getString("FullPath") + ", " + rs.getString("Permission"));
            }
        }
    }
}
Build live, governed Azure Data Lake Storage connectivity in Ignition with CData
With the CData JDBC Driver for Azure Data Lake Storage registered, your team can query live Azure Data Lake Storage data from Ignition without ETL infrastructure, manual exports, or custom integration code, and reuse the same connection in tags, SQL Bridge, and Perspective or Vision screens.
Start your free trial today to see how you can give Ignition live, secure access to hundreds of external systems with CData.
Ready to get started?
Download a free trial of the Azure Data Lake Storage Driver to get started:
Download NowLearn more:
 Azure Data Lake Storage JDBC Driver
Rapidly create and deploy powerful Java applications that integrate with Azure Data Lake Storage.