





Import Harvest Data into the Power BI Service for Visualizations

Power BI transforms your company's data into rich visuals for you to collect and organize so you can focus on what matters to you. When paired with CData Connect AI, you get access to Harvest data for visualizations, dashboards, and more. This article shows how to connect to Harvest in CData Connect AI, publish a dataset from Power BI Desktop to the Power BI Service and then create reports on Harvest data in the Power BI service.
Configure Harvest Connectivity for Power BI Service
Connectivity to Harvest from Power BI Service is made possible through CData Connect AI. To work with Harvest data from Power BI Service, we start by creating and configuring a Harvest connection.
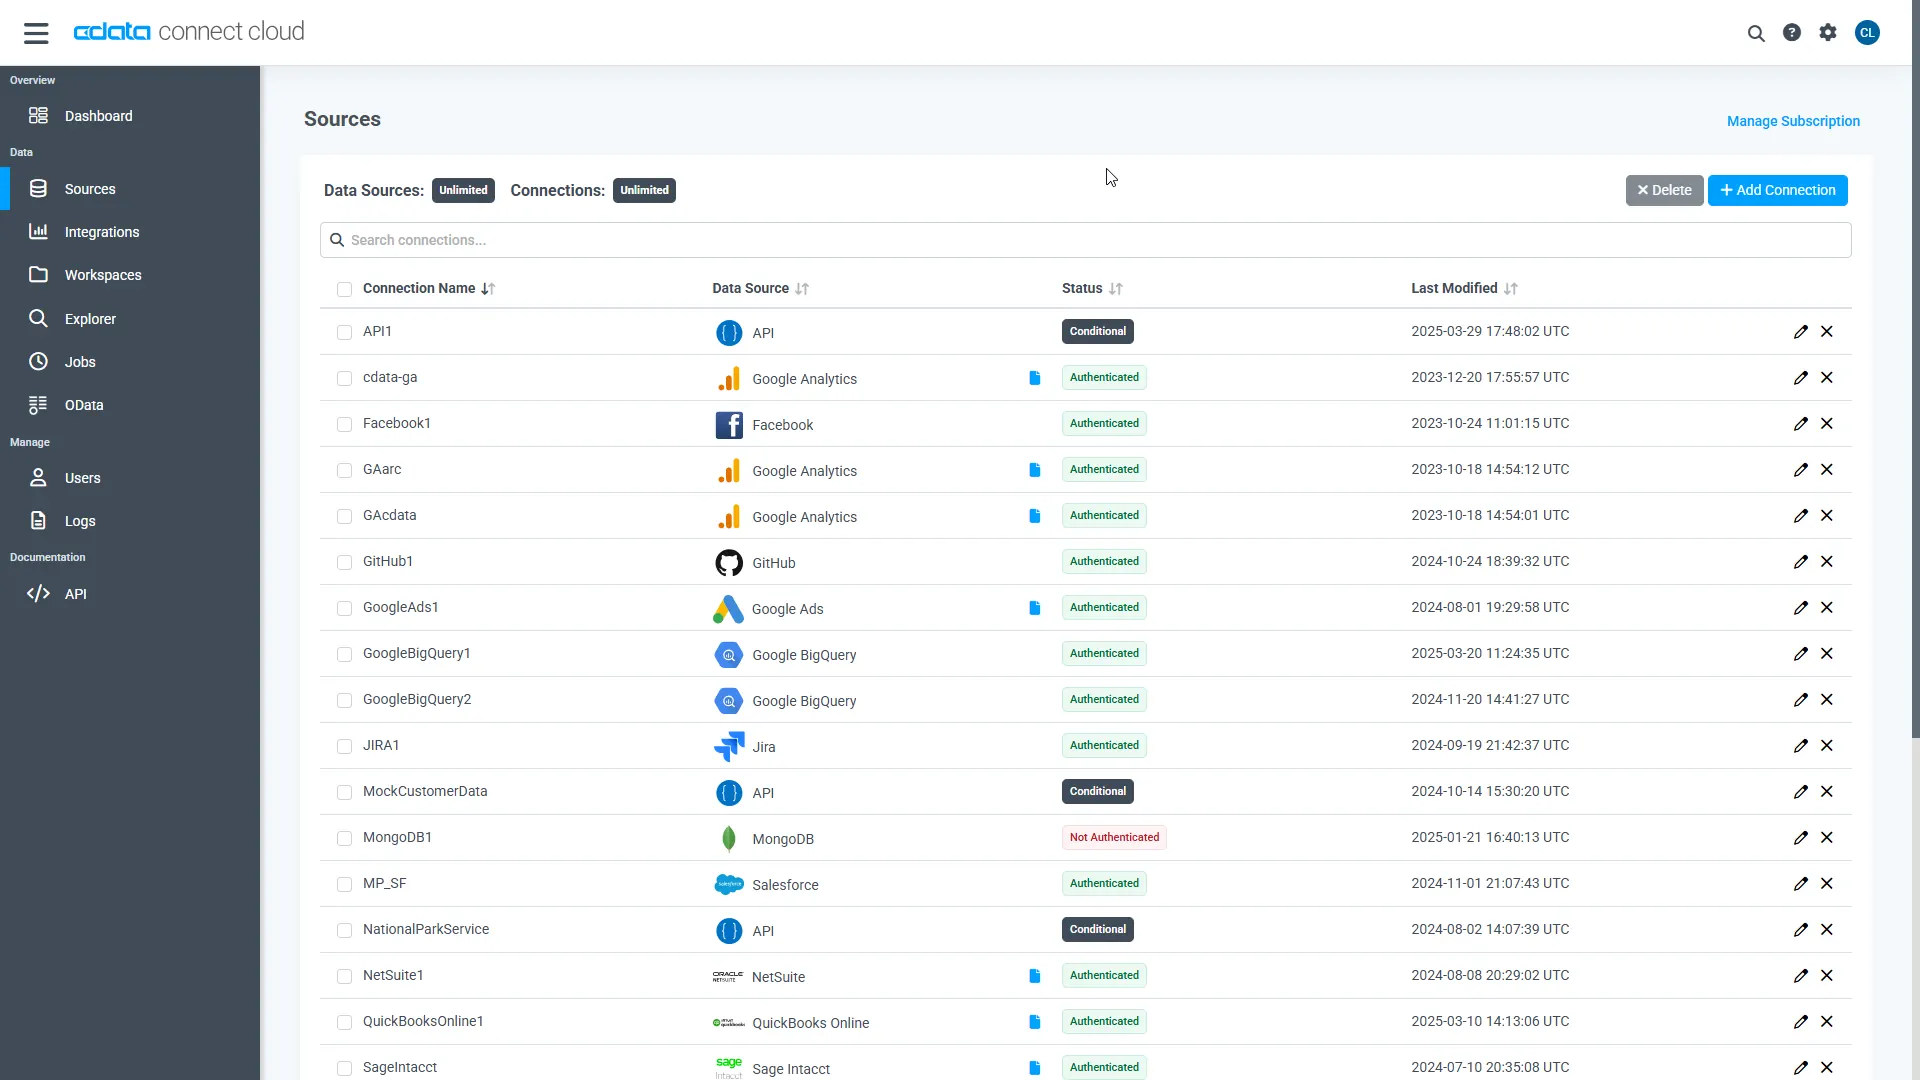
- Log into Connect AI, click Sources, and then click Add Connection
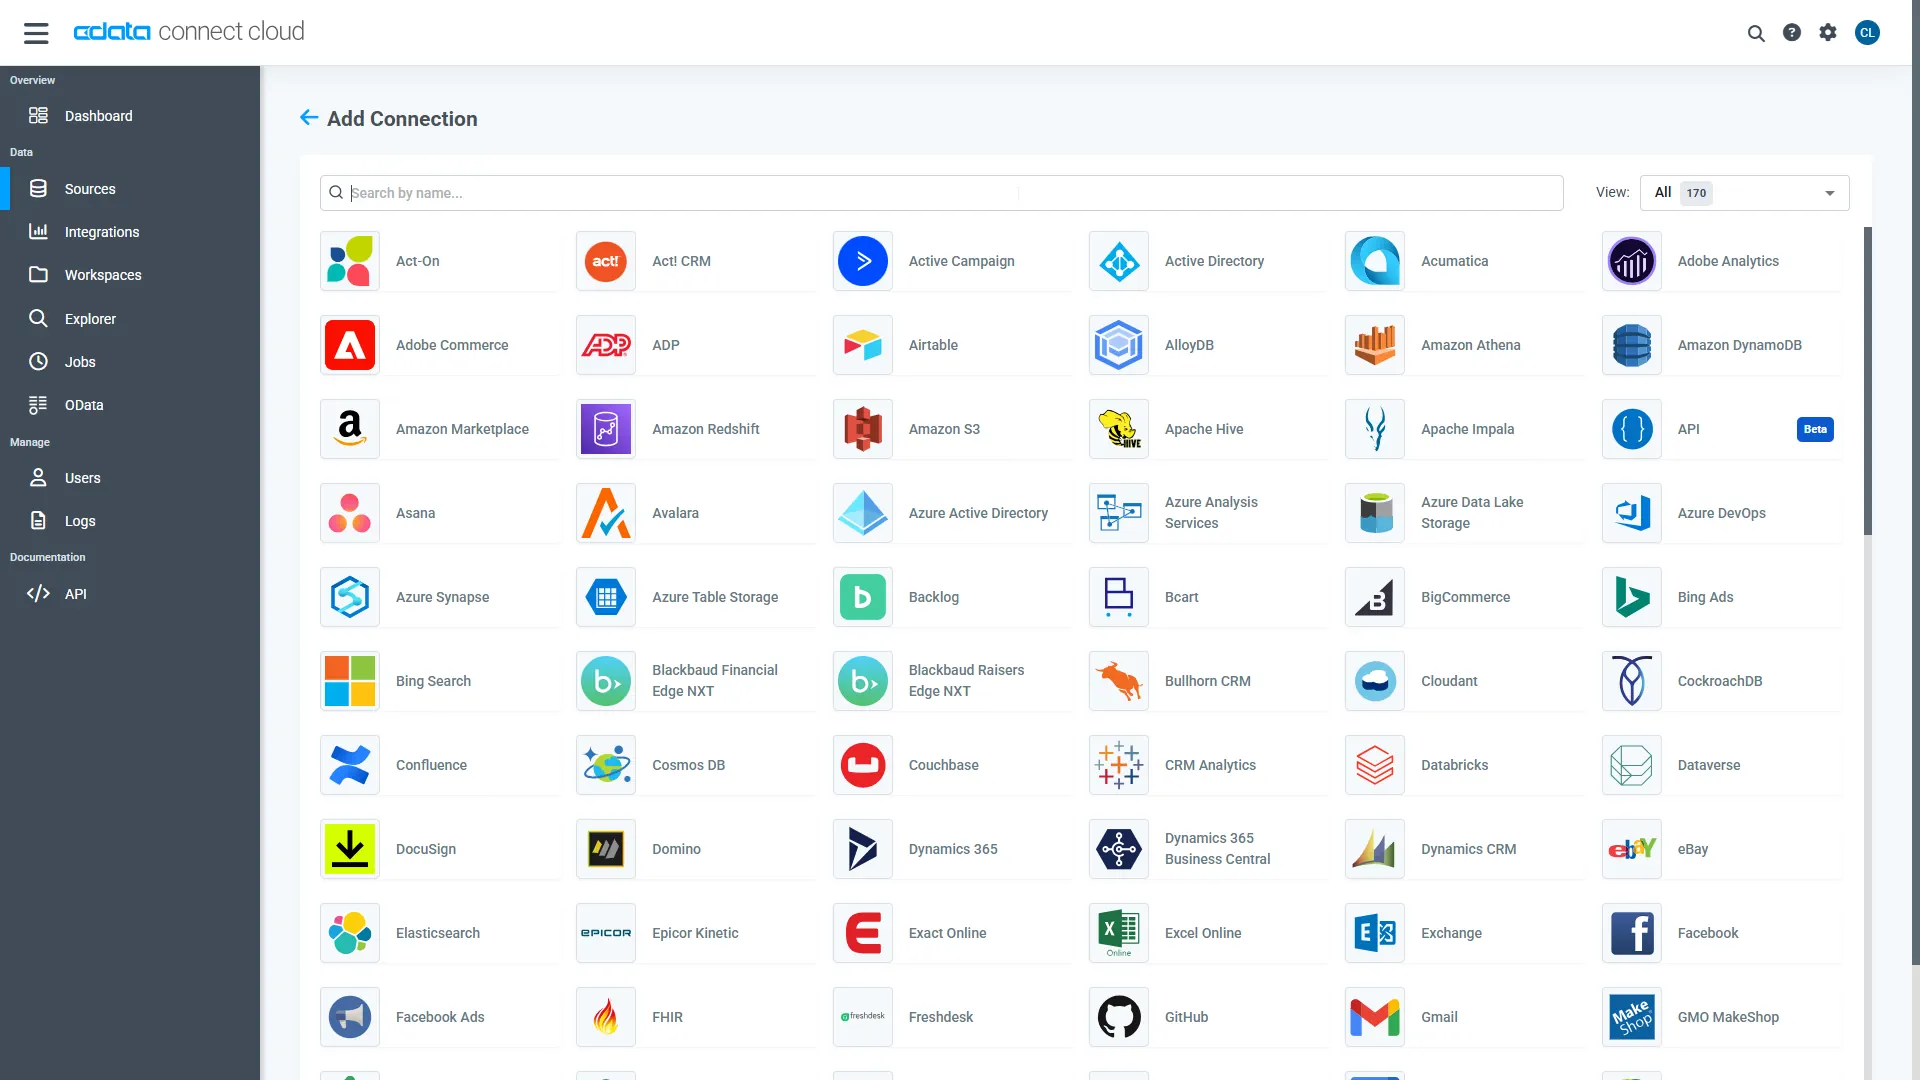
- Select Harvest from the Add Connection panel
-
Enter the necessary authentication properties to connect to Harvest.
Start by setting the Profile connection property to the location of the Harvest Profile on disk (e.g. C:\profiles\Harvest.apip). Next, set the ProfileSettings connection property to the connection string for Harvest (see below).
Harvest API Profile Settings
To authenticate to Harvest, you can use either Token authentication or the OAuth standard. Use Basic authentication to connect to your own data. Use OAuth to allow other users to connect to their data.
Using Token Authentication
To use Token Authentication, set the APIKey to your Harvest Personal Access Token in the ProfileSettings connection property. In addition to APIKey, set your AccountId in ProfileSettings to connect.
Using OAuth Authentication
First, register an OAuth2 application with Harvest. The application can be created from the "Developers" section of Harvest ID.
After setting the following connection properties, you are ready to connect:
- ProfileSettings: Set your AccountId in ProfileSettings.
- AuthScheme: Set this to OAuth.
- OAuthClientId: Set this to the client ID that you specified in your app settings.
- OAuthClientSecret: Set this to the client secret that you specified in your app settings.
- CallbackURL: Set this to the Redirect URI that you specified in your app settings.
- InitiateOAuth: Set this to GETANDREFRESH. You can use InitiateOAuth to manage how the driver obtains and refreshes the OAuthAccessToken.
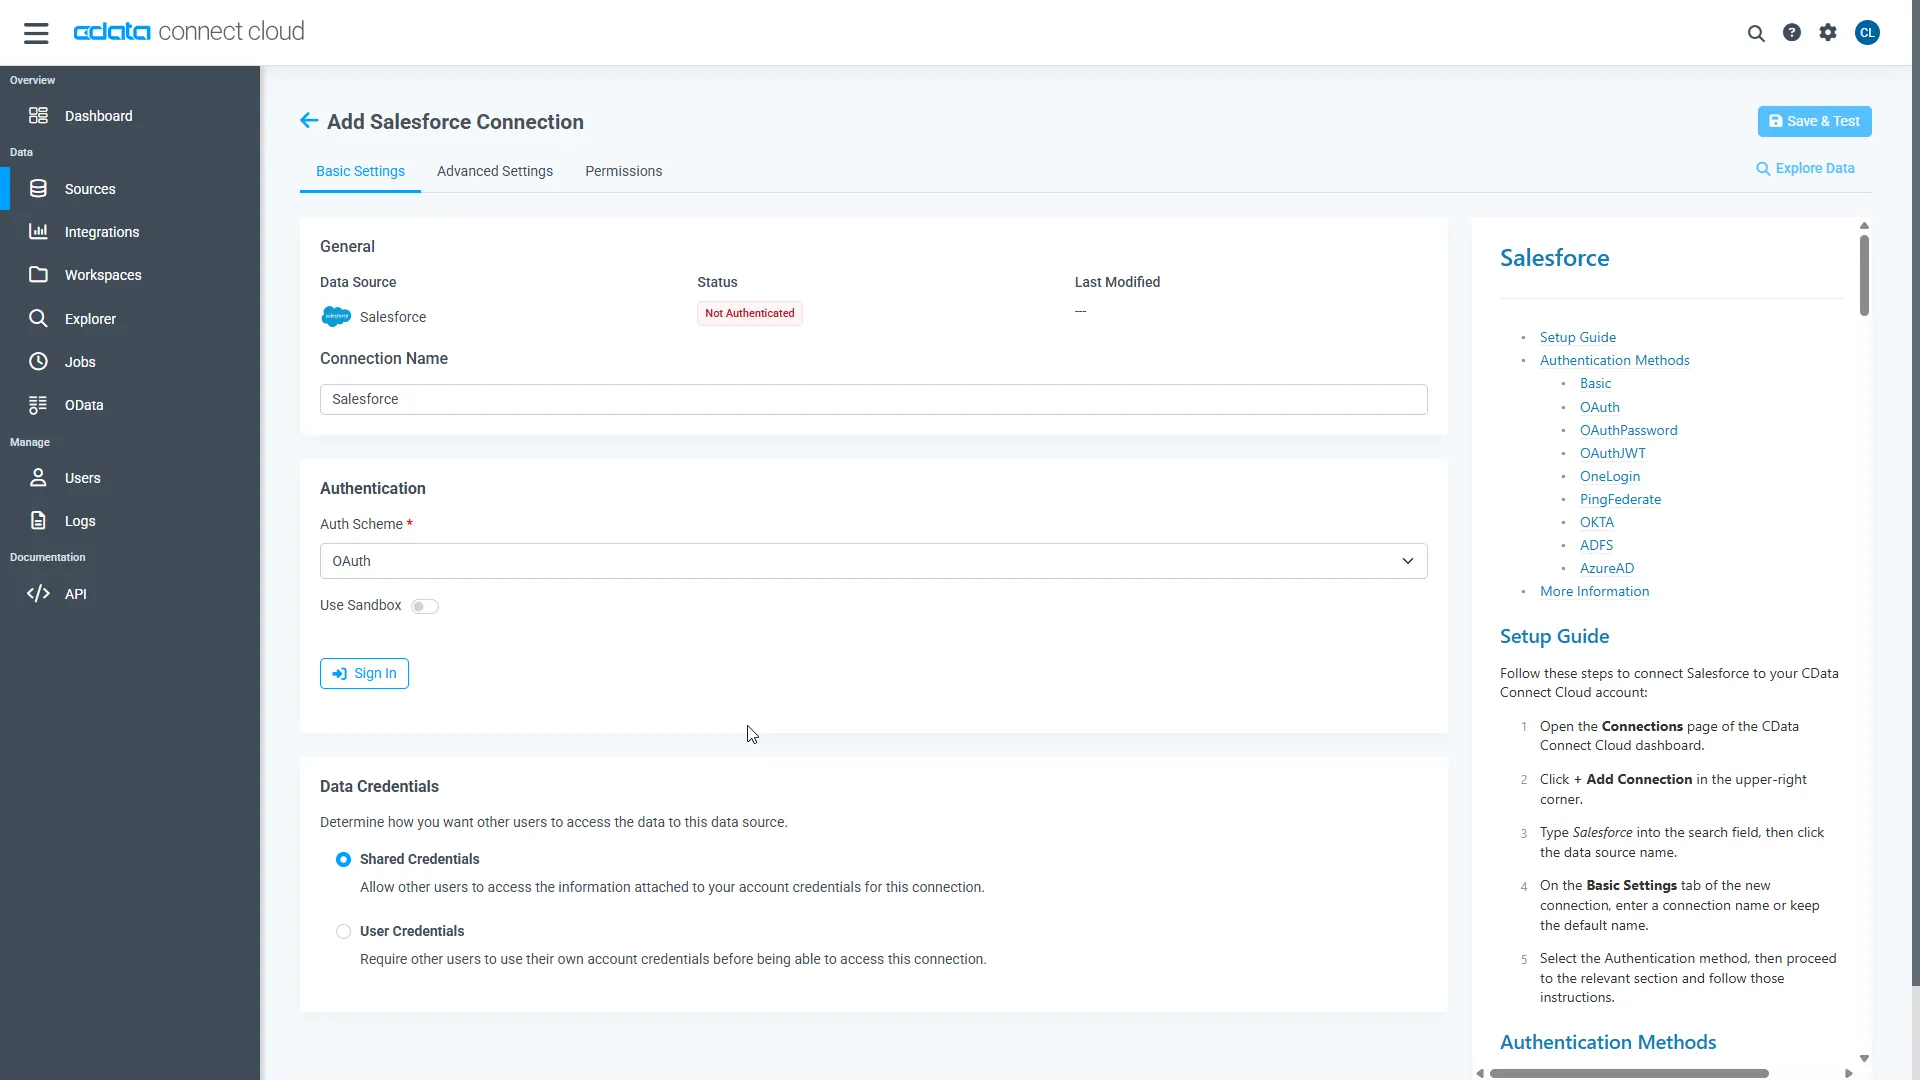
- Click Save & Test
-
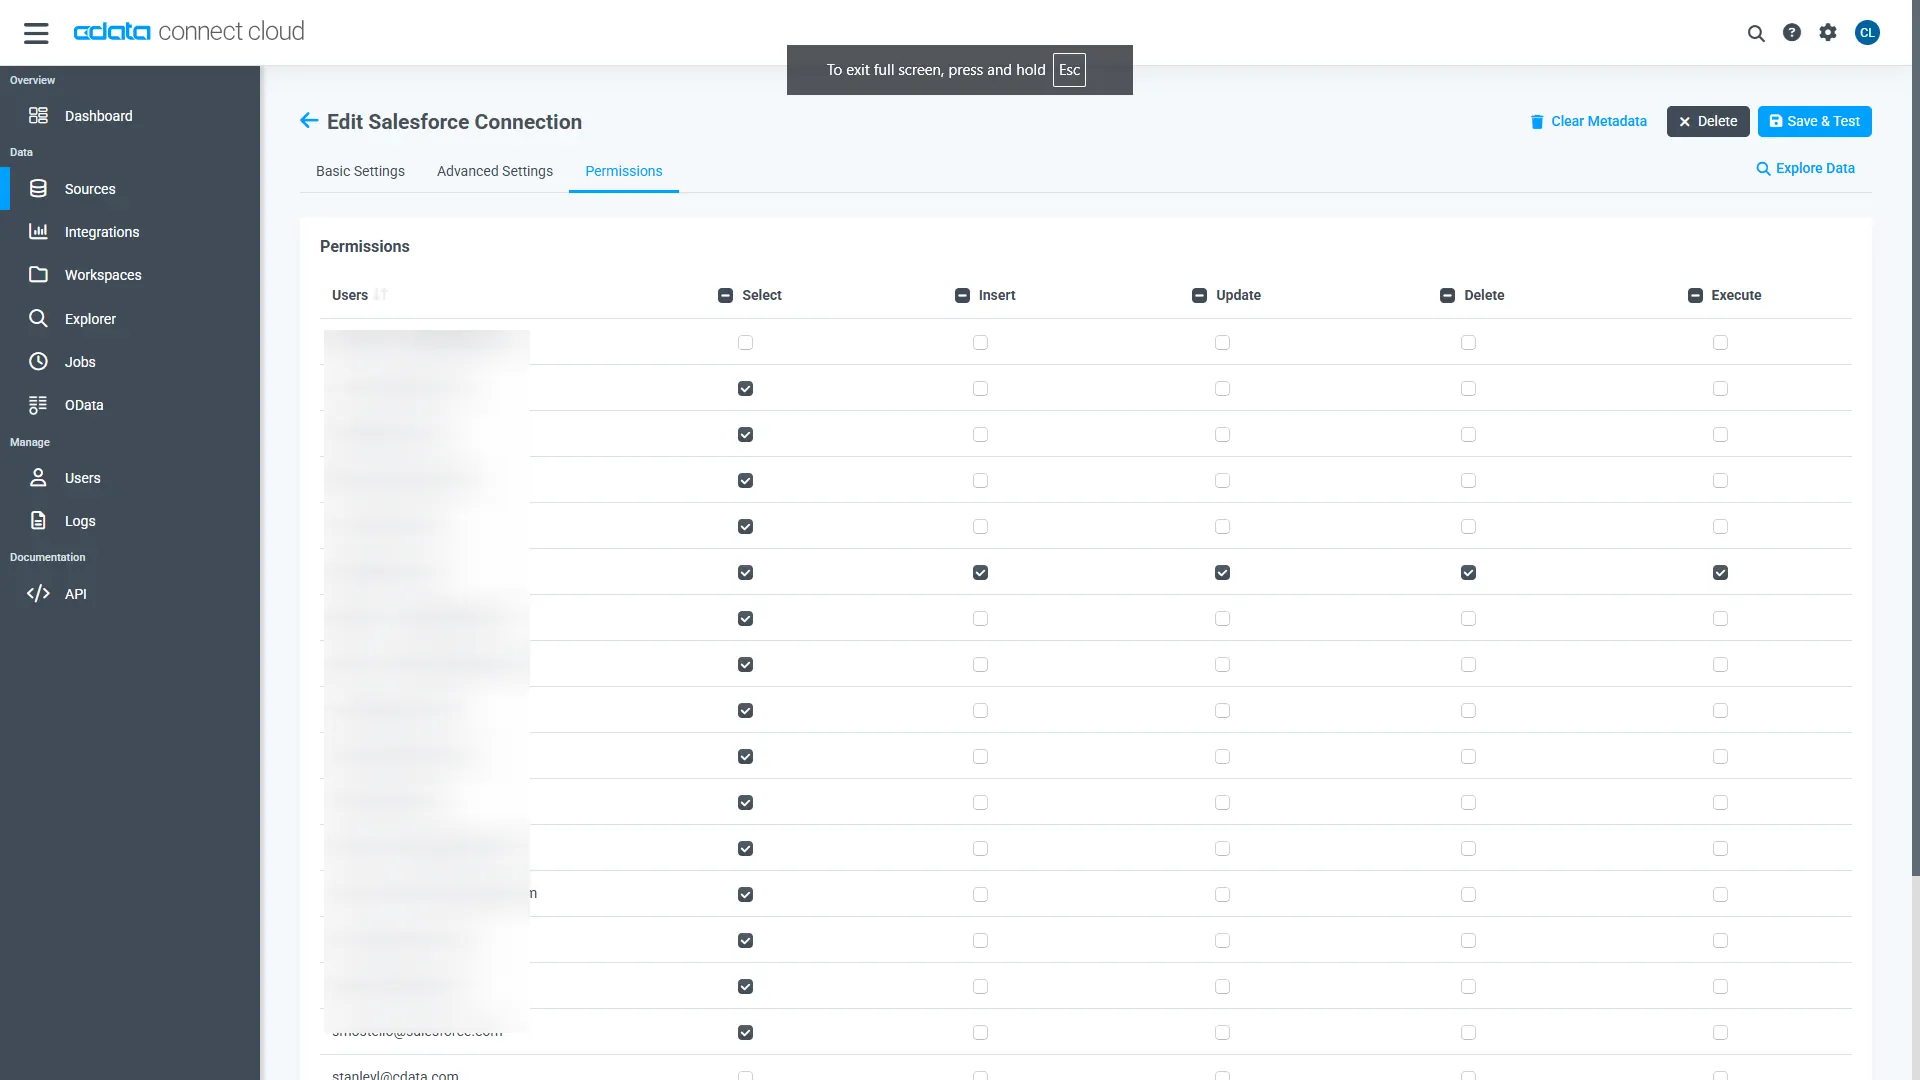
Navigate to the Permissions tab in the Add Harvest Connection page and update the User-based permissions.
With the connection configured, you are ready to connect to Harvest data from the Power BI service.
Publish a Dataset from Power BI Desktop
Once you connect to Harvest in Connect AI, you can create a dataset in Power BI desktop and publish the dataset to the Power BI service.
- Open Power BI Desktop and click Get Data -> Online Services -> CData Connect AI and click Connect
- Click Sign in and authenticate with your CData Connect AI account
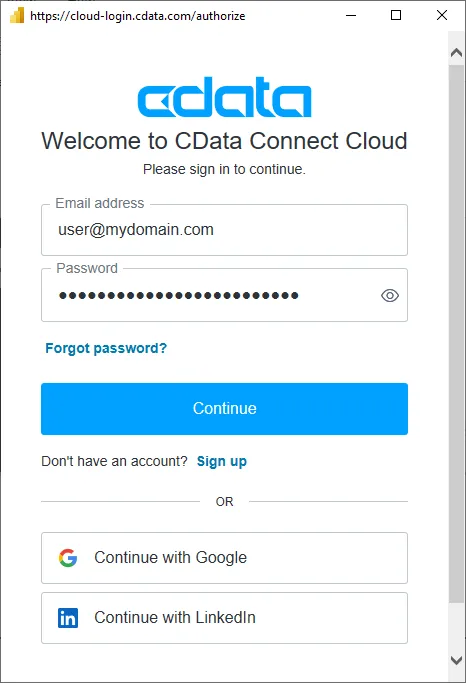
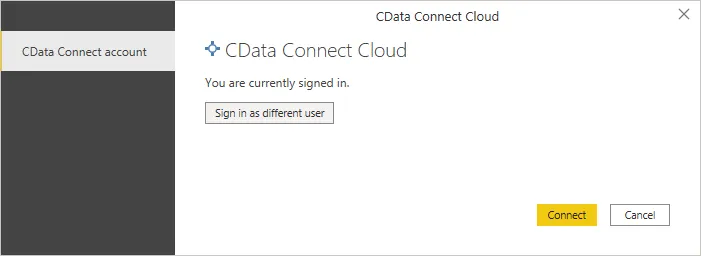
- After signing in, click Connect
- Select tables in the Navigator dialog
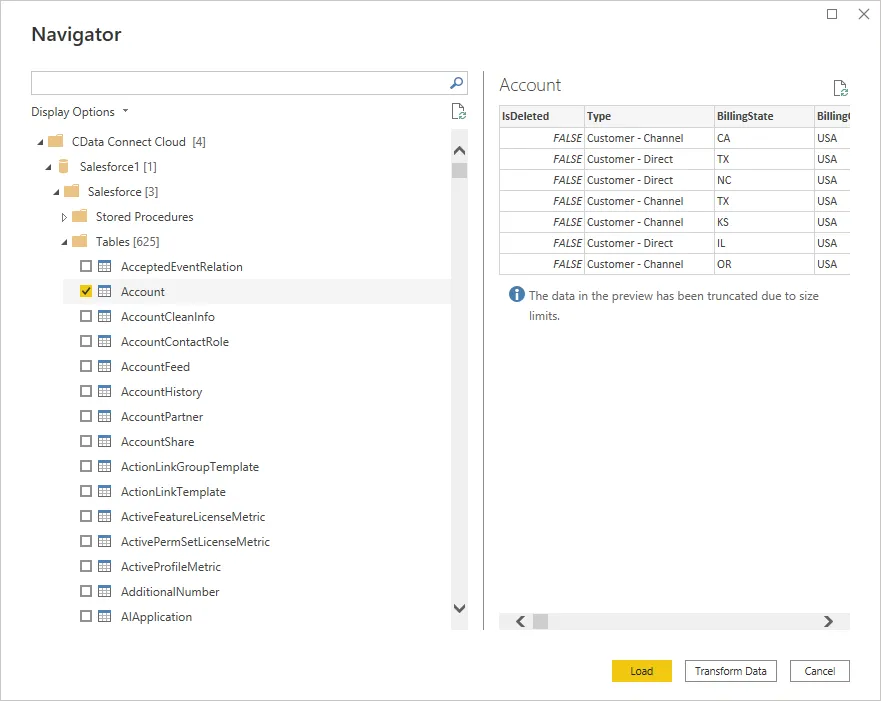
- Click Load to establish the connection to your Harvest data from Power BI
- Define any relationships between the selected entities on the Relationships tab.
- Click Publish (from the Home menu) and select a Workspace.
Build Reports and Dashboards on Harvest Data in the Power BI Service
Now that you have published a dataset to the Power BI service, you can create new reports and dashboards based on the published data:
- Log in to PowerBI.com.
- Click Workspaces and select a workspace.
- Click Create and select Report.
- Select the published dataset for the report.
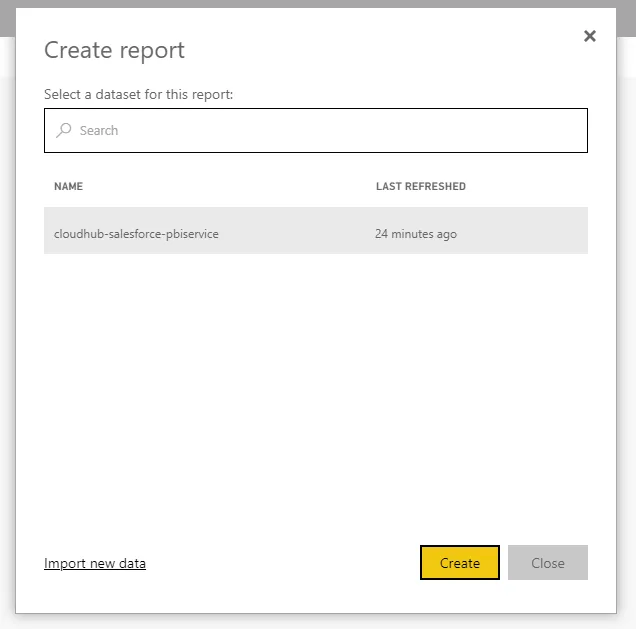
- Choose fields and visualizations to add to your report.
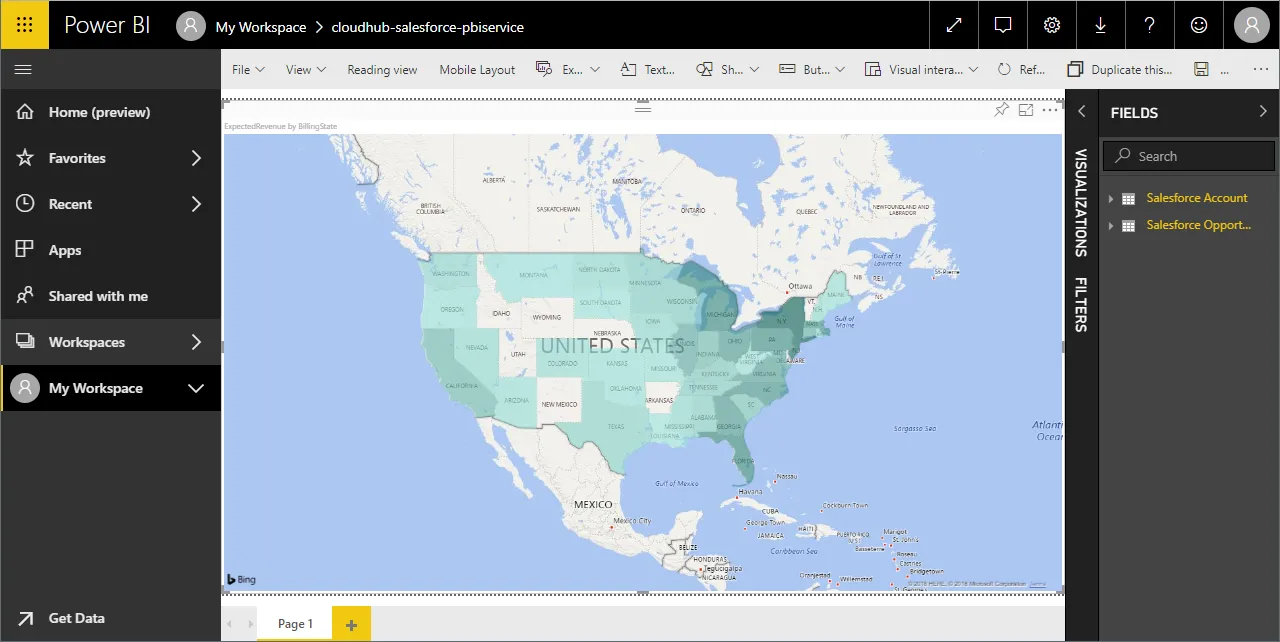
Live Access to Harvest Data from Cloud Applications
Now you have a direct connection to live Harvest data from the Power BI service. You can create more data sources and new visualizations, build reports, and more — all without replicating Harvest data.
To get live data access to hundreds of SaaS, Big Data, and NoSQL sources directly from your cloud applications, sign up for a free trial of CData Connect AI.