





Create Dynamic JD Edwards Grids Using the Infragistics XamDataGrid

Using Infragistics WPF UI controls, you can build contemporary applications reminiscent of Microsoft Office for both desktop and touch-based devices. When coupled with the CData ADO.NET Provider for JD Edwards, you gain the capability to construct interactive grids, charts, and various other visual elements while directly accessing real-time data from JD Edwards data. This article will guide you through the process of creating a dynamic grid within Visual Studio using the Infragistics XamDataGrid control.
You will need to install the Infragistics WPF UI components to continue. Download a free trial here: https://www.infragistics.com/products/wpf.
Create a WPF Project
Open VisualStudio and create a new WPF project.
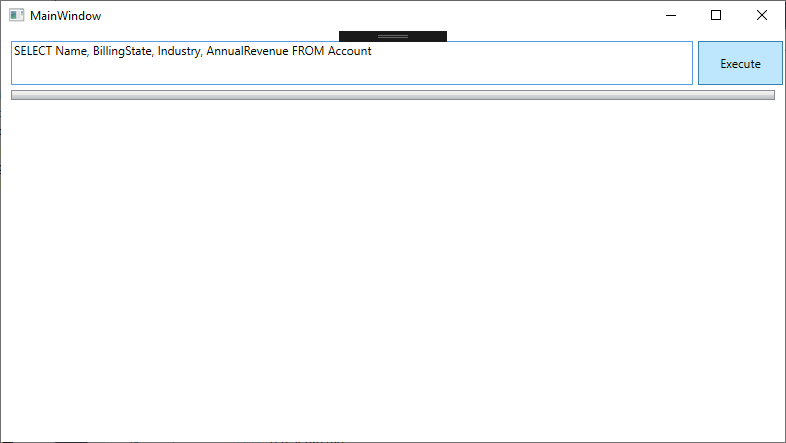
Add a TextBox for passing a SQL query to the CData ADO.NET Provider and a Button for executing the query.
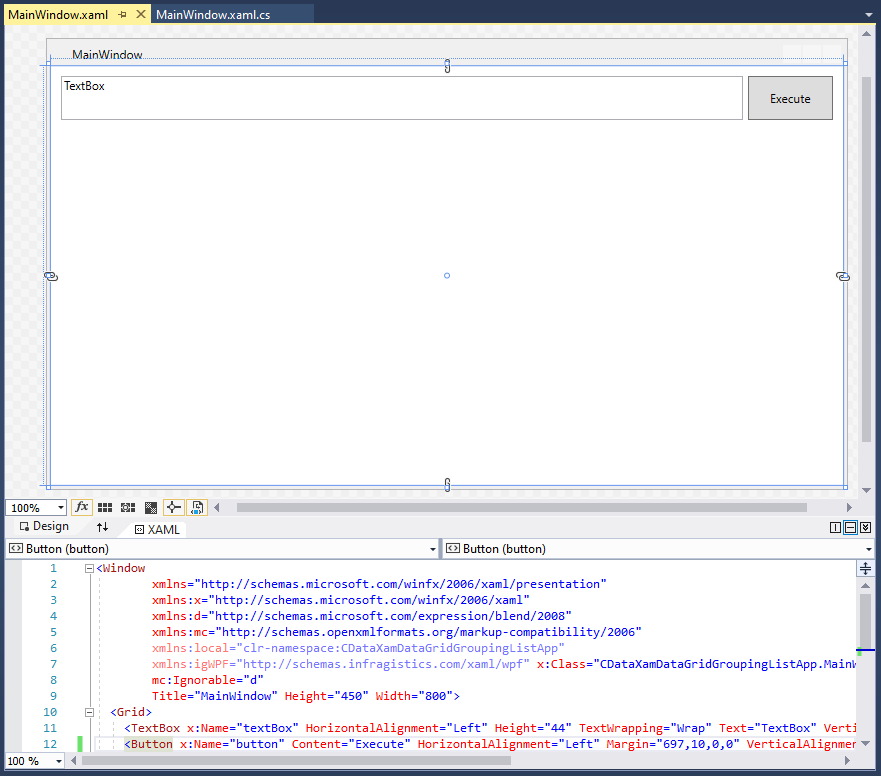
The XAML at this stage is as follows:
< Window
        xmlns="http://schemas.microsoft.com/winfx/2006/xaml/presentation"
        xmlns:x="http://schemas.microsoft.com/winfx/2006/xaml"
        xmlns:d="http://schemas.microsoft.com/expression/blend/2008"
        xmlns:mc="http://schemas.openxmlformats.org/markup-compatibility/2006"
        xmlns:local="clr-namespace:CDataXamDataGridGroupingListApp"
        xmlns:igWPF="http://schemas.infragistics.com/xaml/wpf" x:Class="CDataXamDataGridGroupingListApp.MainWindow"
        mc:Ignorable="d"
        Title="MainWindow" Height="450" Width="800">
  < Grid>
    < TextBox x:Name="textBox" HorizontalAlignment="Left" Height="44" TextWrapping="Wrap" Text="TextBox" VerticalAlignment="Top" Width="682" Margin="10,10,0,0"/>
    < Button x:Name="button" Content="Execute" HorizontalAlignment="Left" Margin="697,10,0,0" VerticalAlignment="Top" Width="85" Height="44"/>
  < /Grid>
< /Window>
Add and Configure a XamDataGrid
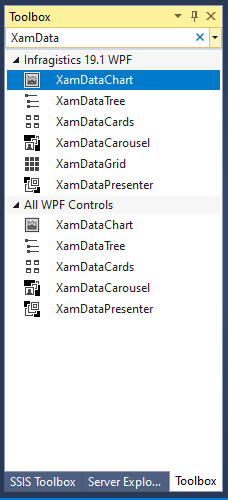
After adding the initial controls, add a XamDataGrid to the App. The component will appear in the Visual Studio toolbox.
Arrange the component on the designer so that it is below the TextBox & Button and linked to the boundaries of the app.
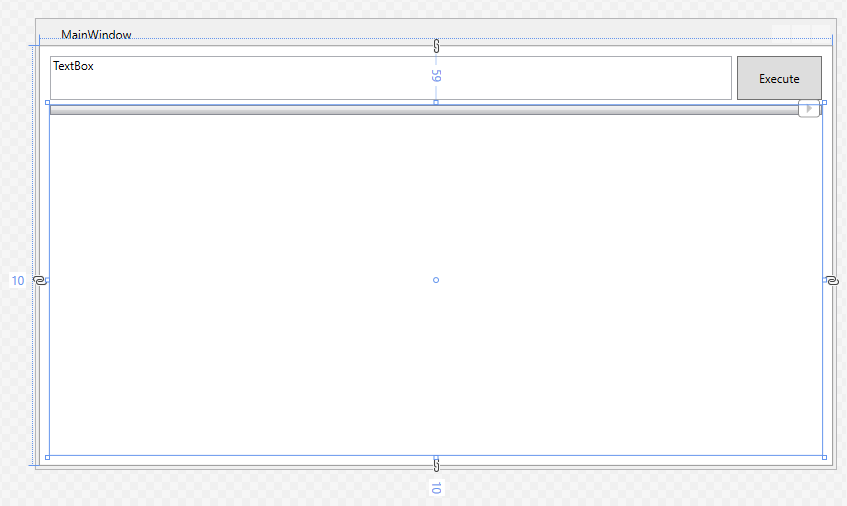
Once the XamDataGrid is placed, edit the XAML to set the XamDataGrid DataSource attribute to "{Binding}" and set the FieldSettings AllowRecordFiltering and AllowSummaries attributes to "true." Next, add an empty method as the Click event handler for the Button component. The XAML at this stage is as follows:
< Window
        xmlns="http://schemas.microsoft.com/winfx/2006/xaml/presentation"
        xmlns:x="http://schemas.microsoft.com/winfx/2006/xaml"
        xmlns:d="http://schemas.microsoft.com/expression/blend/2008"
        xmlns:mc="http://schemas.openxmlformats.org/markup-compatibility/2006"
        xmlns:local="clr-namespace:CDataXamDataGridGroupingListApp"
        xmlns:igWPF="http://schemas.infragistics.com/xaml/wpf" x:Class="CDataXamDataGridGroupingListApp.MainWindow"
        mc:Ignorable="d"
        Title="MainWindow" Height="450" Width="800">
  < Grid>
    < TextBox x:Name="textBox" HorizontalAlignment="Left" Height="44" TextWrapping="Wrap" Text="TextBox" VerticalAlignment="Top" Width="682" Margin="10,10,0,0"/>
    < Button x:Name="button" Content="Execute" HorizontalAlignment="Left" Margin="697,10,0,0" VerticalAlignment="Top" Width="85" Click="Button_Click" Height="44"/>

    < igWPF:XamDataGrid Margin="10,59,10,10" DataSource="{Binding}">
      < igWPF:XamDataGrid.FieldSettings>
        < igWPF:FieldSettings AllowSummaries="True" AllowRecordFiltering="True"/>
      < /igWPF:XamDataGrid.FieldSettings>
    < /igWPF:XamDataGrid>

  < /Grid>
< /Window>
Connect to and Query JD Edwards
The last step in building our WPG App with a dynamic DataGrid is connecting to and querying live JD Edwards data. First add a reference to the CData ADO.NET Provider to the project (typically found in C:\Program Files\CData\CData ADO.NET Provider for JD Edwards\lib).
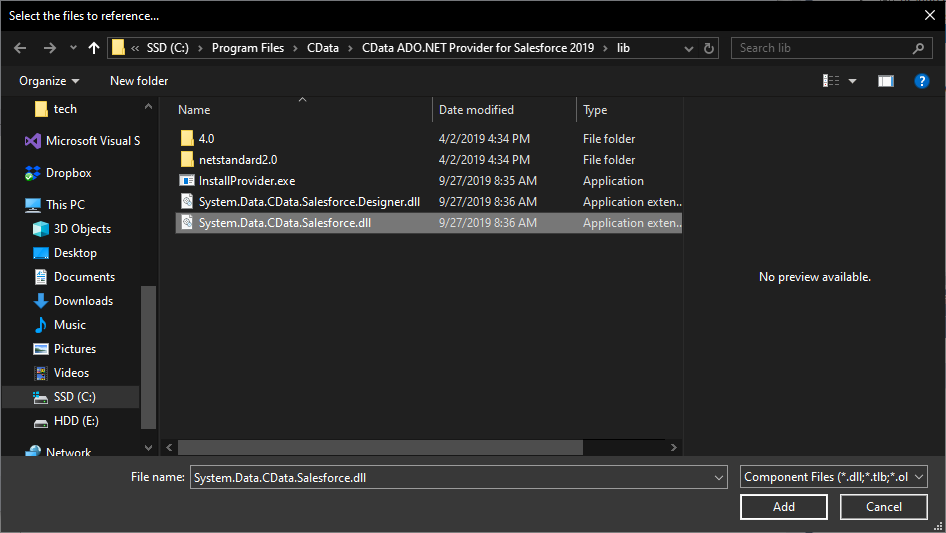
Next, add the Provider to the namespace, along with the standard Data library:
using System.Data.CData.JDEdwards;
using System.Data;
Finally, add the code to connect to JD Edwards and query using the text from the TextBox to the Click event handler.
The driver connects to JD Edwards through your Application Interface Services (AIS) Server. Set the following connection properties:
- URL: The base HTTPS URL of your AIS Server (e.g., https://jde-ais.example.com:8300).
- User: Your JD Edwards username.
- Password: Your JD Edwards password.
- Environment (optional): The JD Edwards environment to use (e.g., PD920 for production or DV920 for development). If not specified, the AIS Server's default environment is used.
- Role (optional): The JD Edwards role for the session. If not specified, the AIS Server's default role is used.
- DeviceName (optional): An identifier for the connecting device or application, used for auditing and logging on the AIS Server.
- Jasserver (optional): The specific Java Application Server (JAS) instance to route requests through, useful in clustered environments.
Choosing Which Data Is Exposed
JD Edwards organizes tables and business views by System Code, and the driver exposes each System Code as its own schema. Use these properties to control which schemas are available:
- DataModel: One or more ERP modules (comma-separated) whose System Codes are exposed as schemas, or All to expose every System Code in the connected instance. Defaults to FinancialManagement.
- SystemCodes: A comma-separated list of additional System Codes to expose alongside those from DataModel (e.g., 42,43).
When you connect, the driver sends your credentials to the AIS Server to obtain a session token and caches it. The driver requests a new token automatically before the session expires.
private void Button_Click(object sender, RoutedEventArgs e)
{
  //connecting to JD Edwards
  string connString = "URL=https://your-jde-environment-app.example.com;User=admin;Password=myPassword;";
  using (var conn = new JDEdwardsConnection(connString))
  {
    //using the query from the TextBox
    var dataAdapter = new JDEdwardsDataAdapter(textBox.Text, conn);
    var table = new DataTable();
    dataAdapter.Fill(table);

    //passing the DataRowCollection to the DataContext
    //  for use in the XamDataGrid
    this.DataContext = table.Rows;
  }
}
Run the Application
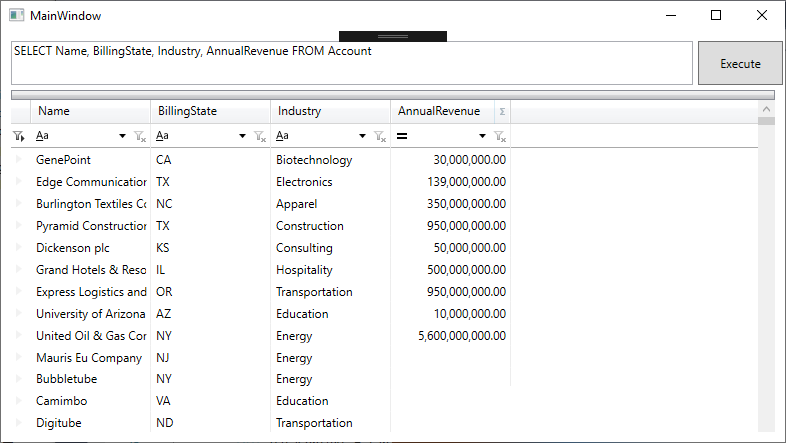
With the app fully configured, we are ready to display JD Edwards data in our XamDataGrid. When you click "Execute," the app connects to JD Edwards and submits the SQL query through the CData ADO.NET Provider.
Live JD Edwards data is displayed in the grid.
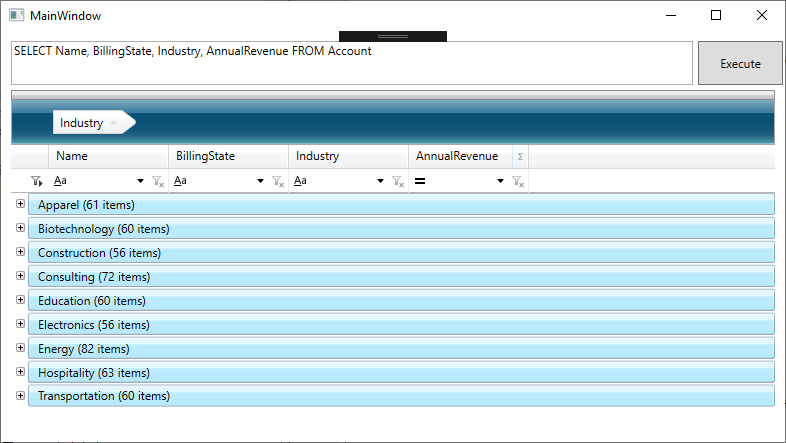
Group the data by dragging and dropping a column name into the header.
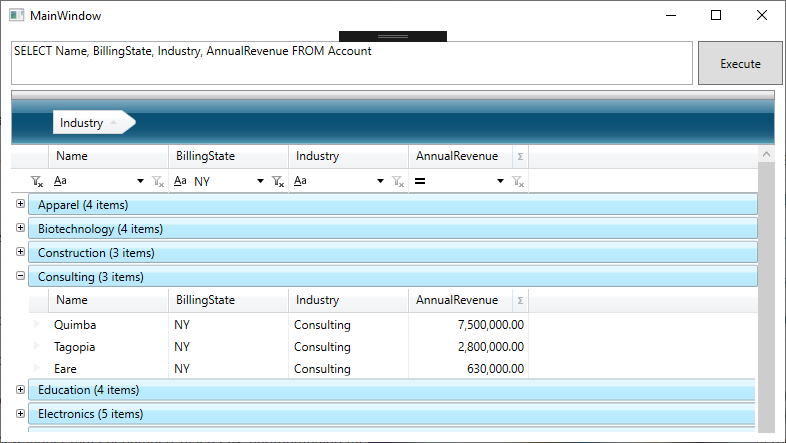
As you add groupings and filters, the underlying SQL query is submitted directly to JD Edwards, making it possible to drill down into live JD Edwards data to find only the specific information you need.
Free Trial & More Information
At this point, you have created a dynamic WPF App with access to live JD Edwards data. For more information, visit the CData ADO.NET Provider page. Download a free, 30-day trial and start working live JD Edwards data in apps built using the Infragistics UI controls today.
Ready to get started?
Download a free trial of the JD Edwards Data Provider to get started:
Download NowLearn more:
 JD Edwards ADO.NET Provider
Rapidly create and deploy powerful .NET applications that integrate with JD Edwards data including AccountLedger, ProposalofPayment, ContractRevenueSummary, EmployeeEnrollment, RentIncreaseAmounts, and more!