





Connecting PrimaLabs Open-Weight Models with QuickBooks Online Data via CData Connect AI Gateway

PrimaLabs runs serverless inference for open-weight models such as Kimi K3.1 Pro, GLM 5.3 Flash, MiMo-V2.6-Pro, and DeepSeek V4.1 Flash. The API is OpenAI-compatible and priced per token, so you can point an existing client at PrimaLabs and compare results on your own traffic. Many teams now send the routine steps of an agent run, like classifying a request, drafting a query, or summarizing a result, to models like these, because those steps make up most of the calls and rarely need a frontier model.
Lower inference cost brings its own problem. Open-weight pilots often stall because the model has no governed path to company data, no spend or access controls by team, and no audit trail of what the agent asked and saw. CData Connect AI Gateway closes those gaps. It routes any OpenAI-compatible provider through one governed endpoint, while CData Connect AI connects your agent to live data in hundreds of sources through the Model Context Protocol (MCP) and applies the requesting user's permissions to every query.
This guide shows you how to configure a QuickBooks Online connection in Connect AI, add PrimaLabs as a custom LLM provider in the Gateway, route requests to a PrimaLabs model, and run a live QuickBooks Online query through that model.
About QuickBooks Online Data Integration
CData provides the easiest way to access and integrate live data from QuickBooks Online. Customers use CData connectivity to:
- Realize high-performance data reads thanks to push-down query optimization for complex operations like filters and aggregations.
- Read, write, update, and delete QuickBooks Online data.
- Run reports, download attachments, and send or void invoices directly from code using SQL stored procedures.
- Connect securely using OAuth and modern cryptography, including TLS 1.2, SHA-256, and ECC.
Many users access live QuickBooks Online data from preferred analytics tools like Power BI and Excel, directly from databases with federated access, and use CData solutions to easily integrate QuickBooks Online data with automated workflows for business-to-business communications.
For more information on how customers are solving problems with CData's QuickBooks Online solutions, refer to our blog: https://www.cdata.com/blog/360-view-of-your-customers.
Getting Started
Note: CData Connect AI Gateway is available through an early access program. You can request early access to get 14 days of full Connect AI access. After the 14 days, you keep Gateway routing and budget controls at no cost through December 31, 2026.
Prerequisites
Before you start, make sure you have:
- A CData Connect AI account with Gateway early access enabled
- A PrimaLabs account and API key
- Access to QuickBooks Online
- Python 3.9+ to run the test script in this guide
- Claude Code installed
Credentials checklist
Keep these values ready. You'll use each one in the steps below.
CData Connect AI
- USERNAME: Your CData email login
- PAT: In Connect AI, go to Settings and click Personal Access Tokens (copy once)
- MCP_BASE_URL: https://mcp.cloud.cdata.com/mcp
- GATEWAY_ENDPOINT and VIRTUAL_KEY: The Gateway endpoint and the revocable virtual key your callers use (see Step 4)
PrimaLabs
- PRIMALABS_API_KEY: Your PrimaLabs API key
- PRIMALABS_BASE_URL: https://api.primalabs.ai/v1 (shown in the Start building panel of your PrimaLabs dashboard)
- MODEL_ID: The model ID exactly as PrimaLabs lists it, prefix included (for example, primalabs-ai/GLM-5.3-Flash)
Step 1: Configure QuickBooks Online connectivity for PrimaLabs
Your PrimaLabs model reaches QuickBooks Online through CData Connect AI Remote MCP. To work with QuickBooks Online from an agent, start by creating and configuring a QuickBooks Online connection in Connect AI.
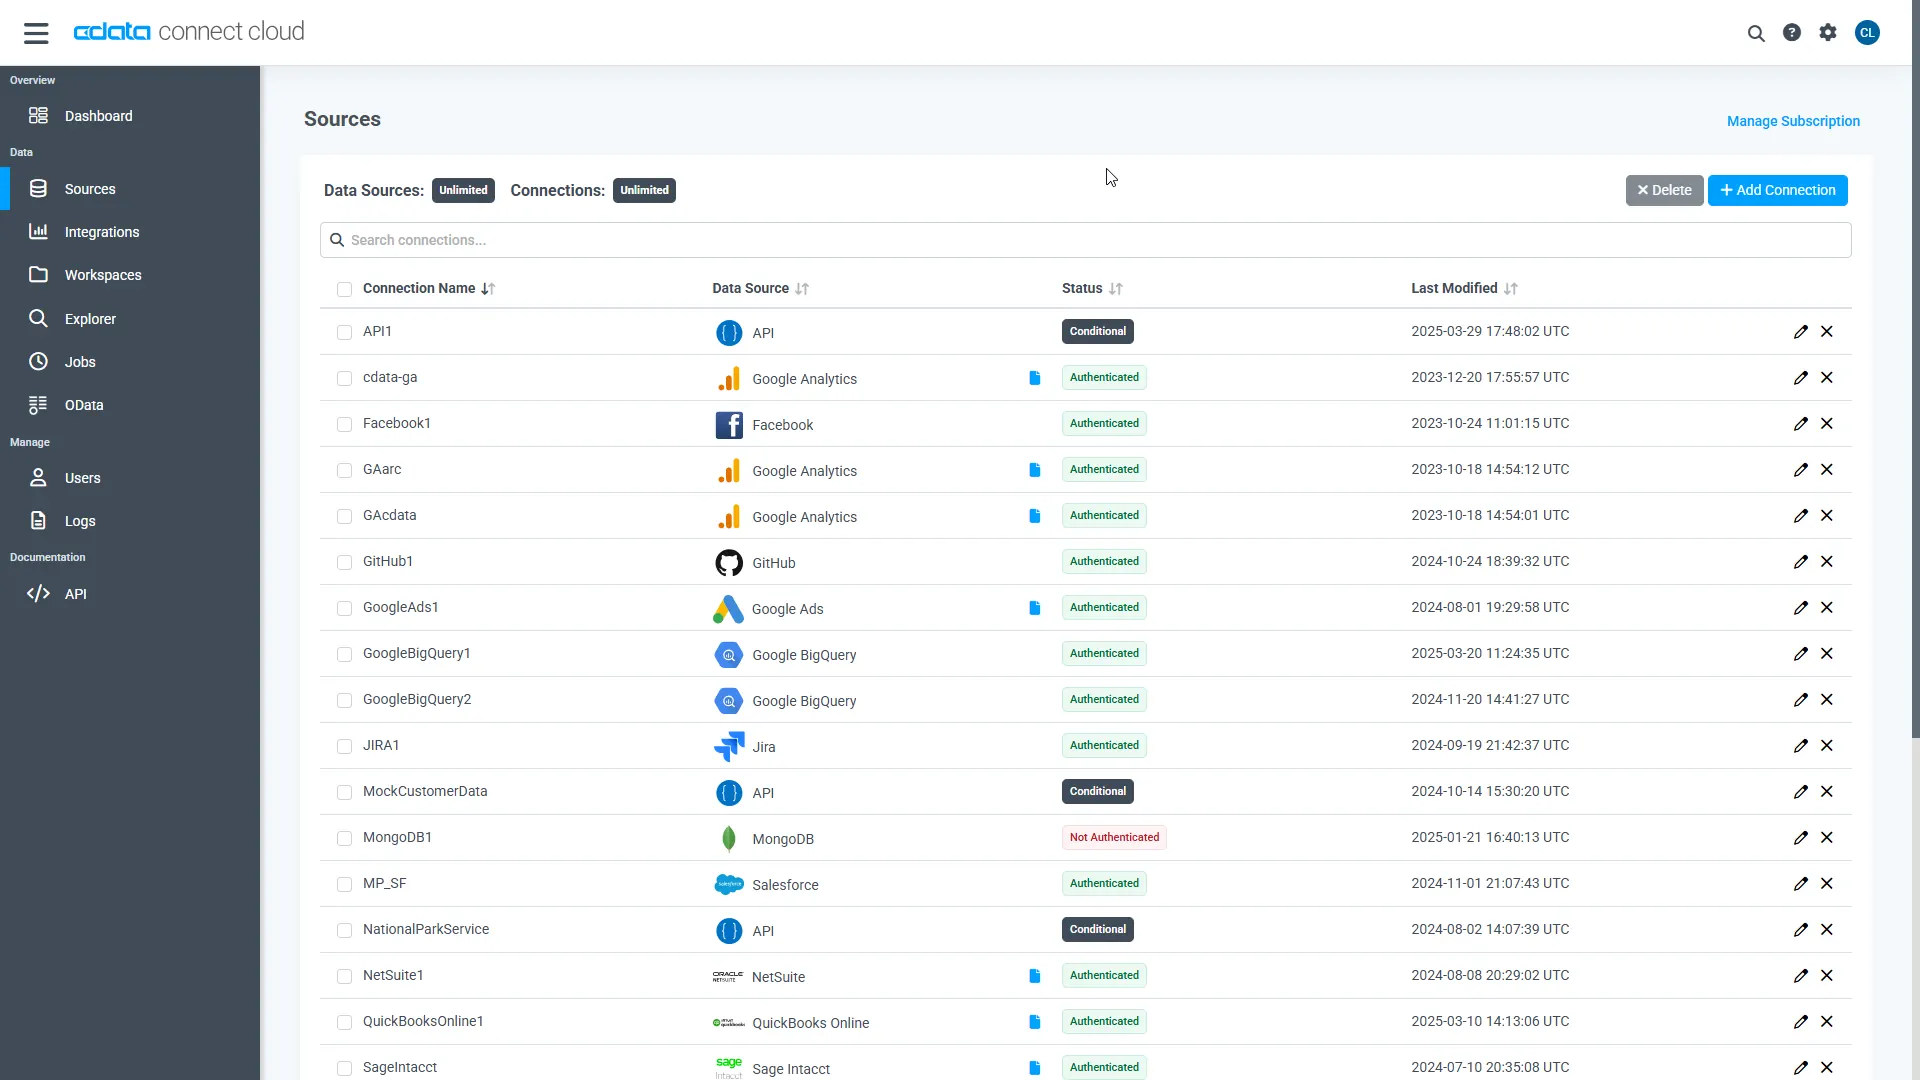
- Log into Connect AI, click Sources, and then click Add Connection
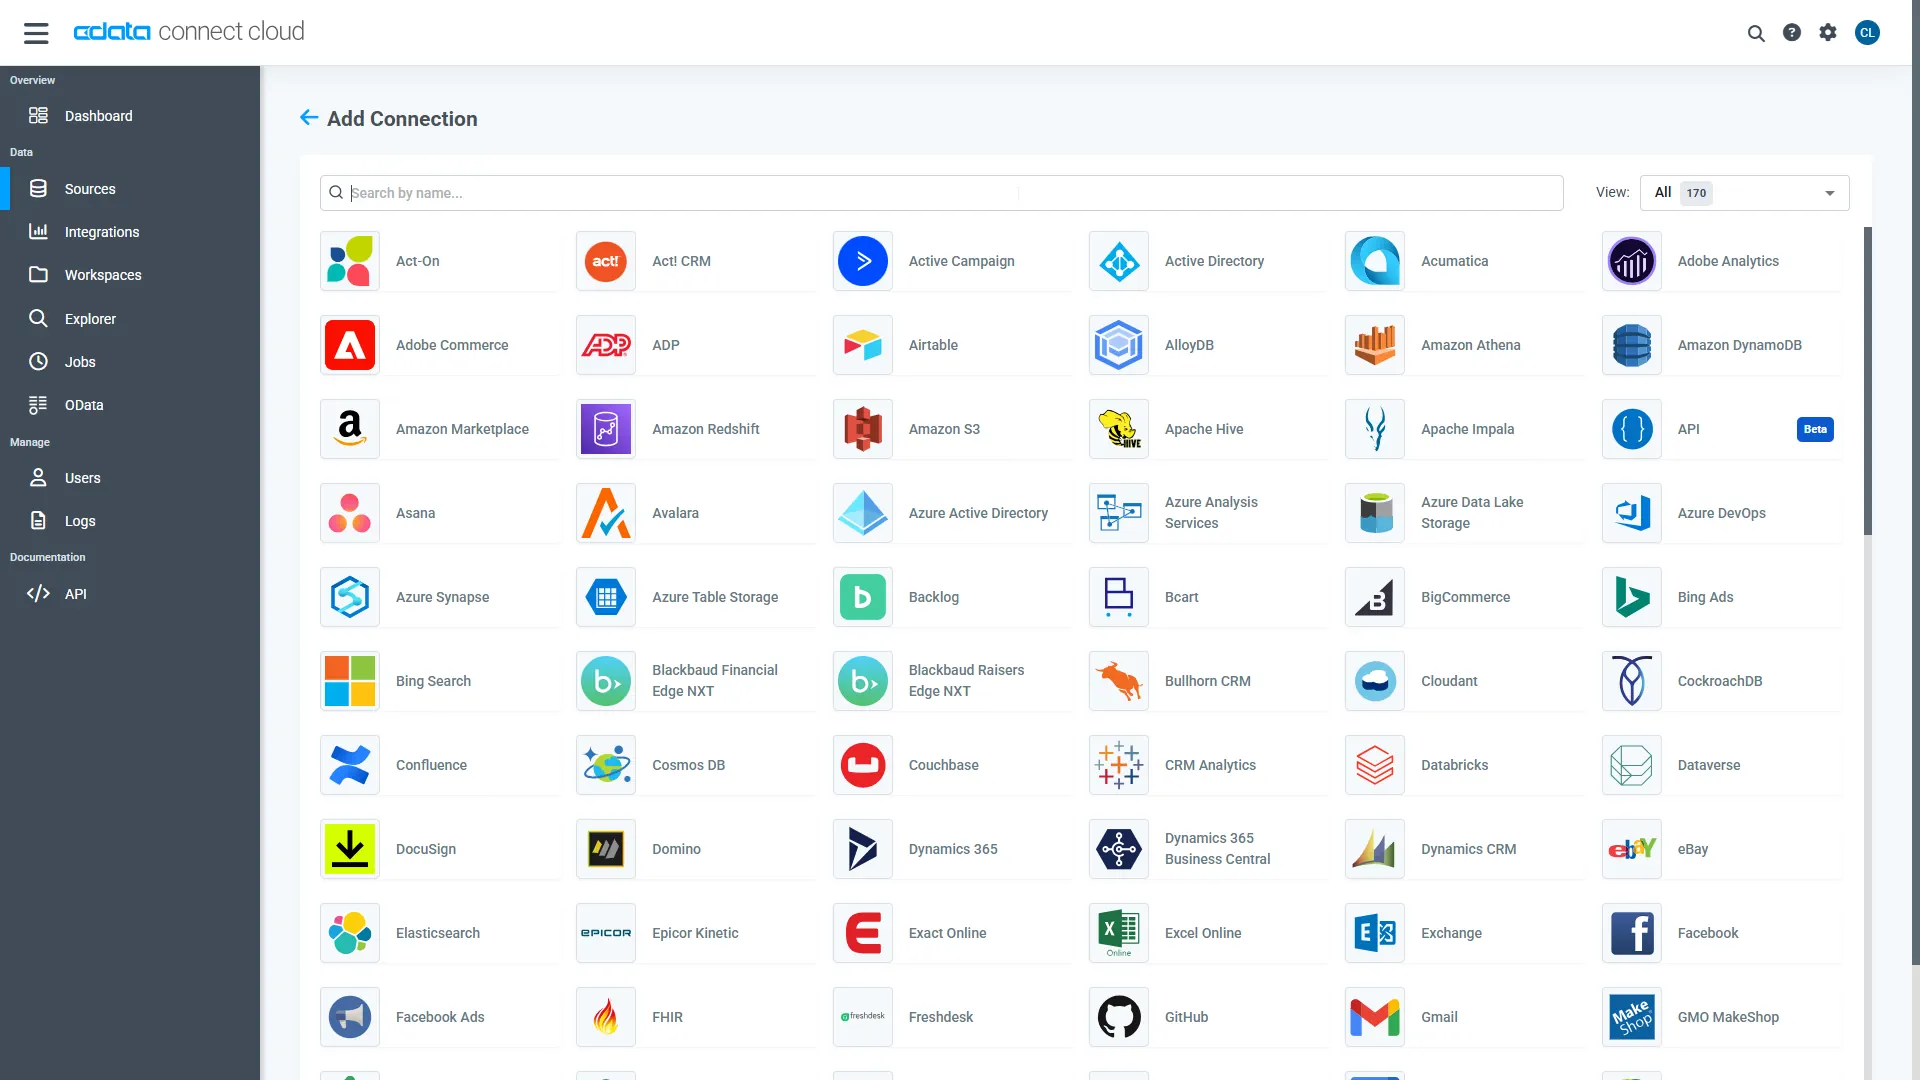
- Select "QuickBooks Online" from the Add Connection panel
-
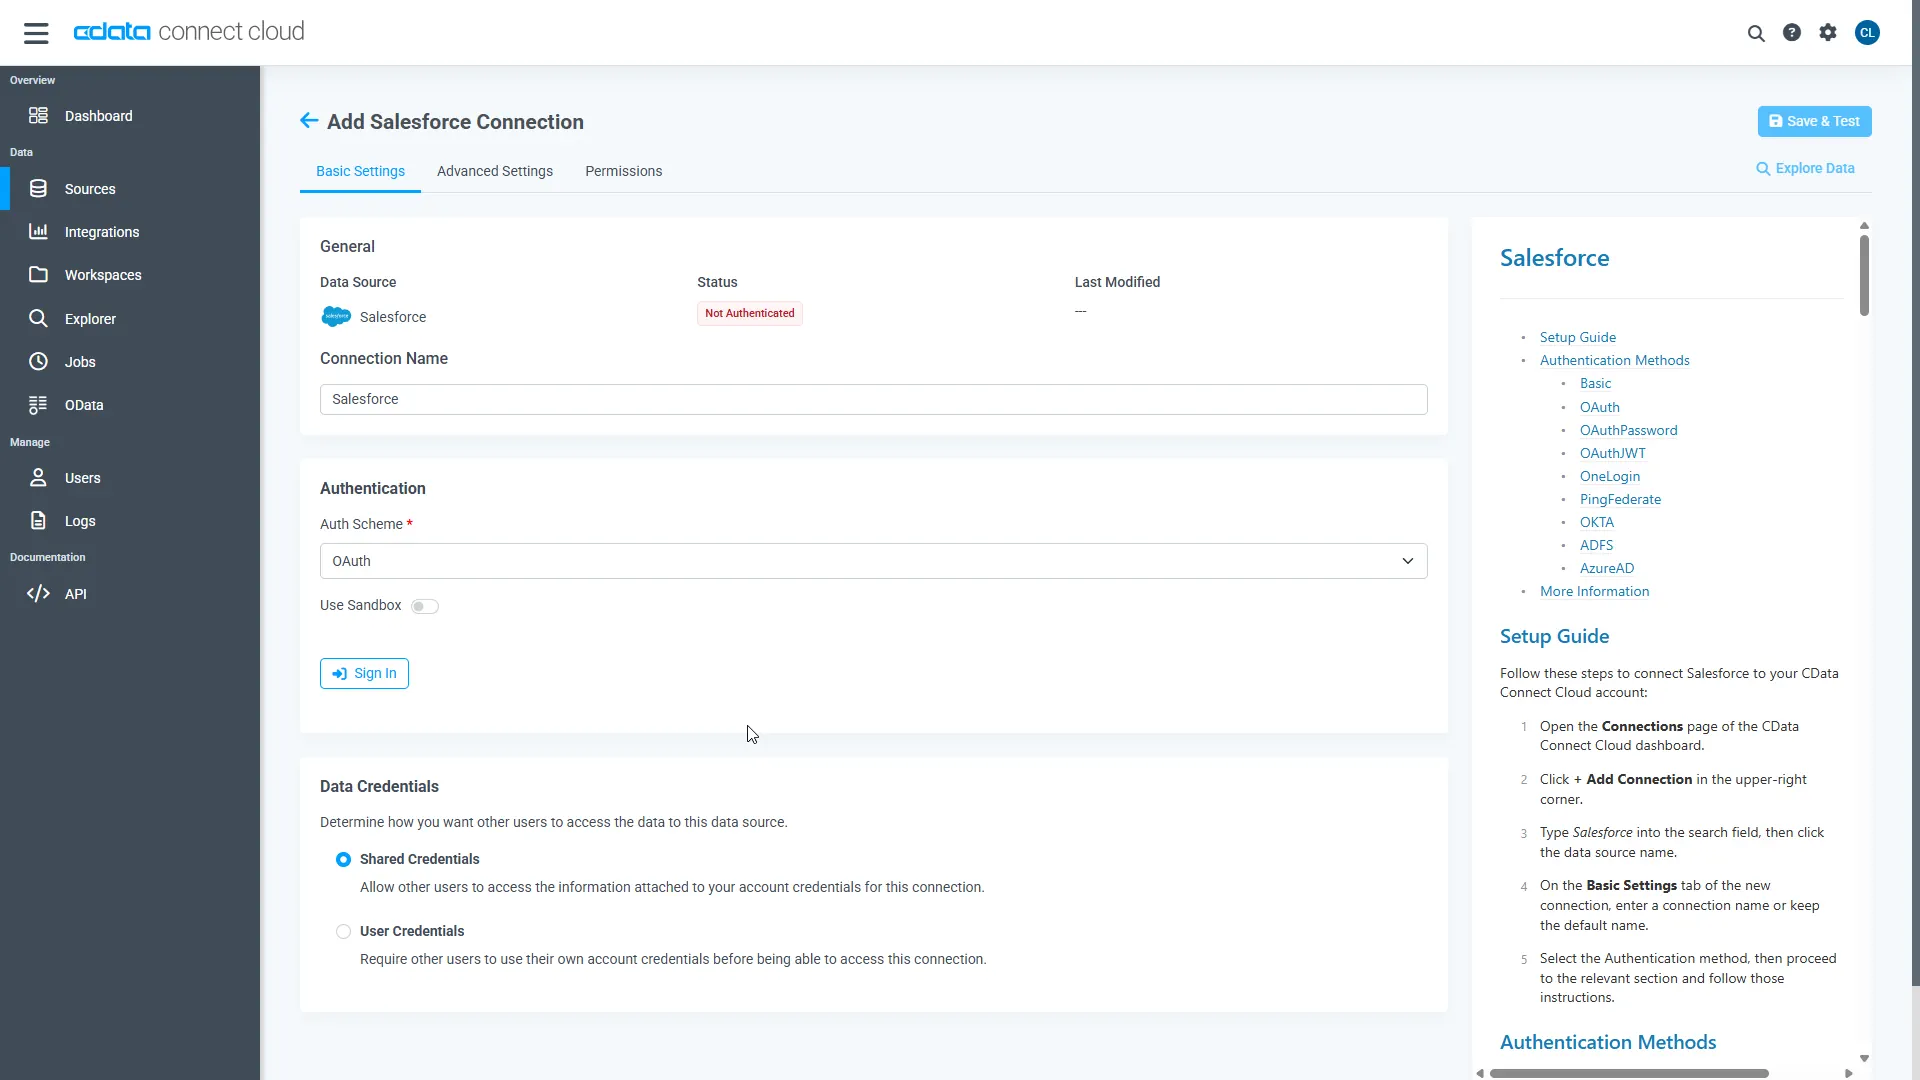
QuickBooks Online uses OAuth to authenticate. Click "Sign in" to authenticate with QuickBooks Online.
-
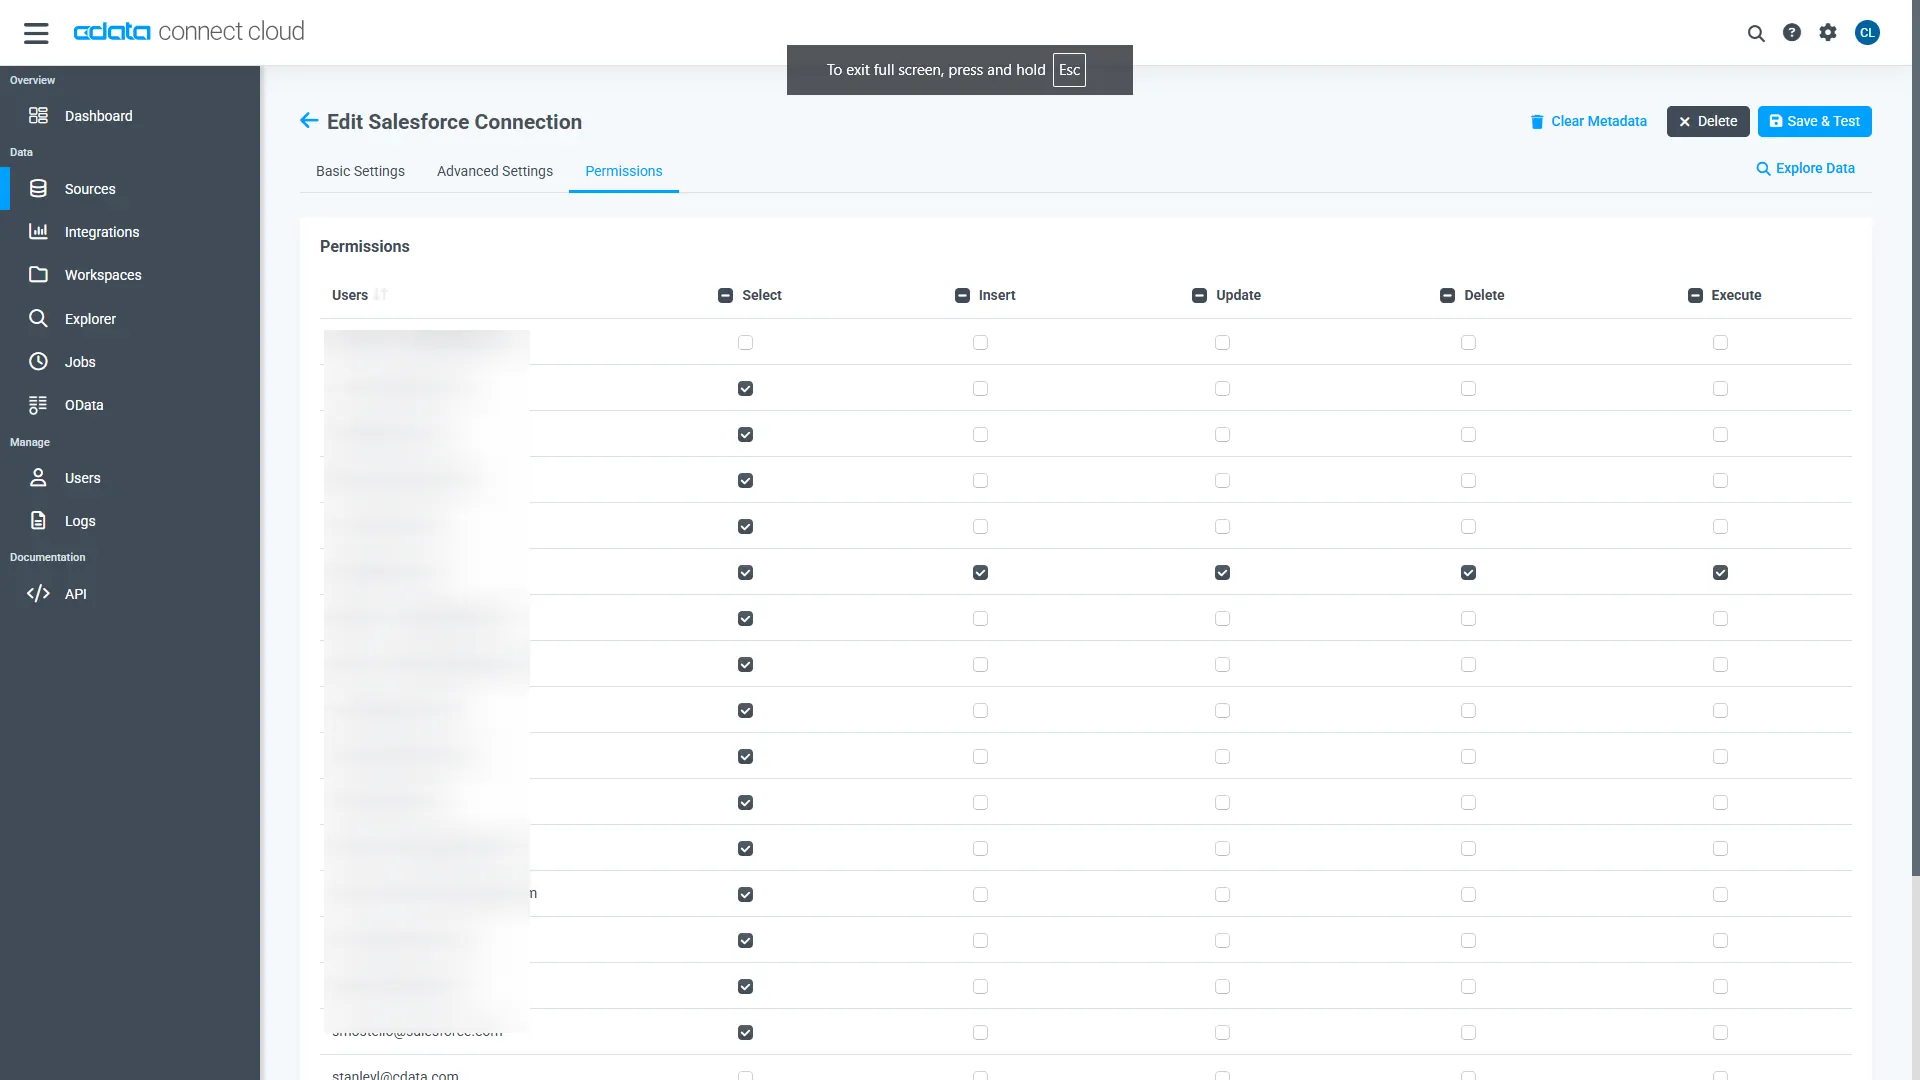
Open the Permissions tab on the Add QuickBooks Online Connection page and update the user-based permissions. The Gateway and the MCP server enforce these permissions on every request, whichever model handles it.
Add a Personal Access Token
A Personal Access Token (PAT) authenticates your agent's connection to Connect AI. Create a separate PAT for each service to keep access granular.
- Click the Gear icon () at the top right of the Connect AI app to open the settings page.
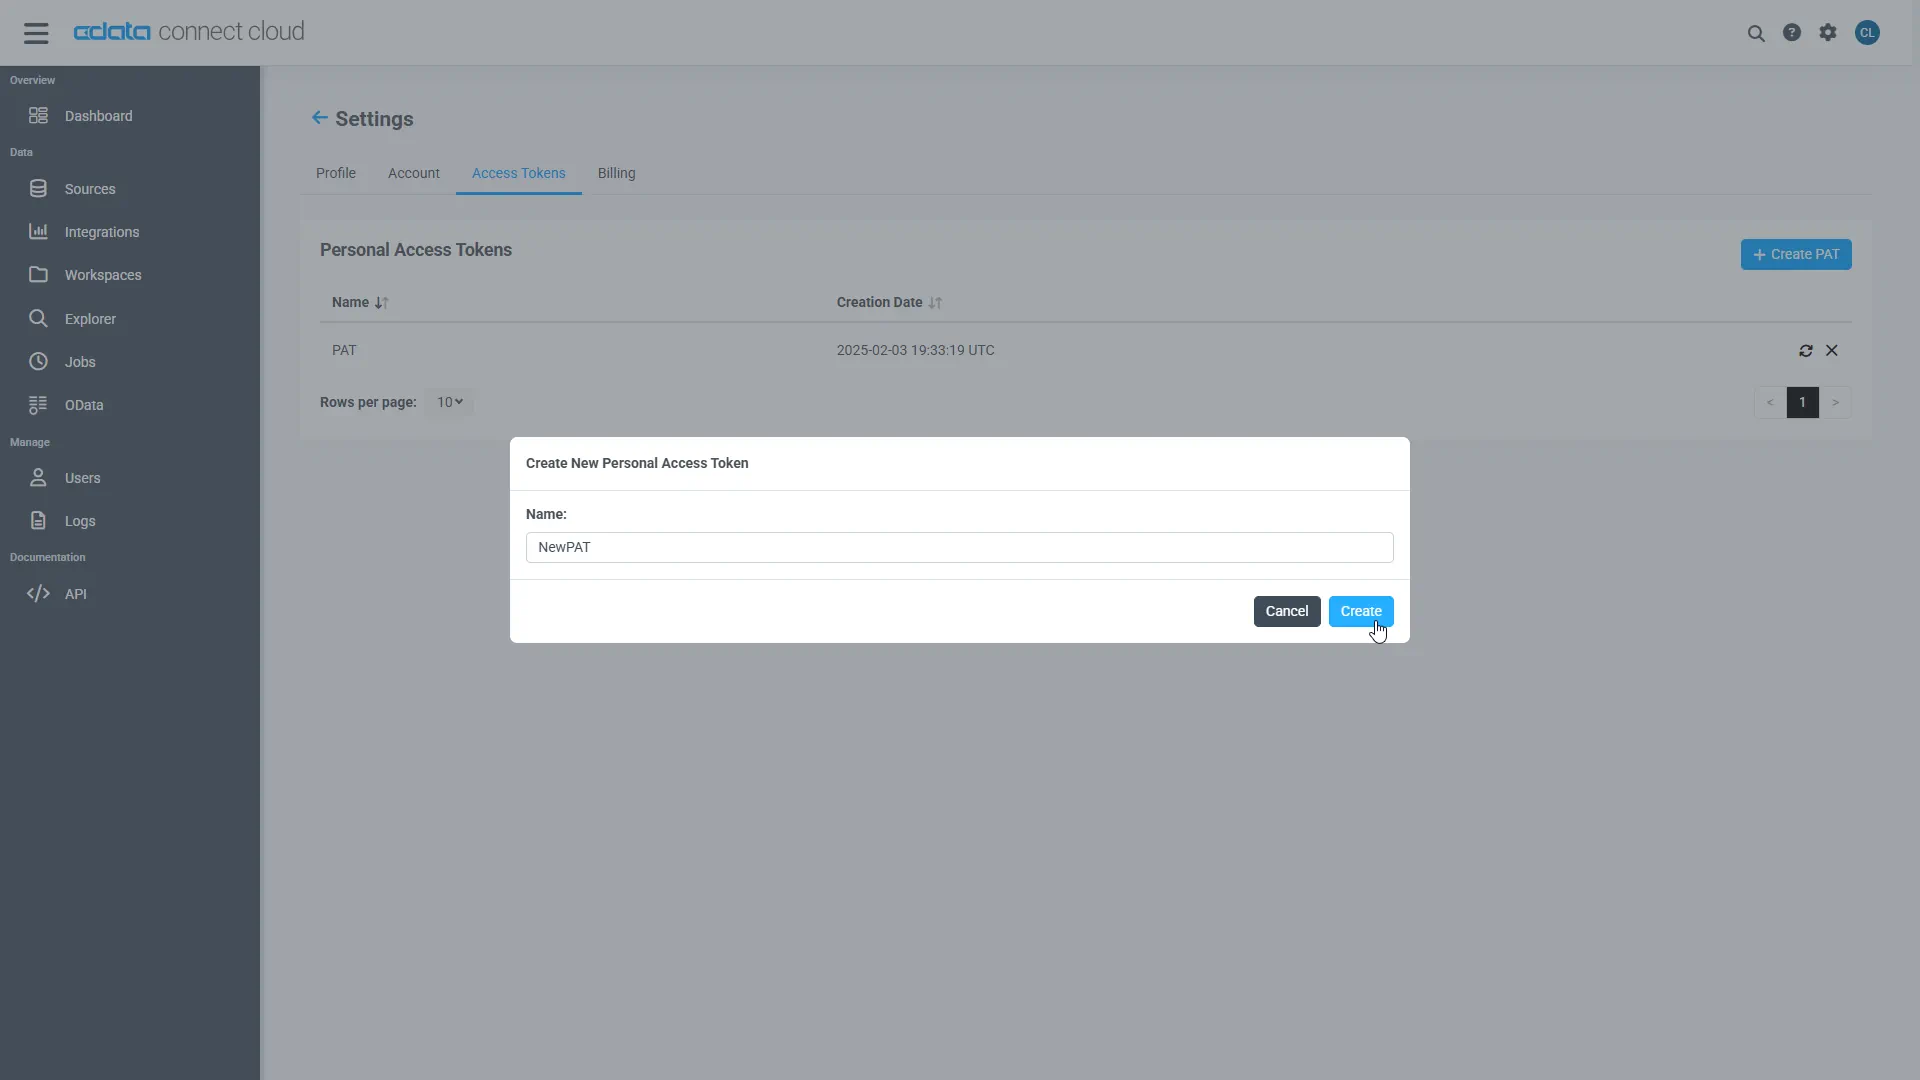
- On the Settings page, go to the Personal Access Tokens section and click Create PAT.
-
Give the PAT a name and click Create.
- Copy the PAT and store it securely. Connect AI shows it only once, at creation.
With the connection configured and a PAT generated, you're ready to bring PrimaLabs into the Gateway.
Step 2: Get your PrimaLabs credentials
PrimaLabs exposes an OpenAI-compatible API, which is the only requirement for bring your own model in Connect AI Gateway.
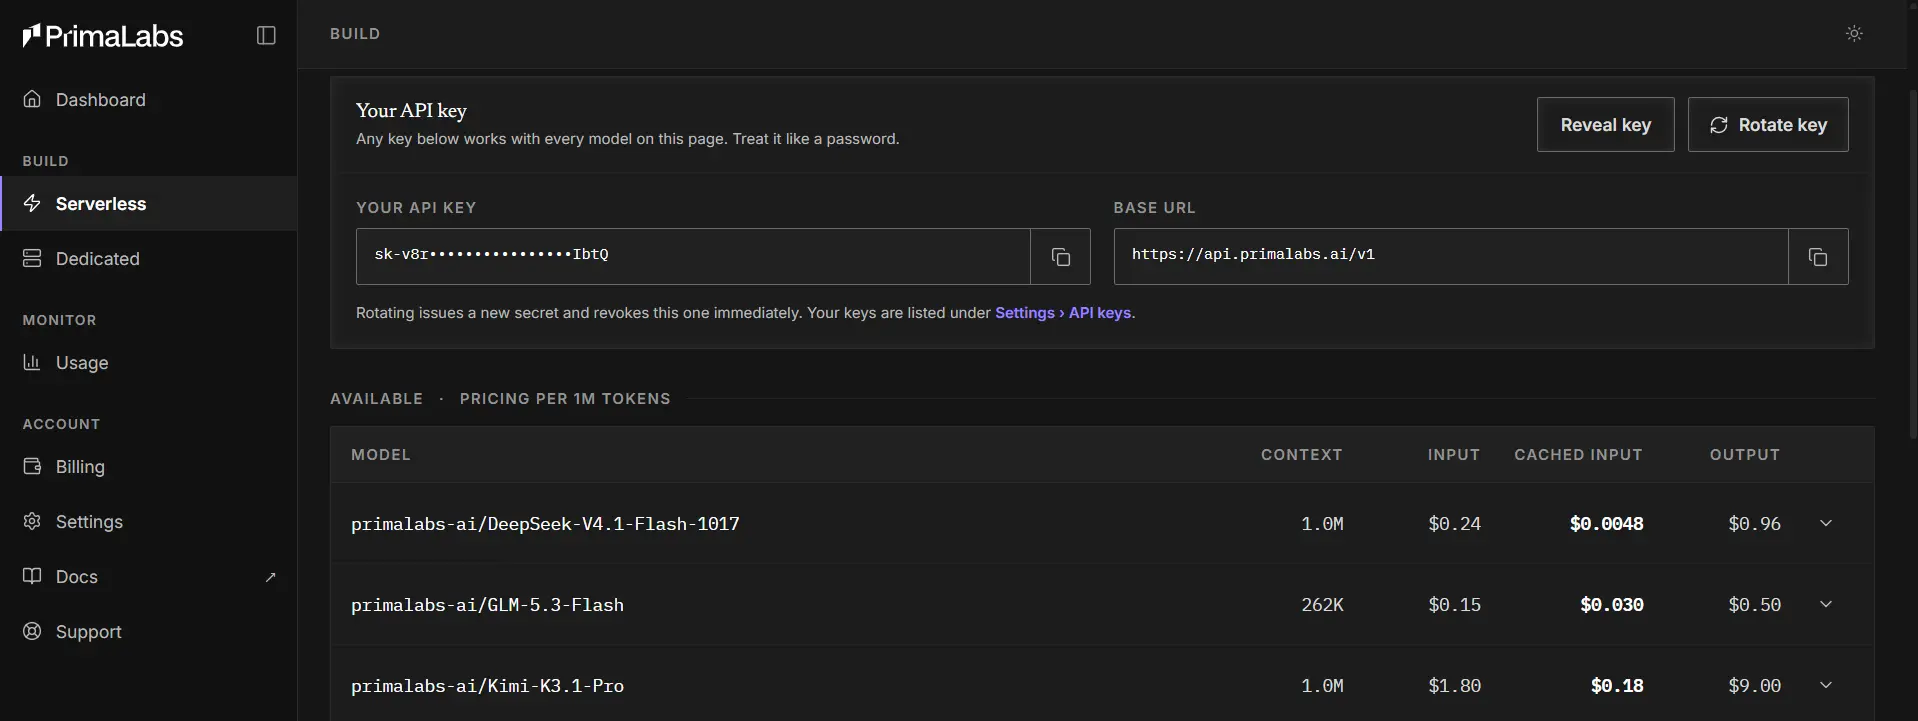
- Log in to PrimaLabs. In the Start building panel on your dashboard, click Reveal key and copy your API key
- Copy the base URL from the same panel (https://api.primalabs.ai/v1)
- In the model list on your dashboard, find the model you want to route to and copy its ID exactly as PrimaLabs shows it. The ID includes the primalabs-ai/ prefix and can end with a suffix for some models (for example, primalabs-ai/GLM-5.3-Flash or primalabs-ai/Nemotron-3.5-Lightning-NVFP4)
PrimaLabs publishes its data retention terms. Review them before you send business data to any third-party inference provider.
Step 3: Add PrimaLabs as a custom LLM provider
- Log into Connect AI and click LLM Providers under Manage in the left navigation
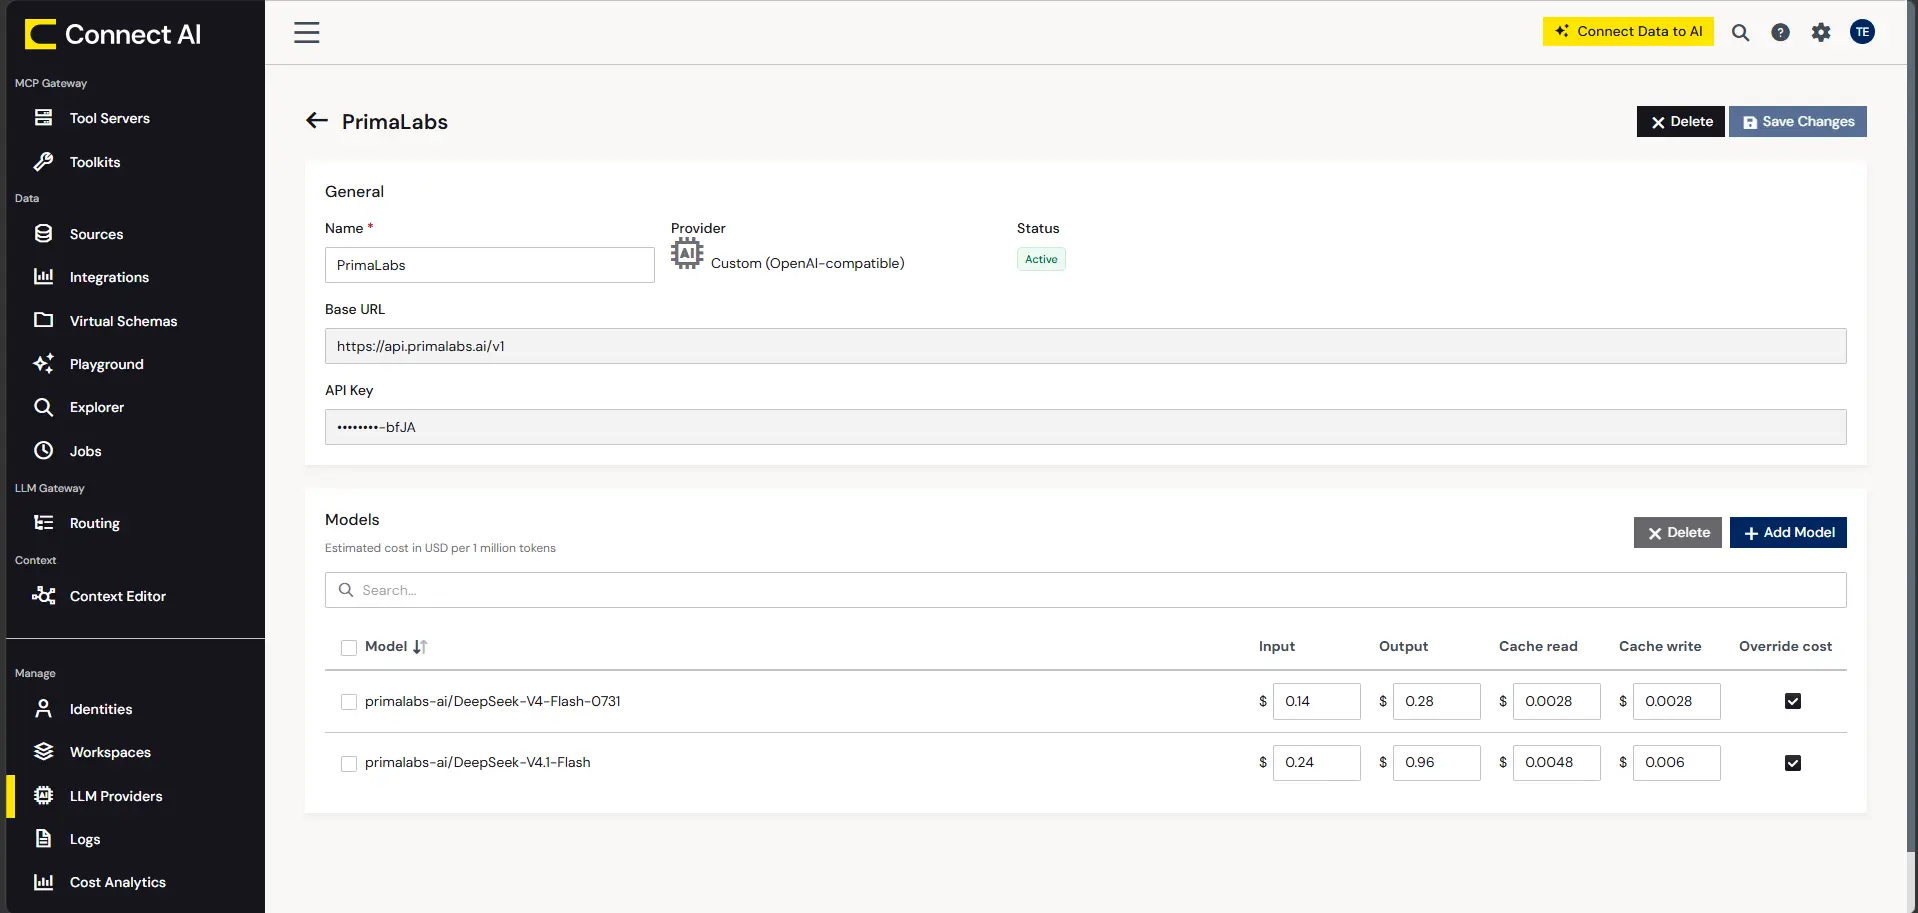
- Add a custom LLM provider and name it PrimaLabs
- Enter your PrimaLabs API key and base URL (https://api.primalabs.ai/v1)
- Save the provider
Connect AI stores the provider key, so your callers never handle it directly.
Step 4: Create a routing rule and set controls
A routing rule tells the Gateway which model handles a request, and a project applies that rule to your callers. Point a rule at your PrimaLabs models, then apply the controls that make them safe for enterprise use.
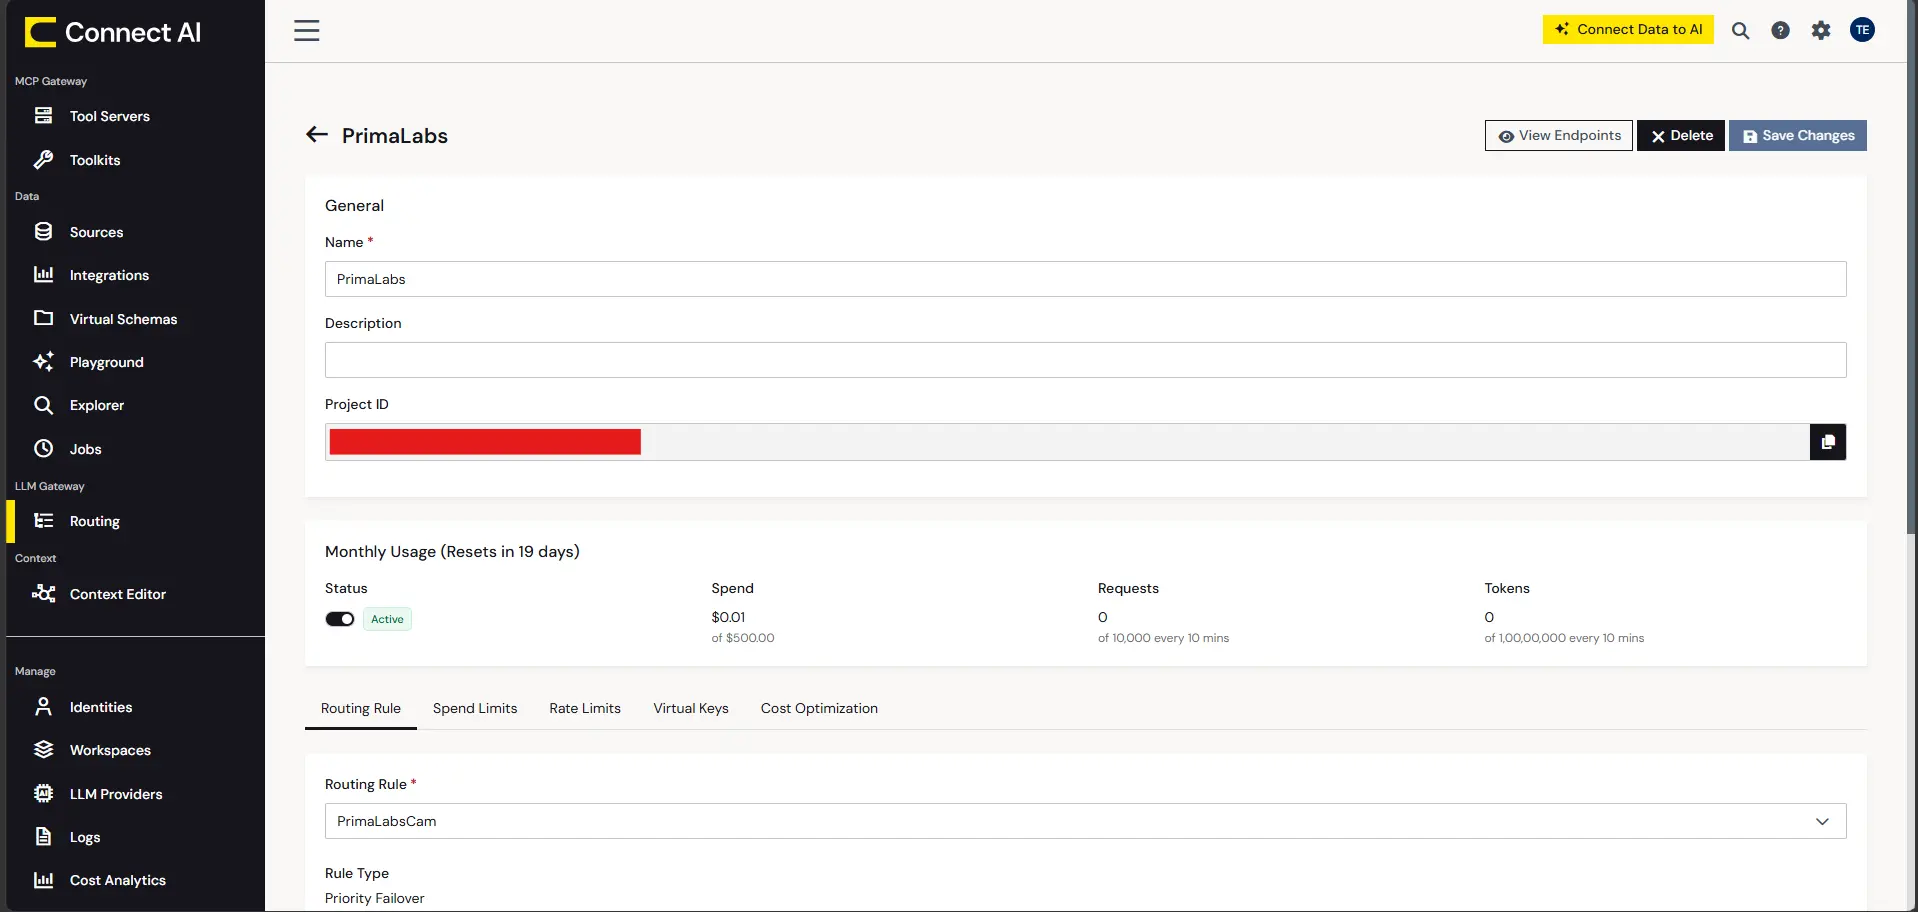
- Click Routing under LLM Gateway, click Add Project, and name the project
- On the Routing Rule tab, choose a routing rule or create one that targets your PrimaLabs model. Enter the model ID exactly as PrimaLabs lists it, for example primalabs-ai/GLM-5.3-Flash. Add a failover model, and under CData MCP, enable Search Context Tool/Skill and Data Source Instructions.
- On the Spend Limits tab, set a budget for the project. The Gateway checks the budget before it spends any tokens
- On the Rate Limits tab, cap the requests and tokens your callers can send
- On the Virtual Keys tab, generate a virtual key for your callers. You can revoke a virtual key at any time without touching the provider key
- Click View Endpoints to copy the Gateway endpoint your callers will use
Use these values for the required settings:
| Setting | Value |
|---|---|
| Provider name | PrimaLabs |
| Provider API key | Your PrimaLabs API key |
| Provider base URL | https://api.primalabs.ai/v1 |
| Rule type | Priority Failover |
| Primary model | primalabs-ai/GLM-5.3-Flash |
| Failover model | A second model, from PrimaLabs or another provider you've added |
| Caller credentials | The Gateway endpoint and the virtual key from your project |
From this point, the Gateway logs every request and attributes it to the person or agent that made it.
Step 5: Send a test request through the Gateway
Moving an existing agent onto the Gateway takes two changes: the base URL and the API key. This script confirms that your routing rule reaches PrimaLabs.
Run these commands in a terminal on your machine (PowerShell or Command Prompt on Windows, Terminal on macOS or Linux). Install the client:
pip install openaiSave the script below as test_gateway.py in any folder you can easily find, such as a new folder named primalabs-test in your Documents folder. Replace the two placeholder values. In the terminal, go to that folder with cd and run the script with python test_gateway.py:
from openai import OpenAI

client = OpenAI(
    base_url="your_GATEWAY_ENDPOINT",
    api_key="your_VIRTUAL_KEY",
)

response = client.chat.completions.create(
    model="primalabs-ai/GLM-5.3-Flash",
    messages=[
        {"role": "user", "content": "Reply with one sentence to confirm you are reachable."}
    ],
)

print(response.choices[0].message.content)
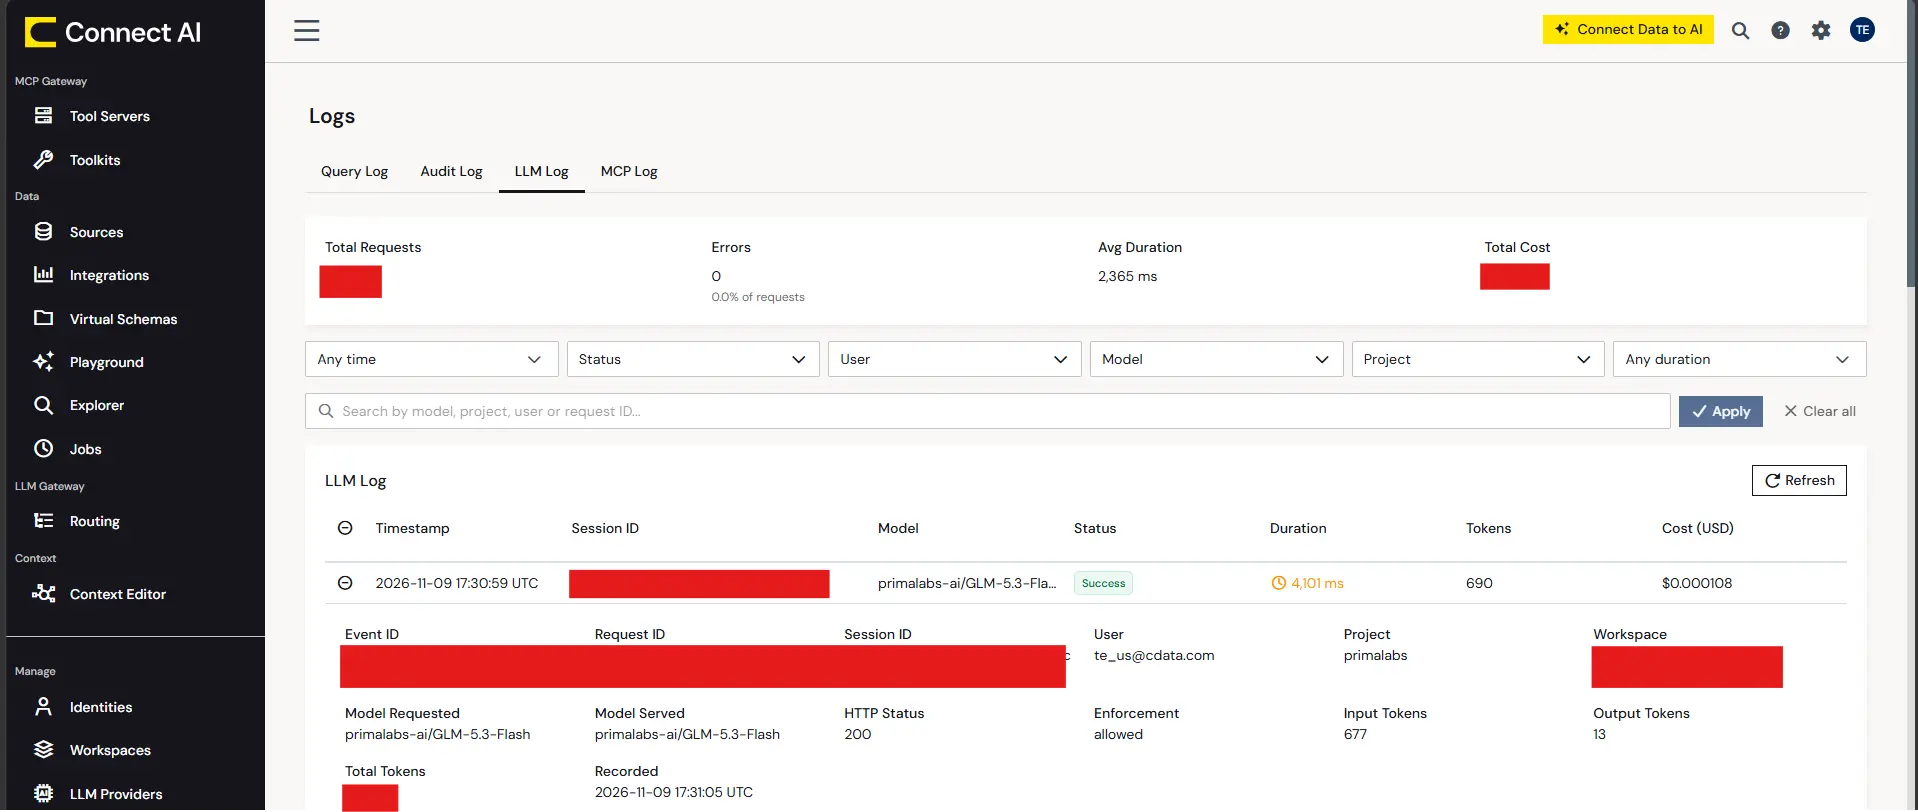
A reply from the model confirms the route. To see the request in the Gateway log, click Logs under Manage in the left navigation, select the LLM Log tab, and click Refresh. The entry shows the user, the project, the model you requested and the model that served the request, the token counts, and the cost.
Step 6: Connect Claude Code to the Gateway and Connect AI
The Gateway covers the model side. Connect AI covers the data side. Claude Code can use both: it sends its model calls to the Gateway, and it connects to the Connect AI MCP server with Basic authentication, which combines your Connect AI email and your PAT.
Create a project folder. Inside it, create a .claude folder with a file named settings.local.json, and replace the placeholder with your virtual key:
{
  "env": {
    "ANTHROPIC_BASE_URL": "https://cloud.cdata.com/gateway",
    "ANTHROPIC_AUTH_TOKEN": "your_Connect_AI_virtual_key",
    "ANTHROPIC_MODEL": "primalabs-ai/GLM-5.3-Flash"
  }
}
From the project folder, register the Connect AI MCP server. Replace the placeholder with your email and PAT, joined by a colon and base64-encoded (for example, [email protected]:your_PAT):
claude mcp add --transport http connect-ai https://mcp.cloud.cdata.com/mcp --header "Authorization: Basic your_base64_encoded_email_PAT"Connect AI runs queries, joins, and filters in the data layer, so the model receives only the result it needs. That keeps token counts down on any model you route to.
Step 7: Ask a question in Claude Code
Start Claude Code from the project folder with claude and enter a sample prompt:
List the tables available in my QuickBooks Online connection and summarize the first five rows of the most relevant one.The agent queries QuickBooks Online through Connect AI with your permissions applied, and the Gateway records the request, the model, and the token usage.
Run open-weight models against live QuickBooks Online data with CData Connect AI Gateway
PrimaLabs supplies low-cost inference for open-weight models, and CData Connect AI Gateway adds one governed endpoint, spend limits, and a full request log. CData Connect AI gives those models live, permissioned access to QuickBooks Online through MCP.
Request early access to Connect AI Gateway or start a free trial of CData Connect AI today.