





Integrate with live Rebilly Data in Jitterbit

Jitterbit is an enterprise iPaaS (integration platform as a service) that lets you streamline your data workflows. When paired with CData Connect AI, Jitterbit gets access to live Rebilly data. This article demonstrates how to connect to Rebilly using Connect AI and integrate with live Rebilly data in Jitterbit.
CData Connect AI provides a pure OData interface for Rebilly, allowing you to query data from Rebilly without replicating the data to a natively supported database. Using optimized data processing out of the box, CData Connect AI pushes all supported SQL operations (filters, JOINs, etc.) directly to Rebilly, leveraging server-side processing to return the requested Rebilly data quickly.
Configure Rebilly Connectivity for Jitterbit
To work with Rebilly data from Jitterbit, we need to connect to Rebilly from Connect AI, provide user access to the connection, and create a Virtual Schema for the Rebilly data.
Connect to Rebilly from Connect AI
CData Connect AI uses a straightforward, point-and-click interface to connect to data sources.
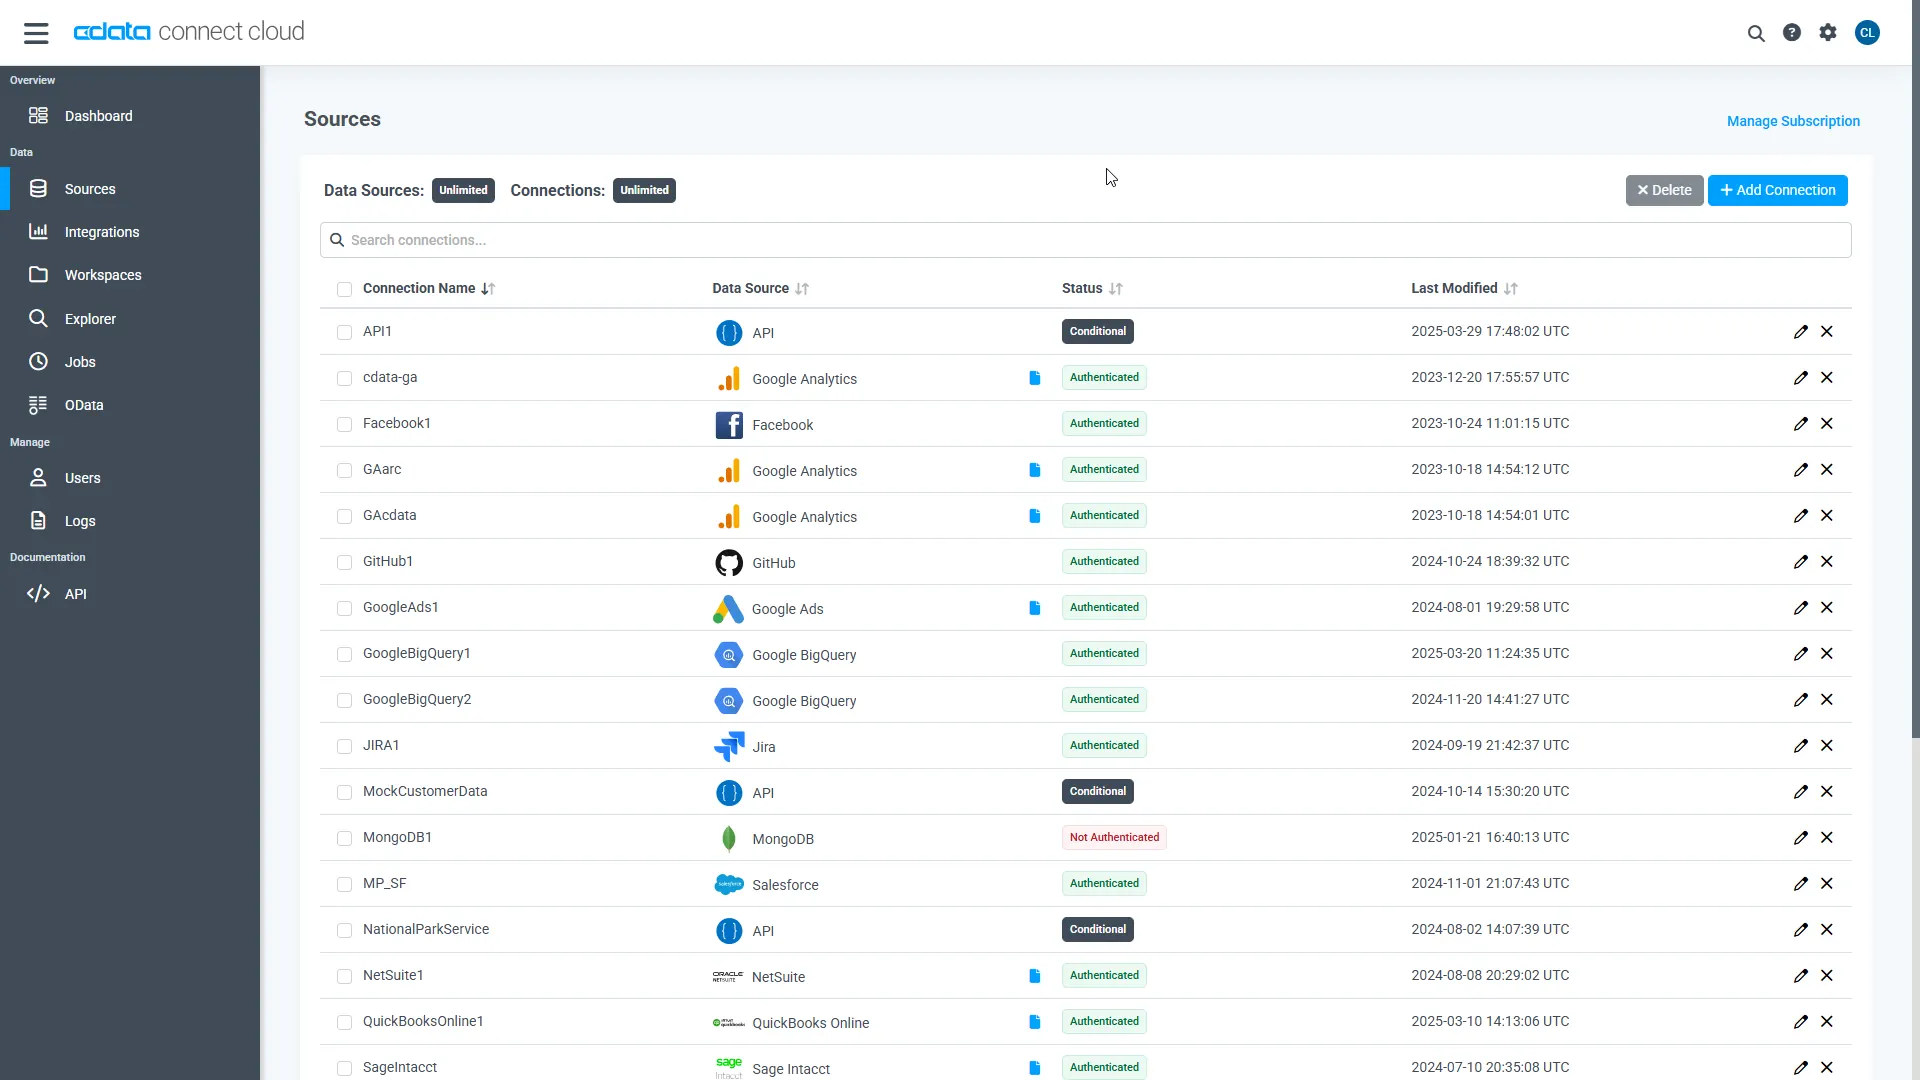
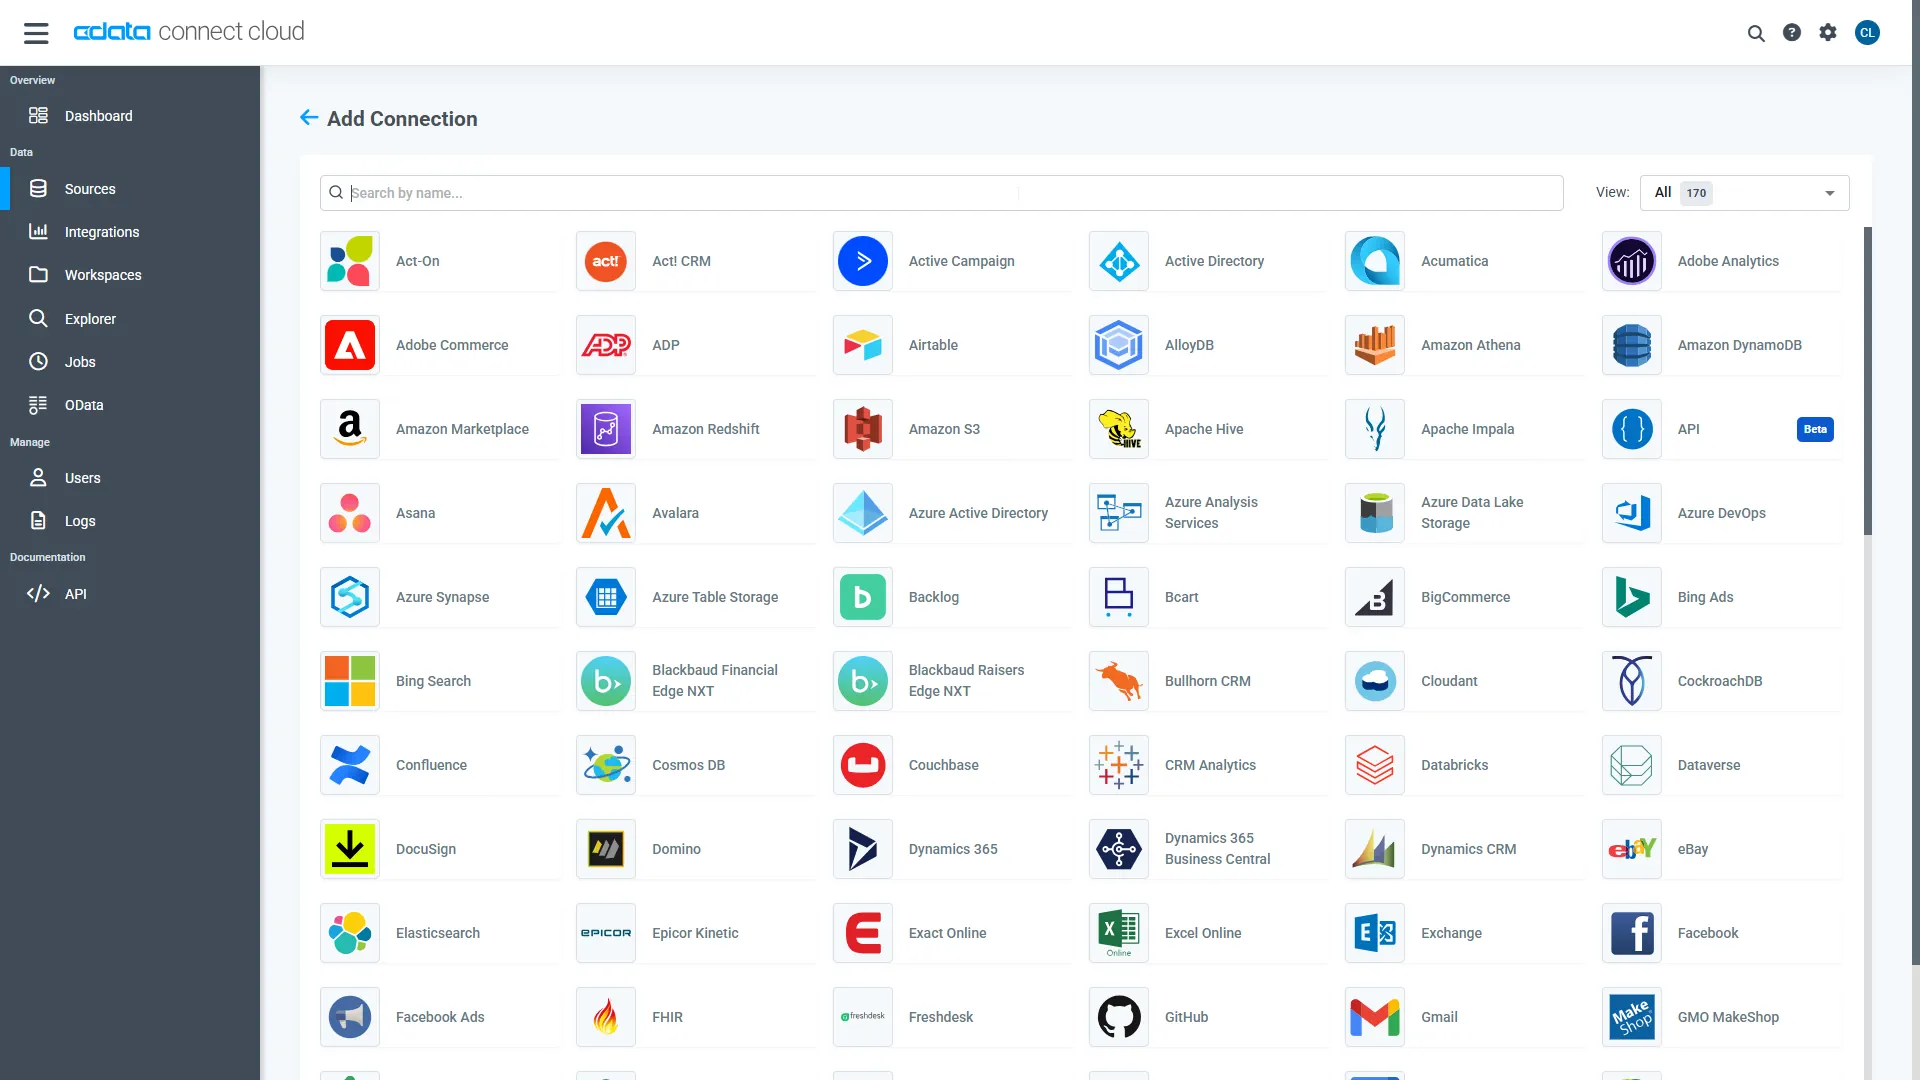
- Log into Connect AI, click Sources, and then click Add Connection
- Select "Rebilly" from the Add Connection panel
-
Enter the necessary authentication properties to connect to Rebilly.
Start by setting the Profile connection property to the location of the Rebilly Profile on disk (e.g. C:\profiles\Rebilly.apip). Next, set the ProfileSettings connection property to the connection string for Rebilly (see below).
Rebilly API Profile Settings
Generate an API Key in Rebilly by navigating to Automations > Integrations > Custom Integrations > API Keys and selecting Secret as the type.
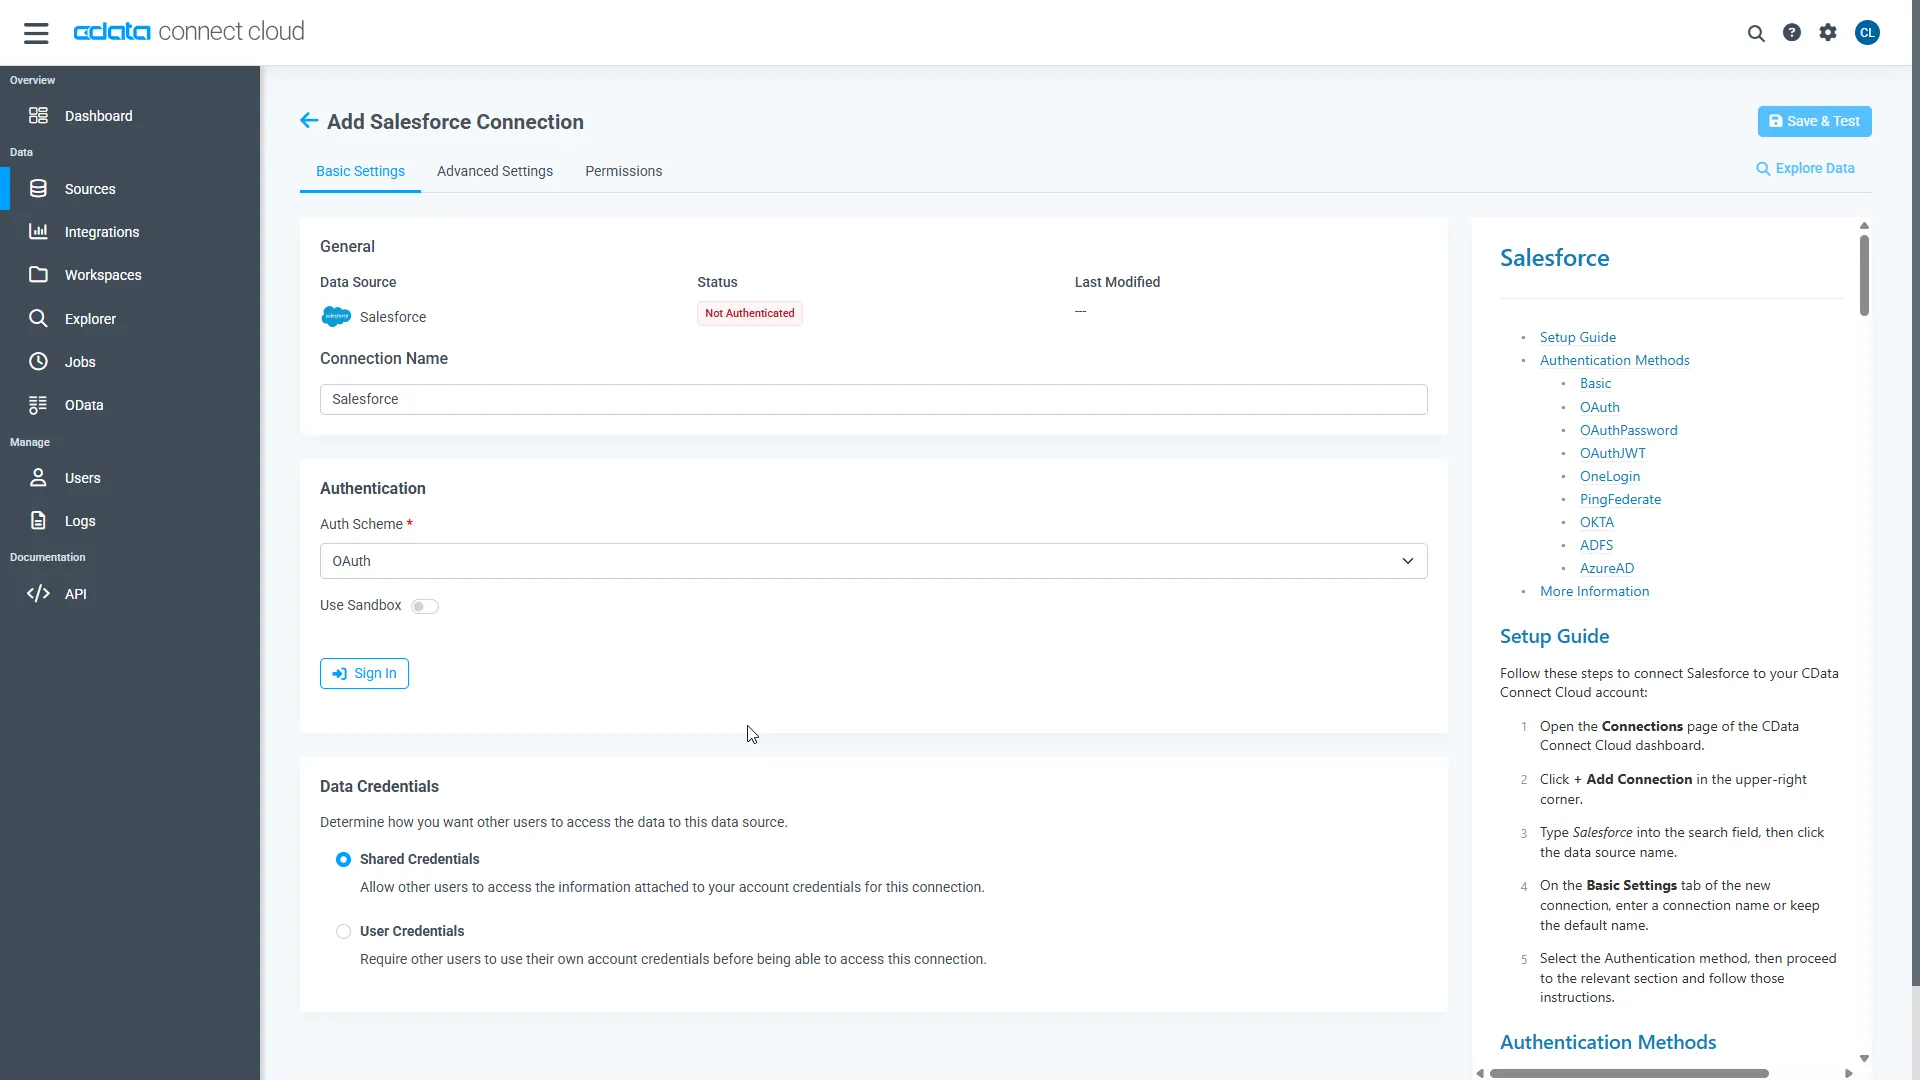
- Click Save & Test
-
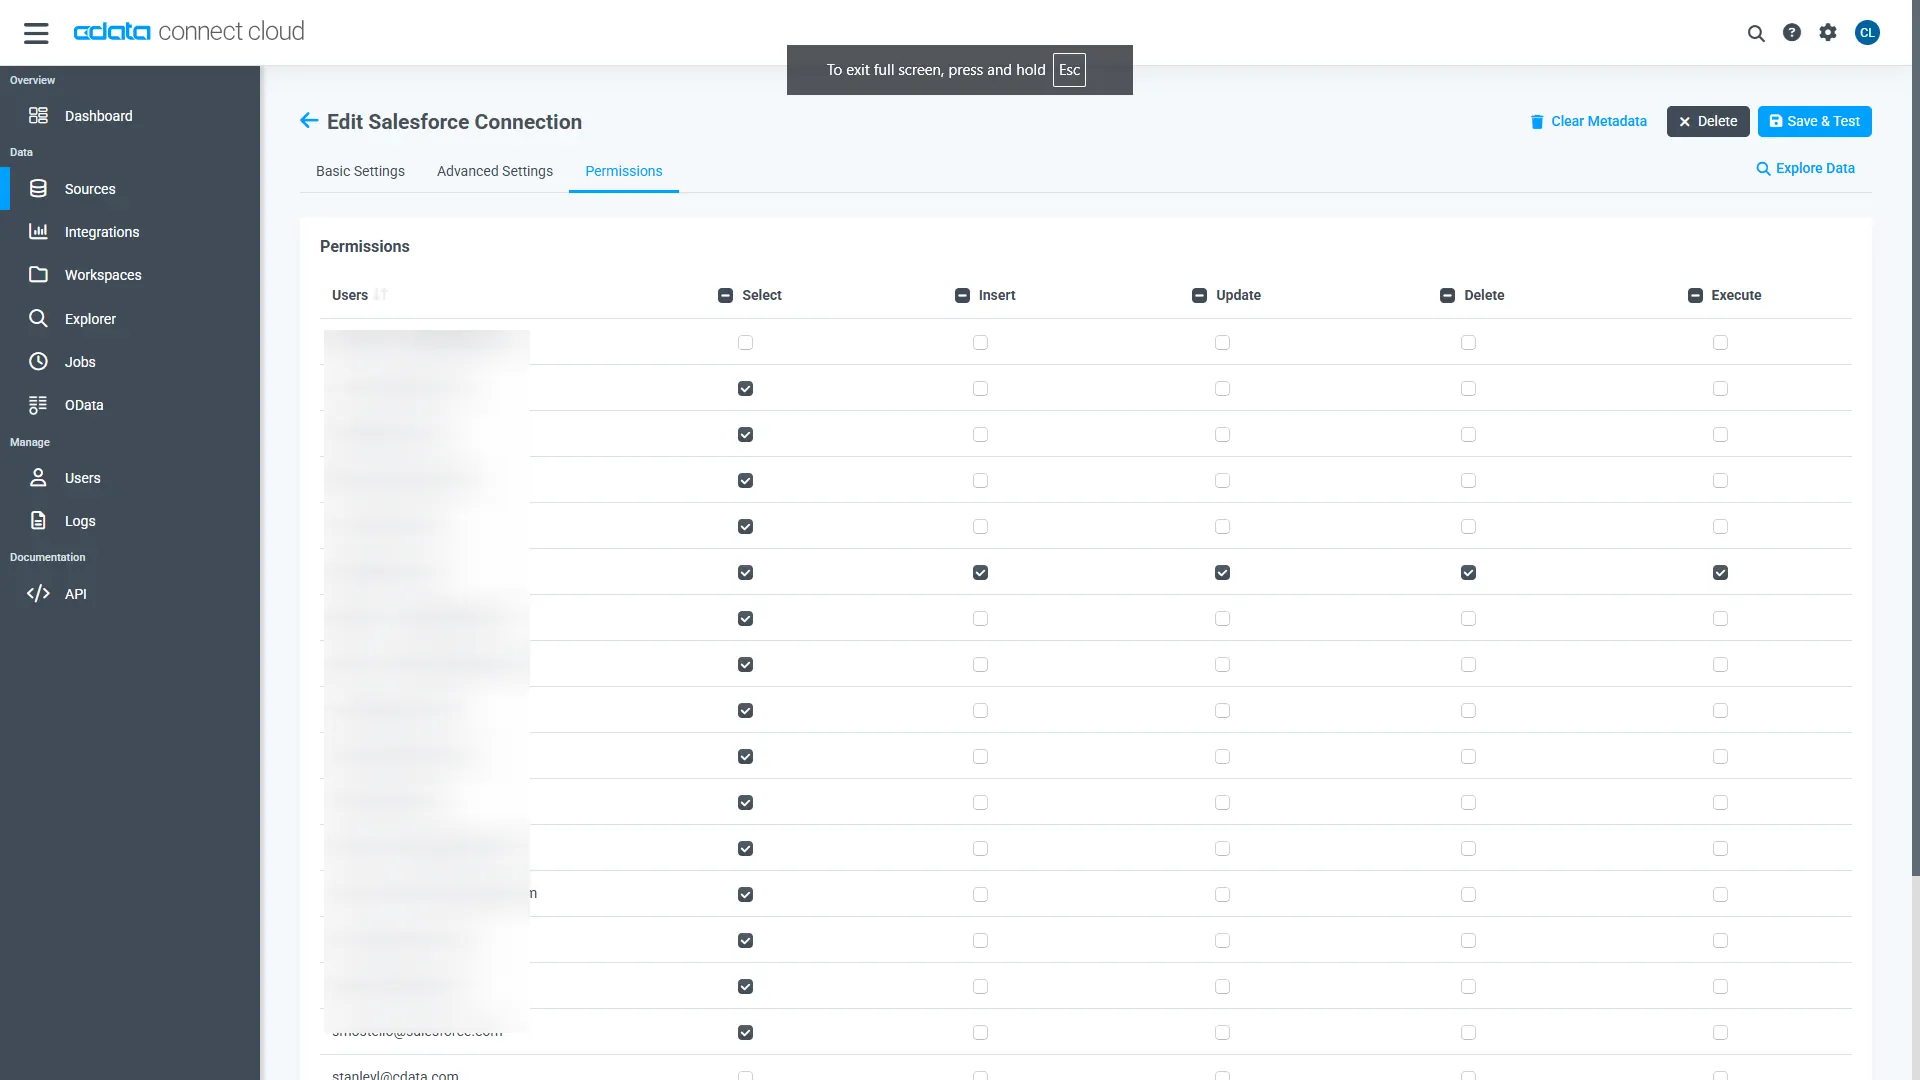
Navigate to the Permissions tab in the Add Rebilly Connection page and update the User-based permissions.
Add a Personal Access Token
When connecting to Connect AI through the REST API, the OData API, or the Virtual SQL Server, a Personal Access Token (PAT) is used to authenticate the connection to Connect AI. It is best practice to create a separate PAT for each service to maintain granularity of access.
- Click on the Gear icon () at the top right of the Connect AI app to open the settings page.
- On the Settings page, go to the Personal Access Tokens section and click Create PAT.
-
Give the PAT a name and click Create.
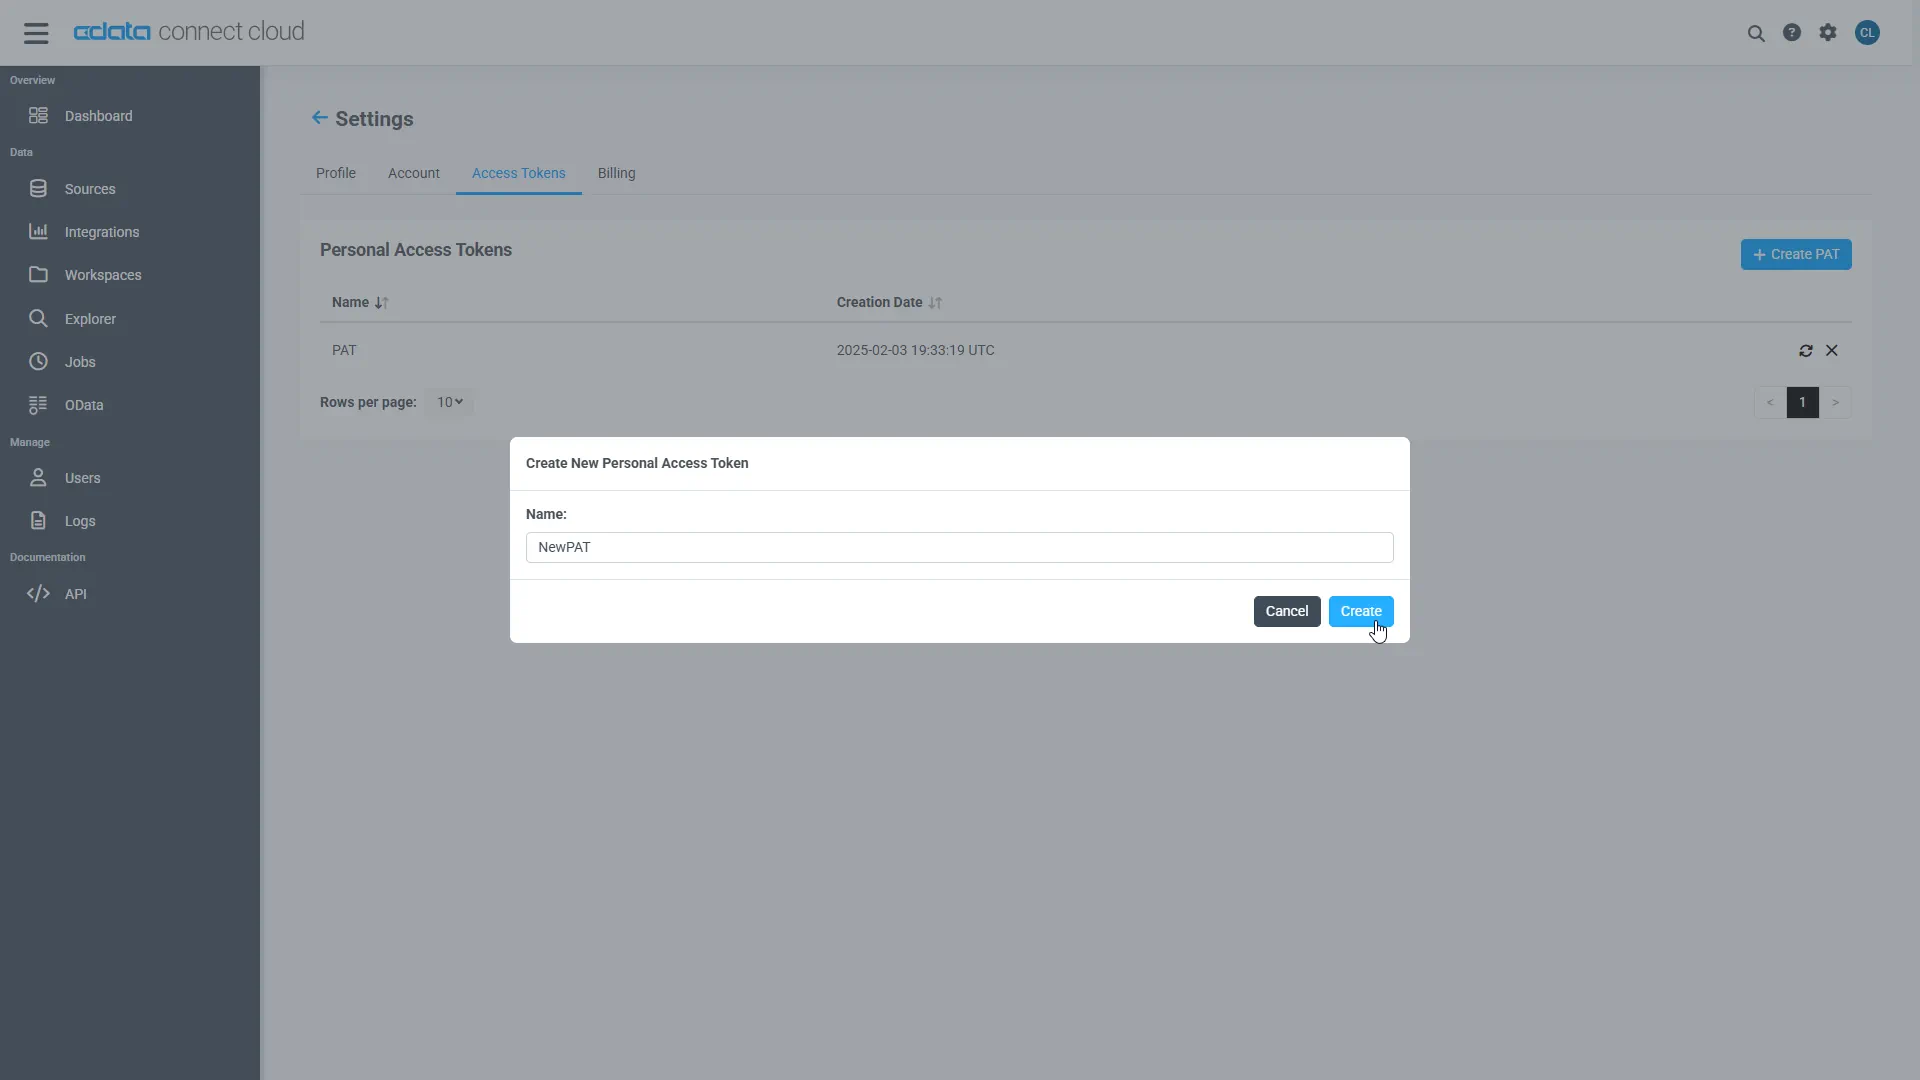
- The personal access token is only visible at creation, so be sure to copy it and store it securely for future use.
Configure Rebilly Endpoints for Jitterbit
After connecting to Rebilly, create a virtual schema for your desired table(s).
-
Navigate to the Virtual Schemas page and click Add to create a new Virtual Schema (or select an existing virtual schema).
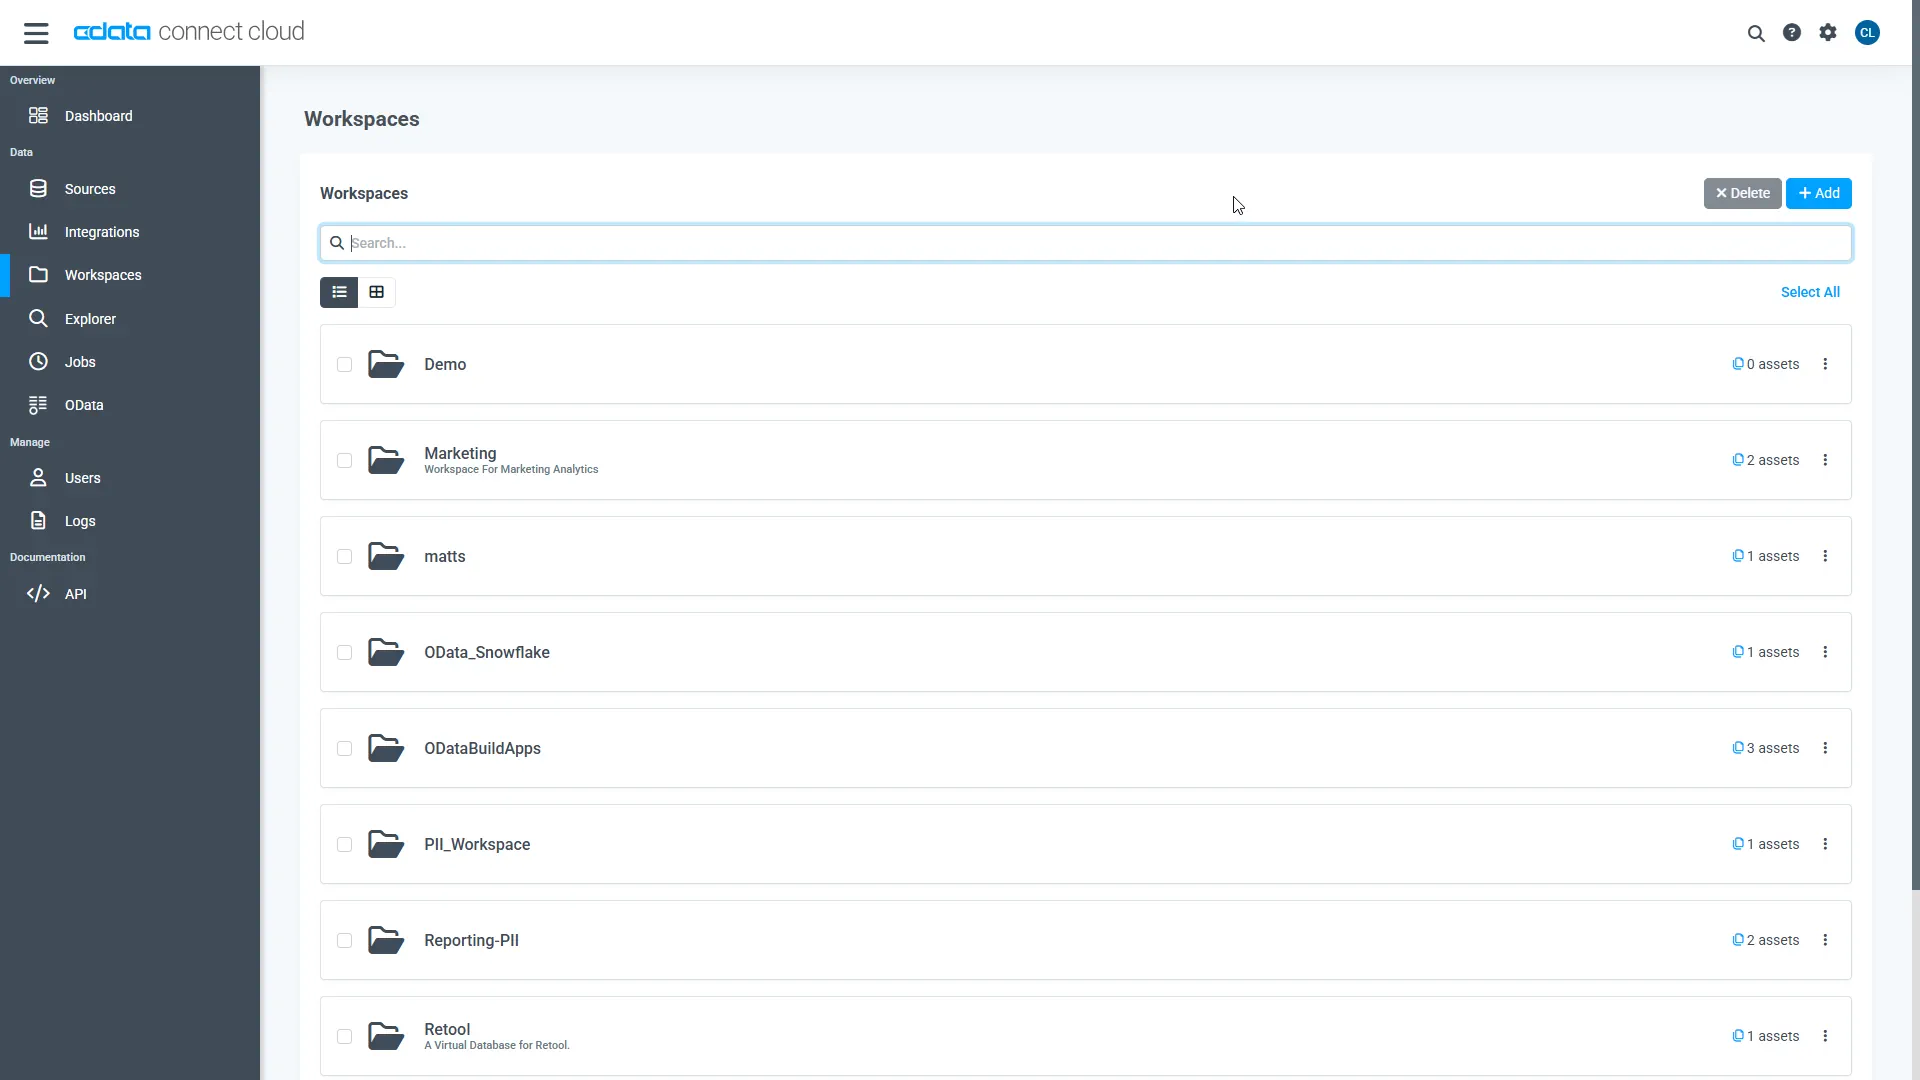
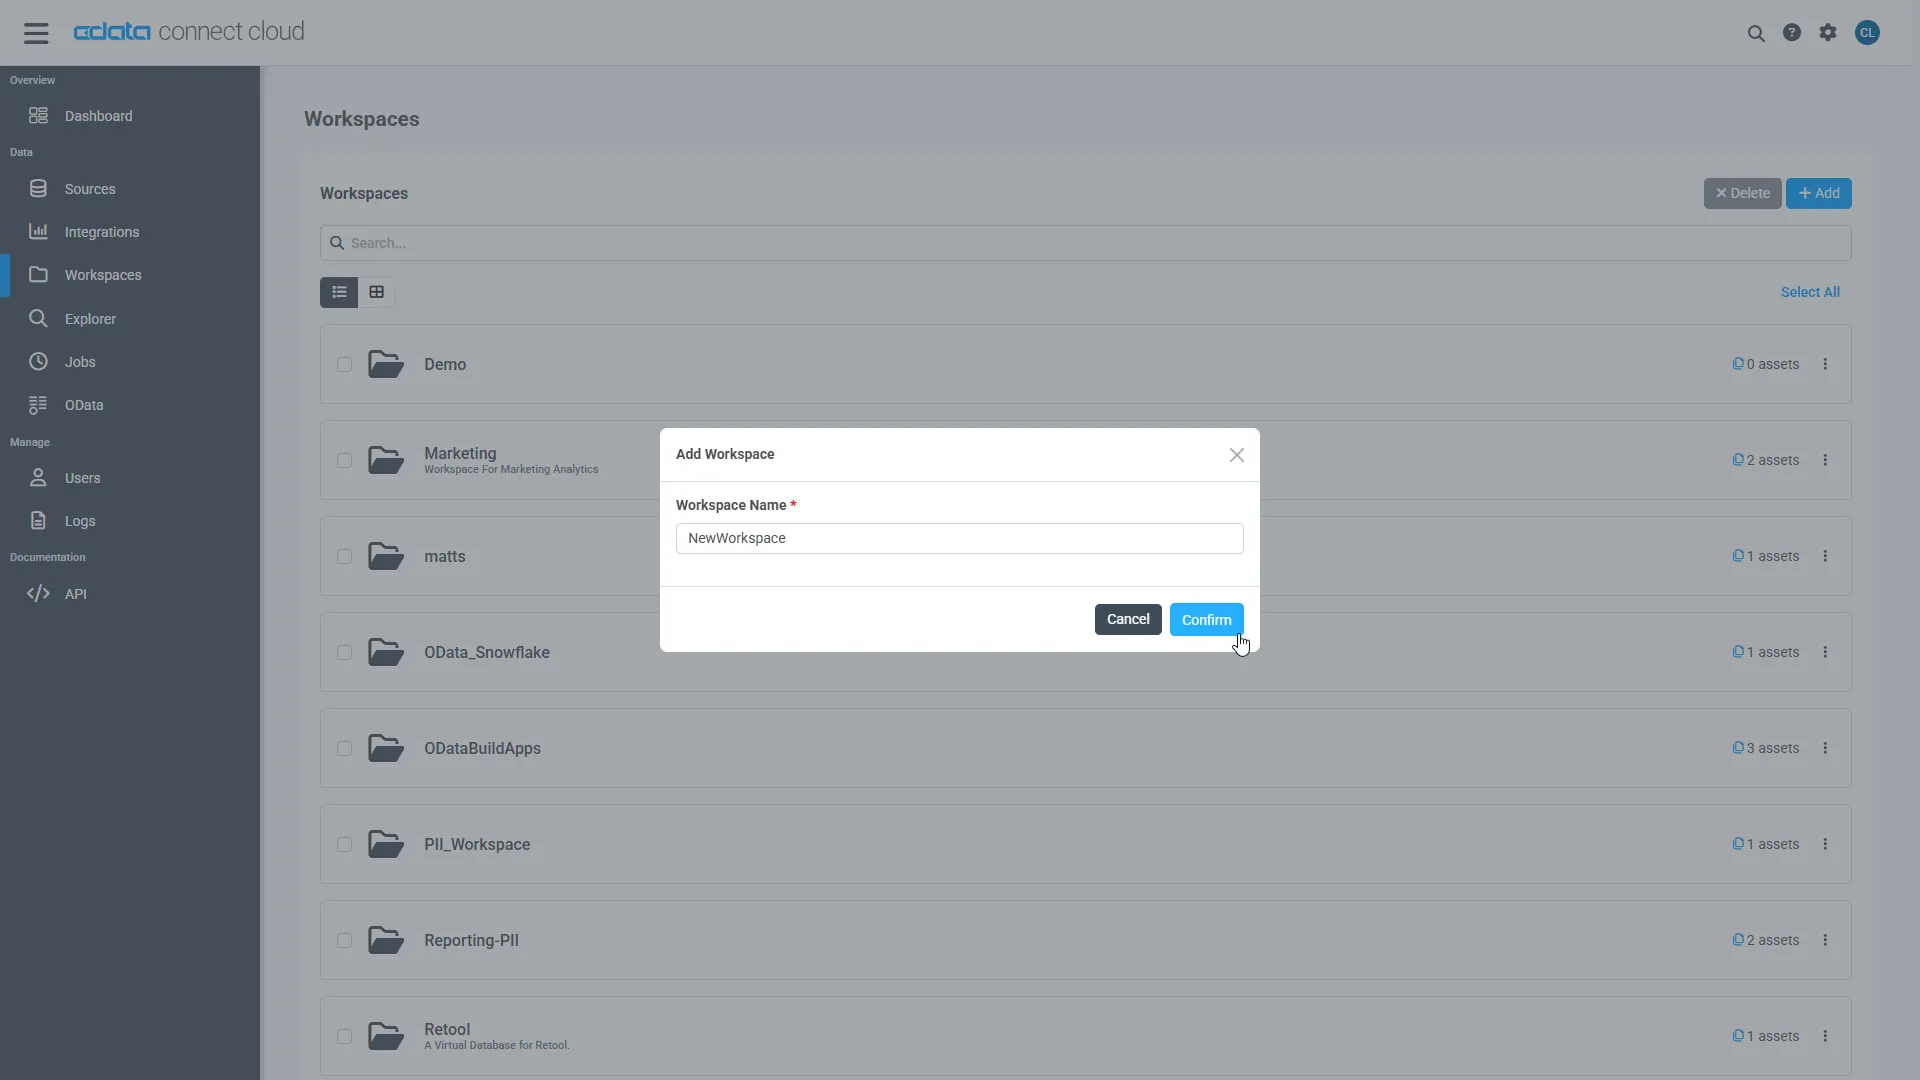
- Click Add to add new assets to the Virtual Schema.
-
Select the Rebilly connection (e.g. API1) and click Next.
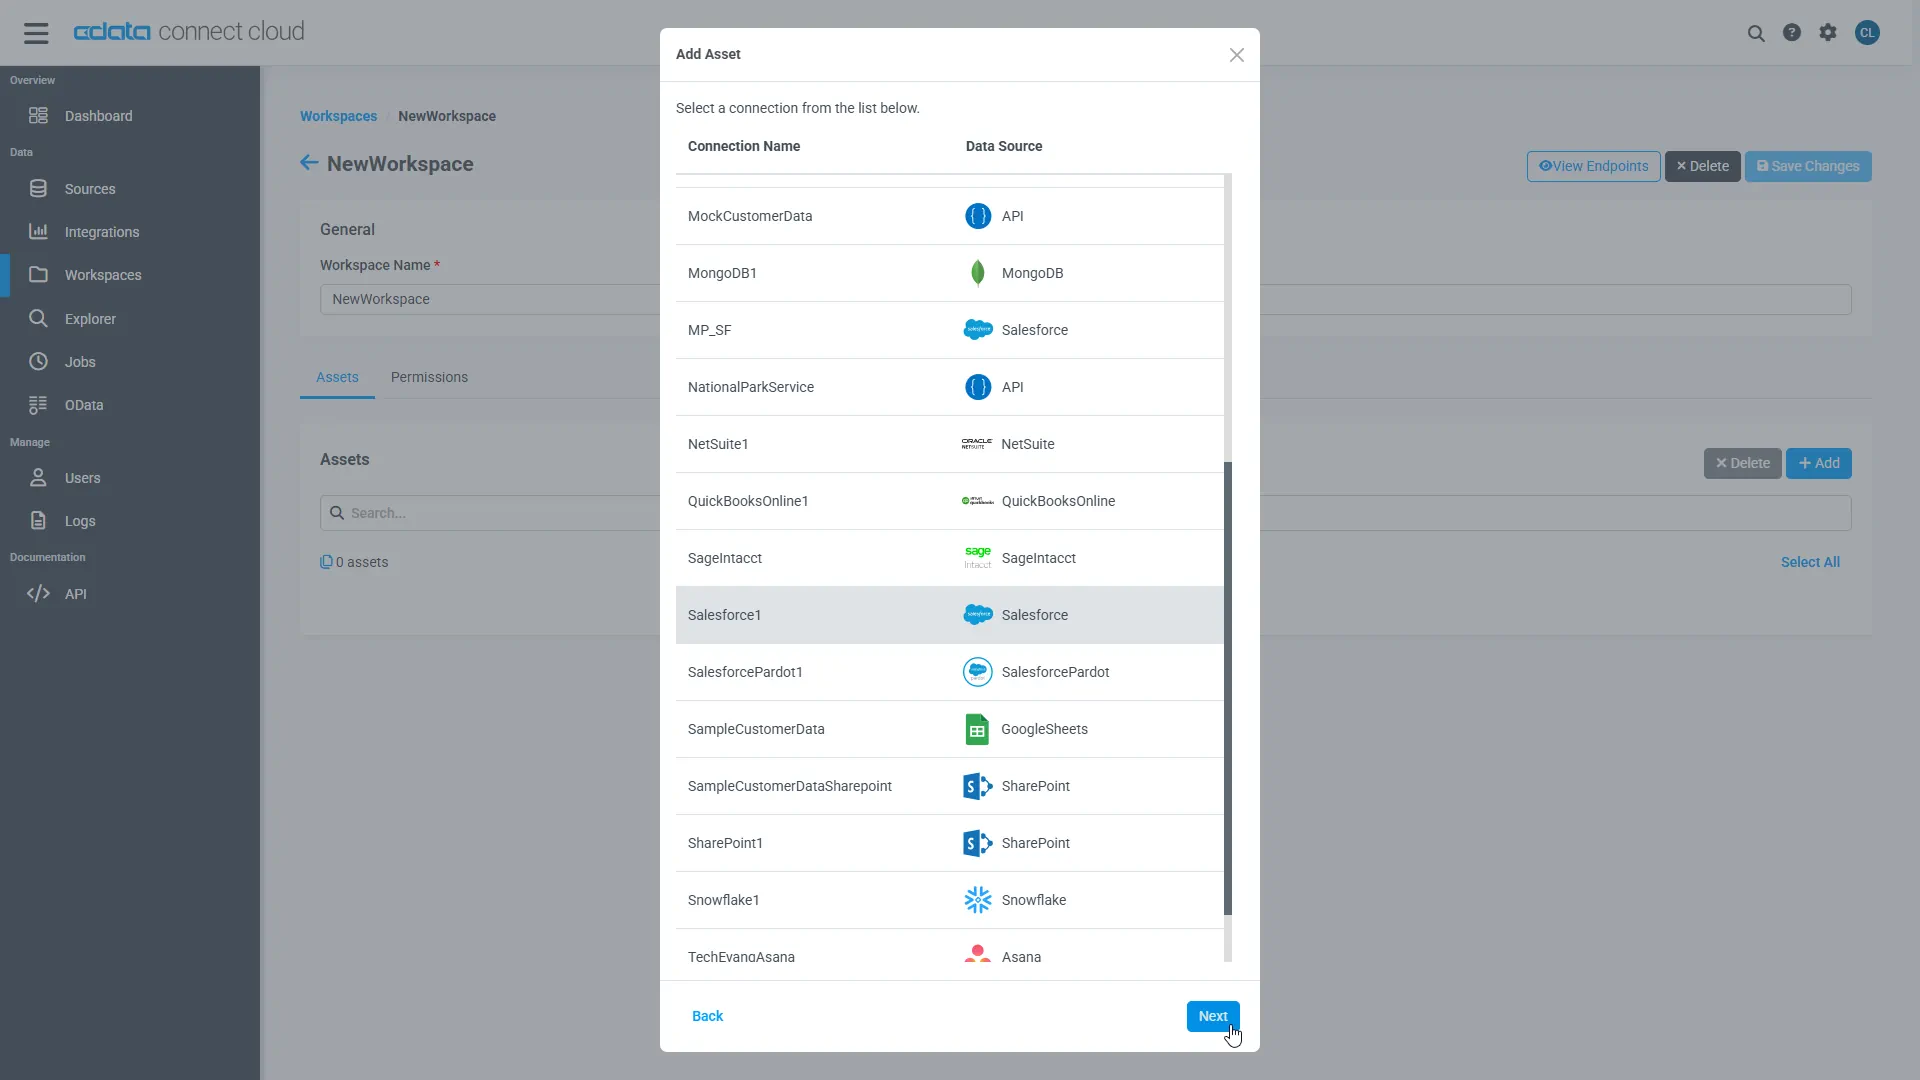
-
Select the table(s) you wish to work with and click Confirm.
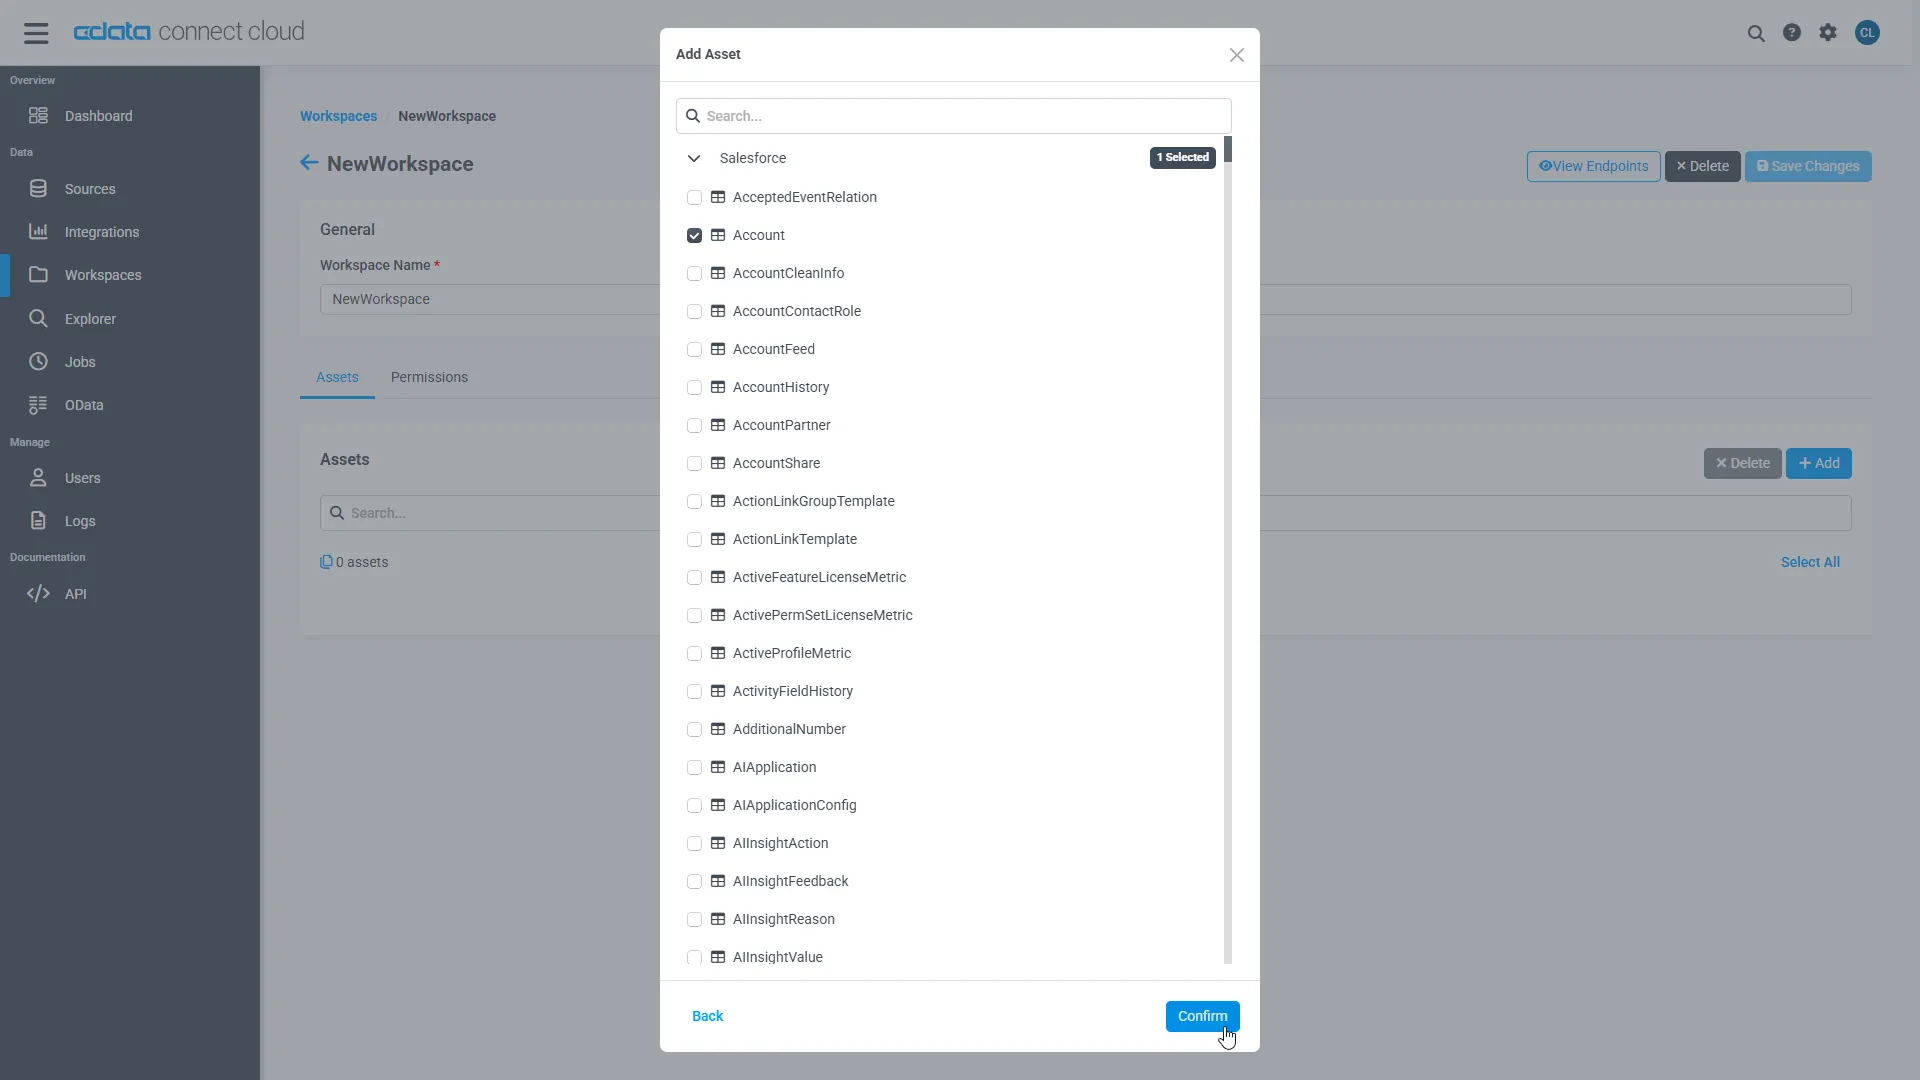
- Make note of the OData Service URL for your virtual schema, e.g. https://cloud.cdata.com/api/odata/{virtual_schema_name}
With the connection, PAT, and Virtual Schema configured, you are ready to connect to Rebilly data from Jitterbit.
Connect to Rebilly from Jitterbit using Connect AI
To establish a connection from Jitterbit to CData Connect AI using the OData protocol, follow these steps.
- Log into Jitterbit.
- Create a project in Cloud Studio and provide a workspace environment for it.
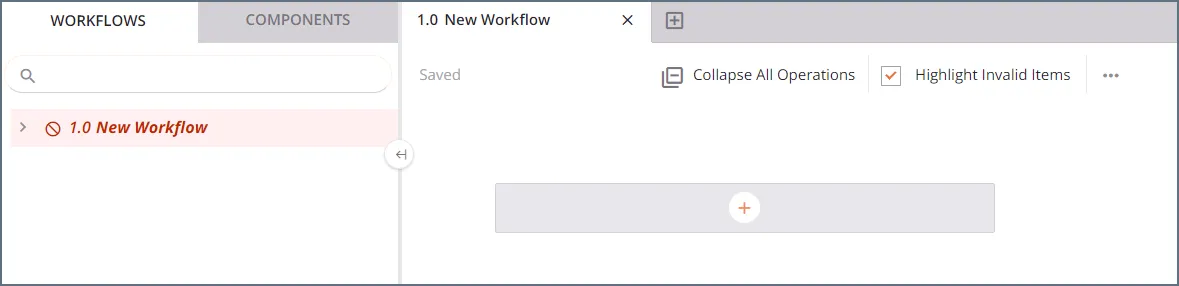
- click Sources and enter OData in the search bar.
- Select the OData connector.
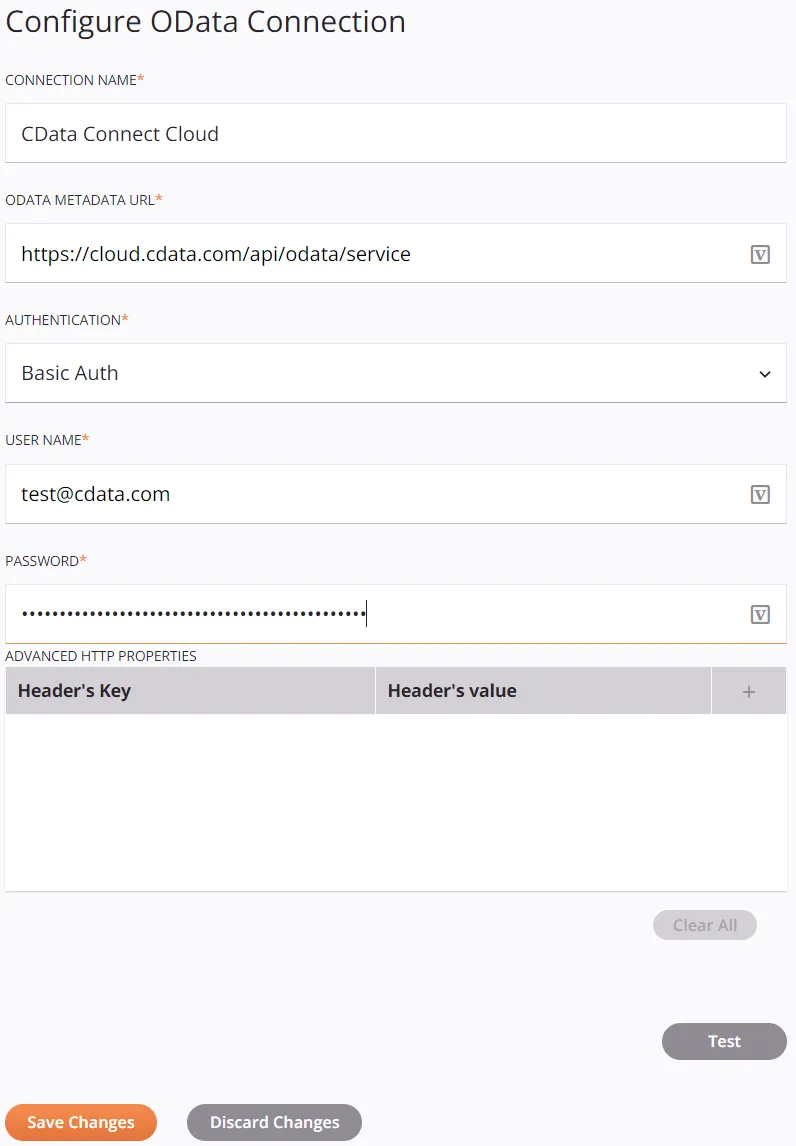
- Enter the OData connection properties.
- Connection Name: enter a connection name.
- OData Metadata URL: enter https://cloud.cdata.com/api/odata/{virtual_schema_name}.
- Authentication: select Basic Auth.
- User Name: enter your CData Connect AI username. This is displayed in the top-right corner of the CData Connect AI interface. For example, [email protected].
- Password: enter the PAT you generated on the Settings page.
- Click Test to test the connection, and then click Save Changes.
- Choose the operation you want to perform and drag it to the workflow in your project.
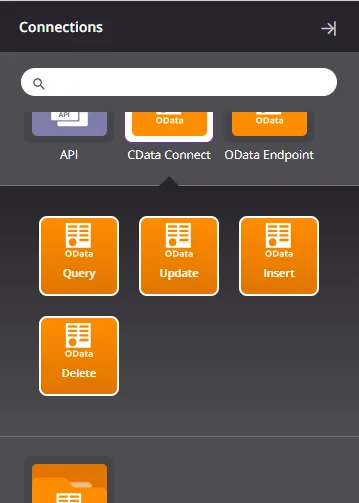
- Double-click the query operation to see all the tables and derived views available in your OData endpoint.
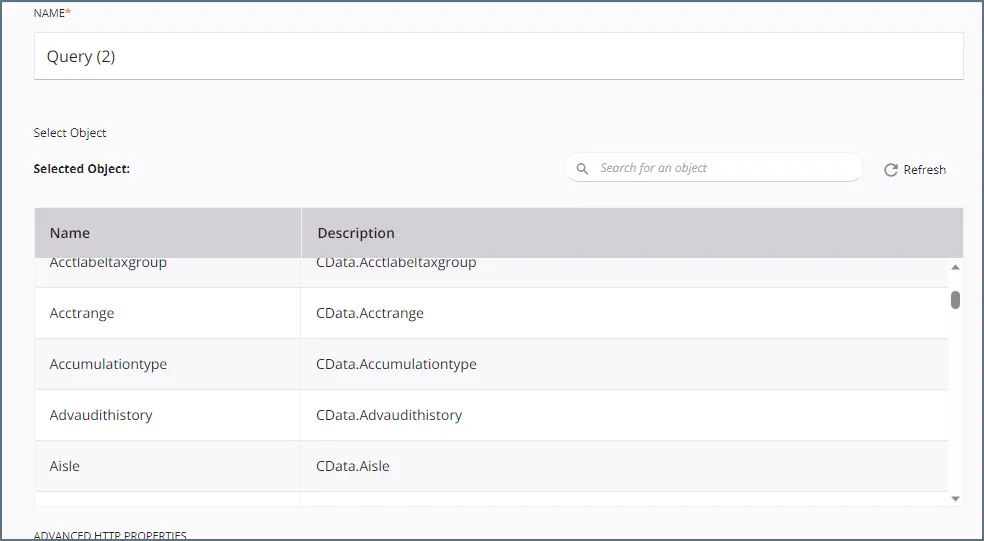
- Select a table and configure the query.
You can now transform and integrate live Rebilly data in Jitterbit.
Get CData Connect AI
To get live data access to hundreds of SaaS, Big Data, and NoSQL sources directly from Jitterbit, try CData Connect AI today!