





Query Recurly Data as a SQL Server Database in Node.js

You can use CData Connect AI to query Recurly data through a SQL Server interface. Follow the procedure below to create a virtual database for Recurly in Connect AI and start querying using Node.js.
CData Connect AI provides a pure MySQL, cloud-to-cloud interface for Recurly, allowing you to easily query live Recurly data in Node.js — without replicating the data to a natively supported database. As you query data in Node.js, CData Connect AI pushes all supported SQL operations (filters, JOINs, etc) directly to Recurly, leveraging server-side processing to quickly return Recurly data.
Configure Recurly Connectivity for NodeJS
Connectivity to Recurly from NodeJS is made possible through CData Connect AI. To work with Recurly data from NodeJS, we start by creating and configuring a Recurly connection.
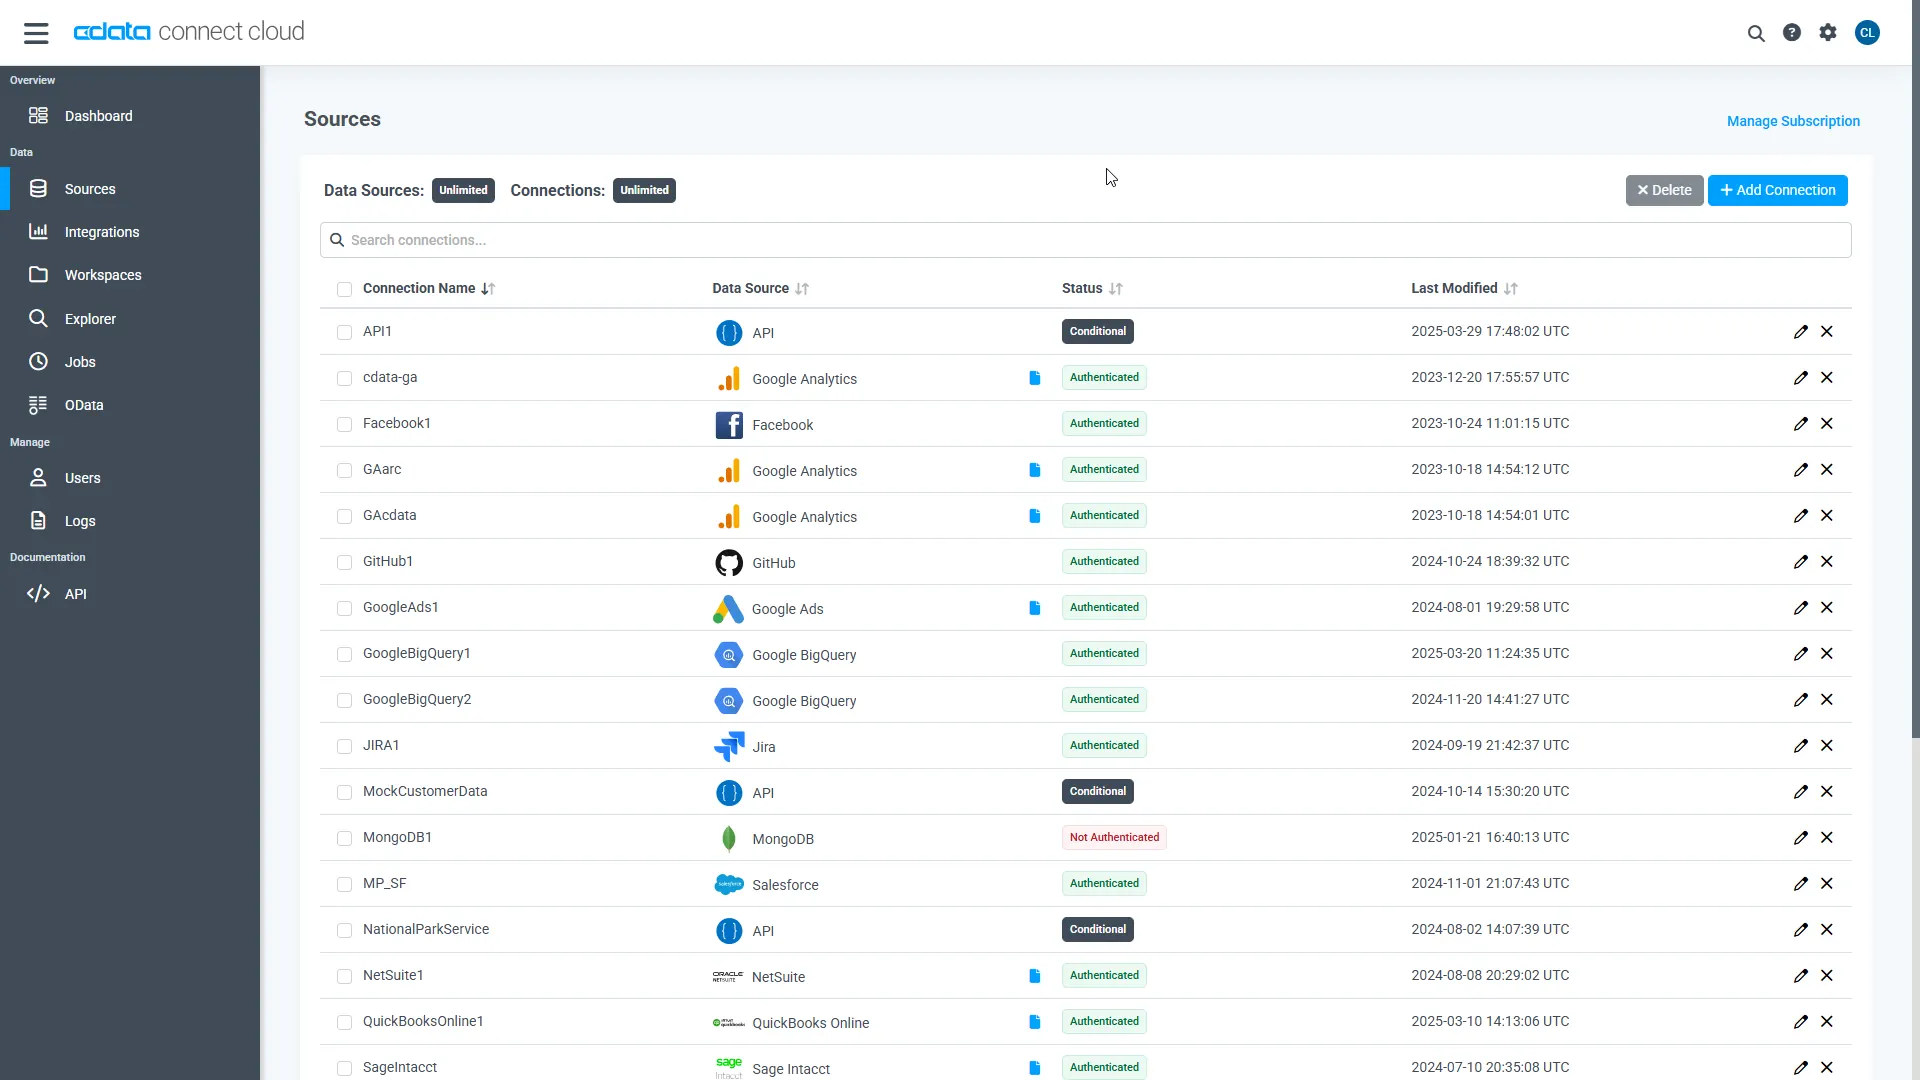
- Log into Connect AI, click Sources, and then click Add Connection
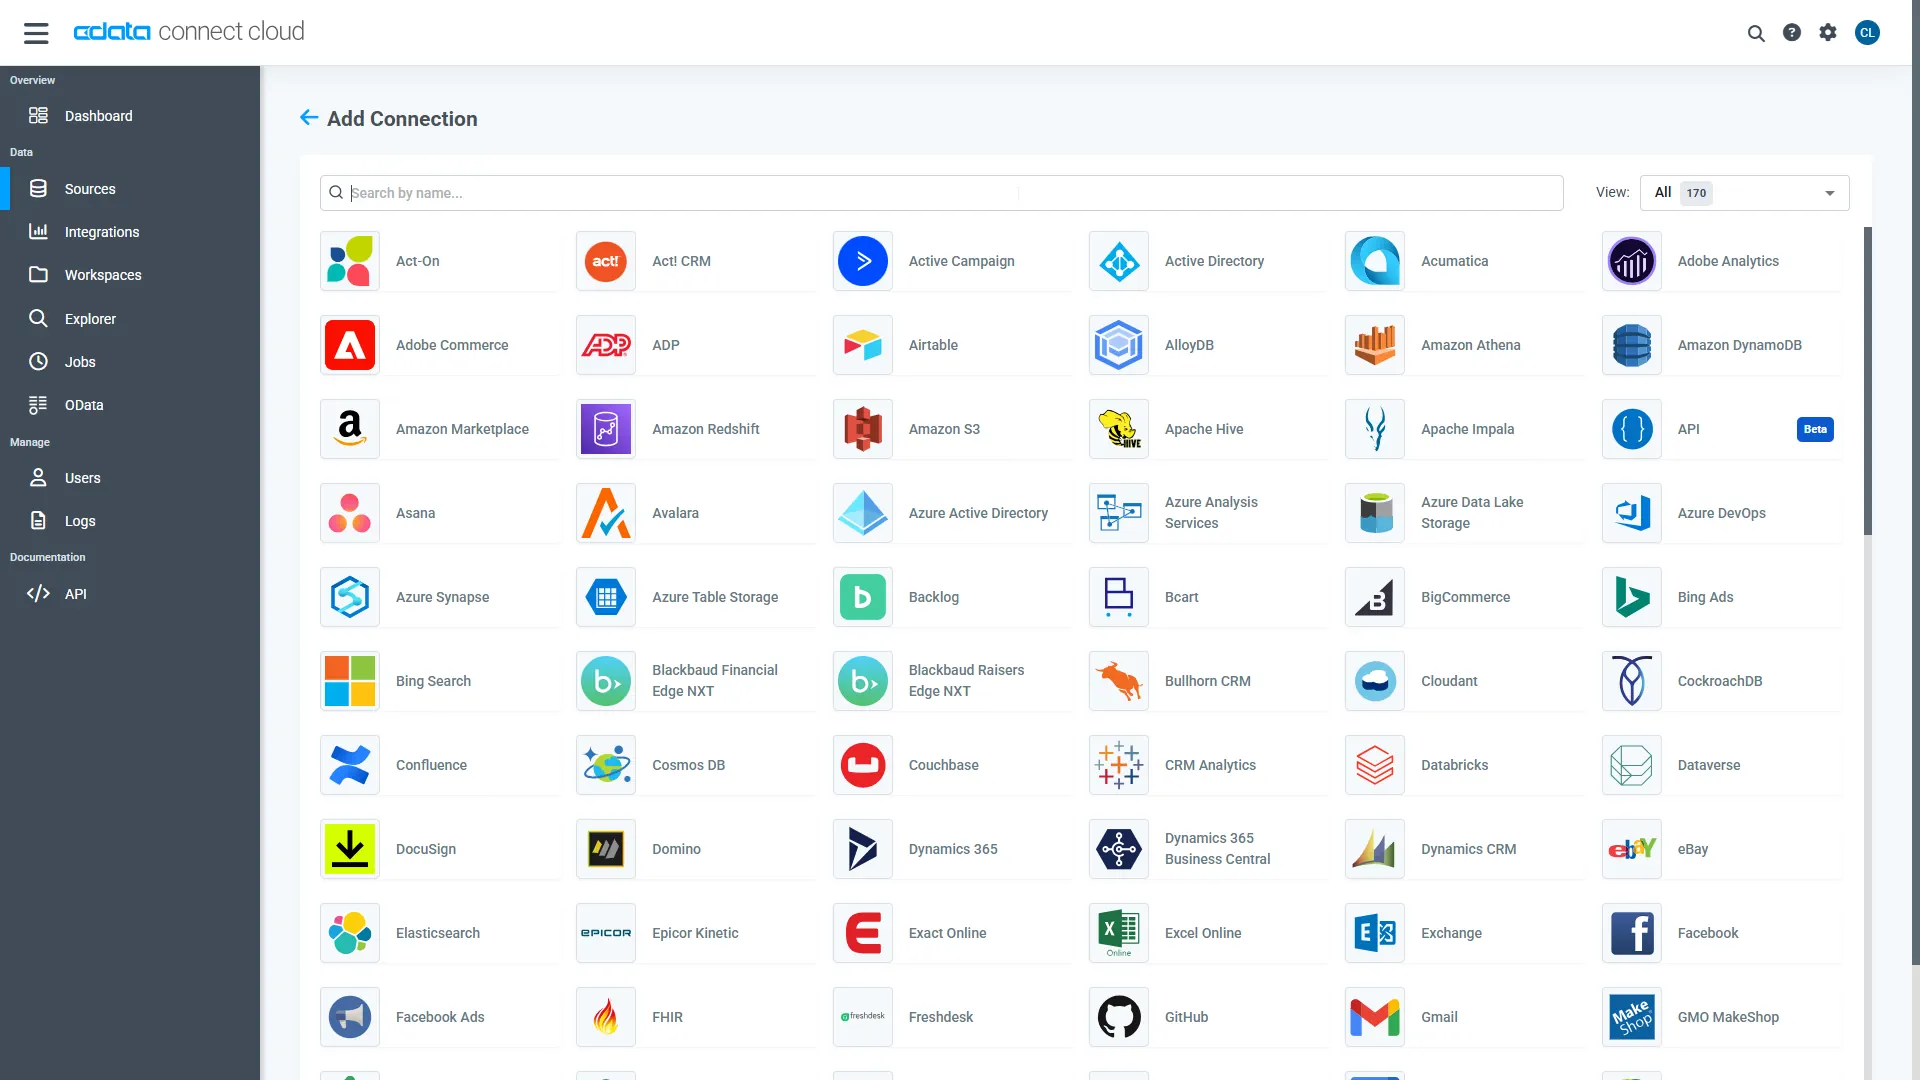
- Select "Recurly" from the Add Connection panel
-
Enter the necessary authentication properties to connect to Recurly.
Start by setting the Profile connection property to the location of the Recurly Profile on disk (e.g. C:\profiles\Recurly.apip). Next, set the ProfileSettings connection property to the connection string for Recurly (see below).
Recurly API Profile Settings
Navigate to Integrations > API Credentials in your Recurly account and click Add Private API Key.
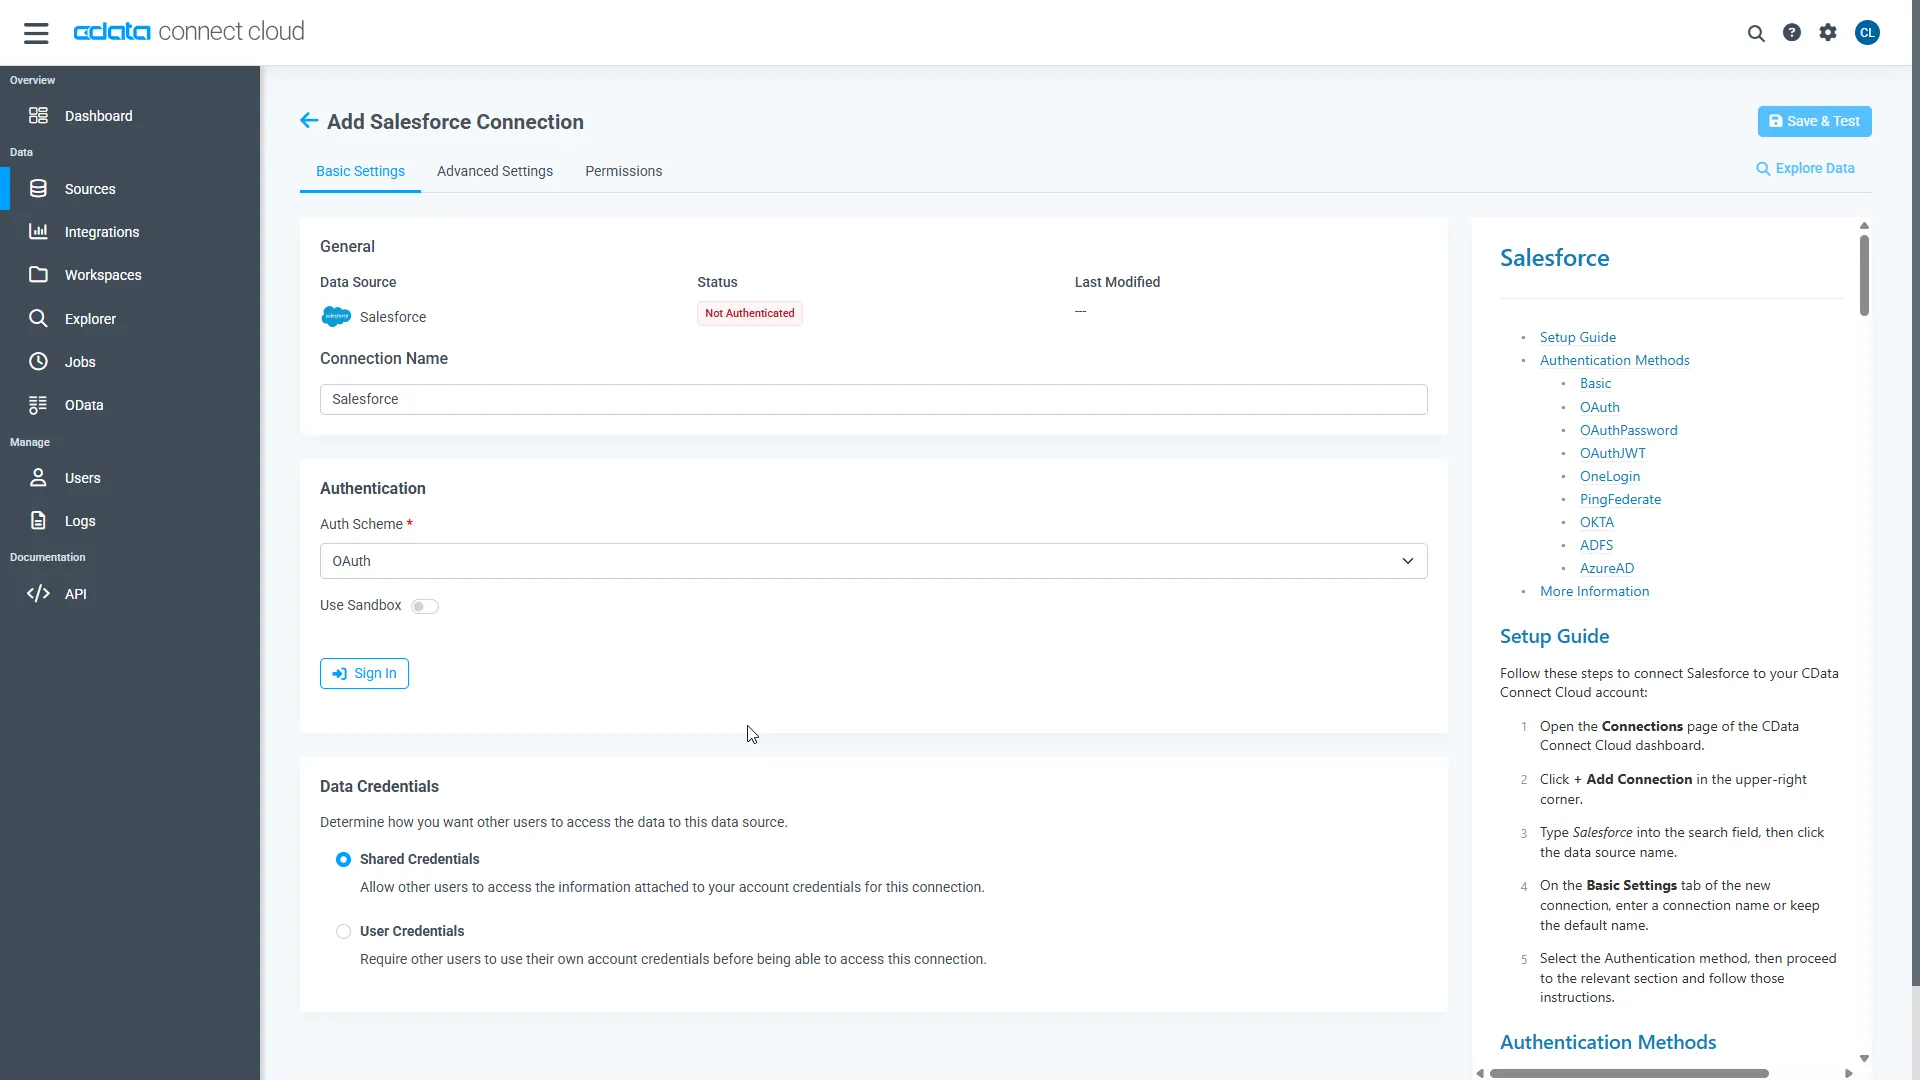
- Click Save & Test
-
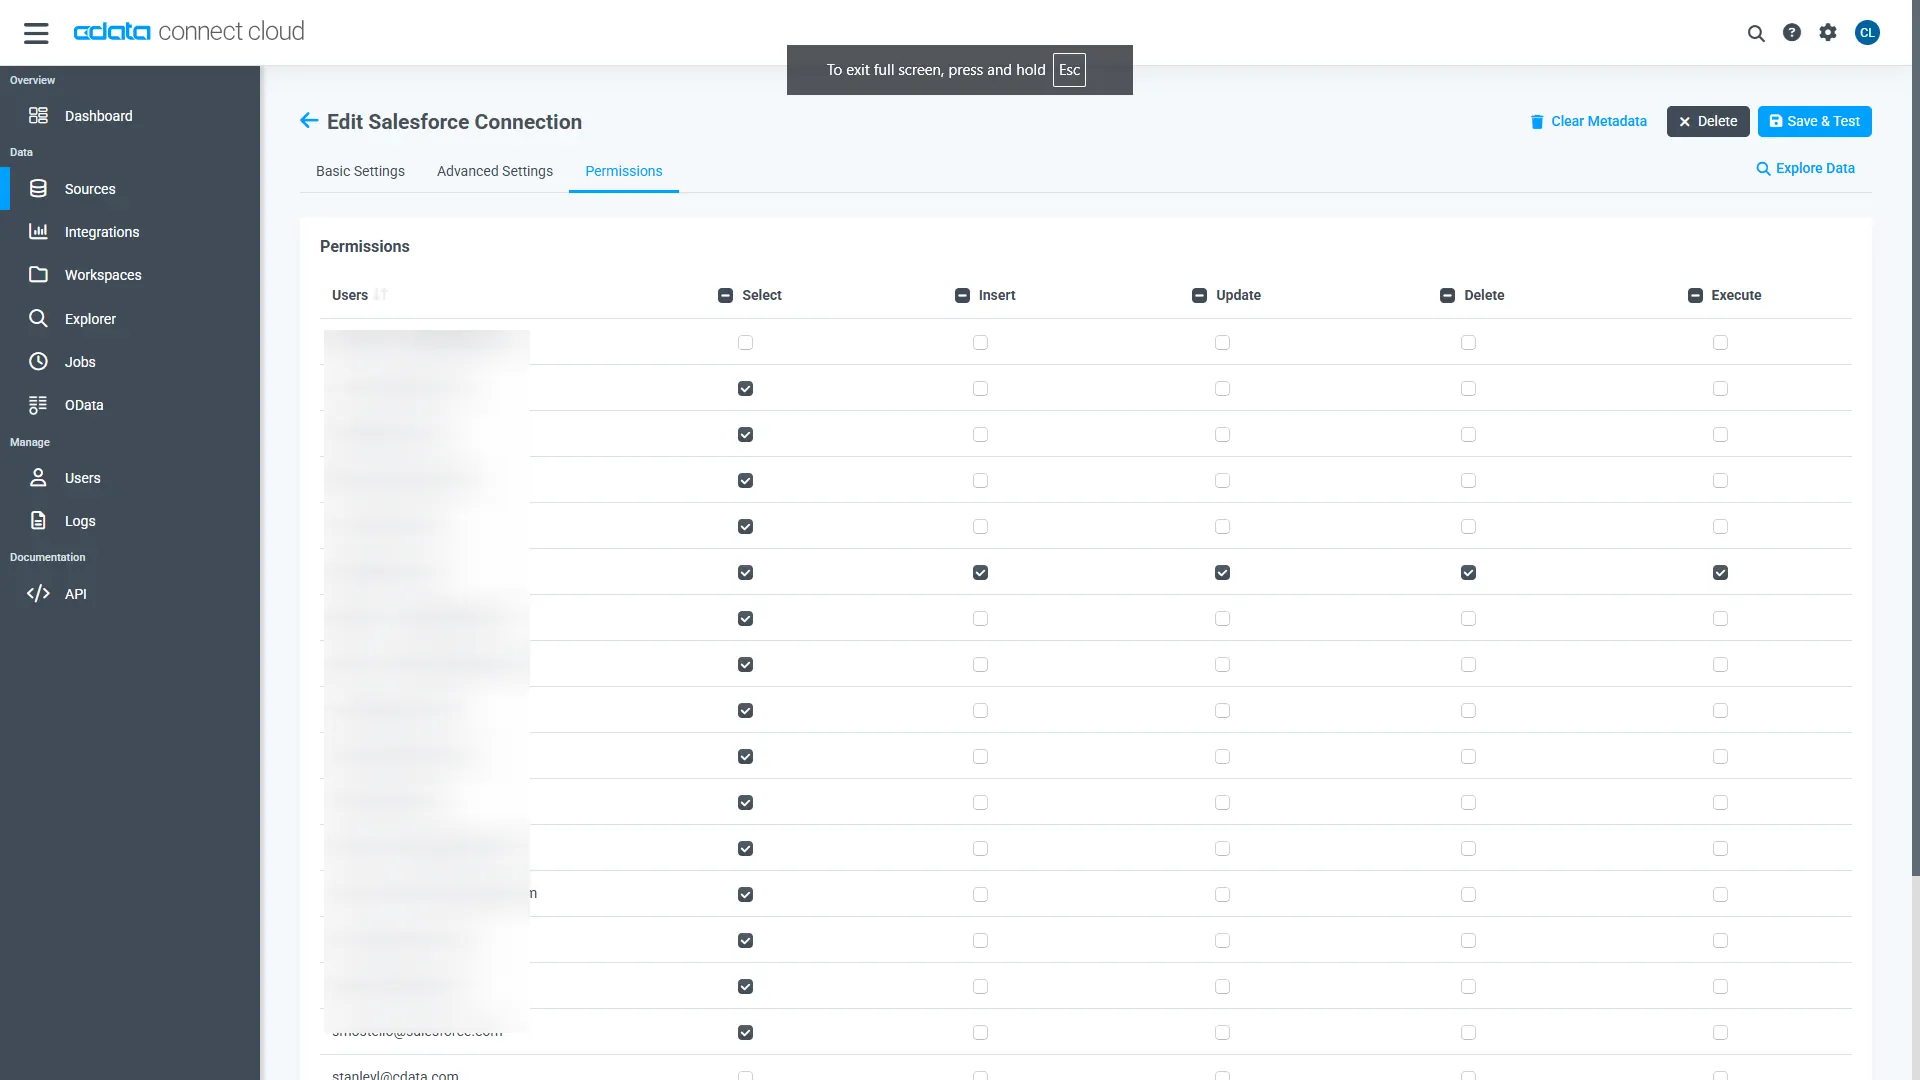
Navigate to the Permissions tab in the Add Recurly Connection page and update the User-based permissions.
Add a Personal Access Token
When connecting to Connect AI through the REST API, the OData API, or the Virtual SQL Server, a Personal Access Token (PAT) is used to authenticate the connection to Connect AI. It is best practice to create a separate PAT for each service to maintain granularity of access.
- Click on the Gear icon () at the top right of the Connect AI app to open the settings page.
- On the Settings page, go to the Personal Access Tokens section and click Create PAT.
-
Give the PAT a name and click Create.
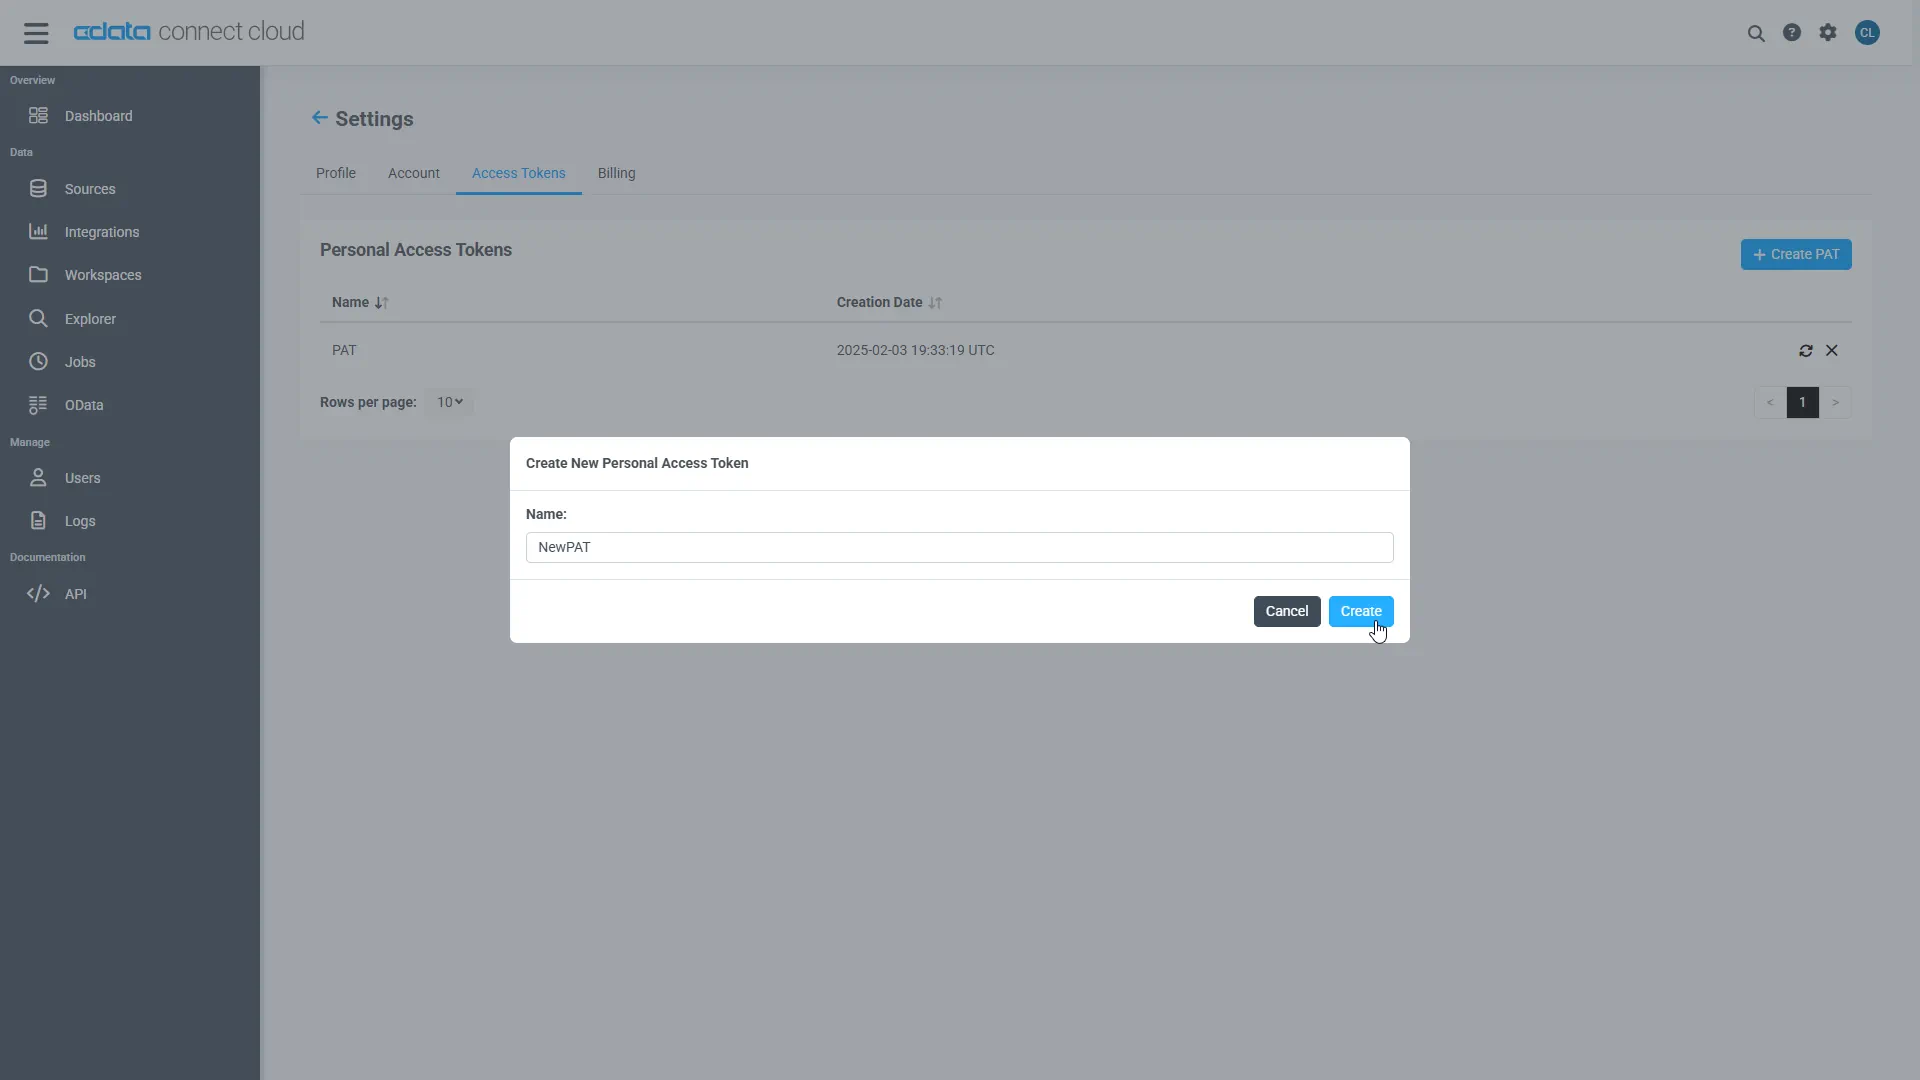
- The personal access token is only visible at creation, so be sure to copy it and store it securely for future use.
With the connection configured and a PAT generated, you are ready to connect to Recurly data from Node.js.
Query Recurly from Node.js
The following example shows how to define a connection and execute queries to Recurly with the SQL Server module. You will need the following information:
- server: tds.cdata.com
- port: 14333
- user: a Connect AI user (e.g. [email protected])
- password: the PAT for the above user
- database: The connection you configured for Recurly (API1)
Connect to Recurly data and start executing queries with the code below:
var sql = require('mssql')
var config = {
    server: 'tds.cdata.com',
    port: 14333,
    user: '[email protected]', //update me
    password: 'CONNECT_USER_PAT', //update me
    options: {
        encrypt: true,
        database: 'API1'
    }
}

sql.connect(config, err => {
    if(err){
        throw err ;
    }
    new sql.Request().query('SELECT * FROM AccountAcquisition', (err, result) => {
        console.dir(result)
    })

});

sql.on('error', err => {
    console.log("SQL Error: " ,err);
})