





Integrating GitHub Copilot with Sage X3 Cloud data via CData CLI

GitHub Copilot gives developers direct access to a powerful AI agent that can autonomously complete multi-step tasks, reading and modifying files, running shell commands, managing pull requests on GitHub, and delegating work to specialized custom agents, all driven by natural language instructions. Its support for agent skills and custom instructions makes it well-suited for structured, tool-driven workflows, making it a natural fit for connecting to external data sources through CData CLI.
By describing your data goals in plain language, GitHub Copilot can handle the full setup process, from driver configuration and license activation to connection creation and query execution, without manual intervention at each step.
This article details step-by-step directions for how to connect Sage X3 Cloud data to GitHub Copilot through CData CLI.
Prerequisites
-
GitHub Copilot installed (either Terminal CLI or IDE Extension)
- Terminal CLI: Installing GitHub Copilot CLI - GitHub Docs
- IDE Extension (VS Code): GitHub Copilot - AI coding built your way
- CData CLI installed
- Access to Sage X3 Cloud
Step 1: Download the skill (one-time setup)
Always use CData CLI with the official skill.
-
The official CData CLI Skill is available on GitHub and installs through npx skills in the terminal:
npx skills add CDataSoftware/cli-skills -
Follow the prompts in the terminal to install for GitHub Copilot.

Step 2: Set up the project directory
Create a project directory to contain all project files. Below are examples for using GitHub Copilot in either the Terminal or an IDE Extension (VS Code):
GitHub Copilot in Terminal CLI
Navigate to the directory within the terminal and start a session with the copilot command:


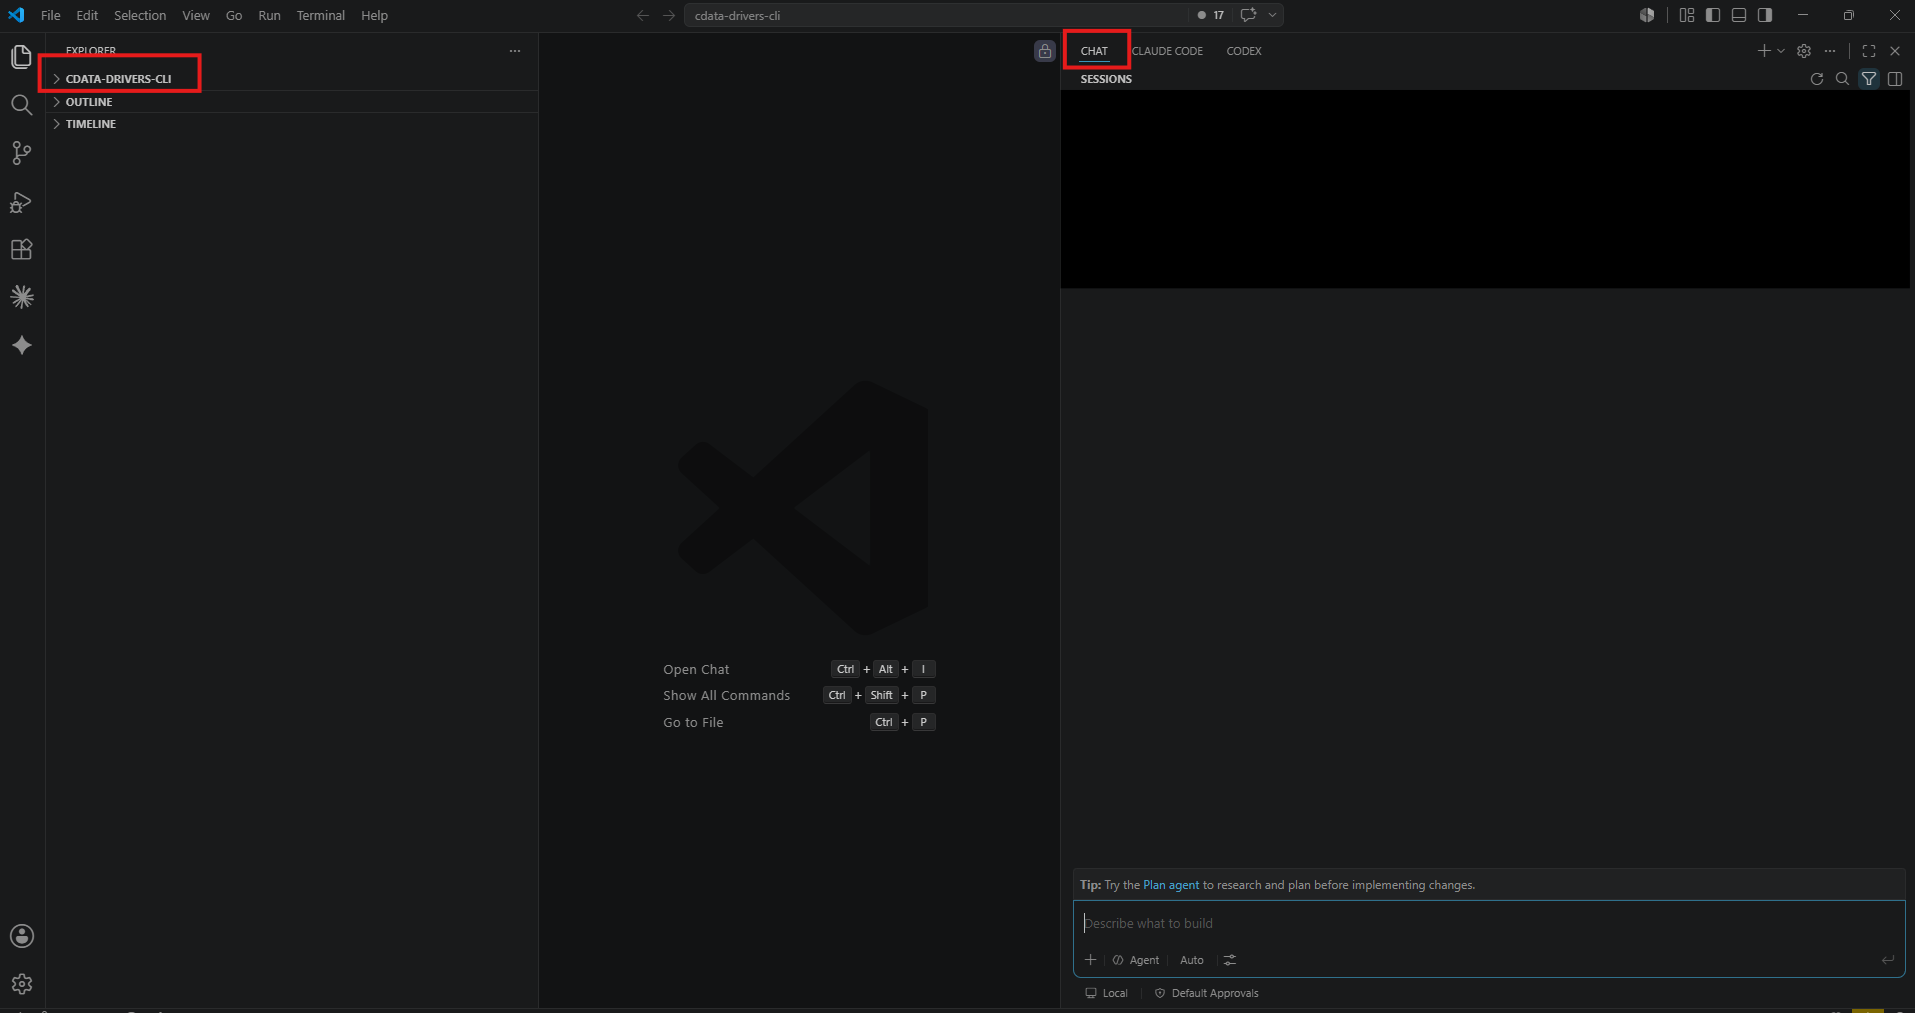
GitHub Copilot in VS Code
Select the working directory within VS Code and start a chat session:
Step 3: Establish the driver and connection
Describe what you want to accomplish in this session with the CLI and Sage X3 Cloud data.
I would like to build a command line app that connects to Sage X3 Cloud data and checks for updates from BPCUSTOMER. Make sure to include data from important columns like BPCNUM and BPCNAM.
This prompt automatically loads the skill and kicks off the following process. You can always manually prompt the agent for each of the following steps.
- Driver setup: GitHub Copilot checks for an existing CData Sage X3 Cloud driver, or searches and downloads a new one:
cdatacli drivers listcdatacli drivers search --driver "Sage X3 Cloud"cdatacli drivers download --artifact-id <artifact-id>- Activation: Activate the Sage X3 Cloud driver with a single command for a trial or full license:
cdatacli drivers activate "Sage X3 Cloud" --name "<name>" --email "<email>" --trialcdatacli drivers activate "Sage X3 Cloud" --name "<name>" --email "<email>" --key "<product-key>"- Establish the Sage X3 Cloud connection: Check for existing Sage X3 Cloud connections or create a new one:
cdatacli connection listcdatacli connection create --driver SageX3Cloud --name my_sagex3cloud_connection --connectionstring "Prop1=value1;Prop2=value2;..."- Create a Sage X3 Cloud skill (if applicable): CData provides driver instructions for popular sources. You can use these to generate a source-specific skill file that guides the agent through best practices for the driver.
-
Run the following command and save the output to your skills directory, either at the project level or globally. (Note: If you receive a "No instructions available for Sage X3 Cloud" message, no driver instructions exist for this source. You can continue using the main driver skill.)
cdatacli drivers skill "Sage X3 Cloud" > ~/skills/cdata-sagex3cloud/SKILL.md
Step 4: Query Sage X3 Cloud data
With the CData driver fully configured, your agent can now execute queries and write code against live Sage X3 Cloud data:
cdatacli query sql --connection my_sagex3cloud_connection --sql "SELECT * FROM BPCUSTOMER"Query Sage X3 Cloud data directly from your terminal with CData CLI
GitHub Copilot and CData CLI together give your AI coding agent a direct path to live Sage X3 Cloud data without custom middleware, scheduled syncs, or manual setup at each step. Describe your goal in plain language, and the agent handles driver configuration, connection setup, and query execution from start to finish in the terminal.
Download the free CData CLI and start a free, 30-day trial of the CData JDBC Driver for Sage X3 Cloud today.
Ready to get started?
Download a free trial of the Sage X3 Cloud Driver to get started:
Download NowLearn more:
 Sage X3 Cloud JDBC Driver
Rapidly create and deploy powerful Java applications that integrate with Sage X3 Cloud.