





Visualize Sage X3 Cloud Data in TIBCO Spotfire through OData

OData is a major protocol enabling real-time communication among cloud-based, mobile, and other online applications. The CData API Server provides Sage X3 Cloud data to OData consumers like TIBCO Spotfire. This article shows how to use the API Server and Spotfire's built-in support for OData to access Sage X3 Cloud data in real time.
Set Up the API Server
If you have not already done so, download the CData API Server. Once you have installed the API Server, follow the steps below to begin producing secure Sage X3 Cloud OData services:
Connect to Sage X3 Cloud
To work with Sage X3 Cloud data from TIBCO Spotfire, we start by creating and configuring a Sage X3 Cloud connection. Follow the steps below to configure the API Server to connect to Sage X3 Cloud data:
- First, navigate to the Connections page.
-
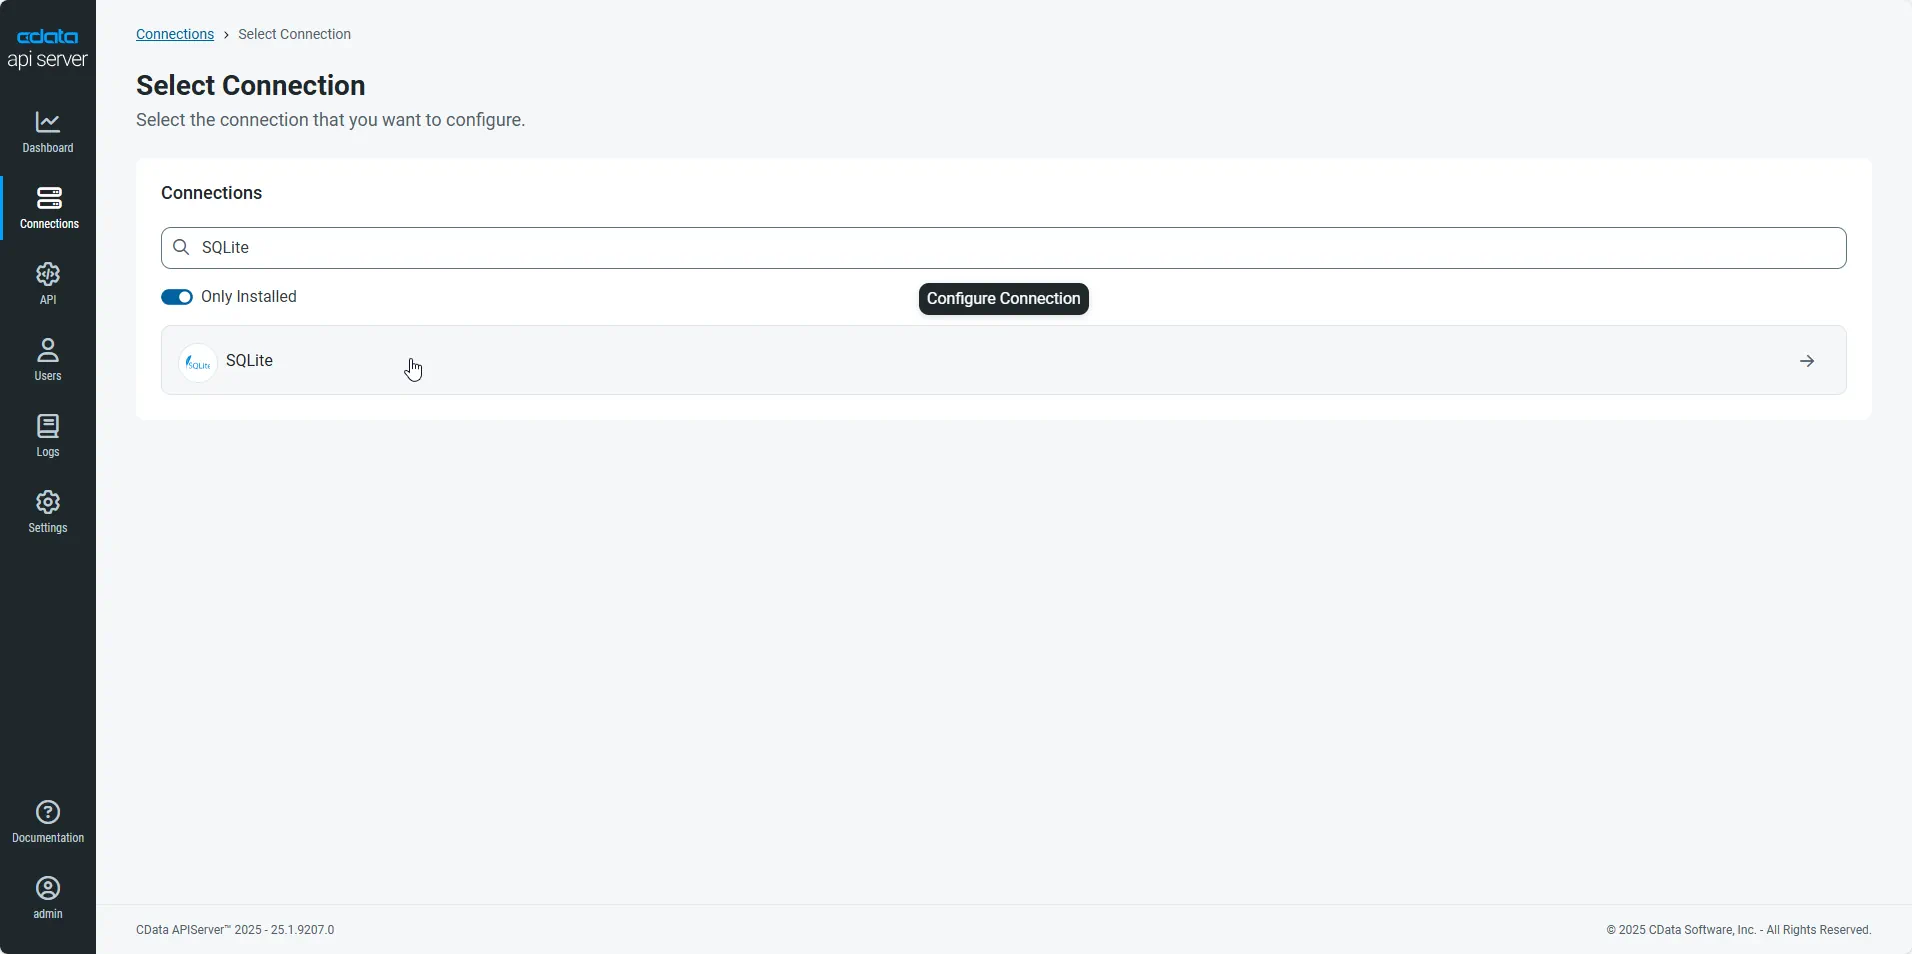
Click Add Connection and then search for and select the Sage X3 Cloud connection.
-
Enter the necessary authentication properties to connect to Sage X3 Cloud.
Sage X3 Cloud uses the OAuth 2.0 Client Credentials flow, and an X-API-Key is also required for API access. Set AuthScheme to OAuth and specify the following connection properties:
- URL: The base URL of your Sage X3 Cloud instance.
- OAuthAccessTokenUrl: The OAuth token endpoint (e.g., https://your-auth-domain/oauth/token).
- OAuthClientId: Your OAuth application client ID.
- OAuthClientSecret: Your OAuth application client secret.
- Audience: The API audience value for the token request.
- XAPIKey: The X-API-Key provided by your Sage X3 Cloud administrator.
- Folder: The Sage X3 folder name (e.g., SEED). This folder is used as the default schema.
- Folders (optional): A comma-separated list of Sage X3 folders (e.g., SEED,PERF). Each folder is exposed as a separate schema, so you can query across folders with the Schema.Table syntax.
The driver obtains an access token with the Client Credentials flow and sends it with the X-API-Key on every API request. With InitiateOAuth set to GETANDREFRESH (the default), the driver acquires and refreshes the token automatically.
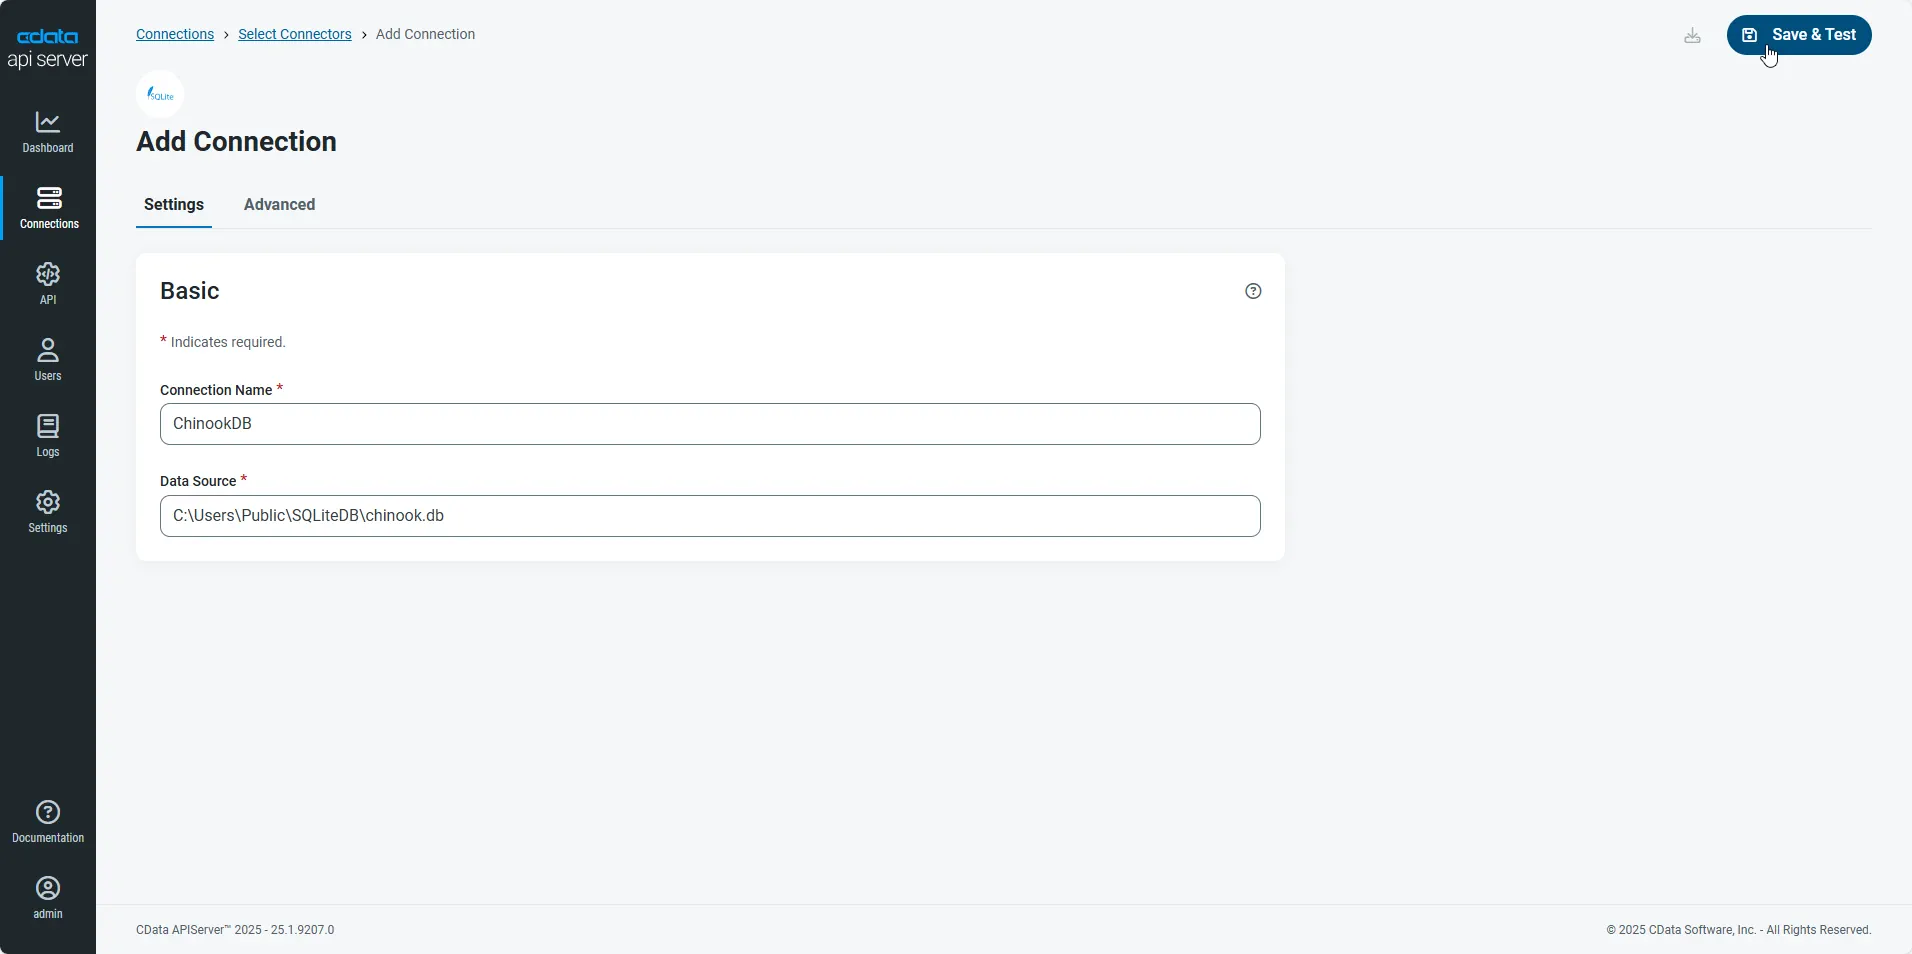
- After configuring the connection, click Save & Test to confirm a successful connection.
Configure API Server Users
Next, create a user to access your Sage X3 Cloud data through the API Server. You can add and configure users on the Users page. Follow the steps below to configure and create a user:
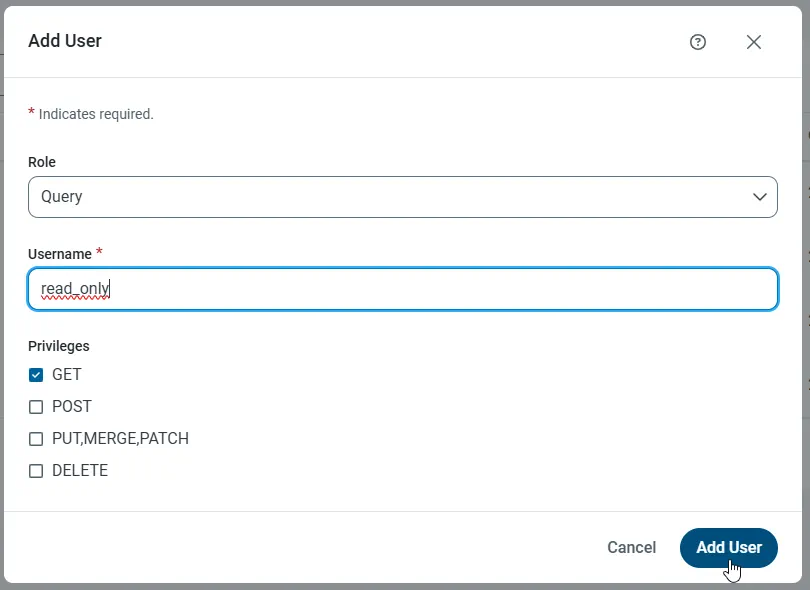
- On the Users page, click Add User to open the Add User dialog.
-
Next, set the Role, Username, and Privileges properties and then click Add User.
-
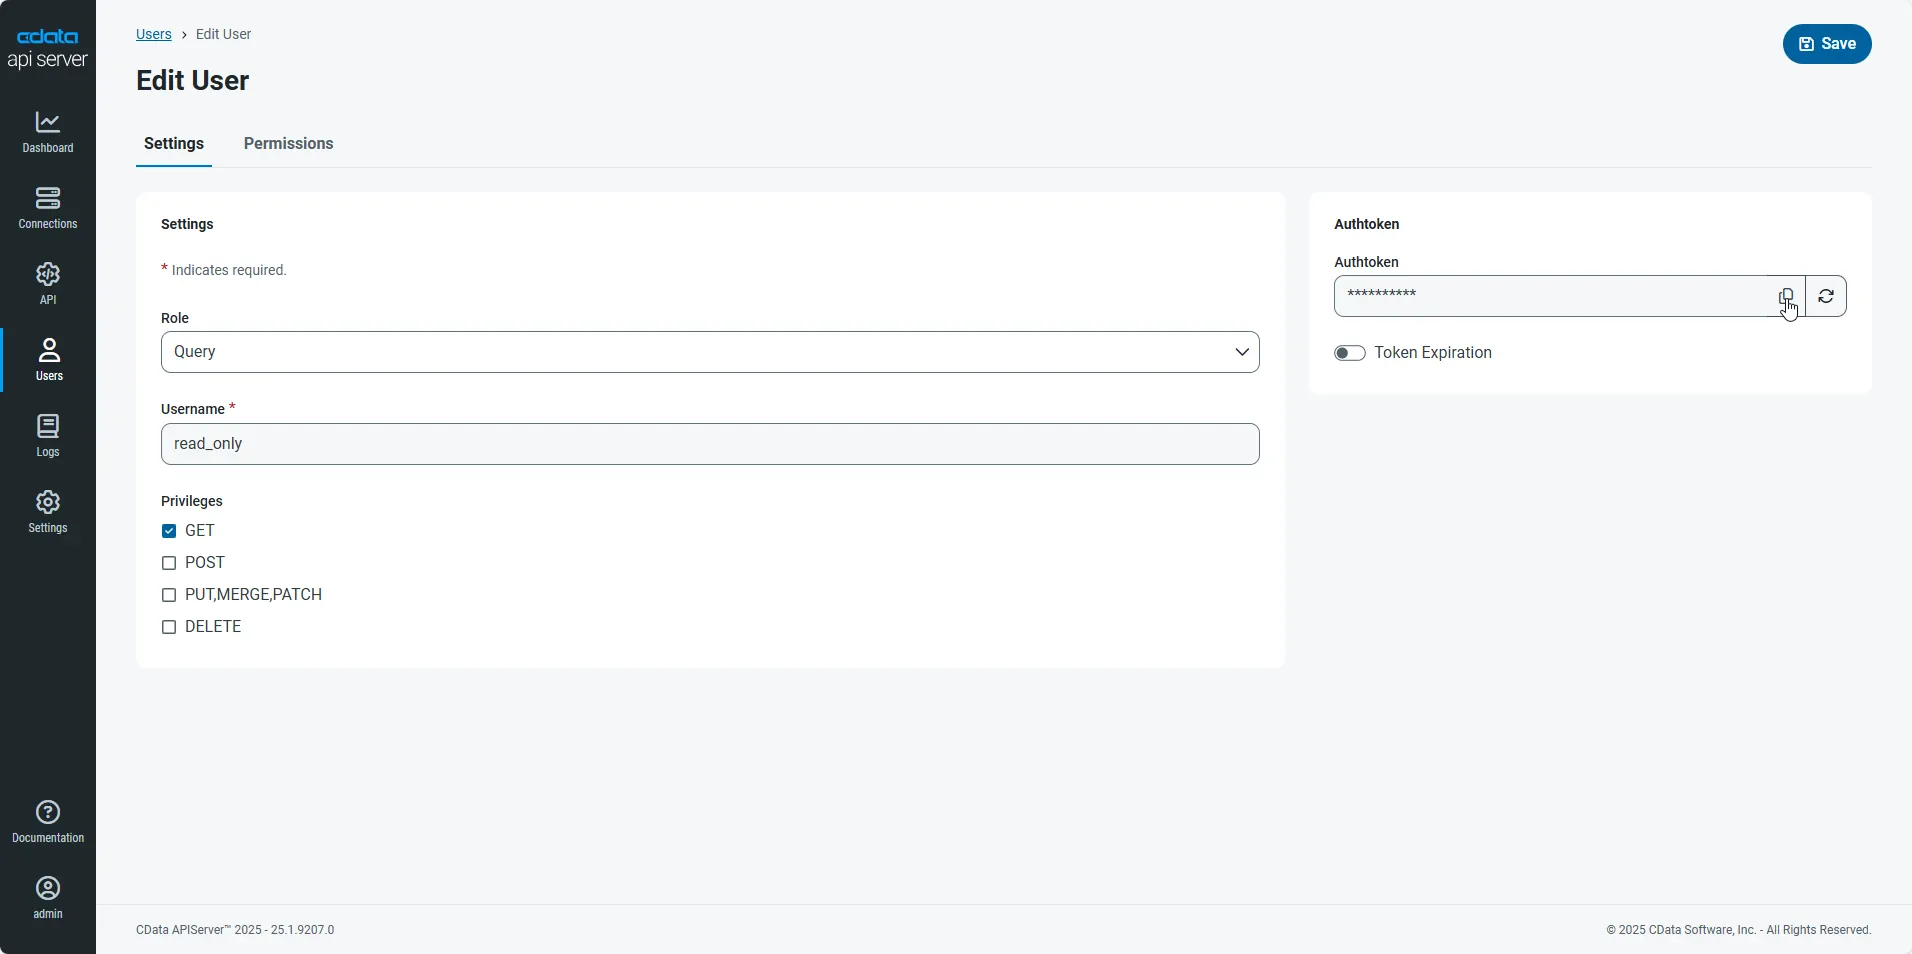
An Authtoken is then generated for the user. You can find the Authtoken and other information for each user on the Users page:
Creating API Endpoints for Sage X3 Cloud
Having created a user, you are ready to create API endpoints for the Sage X3 Cloud tables:
-
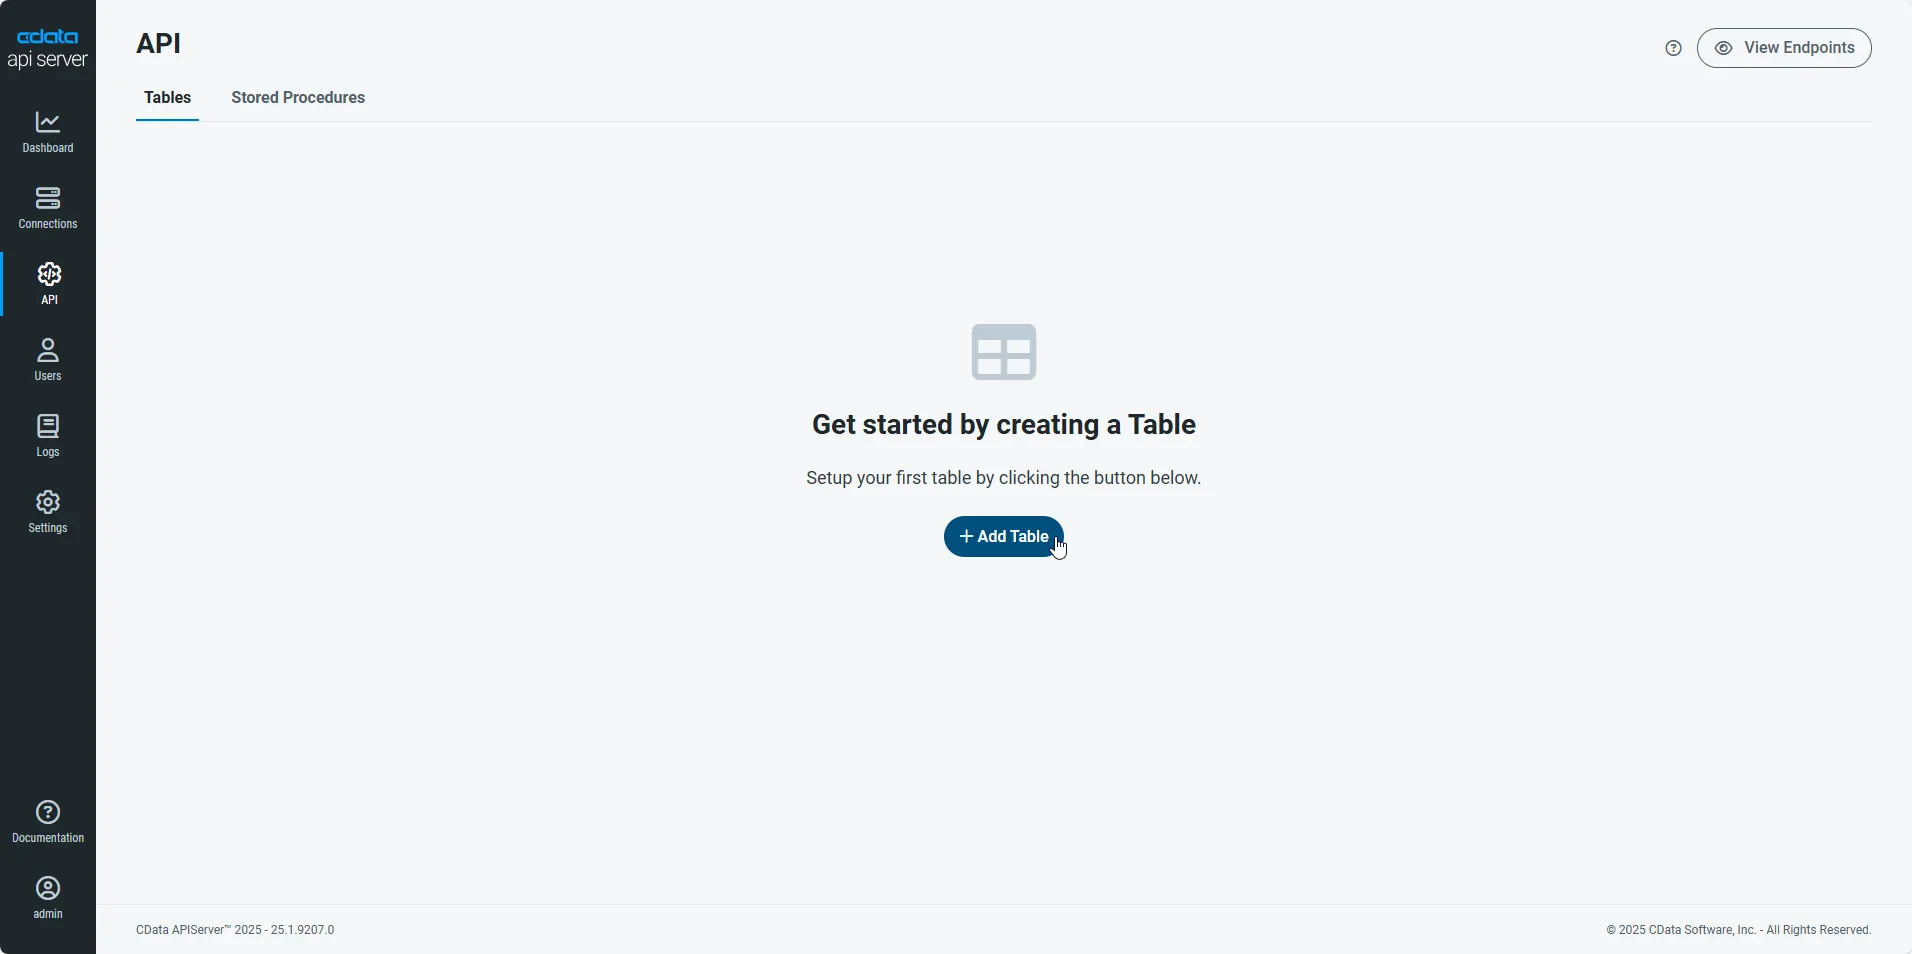
First, navigate to the API page and then click
Add Table
.
-
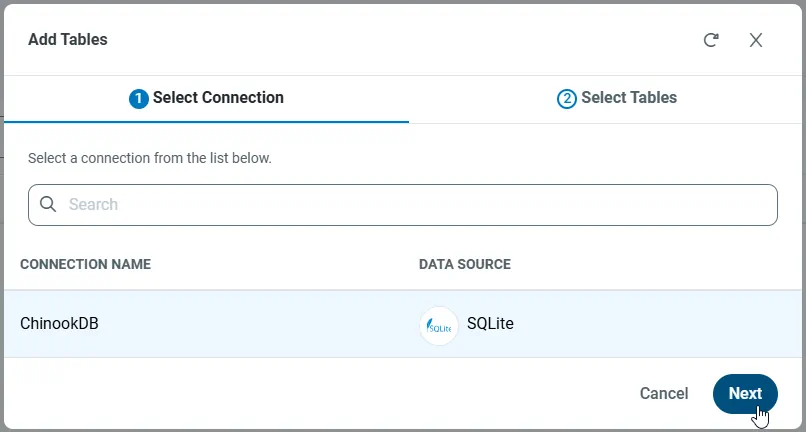
Select the connection you wish to access and click Next.
-
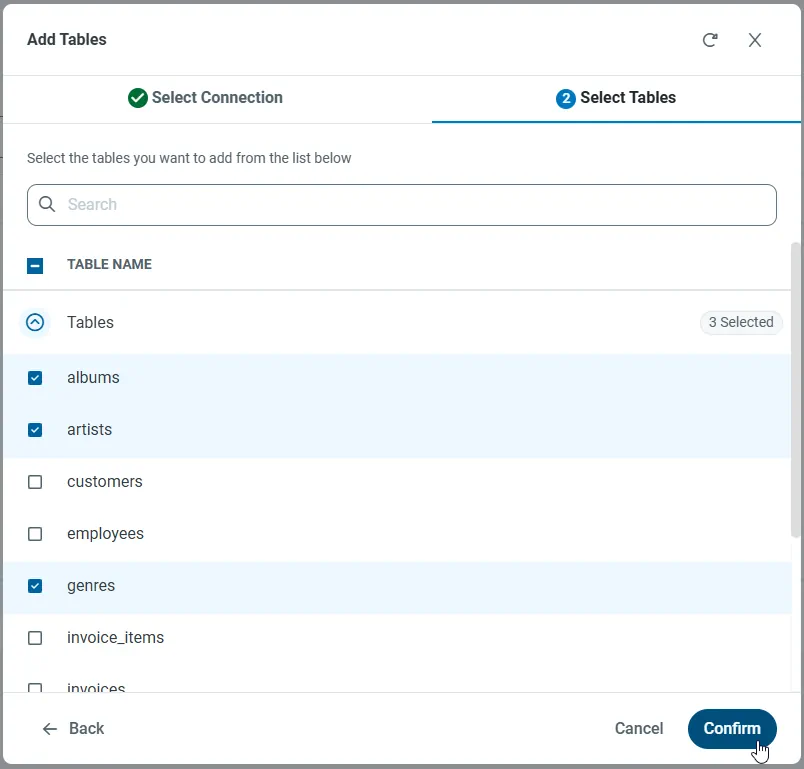
With the connection selected, create endpoints by selecting each table and then clicking Confirm.
Gather the OData Url
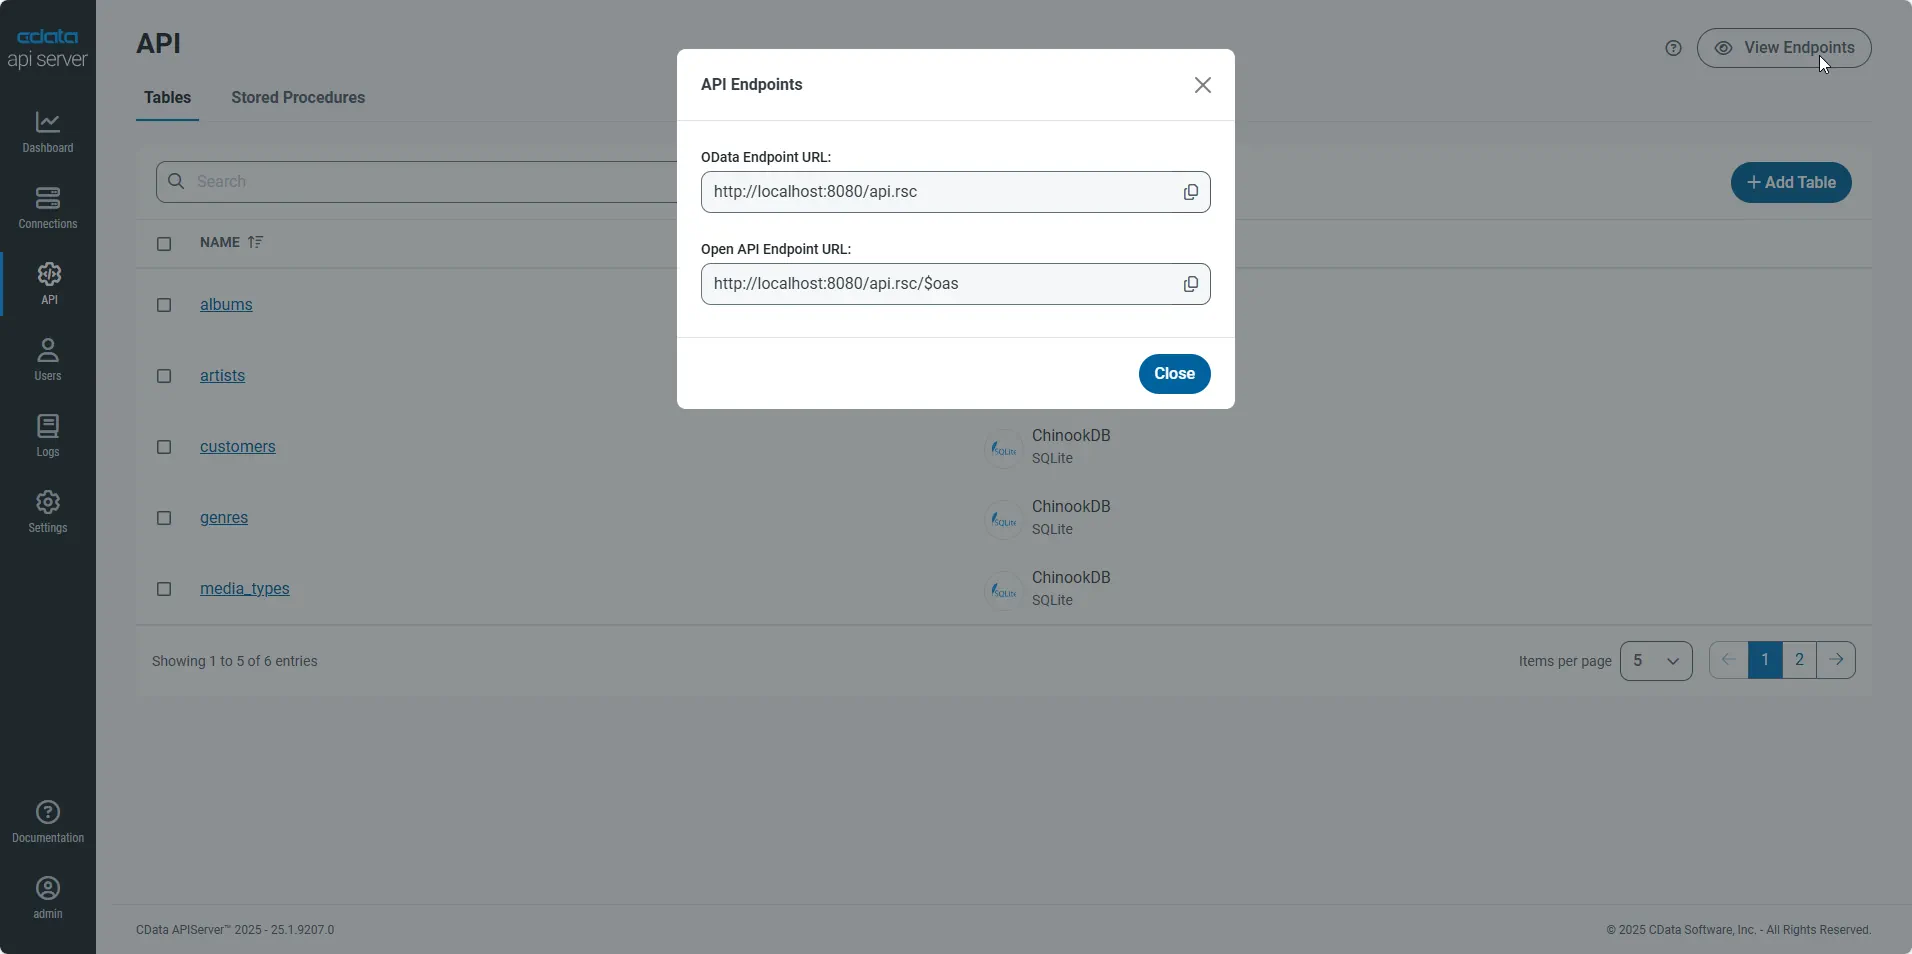
Having configured a connection to Sage X3 Cloud data, created a user, and added resources to the API Server, you now have an easily accessible REST API based on the OData protocol for those resources. From the API page in API Server, you can view and copy the API Endpoints for the API:
Create Data Visualizations on External Sage X3 Cloud Data
- Open Spotfire and click Add Data Tables -> OData.
- In the OData Connection dialog, enter the following information:
- Service URL: Enter the API Server's OData endpoint. For example:
http://localhost:8080/api.rsc - Authentication Method: Select Username and Password.
- Username: Enter the username of an API Server user. You can create API users on the Security tab of the administration console.
- Password: Enter the authtoken of an API Server user.
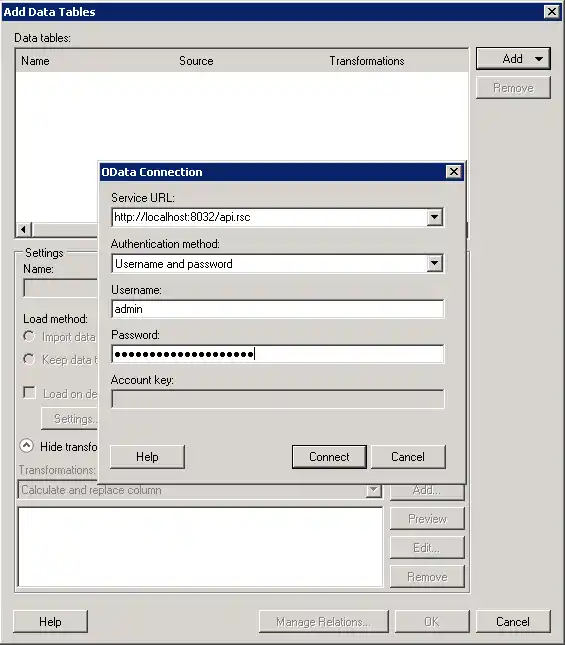
- Service URL: Enter the API Server's OData endpoint. For example:
- Select the tables and columns you want to add to the dashboard. This example uses BPCUSTOMER.
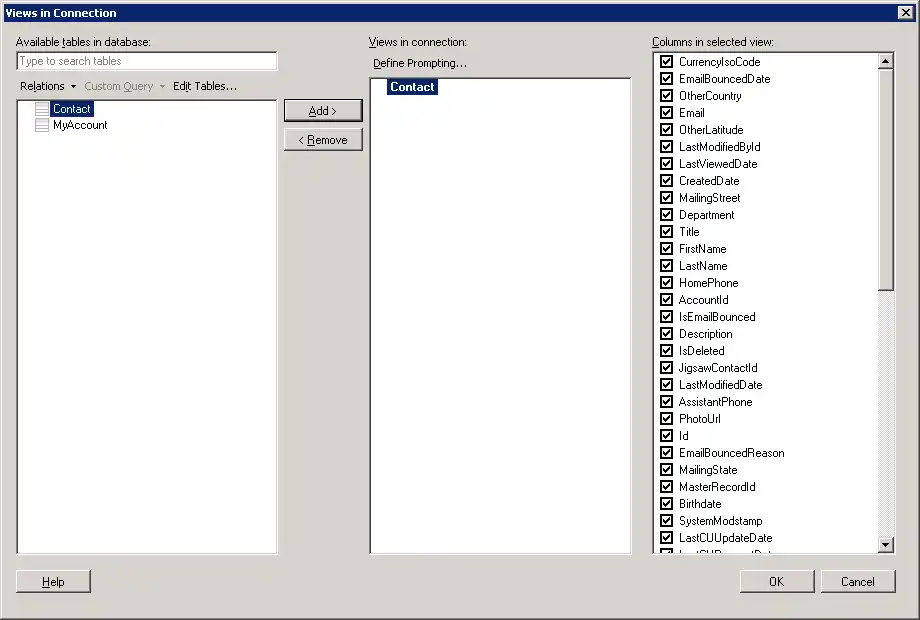
- If you want to work with the live data, click the Keep Data Table External option. This option enables your dashboards to reflect changes to the data in real time.
If you want to load the data into memory and process the data locally, click the Import Data Table option. This option is better for offline use or if a slow network connection is making your dashboard less interactive.
- After adding tables, the Recommended Visualizations wizard is displayed. When you select a table, Spotfire uses the column data types to detect number, time, and category columns. This example uses BPCNAM in the Numbers section and BPCNUM in the Categories section.
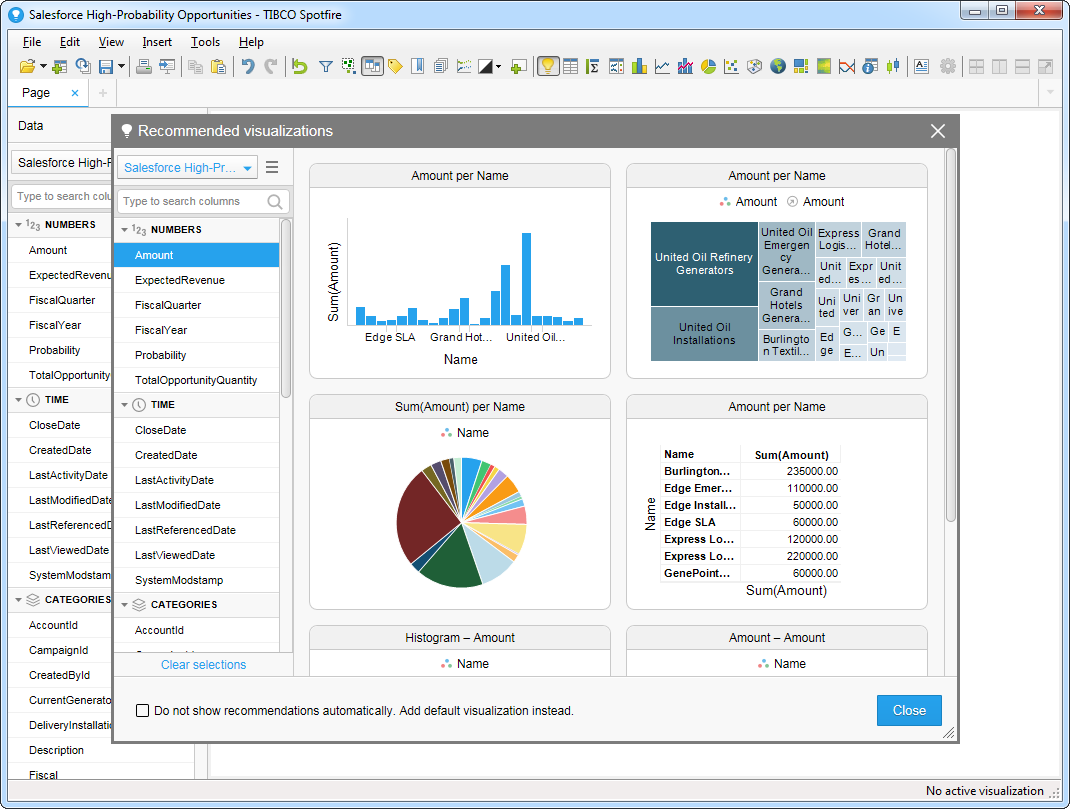
After adding several visualizations in the Recommended Visualizations wizard, you can make other modifications to the dashboard. For example, you can apply a filter: After clicking the Filter button, the available filters for each query are displayed in the Filters pane.