





Integrate Kilo Code CLI with Live TaxJar Data via CData Connect AI

Kilo Code is an open-source AI coding agent that runs in the terminal through the Kilo CLI. It connects to a wide range of large language model (LLM) providers and supports the Model Context Protocol (MCP) through its configuration file, so you can register external tools and data sources and give the agent access to live systems beyond the model's training data.
By integrating Kilo Code CLI with CData Connect AI through the built-in MCP Server, you can ask Kilo questions about live TaxJar data in natural language, and the agent calls Connect AI tools to find and retrieve the data it needs. Connect AI governs every request, so the agent reaches only sources you've authorized.
This article explains how to configure TaxJar connectivity in Connect AI, generate the required personal access token, install Kilo Code CLI, connect an LLM provider, add the Connect AI MCP Server in a project-level configuration file, and verify the integration by asking Kilo about live TaxJar data.
Step 1: Configure TaxJar connectivity for Kilo Code
Connectivity to TaxJar from Kilo Code is made possible through Connect AI's Remote MCP Server. To interact with TaxJar data from Kilo, start by creating and configuring a TaxJar connection in Connect AI.
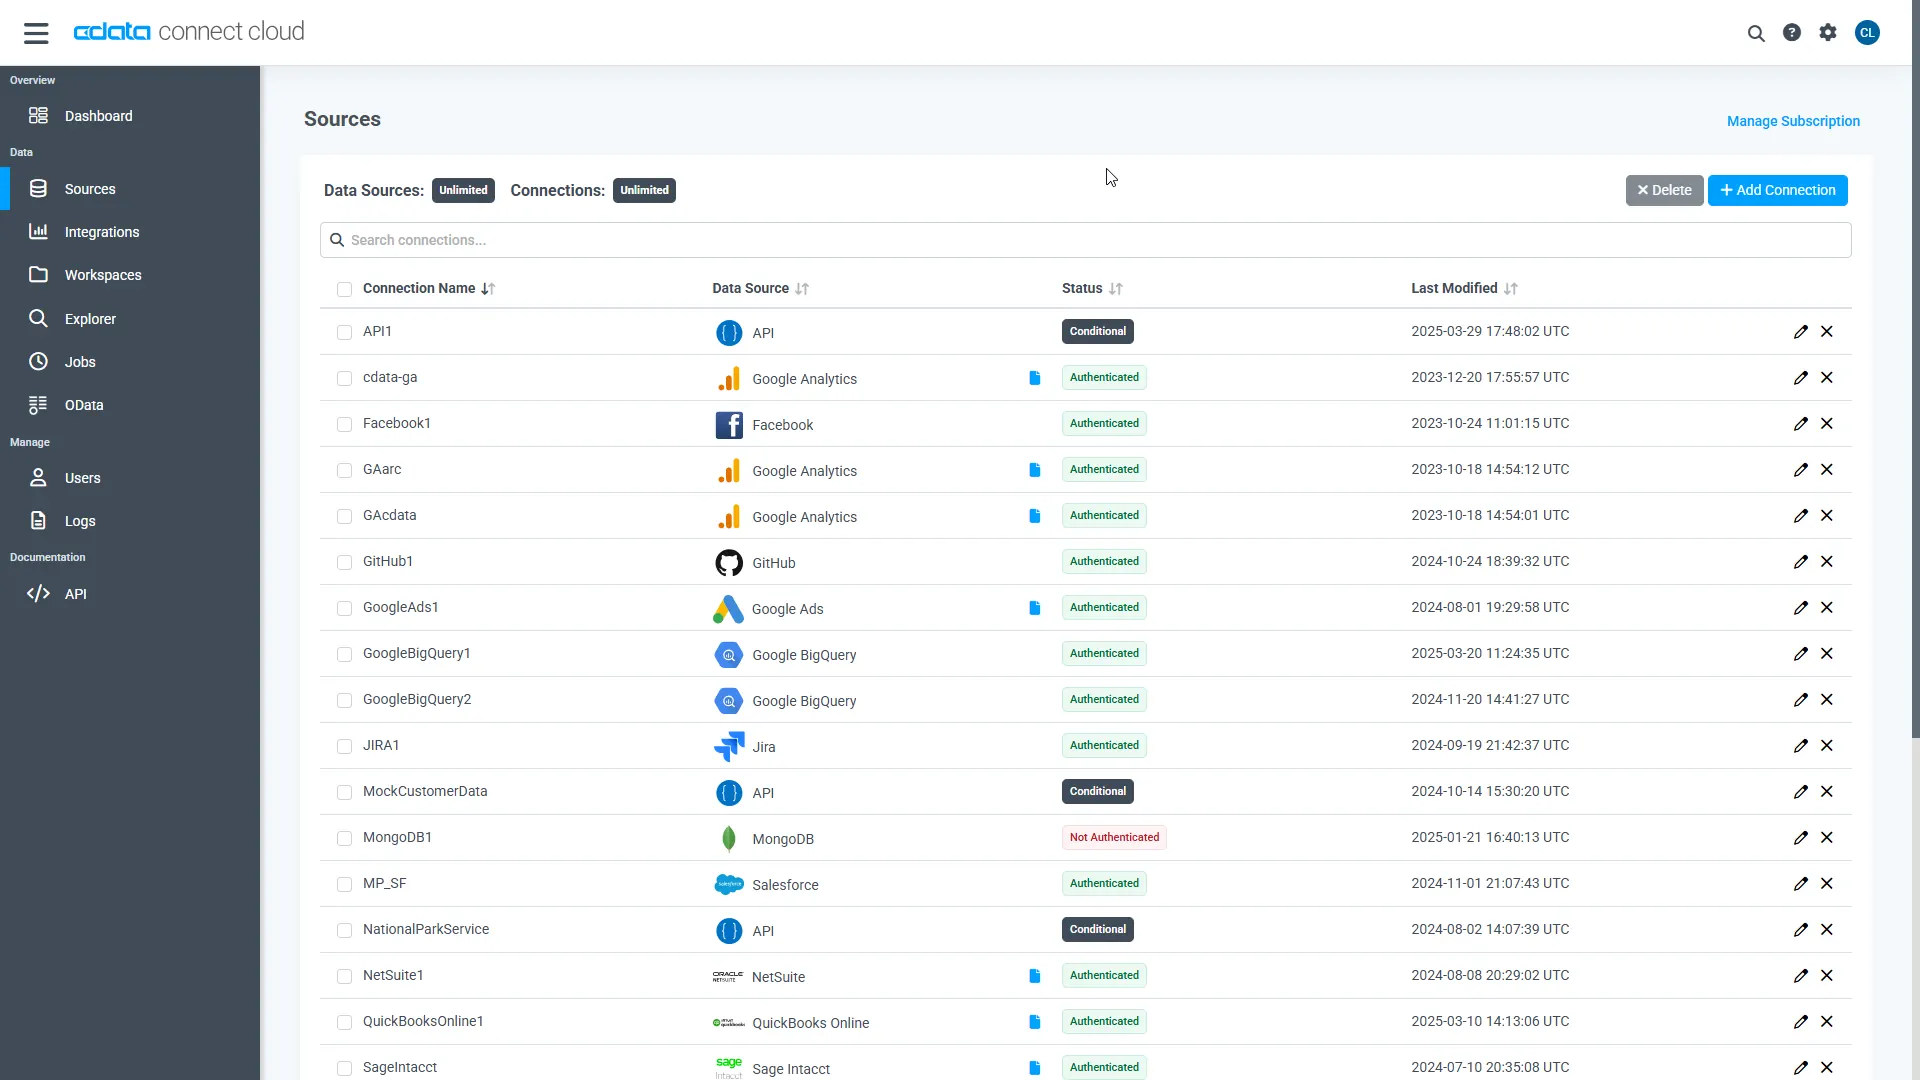
- Log into Connect AI, click Sources, and then click Add Connection
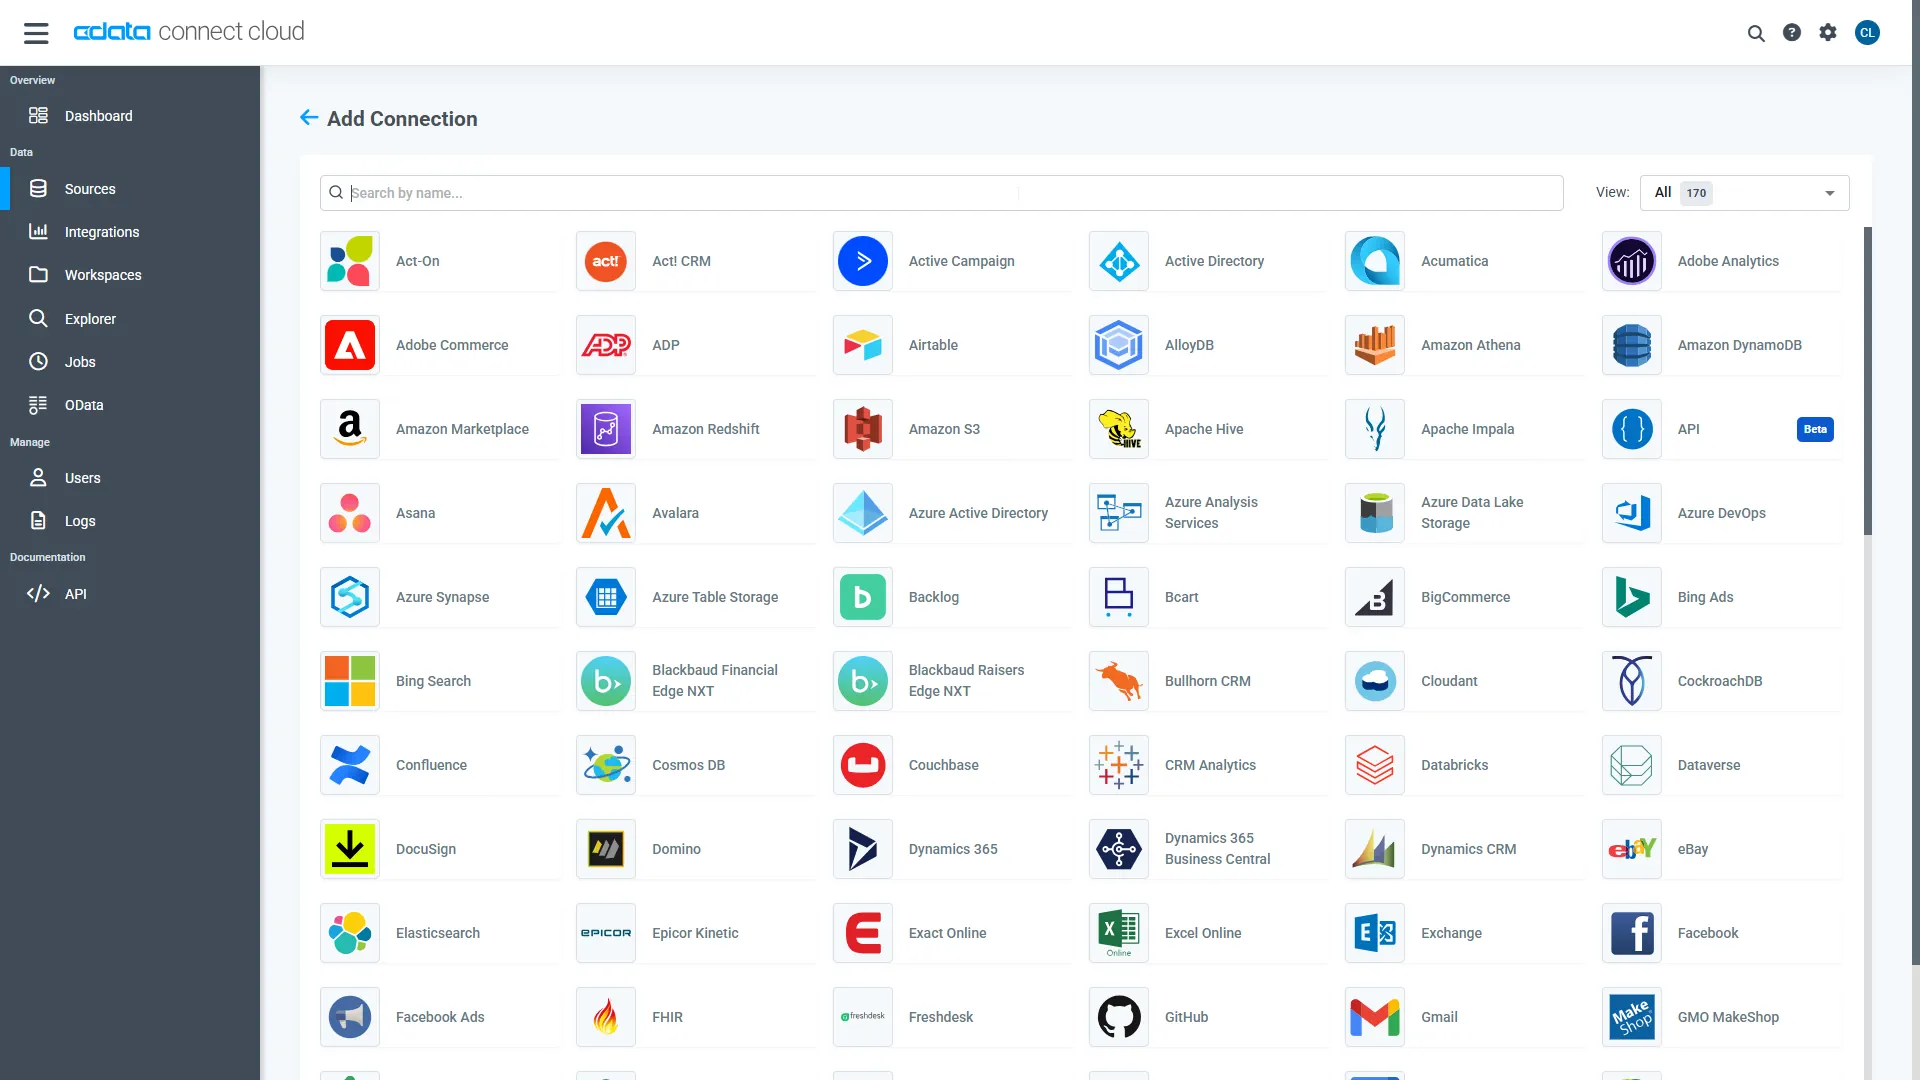
- Select TaxJar from the Add Connection panel
-
Enter the necessary authentication properties to connect to TaxJar.
To authenticate to the TaxJar API, first obtain the API Key from the TaxJar UI.
NOTE: the API is available only for Professional and Premium TaxJar plans.
If you already have a Professional or Premium plan you can find the API Key by logging in the TaxJar UI and navigating to Account -> TaxJar API. After obtaining the API Key, you can set it in the APIKey connection property.
Additional Notes
- By default, the CData connector will retrieve data of the last 3 months in cases where the entity support date range filtering. You can set StartDate to specify the minimum creation date of the data retrieved.
- If the API Key has been created for a sandbox API account please set UseSandbox to true, but not all endpoints will work as expected. For more information, refer to the TaxJar developer documentation.
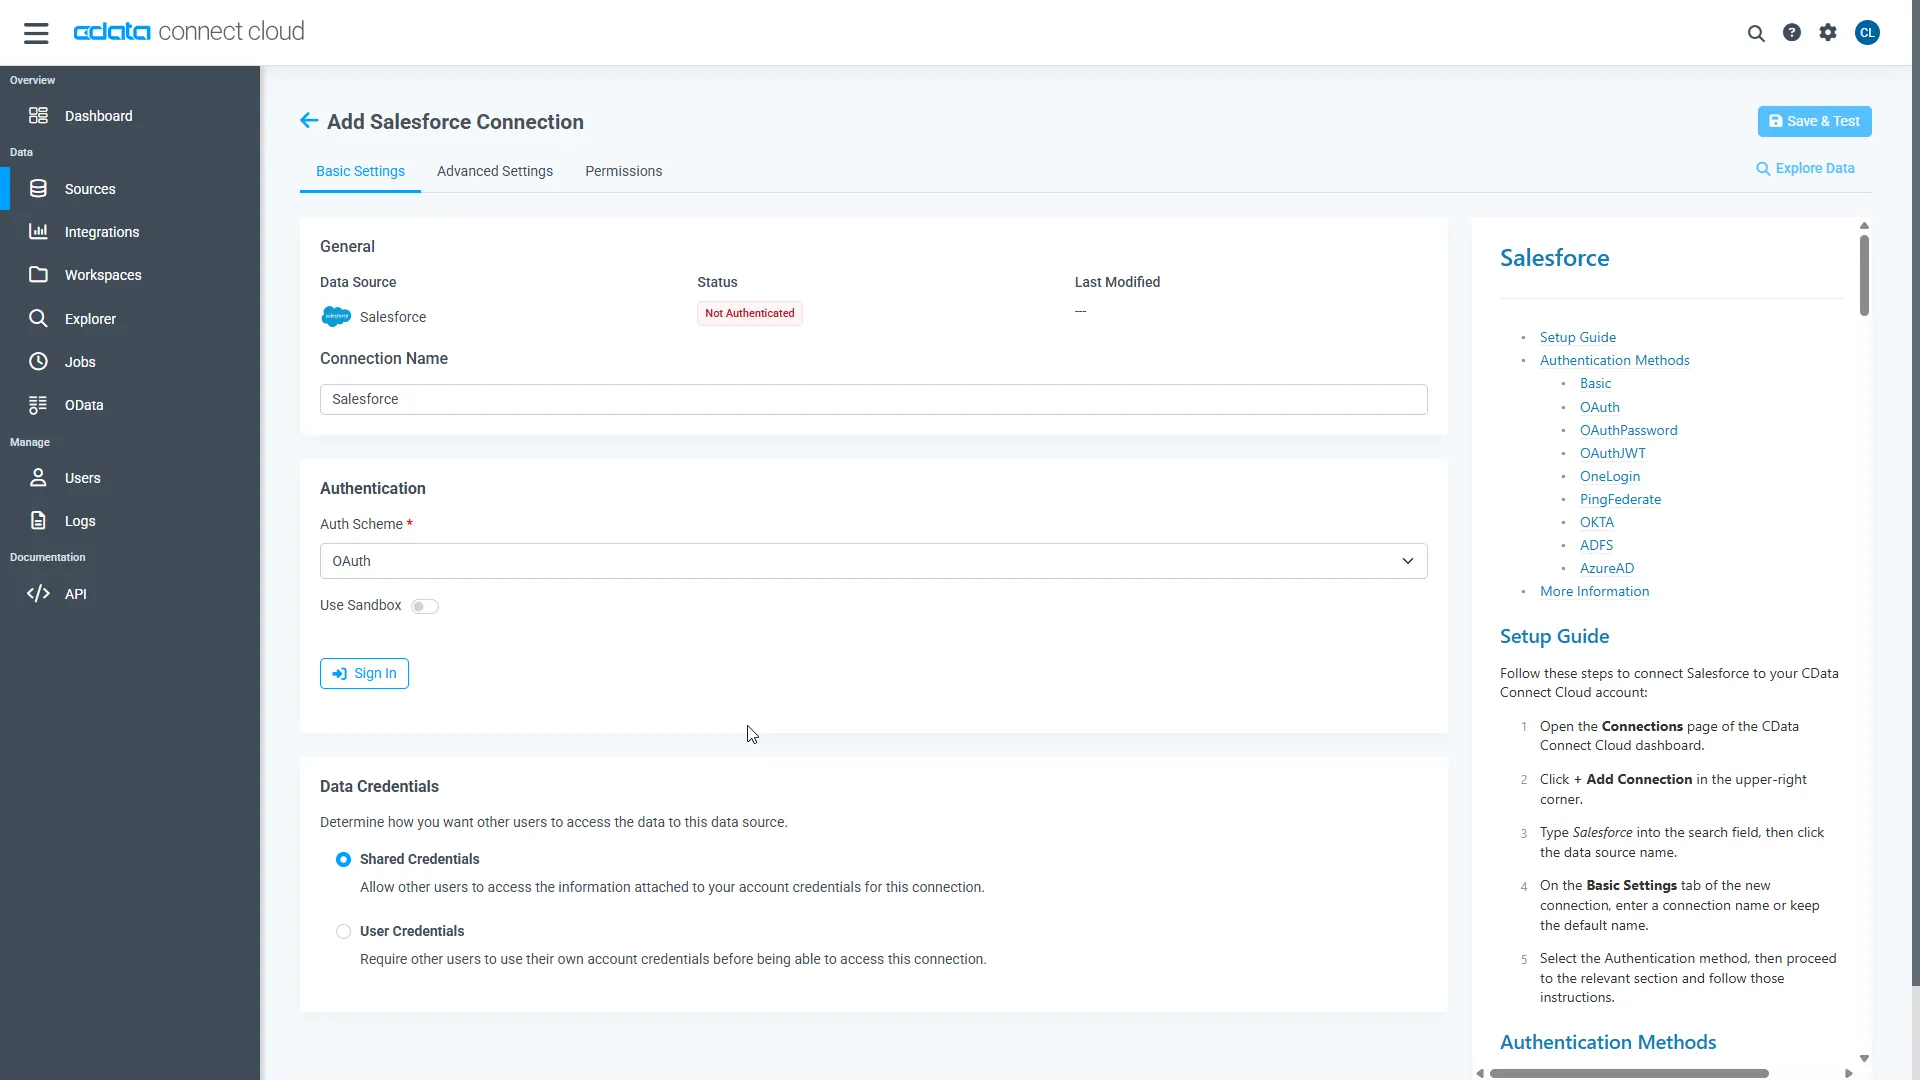
- Click Save & Test
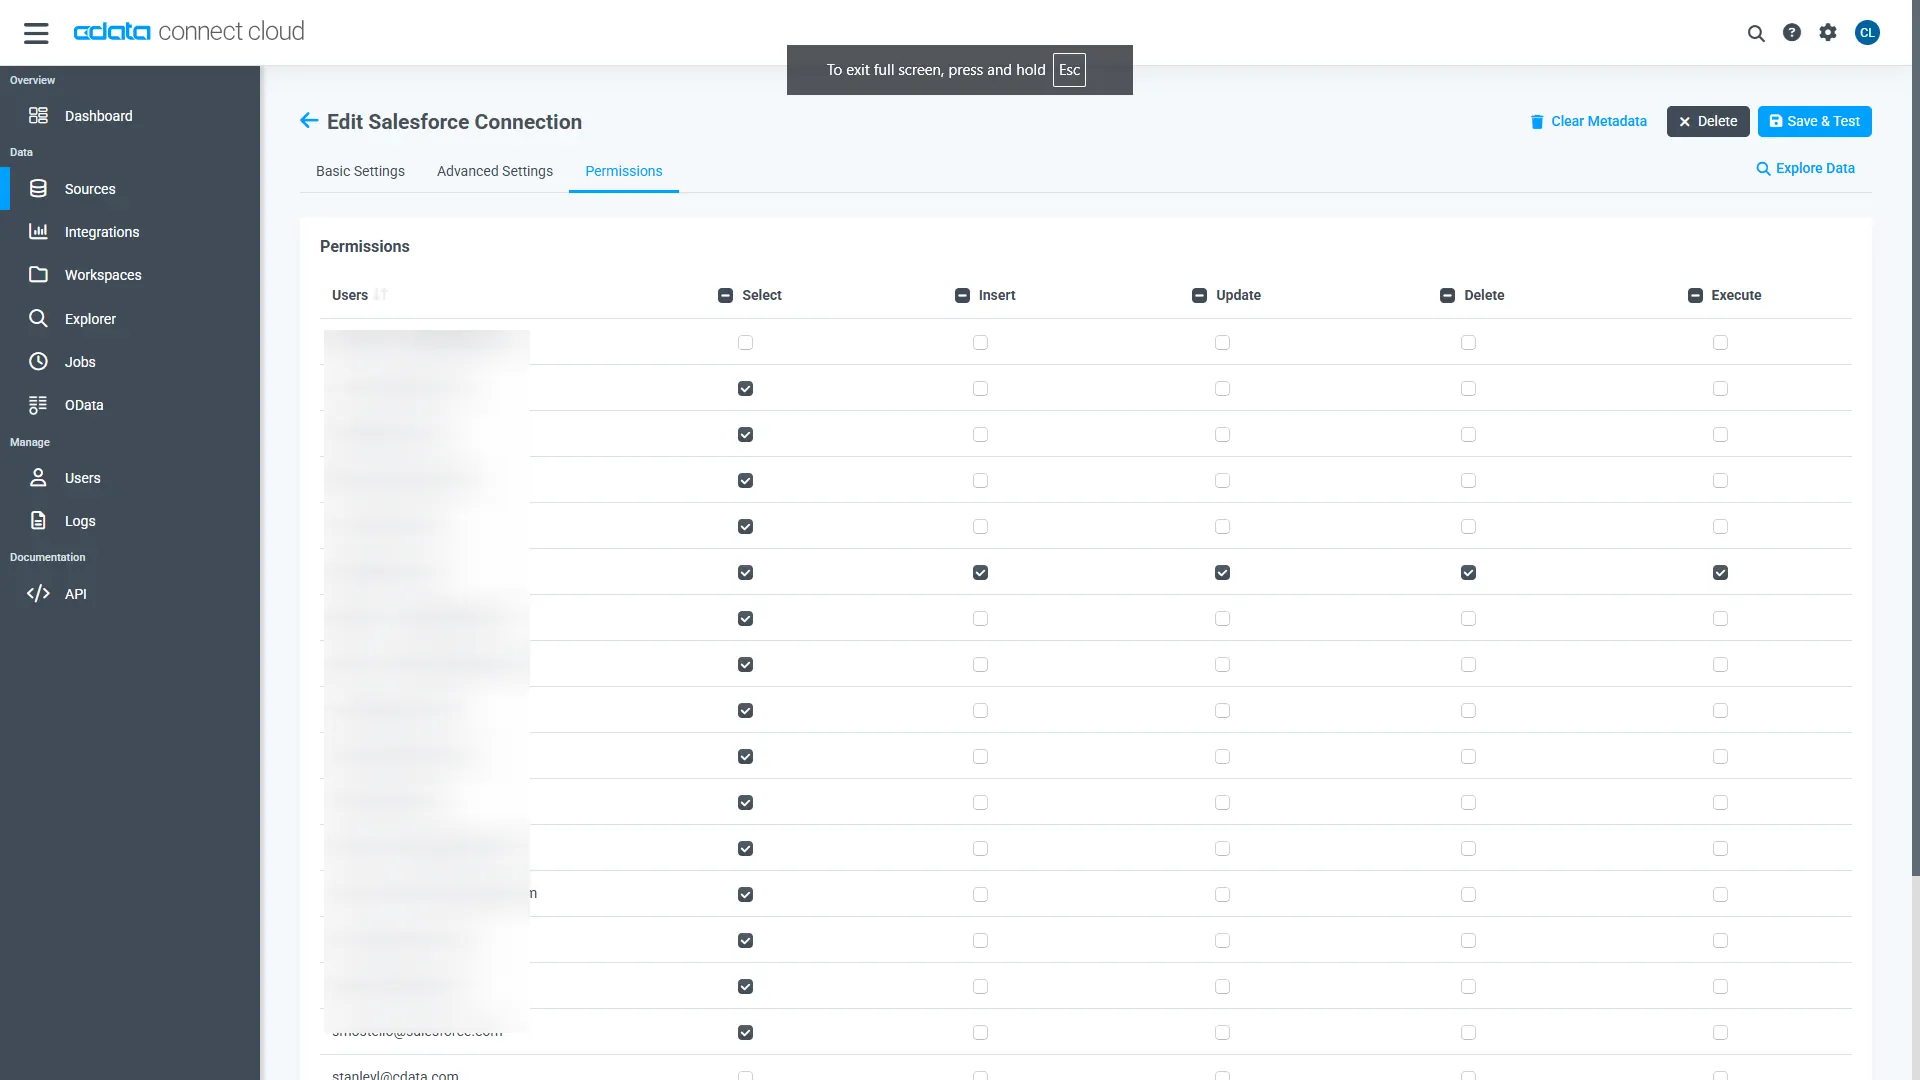
- Navigate to the Permissions tab and update user-based permissions
Add a Personal Access Token
A Personal Access Token (PAT) is used to authenticate the connection to Connect AI from Kilo Code. Create a separate PAT for each integration to maintain granular access control.
- Click the gear icon () at the top right of the Connect AI app to open Settings
- On the Settings page, go to the Personal Access Tokens section and click Create PAT
- Give the PAT a descriptive name and click Create
- Copy the token when displayed and store it securely. It won't be shown again
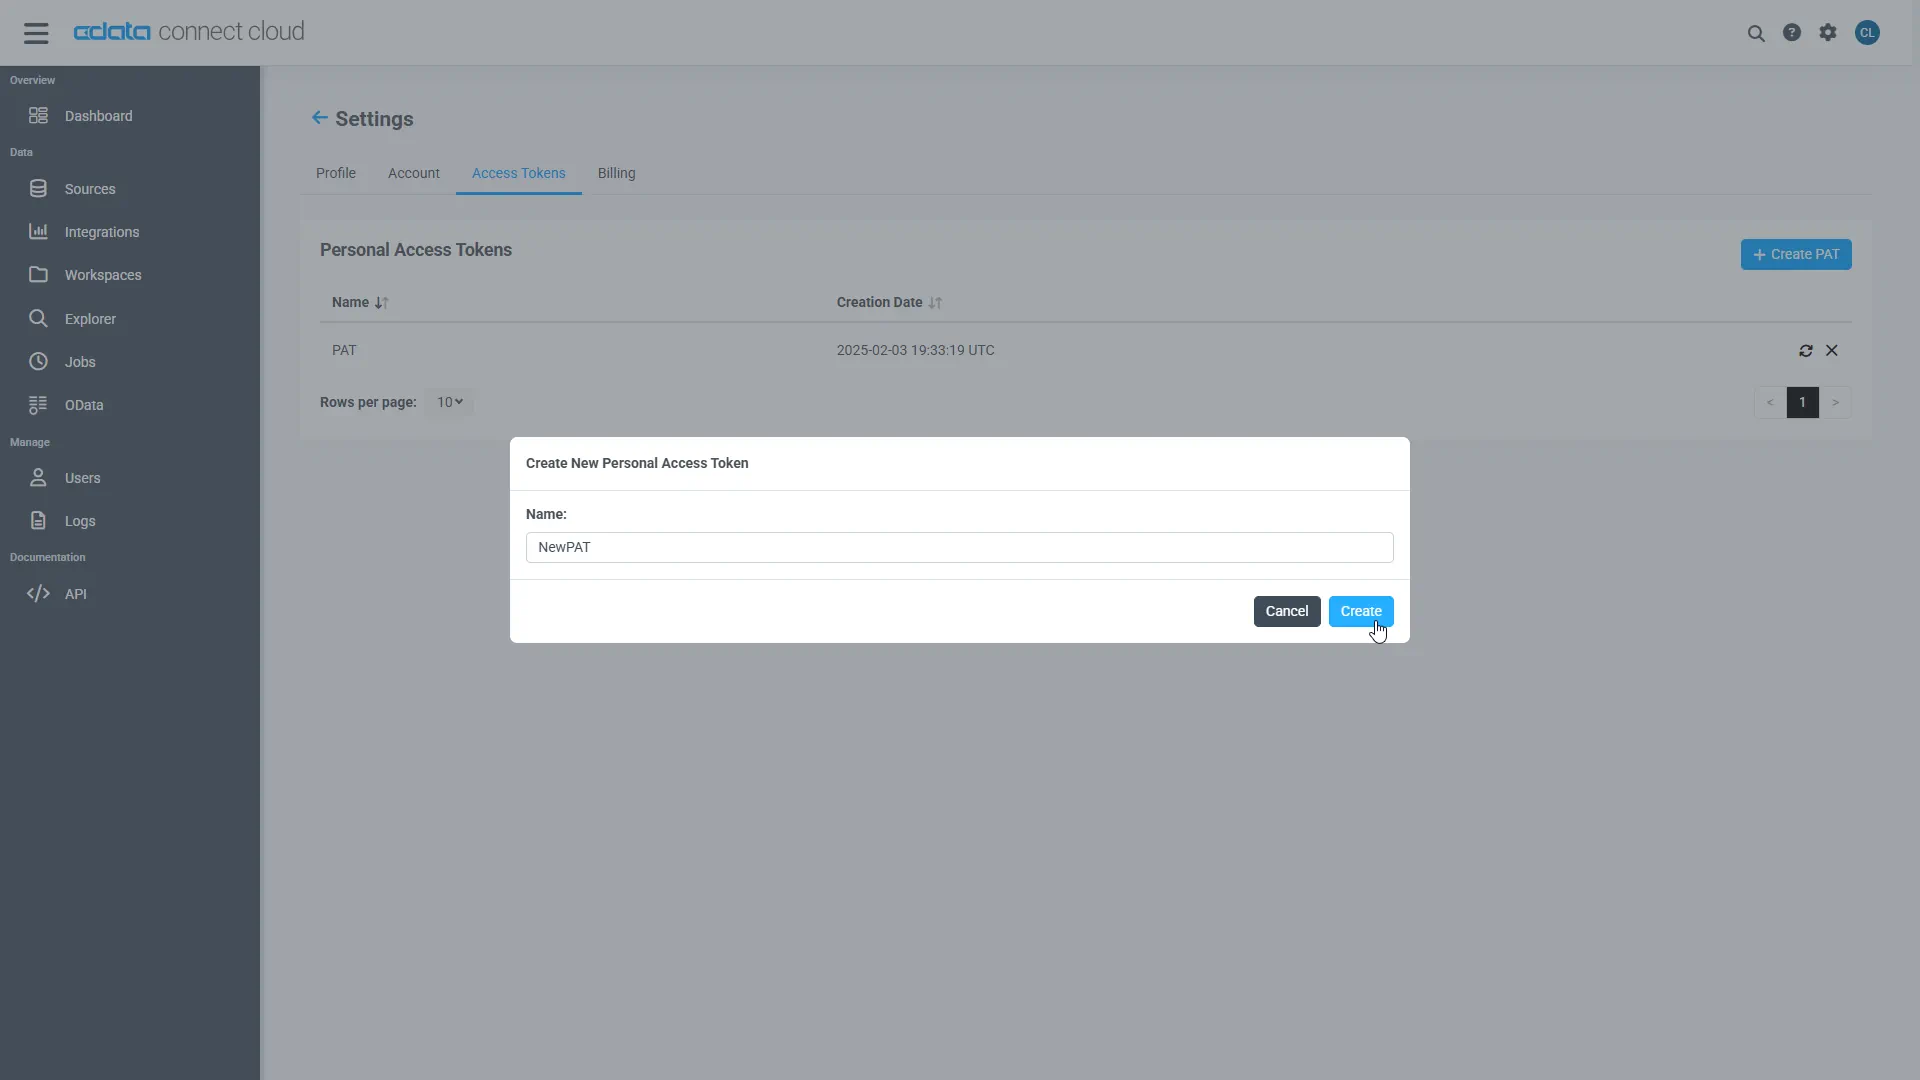
With the TaxJar connection configured and a PAT generated, Kilo Code can now connect to TaxJar data through Connect AI.
Step 2: Install Kilo Code CLI and connect an LLM provider
Kilo Code CLI is installed through npm, so you need Node.js and npm on your machine. After installation, connect an LLM provider so the agent can interpret prompts and call MCP tools.
-
Open a terminal (PowerShell or Windows Terminal on Windows, Terminal on macOS) and check whether Node.js and npm are installed:
node --version
npm --version
Note: If either command is not recognized, install the current Node.js LTS version from nodejs.org and reopen your terminal.
-
Install Kilo Code CLI:
npm install -g @kilocode/cli -
Verify the installation, and then launch Kilo:
kilo --version
kilo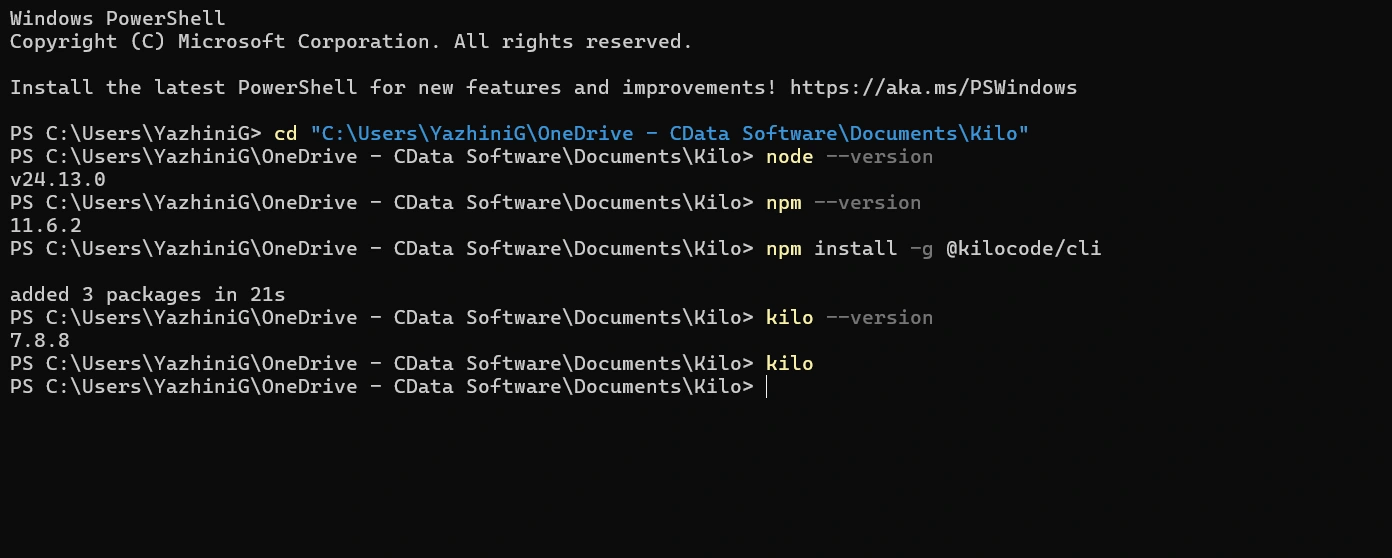
-
In the Kilo prompt, type /connect and select Connect provider
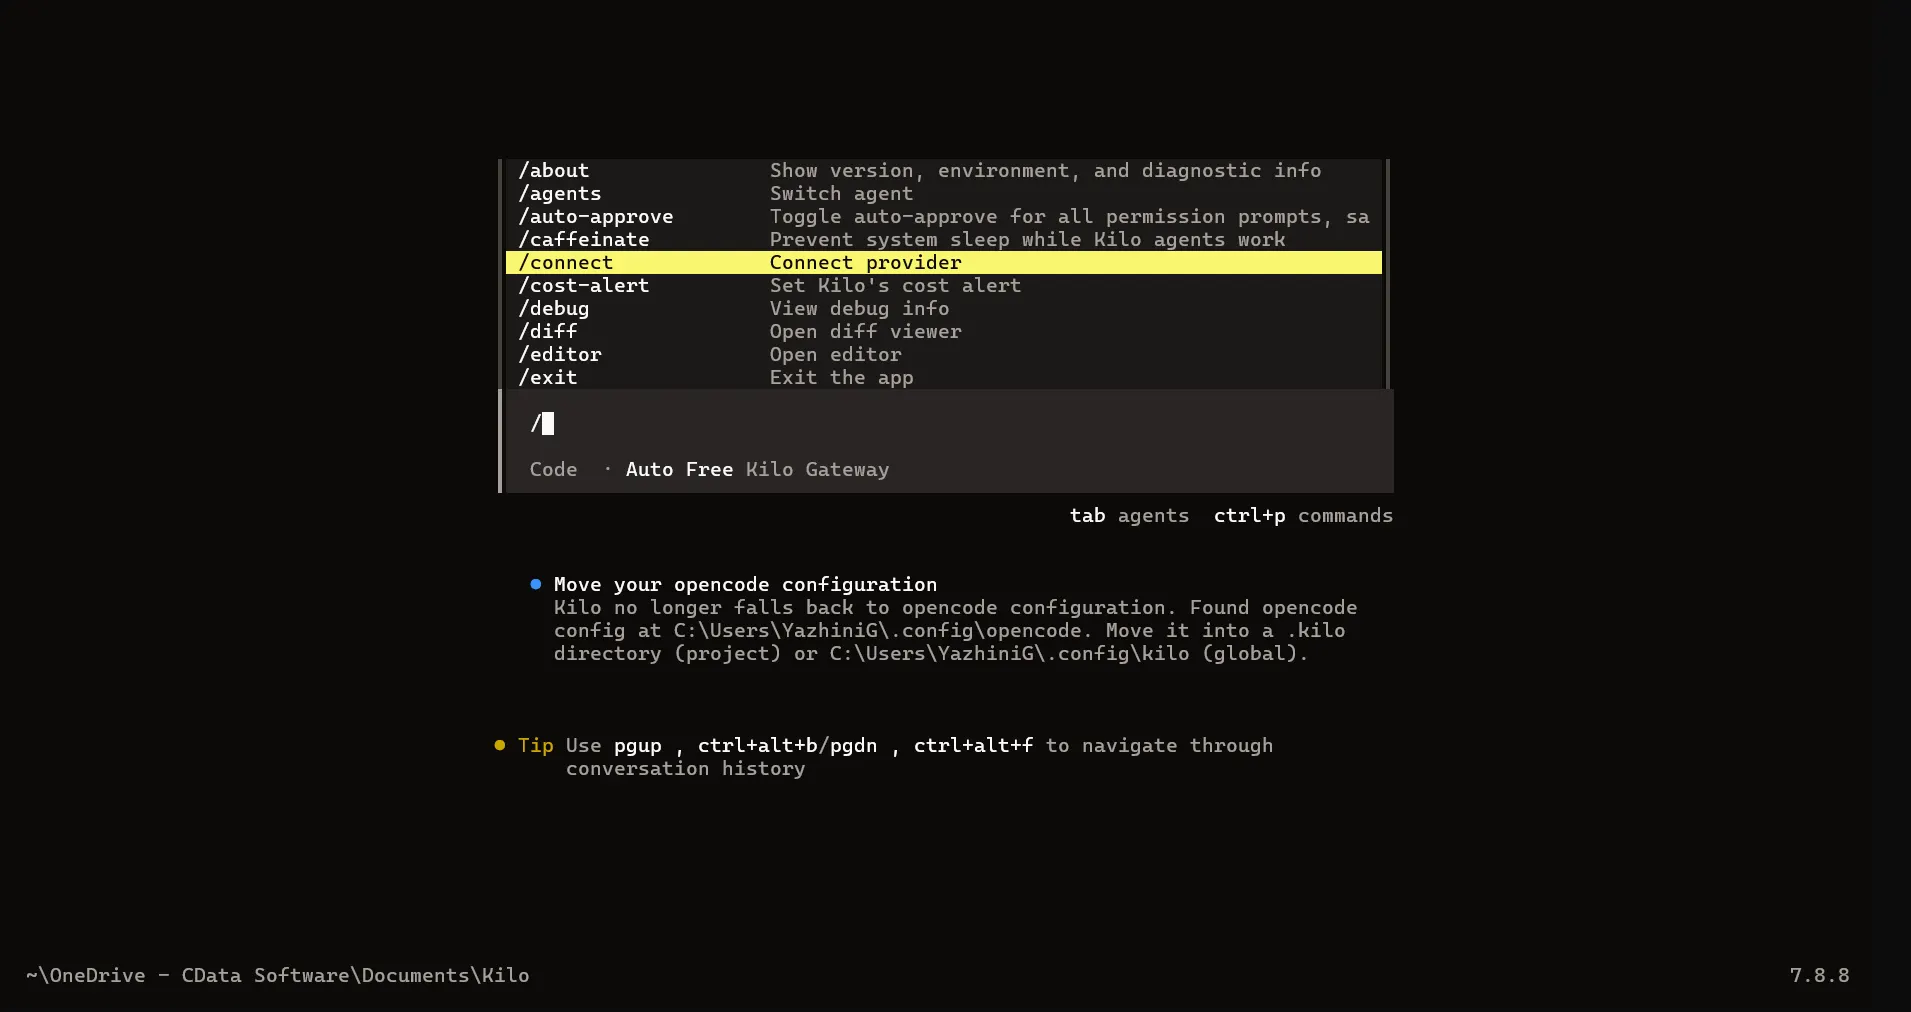
-
Choose an LLM provider from the list. In this example, OpenAI / Codex is used, but you can select any supported provider, such as Kilo Gateway, Anthropic, or Google
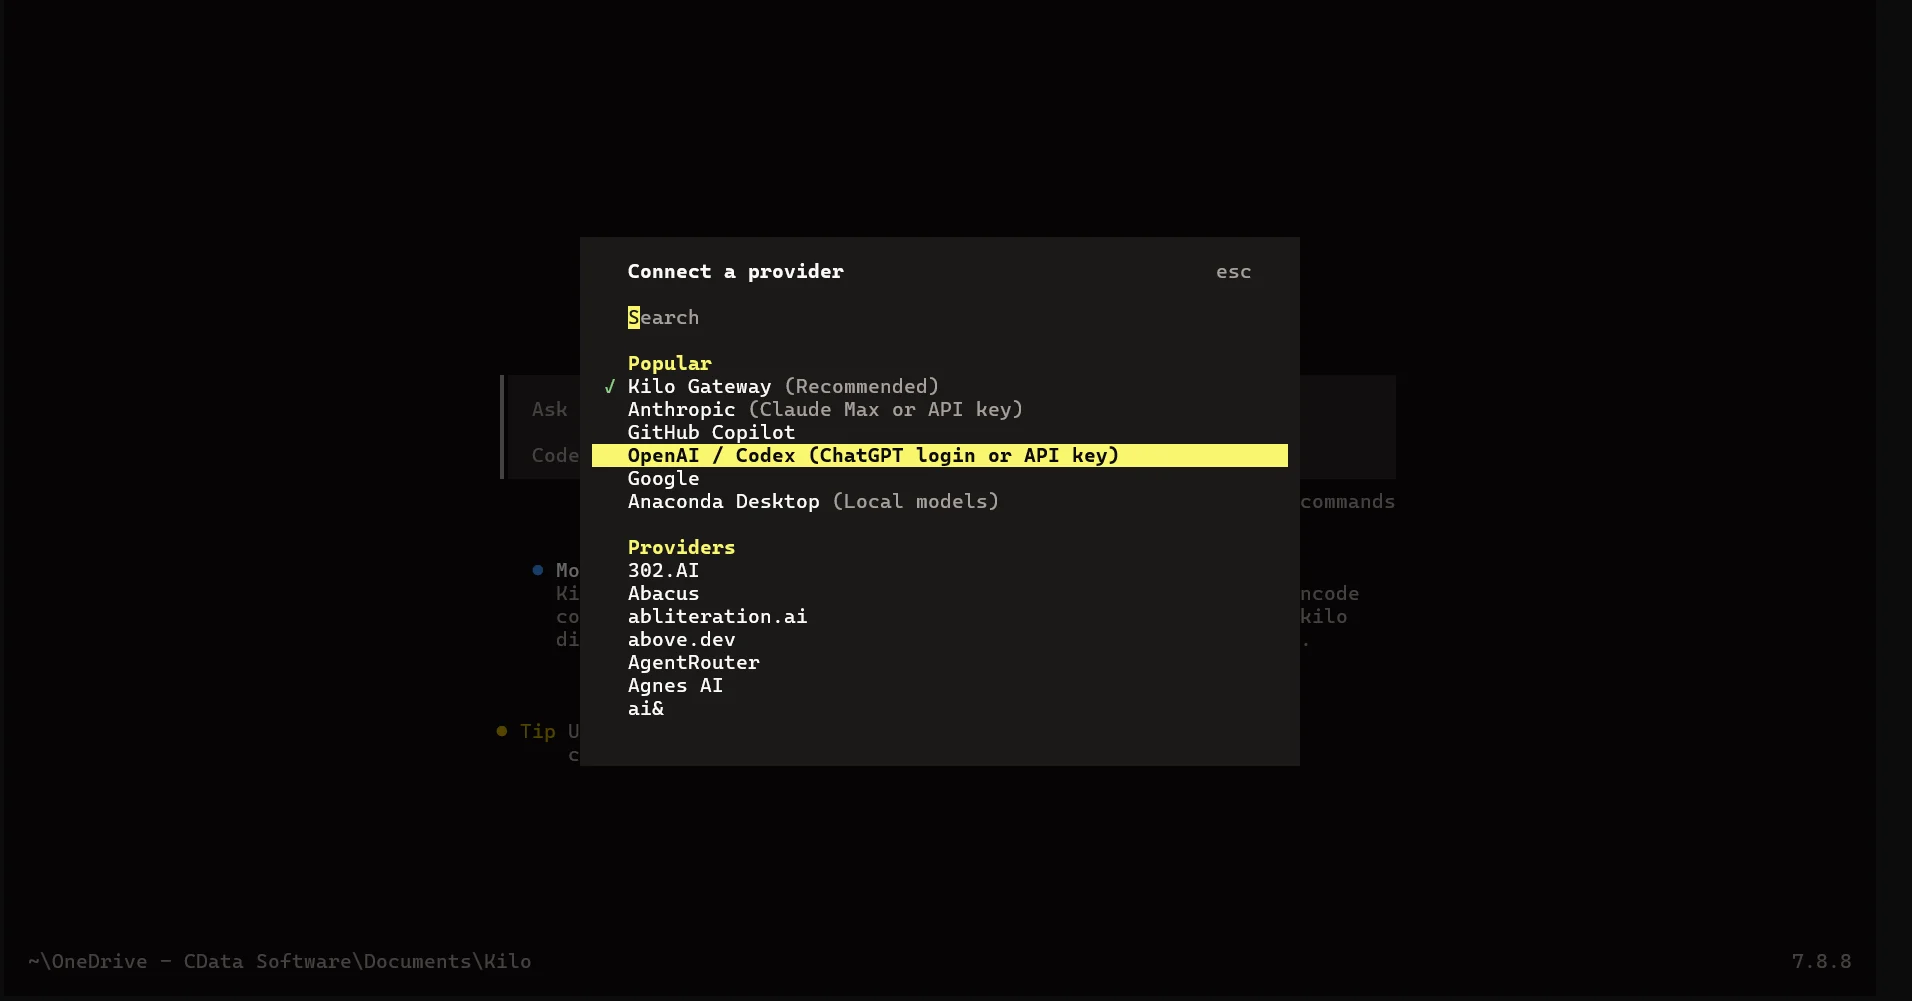
-
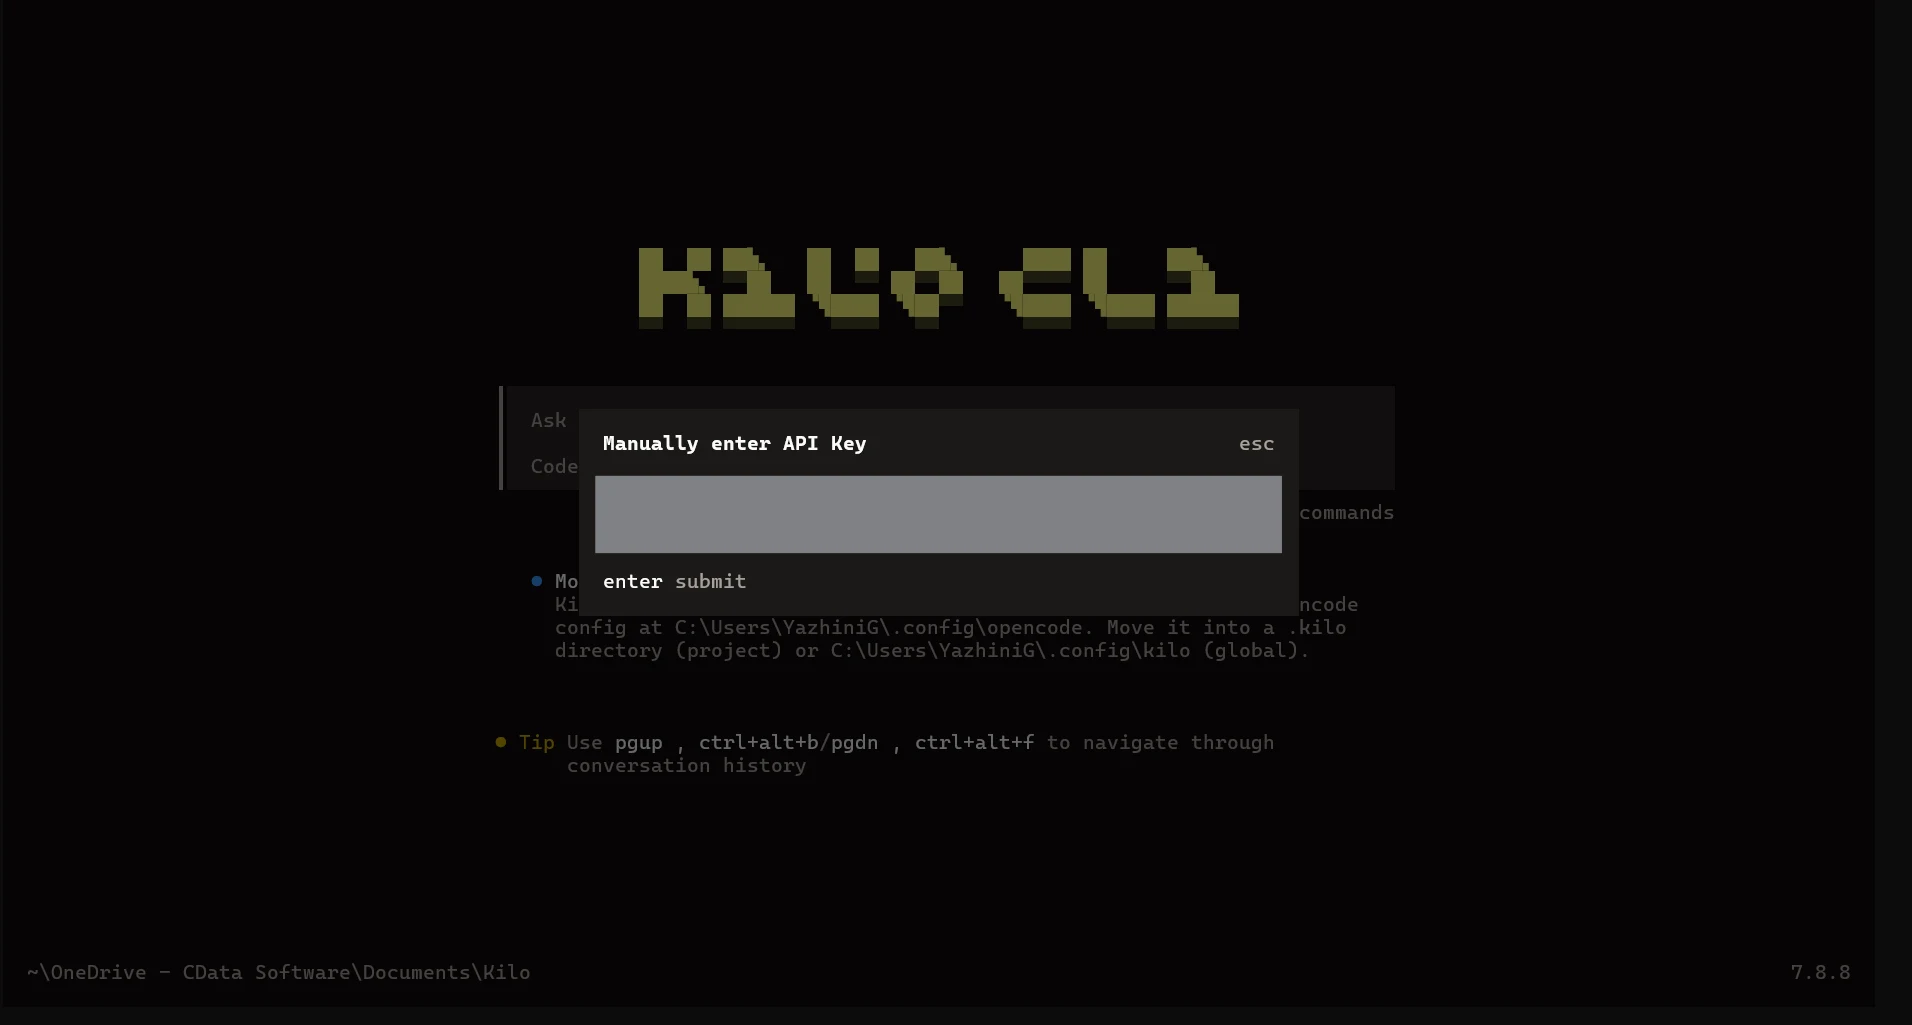
If prompted, enter your provider API key and press Enter to submit
-
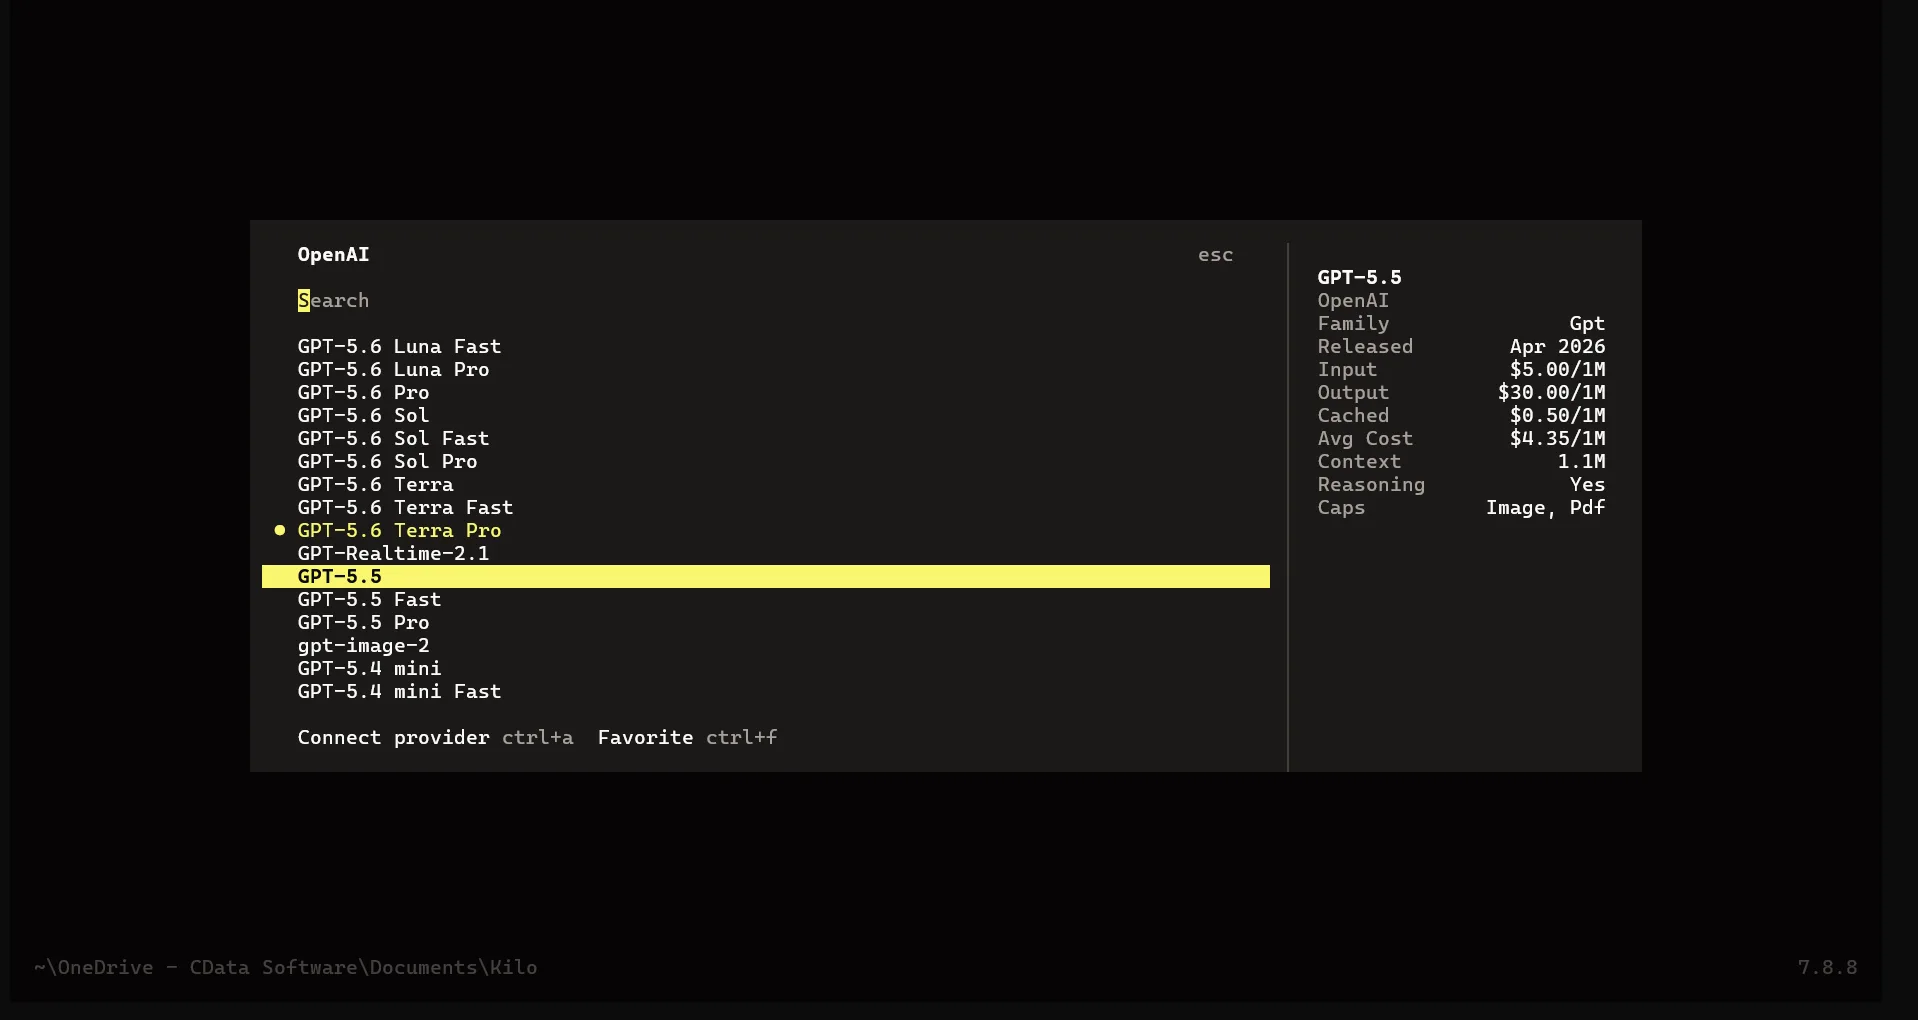
Select the model you want Kilo to use. In this example, GPT-5.5 is selected
Step 3: Add the Connect AI MCP Server in Kilo
Next, add the Connect AI Remote MCP Server in a project-specific configuration file. A project-level file means you don't need to locate Kilo's global configuration directory.
-
Create a new project folder and open a new kilo.json file in a text editor.
On Windows (PowerShell):
mkdir "$HOME\kilo-cdata-test"
cd "$HOME\kilo-cdata-test"
notepad kilo.json
On macOS (Terminal):
mkdir ~/kilo-cdata-test cd ~/kilo-cdata-test nano kilo.json -
Paste the following configuration into the file:
{
  "mcp": {
    "cdata-connect-ai": {
      "type": "remote",
      "url": "https://mcp.cloud.cdata.com/mcp",
      "enabled": true,
      "timeout": 15000,
      "headers": {
        "Authorization": "Basic your_base64_encoded_email_PAT"
      }
    }
  }
}
Note: Kilo will use Basic authentication with Connect AI. Combine your Connect AI user email and the PAT you created earlier in the format email:PAT, base64 encode the combined string, and prefix it with Basic. For example, given [email protected]:ABC123...XYZ789, the Authorization value becomes something like: Basic dXNlckBkb21haW4uY29tOkFCQzEyMy4uLlhZWjc4OQ==
- Save the file as kilo.json. In nano, press Ctrl+O, then Enter to save, and Ctrl+X to exit
Note: This configuration stores the credential in a local file. Don't commit this file to Git or share it. For a longer-term setup, Kilo also supports environment variable references such as {env:CDATA_MCP_AUTH}.
Step 4: Verify the MCP connection
Before sending prompts, confirm that Kilo can reach the Connect AI MCP Server.
-
In the same terminal window, run:
The cdata-connect-ai server should be listed as connectedkilo mcp list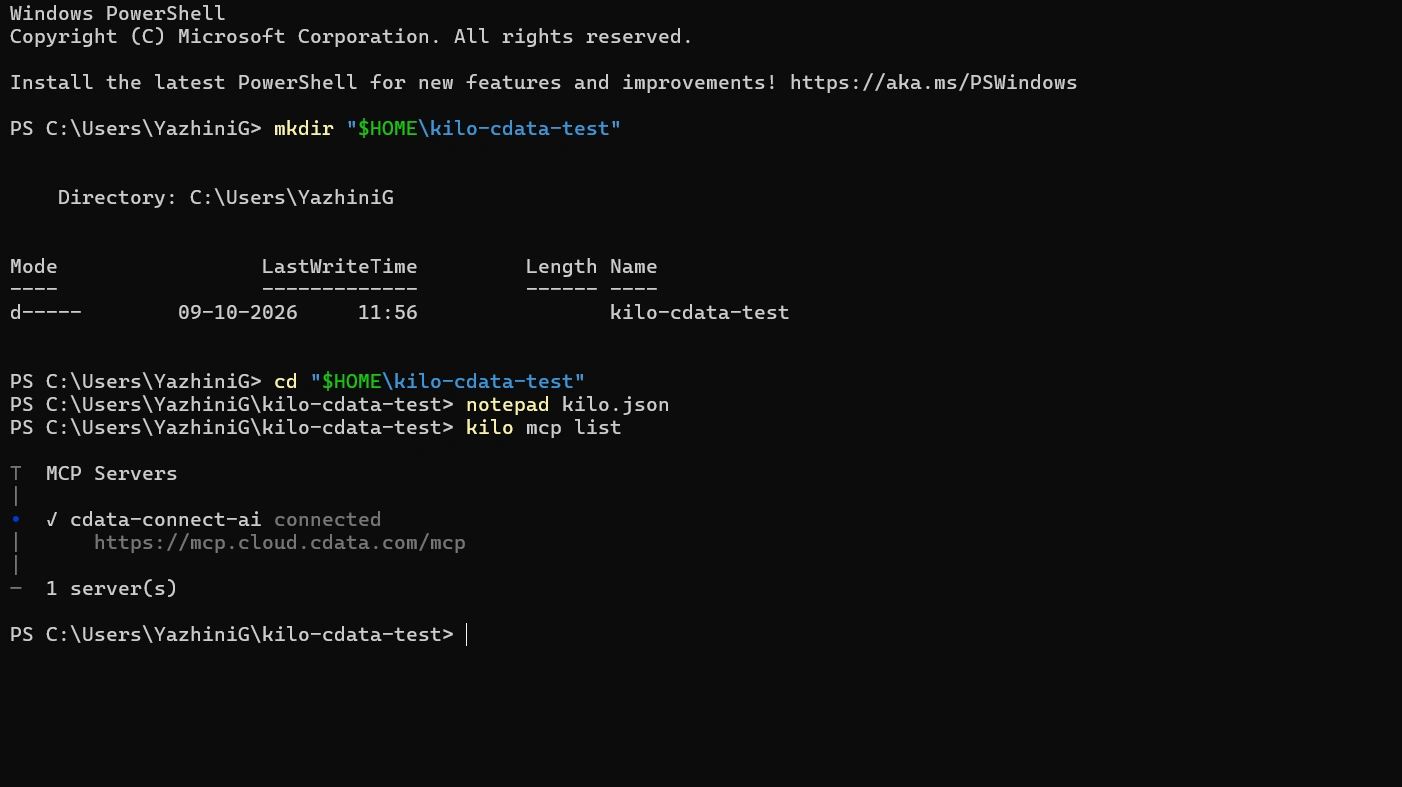
-
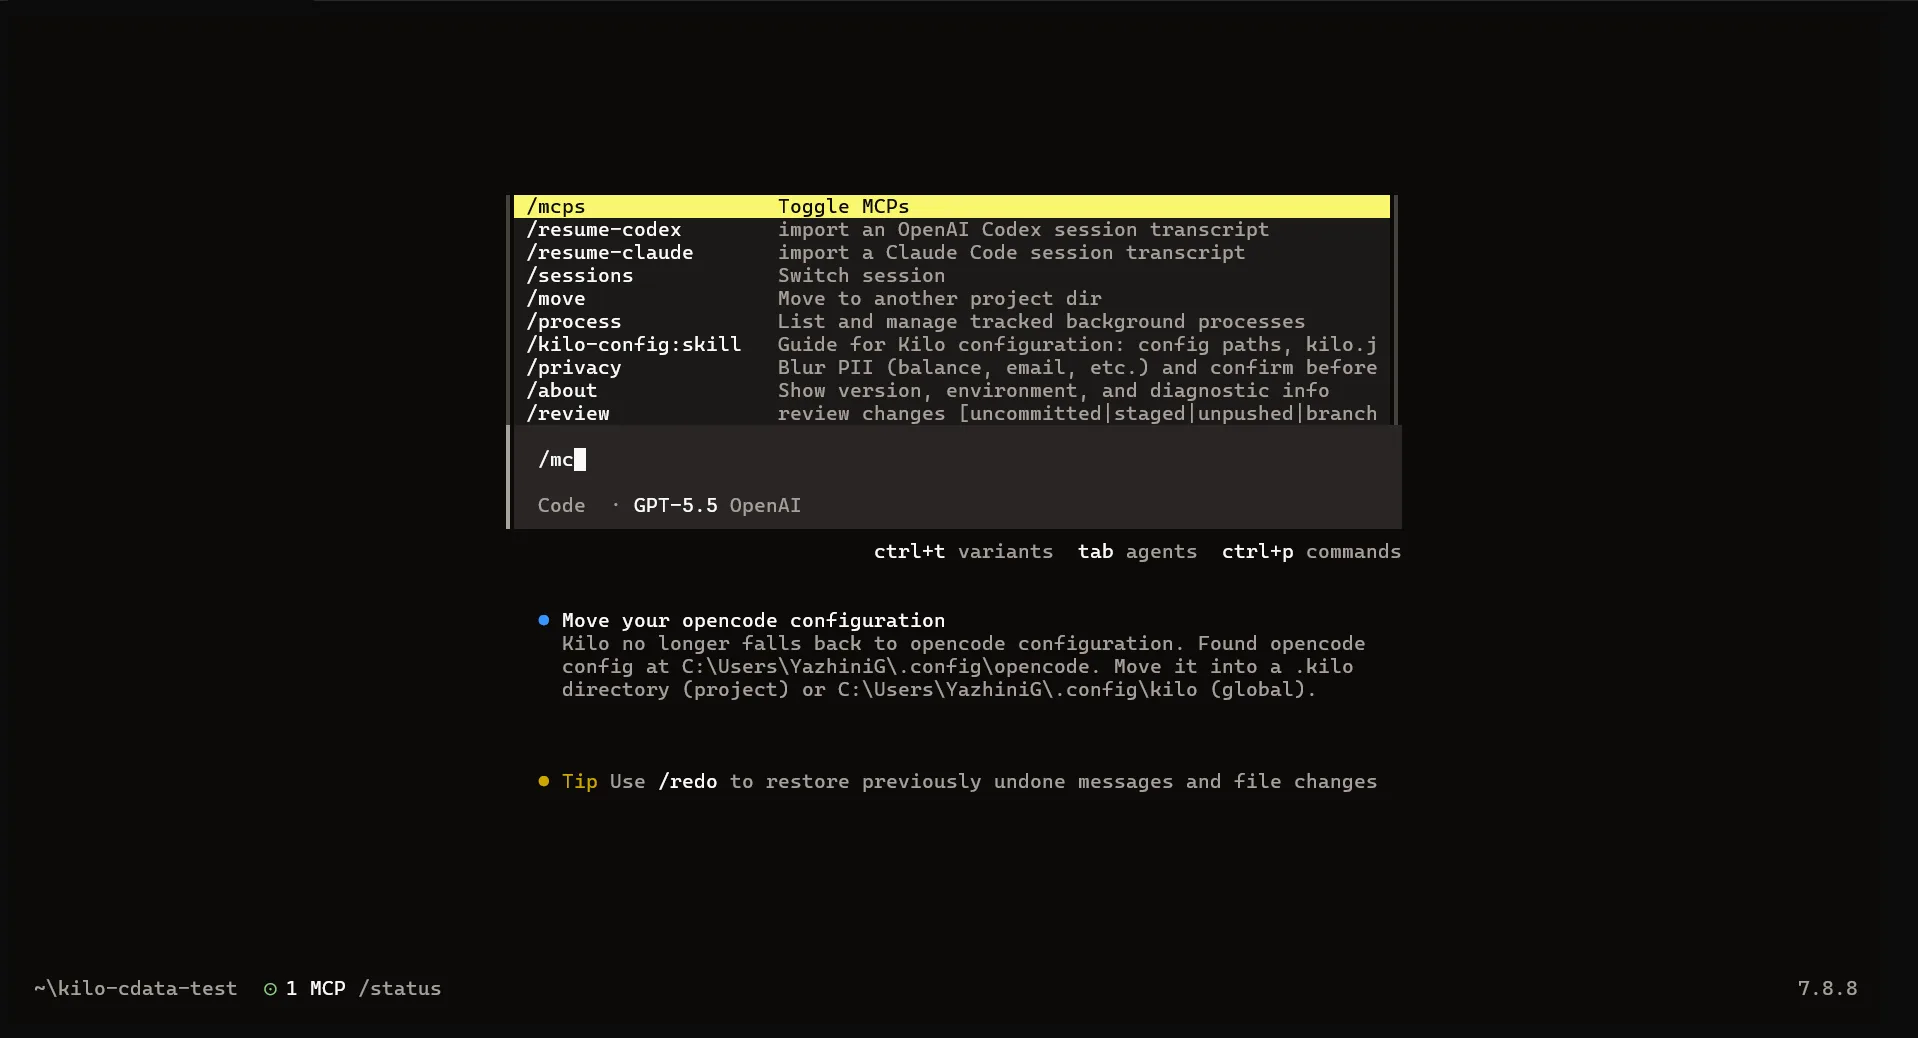
Launch Kilo from the project folder, type /mcps, and press Enter
-
Confirm that cdata-connect-ai is listed as connected and Enabled. If it is not enabled, press Space to toggle it on
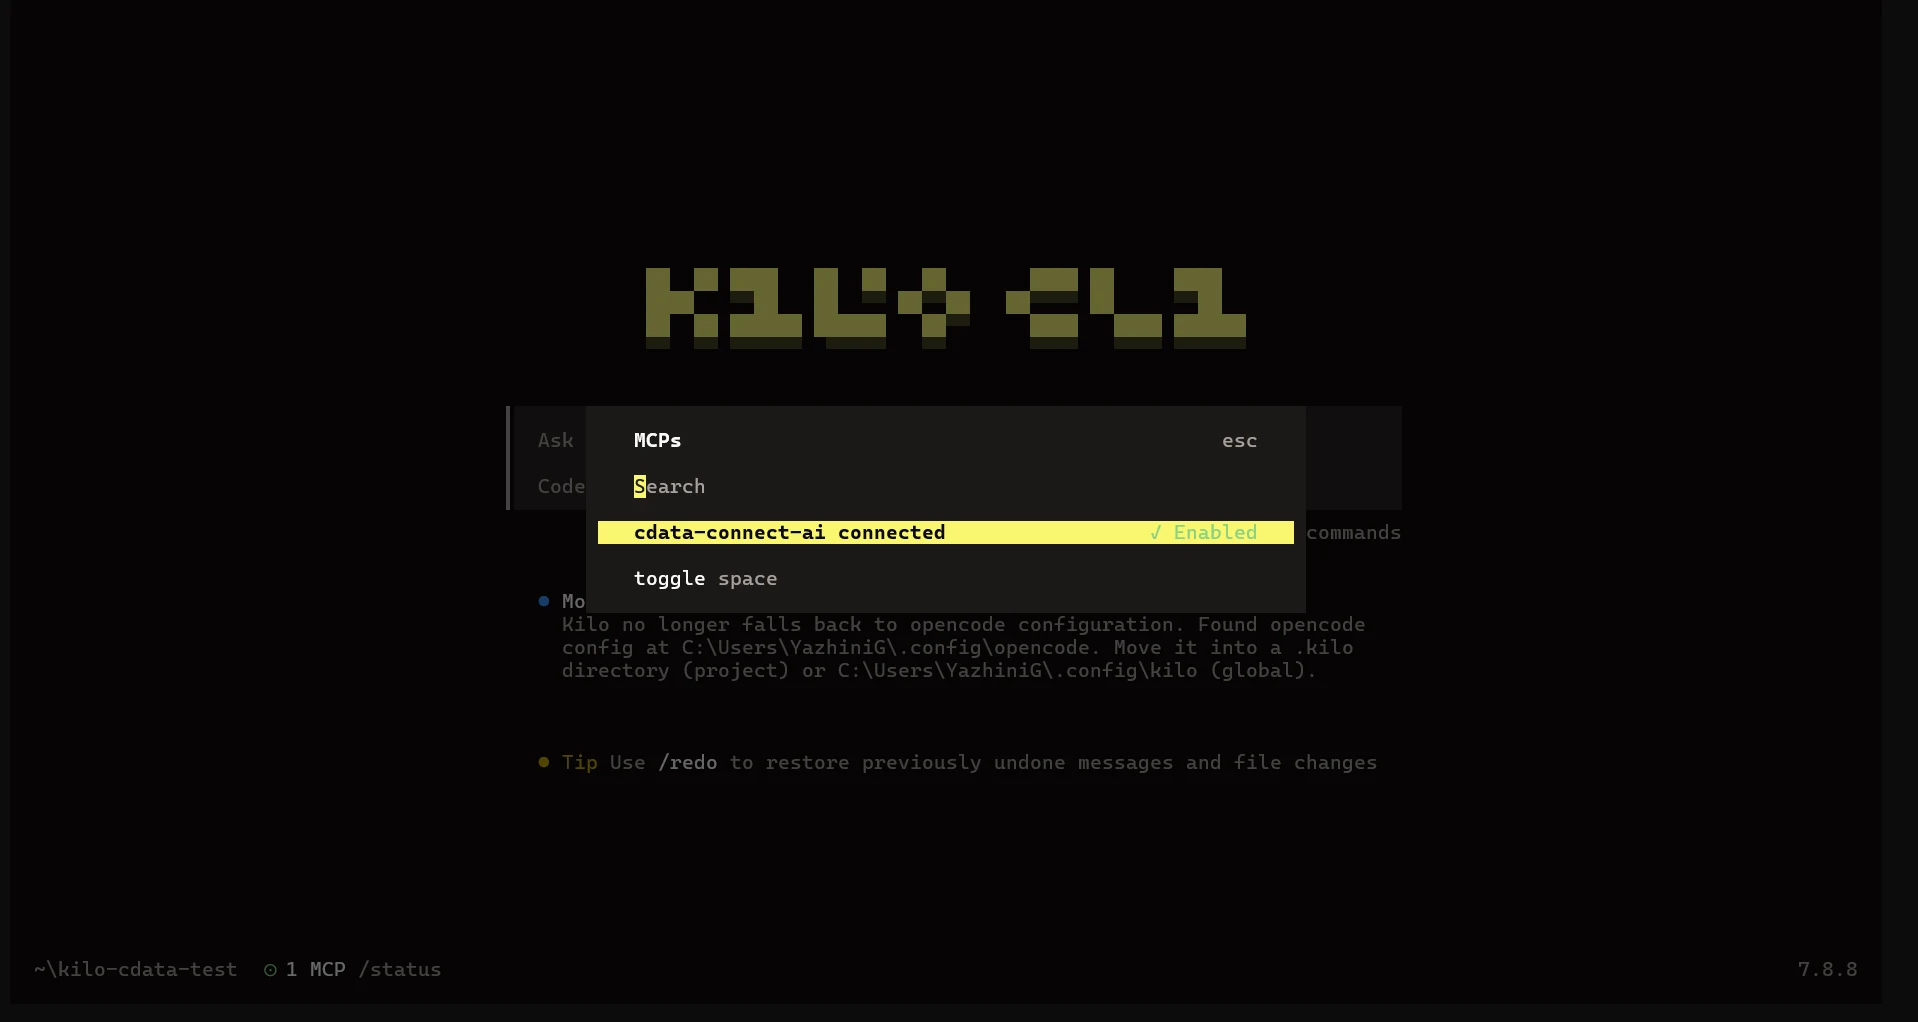
With the MCP server added and enabled, Kilo is ready to work with live TaxJar data through Connect AI.
Step 5: Ask Kilo about live TaxJar data
With the integration complete, use Kilo to interact with live TaxJar data through natural language prompts handled by the configured LLM.
-
Start with a tool discovery prompt to confirm the available MCP tools:
- Show me all the tools available from the cdata-connect-ai MCP server.
- Kilo returns the tools Connect AI exposes to the agent for discovering and retrieving data, such as search_context, getCatalogs, and queryData
-
Then ask questions about your data, for example:
- List catalogs from cdata-connect-ai mcp server.
- What data is available for TaxJar?
- Summarize the most recent records in TaxJar data
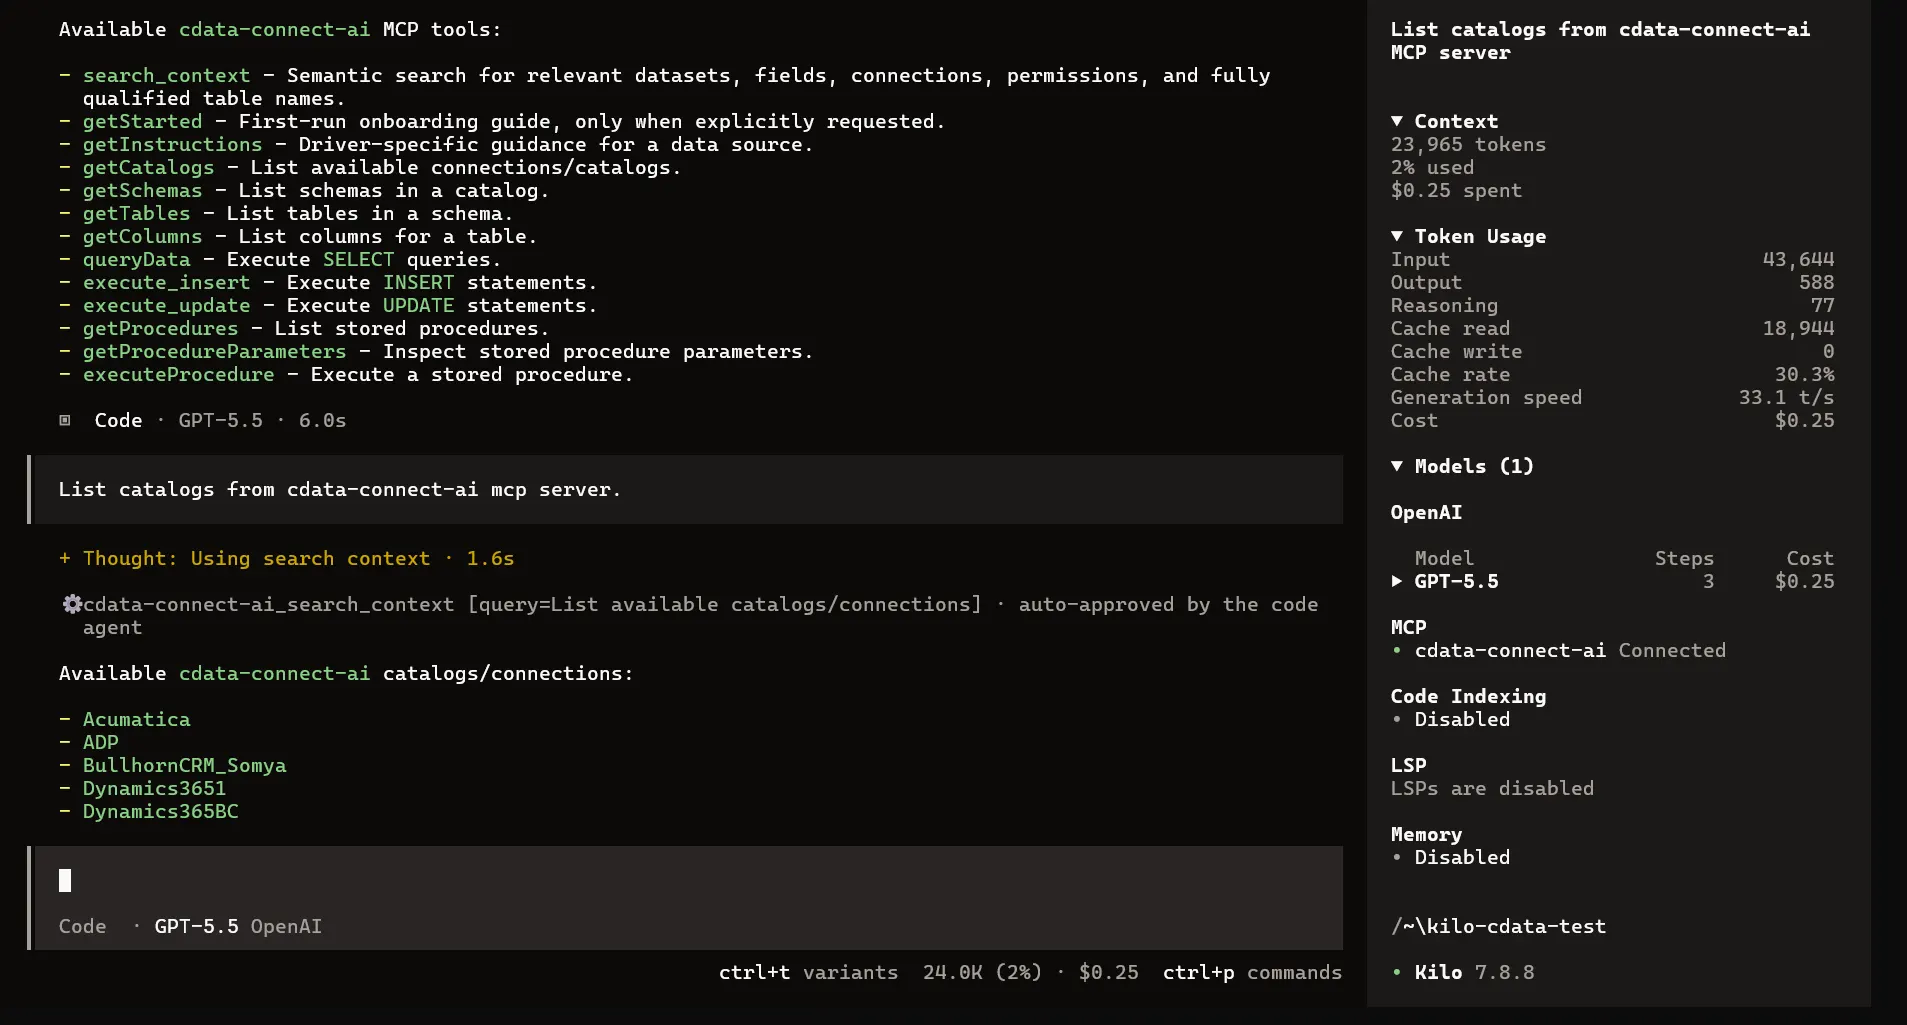
Kilo Code CLI now calls the Connect AI MCP Server and retrieves live TaxJar data through remote MCP tools, directly from your terminal.
Get CData Connect AI
To access hundreds of SaaS, big data, and NoSQL sources directly from your cloud applications, try CData Connect AI today. Download a free 14-day trial of CData Connect AI, and our Support Team is available to help with any questions you have.