






A Dataverse report that works in Power BI Desktop and a Dataverse report that refreshes on its own in PowerBI.com are two different projects. The second one involves a machine you may not control, a tenant setting you may not own, and a sign-in prompt that expects a person at a keyboard. Sorting that out before you start saves a few days of back and forth.
The CData Power BI Connector for Microsoft Dataverse installs a data source name (DSN) that Power BI Desktop and the on-premises data gateway both use. With the pieces below in place, the Power BI work itself is short.
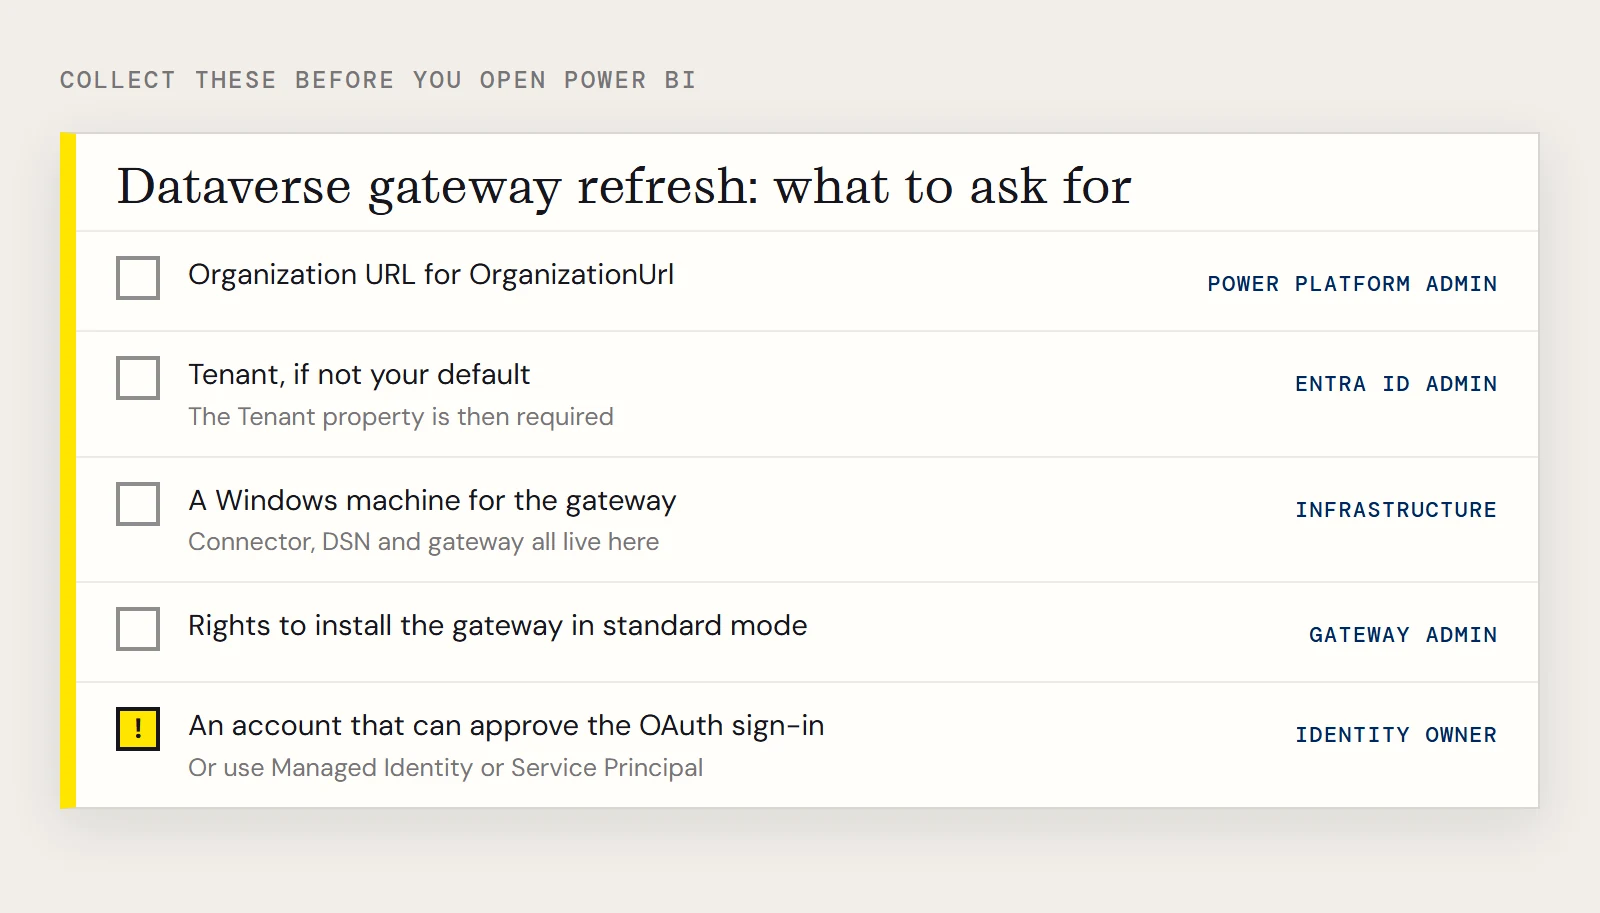
What to collect before you open Power BI
| You need | From whom | Why |
|---|---|---|
| The organization URL | Power Platform admin | It goes in the OrganizationUrl property, for example https://myorganization.crm.dynamics.com |
| The tenant, if it isn't your default | Entra ID admin | The Tenant property is required when the organization isn't on your default tenant |
| A Windows machine for the gateway | Infrastructure | The connector, its DSN and the gateway all live on this machine |
| Rights to install and configure the gateway | Gateway admin | Standard mode installs as a service and needs a system DSN |
| An account allowed to consent to the Dataverse sign-in | Whoever owns the identity | The OAuth window opens in a browser and someone has to approve it |
If the last row is a sticking point, note that the driver also supports Azure Managed Service Identity and Azure Service Principal authentication, with a client secret or a certificate. Those options suit a gateway that nobody is going to sit in front of, and your identity team can tell you which one they'd rather issue.
Configure the DSN
Open the ODBC Data Source Administrator from the Start menu and pick the version that matches your Power BI Desktop bitness, either 32-bit or 64-bit. The connector installer creates a DSN, and you can configure it in place or rename it. The installer and the gateway pages refer to it as "CData Power BI CDS" or "CData Power BI Microsoft Dataverse", so use whatever name you see in the list and keep it consistent later.
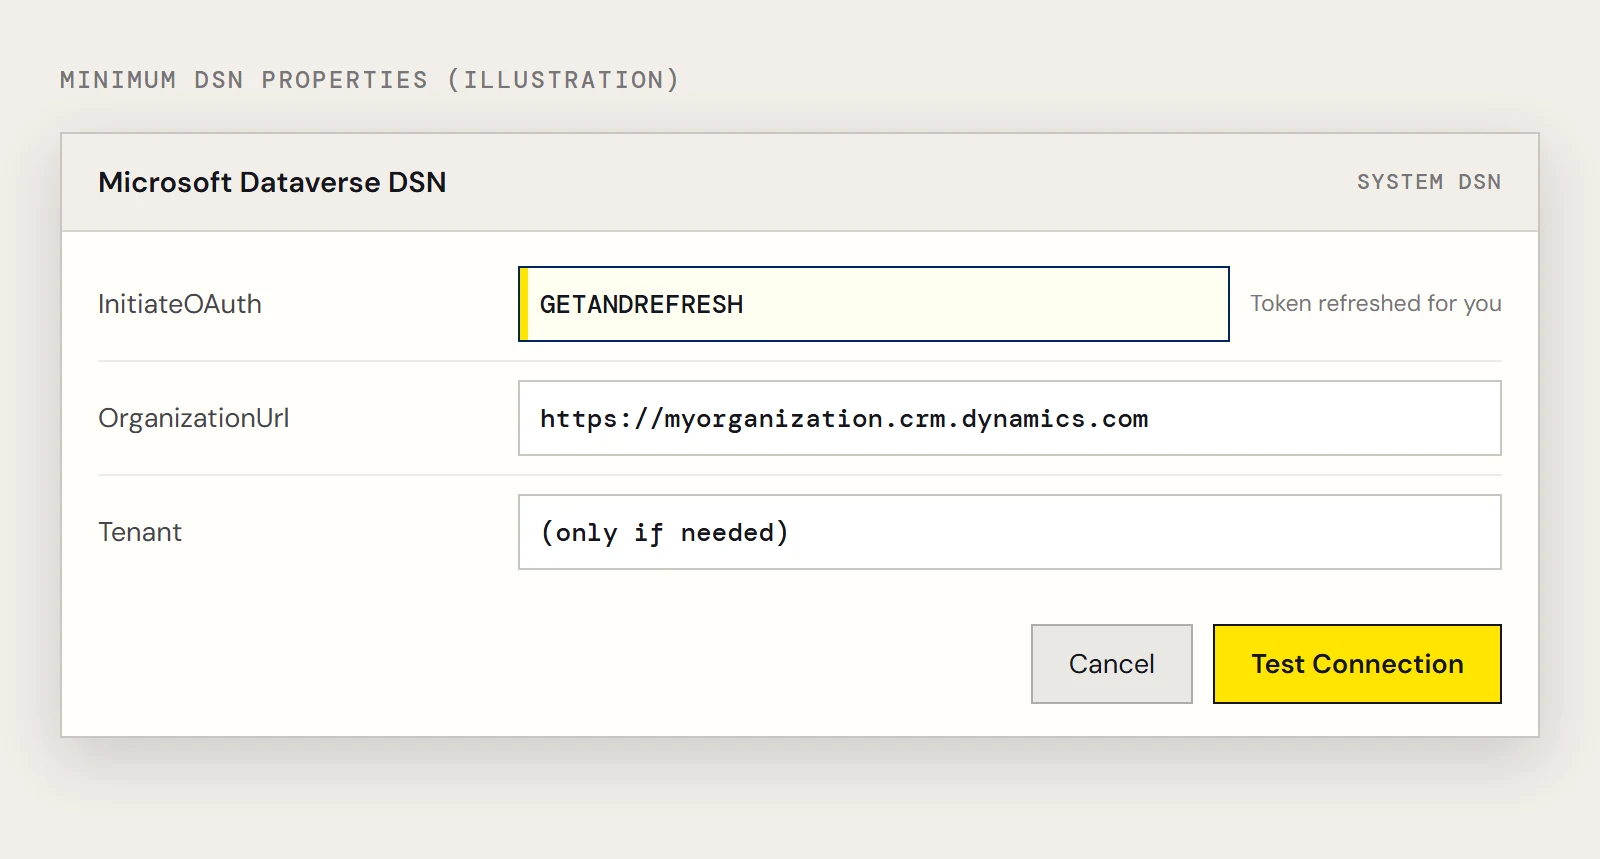
The minimum properties are short:
InitiateOAuth=GETANDREFRESH;OrganizationUrl=https://myorganization.crm.dynamics.com;GETANDREFRESH runs the OAuth exchange once and then refreshes the token for you, so you don't paste an access token by hand. Add Tenant only if you need it. The first connection opens the Dataverse sign-in page in your default browser; log in and grant permissions, and the process finishes by itself.
Load a table and publish
In Power BI Desktop choose Get Data, pick the CData Dataverse connector, select the DSN, and choose Import. Expand the folder, open a schema and tick a table such as Accounts. If you want to shape the data first, click Edit and filter in the Query Editor. Power BI records those steps and adjusts the query sent to Dataverse, so you can keep the load small. The equivalent SQL looks like this:
SELECT AccountId, Name
FROM Accounts
WHERE Name = 'MyAccount'
Build your visuals, then click Publish on the Home ribbon and choose the workspace.
Prepare the gateway
Install the gateway in standard mode, which is the recommended option, and sign in. Name it and set a recovery key. Standard mode needs a system DSN, so check that the Dataverse DSN is a system DSN and not a user one.
In the Connectors step, choose the folder the gateway will read. Copy the connector's .pqx files from C:\Users\USERNAME\Documents\Power BI Desktop\Custom Connectors\ into that folder. The gateway service runs as NT SERVICE\PBIEgwService, so that account must be able to read the folder. When it's right, an entry named CData.PowerBI.CDS appears in the Connectors list.
Raise one caveat with your reviewer. The gateway service has no browser session, so the first OAuth consent usually happens when you test the DSN interactively on the gateway machine. How the saved token reaches the service account, and when it expires, depends on your environment. Test it before you tell anyone it's finished.
Bind the dataset and schedule it
- In PowerBI.com open the settings menu, choose Manage Gateways and select your gateway.
- Tick the option that lets users' custom data connectors refresh through this gateway cluster, then click Apply.
- Add a data source. Set the type to the CData Power BI Connector for Microsoft Dataverse and enter the system DSN name.
- Open the dataset's Settings in your workspace, enable the gateway connection and select your gateway. If the data source isn't picked up, use Manually add to gateway, enter a connection name and the same Data Source Name, choose Anonymous as the authentication method, set a privacy level and click Create.
- Click Refresh Now to prove it works, then open Schedule Refresh and choose the frequency.
Credentials sit in the DSN, which is why the gateway data source uses Anonymous authentication.
If the data should leave Dataverse
Live queries against Dataverse suit dashboards that need current numbers. For heavy history or joins with other systems, you can replicate the entities to a warehouse with CData Sync and point Power BI at that copy.
To try the Dataverse connection yourself, download the CData Power BI Connector for Microsoft Dataverse.
Ready to get started?
Download a free trial of the Microsoft Dataverse Power BI Connector to get started:
Download NowLearn more:
 Microsoft Dataverse Power BI Connector
The fastest and easiest way to connect Power BI to Microsoft Dataverse data. Includes comprehensive high-performance data access, real-time integration, extensive metadata discovery, and robust SQL-92 support.