How to integrate ActiveTrail with Apache Airflow

Apache Airflow supports the creation, scheduling, and monitoring of data engineering workflows. When paired with the CData API Driver for JDBC, Airflow can work with live ActiveTrail data. This article describes how to connect to and query ActiveTrail data from an Apache Airflow instance and store the results in a CSV file.
With built-in optimized data processing, the CData JDBC driver offers unmatched performance for interacting with live ActiveTrail data. When you issue complex SQL queries to ActiveTrail, the driver pushes supported SQL operations, like filters and aggregations, directly to ActiveTrail and utilizes the embedded SQL engine to process unsupported operations client-side (often SQL functions and JOIN operations). Its built-in dynamic metadata querying allows you to work with and analyze ActiveTrail data using native data types.
Configuring the Connection to ActiveTrail
Built-in Connection String Designer
For assistance in constructing the JDBC URL, use the connection string designer built into the ActiveTrail JDBC Driver. Either double-click the JAR file or execute the jar file from the command-line.
java -jar cdata.jdbc.api.jar
Fill in the connection properties and copy the connection string to the clipboard.
Start by setting the Profile connection property to the location of the ActiveTrail Profile on disk (e.g. C:\profiles\ActiveTrail.apip). Next, set the ProfileSettings connection property to the connection string for ActiveTrail (see below).
ActiveTrail API Profile Settings
ActiveTrail uses API key authentication. To obtain an API key:
- Log in to your ActiveTrail account at https://app.activetrail.com
- Navigate to your account settings and locate the API integration section
- Generate or copy your existing API key
After obtaining your API key, set the following connection properties:
- AuthScheme: Set this to APIKey.
- APIKey: Set this to your ActiveTrail API key.

To host the JDBC driver in clustered environments or in the cloud, you will need a license (full or trial) and a Runtime Key (RTK). For more information on obtaining this license (or a trial), contact our sales team.
The following are essential properties needed for our JDBC connection.
| Property | Value |
|---|---|
| Database Connection URL | jdbc:api:RTK=5246...;Profile=C:\profiles\ActiveTrail.apip;AuthScheme=APIKey;APIKey=your_api_key; |
| Database Driver Class Name | cdata.jdbc.api.APIDriver |
Establishing a JDBC Connection within Airflow
- Log into your Apache Airflow instance.
- On the navbar of your Airflow instance, hover over Admin and then click Connections.
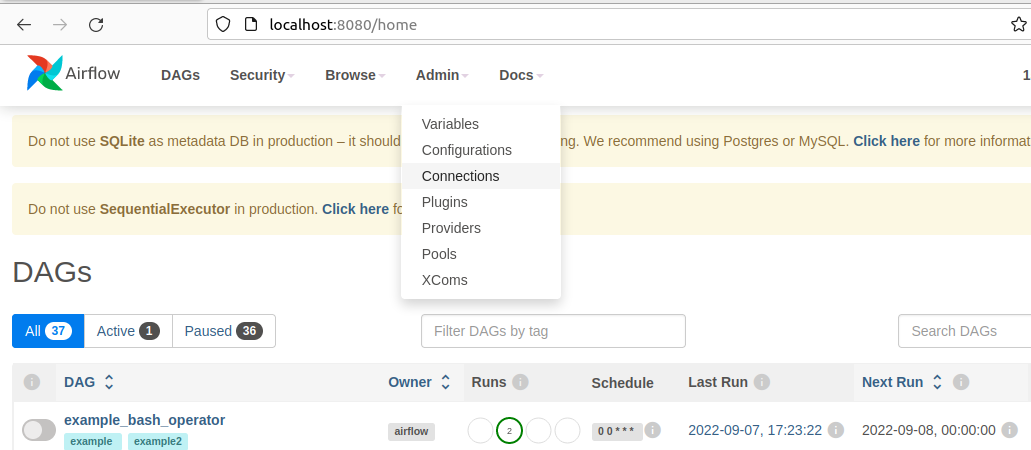
- Next, click the + sign on the following screen to create a new connection.
- In the Add Connection form, fill out the required connection properties:
- Connection Id: Name the connection, i.e.: api_jdbc
- Connection Type: JDBC Connection
- Connection URL: The JDBC connection URL from above, i.e.: jdbc:api:RTK=5246...;Profile=C:\profiles\ActiveTrail.apip;AuthScheme=APIKey;APIKey=your_api_key;)
- Driver Class: cdata.jdbc.api.APIDriver
- Driver Path: PATH/TO/cdata.jdbc.api.jar
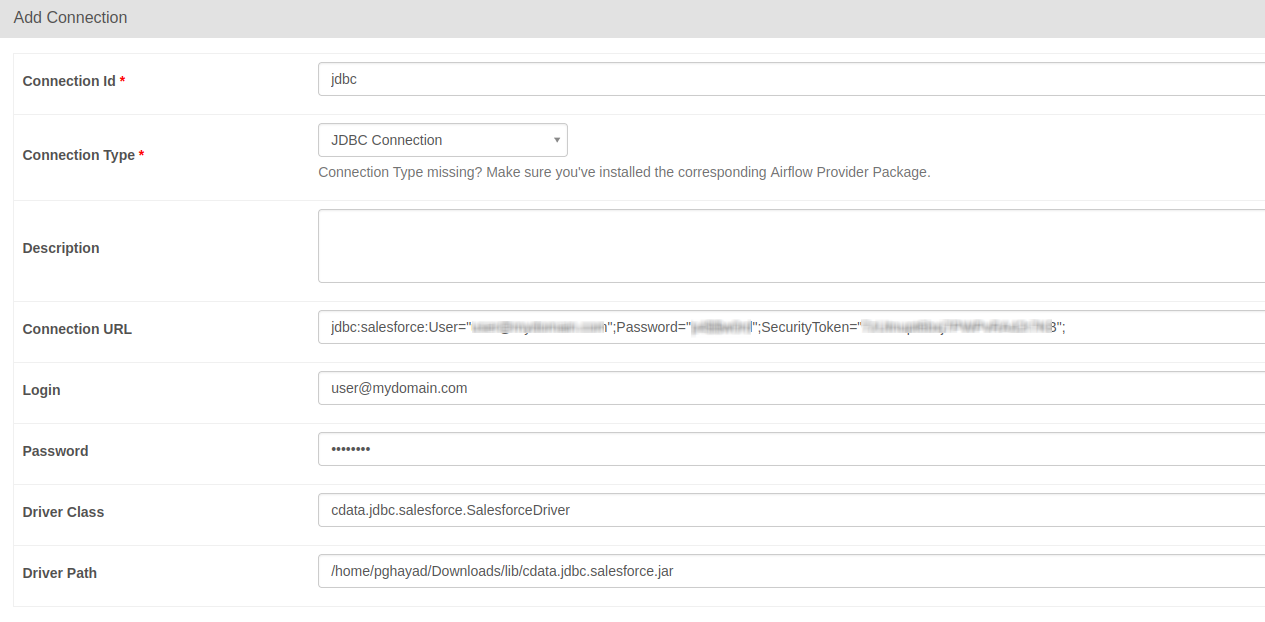
- Test your new connection by clicking the Test button at the bottom of the form.
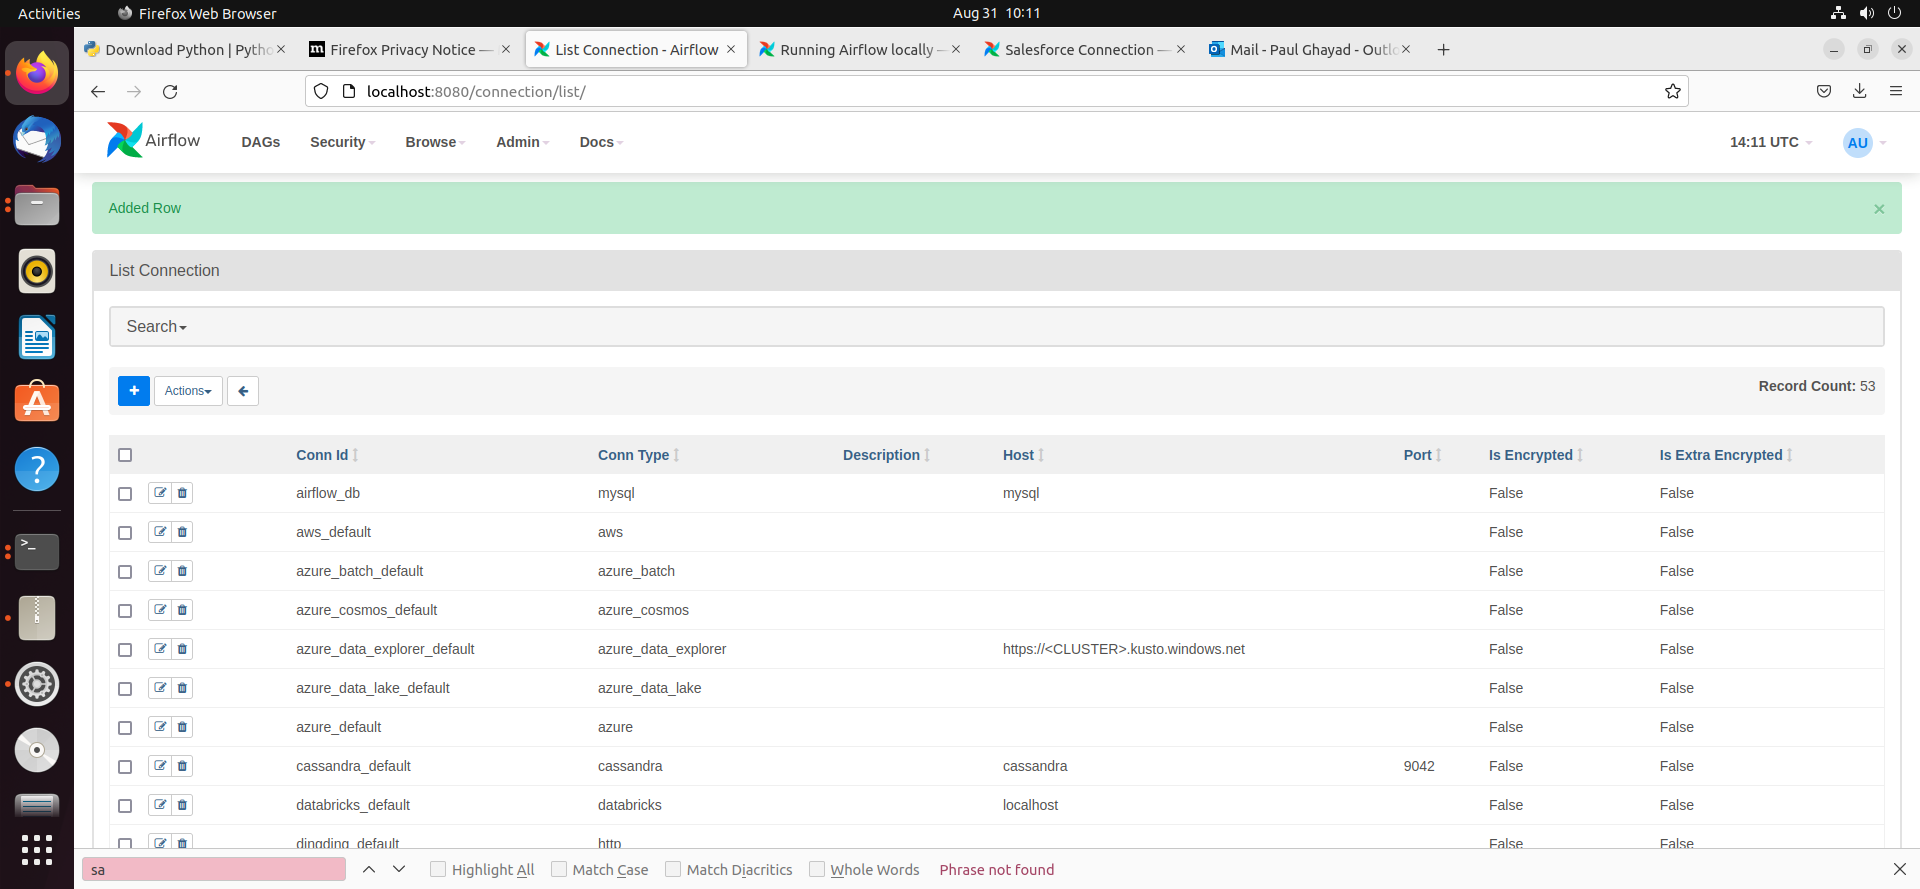
- After saving the new connection, on a new screen, you should see a green banner saying that a new row was added to the list of connections:
Creating a DAG
A DAG in Airflow is an entity that stores the processes for a workflow and can be triggered to run this workflow. Our workflow is to simply run a SQL query against ActiveTrail data and store the results in a CSV file.
- To get started, in the Home directory, there should be an "airflow" folder. Within there, we can create a new directory and title it "dags". In here, we store Python files that convert into Airflow DAGs shown on the UI.
- Next, create a new Python file and title it activetrail_hook.py. Insert the following code inside of this new file:
import time from datetime import datetime from airflow.decorators import dag, task from airflow.providers.jdbc.hooks.jdbc import JdbcHook import pandas as pd # Declare Dag @dag(dag_id="activetrail_hook", schedule_interval="0 10 * * *", start_date=datetime(2022,2,15), catchup=False, tags=['load_csv']) # Define Dag Function def extract_and_load(): # Define tasks @task() def jdbc_extract(): try: hook = JdbcHook(jdbc_conn_id="jdbc") sql = """ select * from Account """ df = hook.get_pandas_df(sql) df.to_csv("/{some_file_path}/{name_of_csv}.csv",header=False, index=False, quoting=1) # print(df.head()) print(df) tbl_dict = df.to_dict('dict') return tbl_dict except Exception as e: print("Data extract error: " + str(e)) jdbc_extract() sf_extract_and_load = extract_and_load() - Save this file and refresh your Airflow instance. Within the list of DAGs, you should see a new DAG titled "activetrail_hook".

- Click on this DAG and, on the new screen, click on the unpause switch to make it turn blue, and then click the trigger (i.e. play) button to run the DAG. This executes the SQL query in our activetrail_hook.py file and export the results as a CSV to whichever file path we designated in our code.

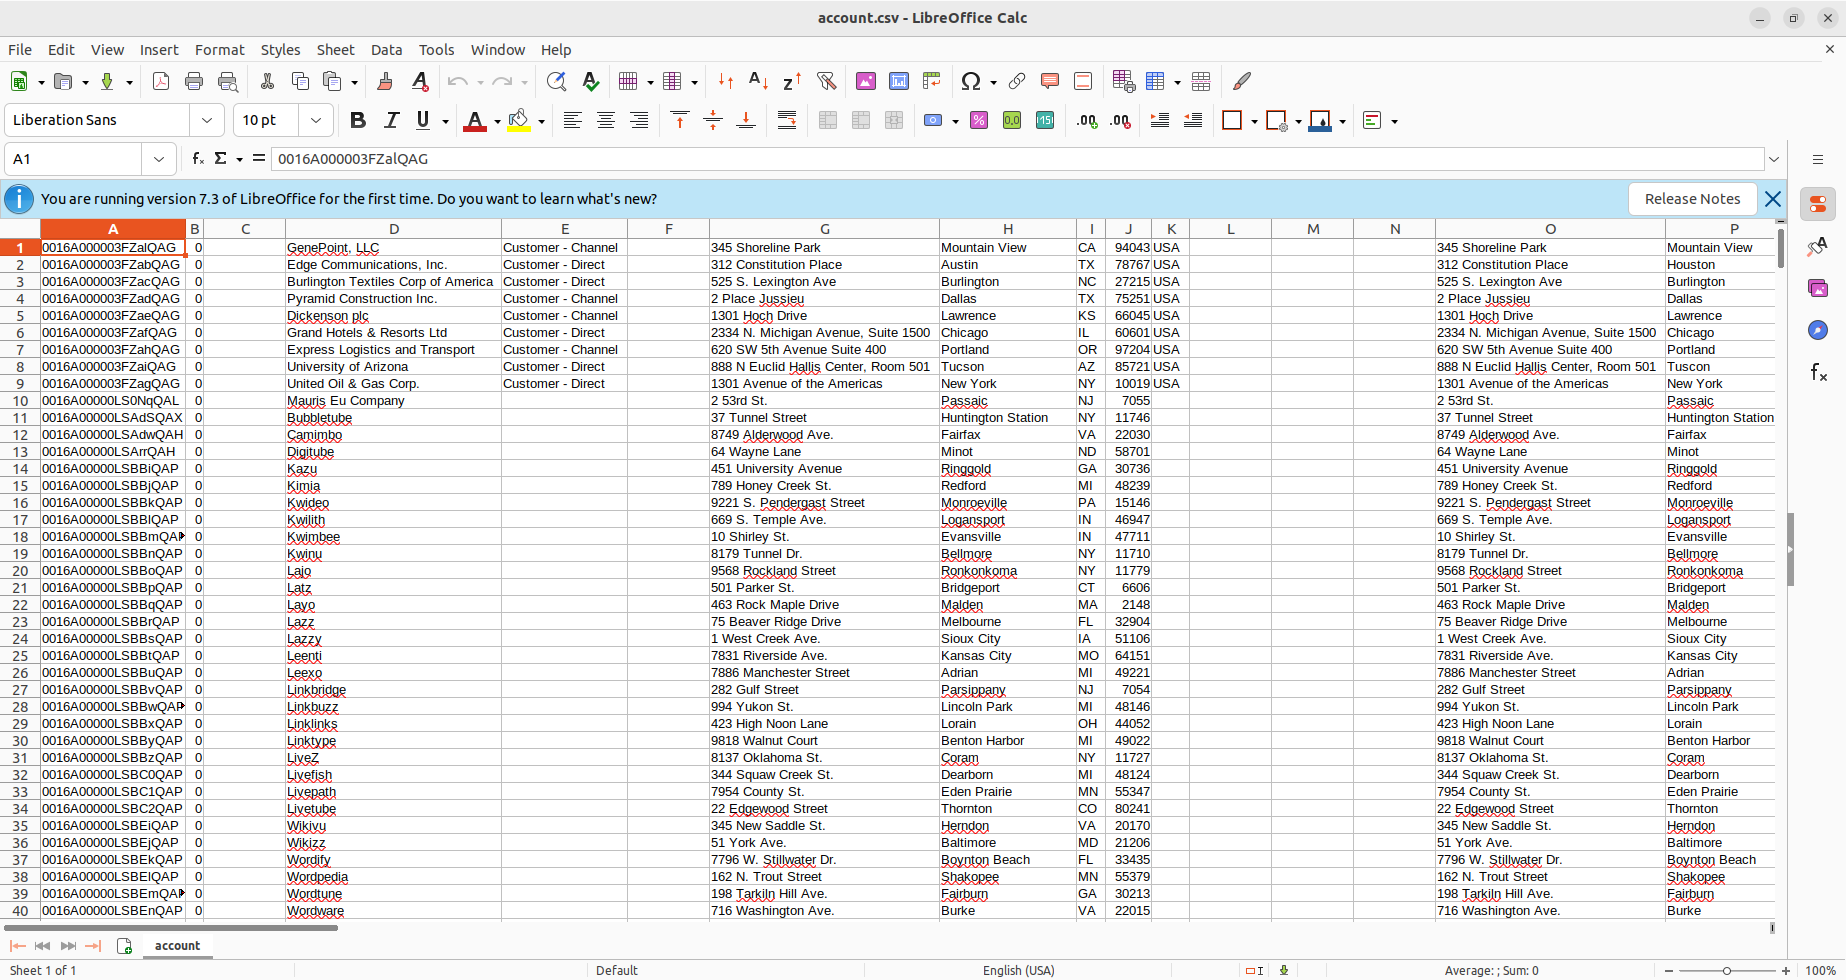
- After triggering our new DAG, we check the Downloads folder (or wherever you chose within your Python script), and see that the CSV file has been created - in this case, account.csv.
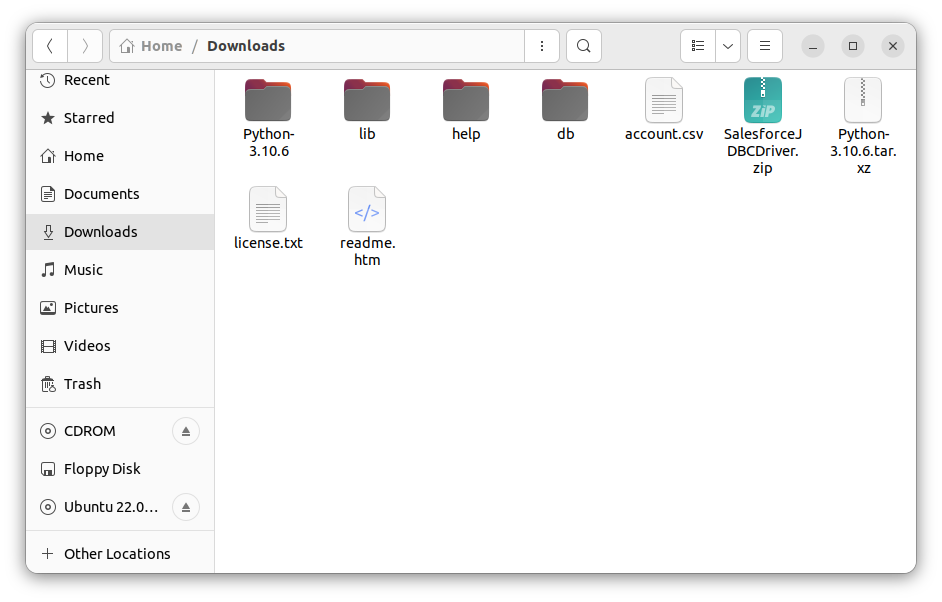
- Open the CSV file to see that your ActiveTrail data is now available for use in CSV format thanks to Apache Airflow.