






How to Easily Query Adobe Experience Manager Data in OpenOffice Base

Apache OpenOffice Base is a versatile, free database tool that makes connecting and managing data easy. With CData ODBC Driver for Adobe Experience Manager, you can seamlessly integrate and query live Adobe Experience Manager data, bringing real-time insights directly into OpenOffice.
This guide simplifies the setup, showing you how to connect Adobe Experience Manager to OpenOffice Base so you can easily generate reports, analyze trends, and make informed decisions right within your familiar workspace.
Overview
Here is an overview of the steps:
- CONFIGURE: Configure the DSN for Adobe Experience Manager data in the CData ODBC Driver for Adobe Experience Manager, using the required connection properties.
- CONNECT: Set up the ODBC connection in OpenOffice Base using the configured DSN.
- IMPORT: Once connected, review the available metadata and tables.
- CREATE: Create a report based on the queried Adobe Experience Manager data data.
Configure the Adobe Experience Manager DSN Using the CData ODBC Driver for Adobe Experience Manager
To start, configure the DSN (Data Source Name) for Adobe Experience Manager data in your system using the CData ODBC Driver for Adobe Experience Manager. Download and install a 30-day free trial with all the features from here.
Once installed, launch the ODBC Data Source Administrator:
- On Windows: Search for ODBC Data Source Administrator in the Start menu and open the application.
- On Mac: Open Applications, go to Utilities, and select ODBC Manager.
- On Linux: Use the command line to launch ODBC Data Source Administrator or use unixODBC if installed.
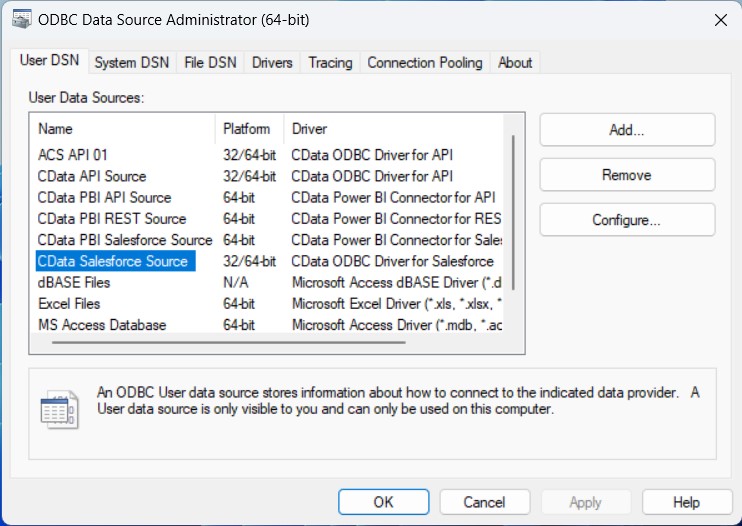
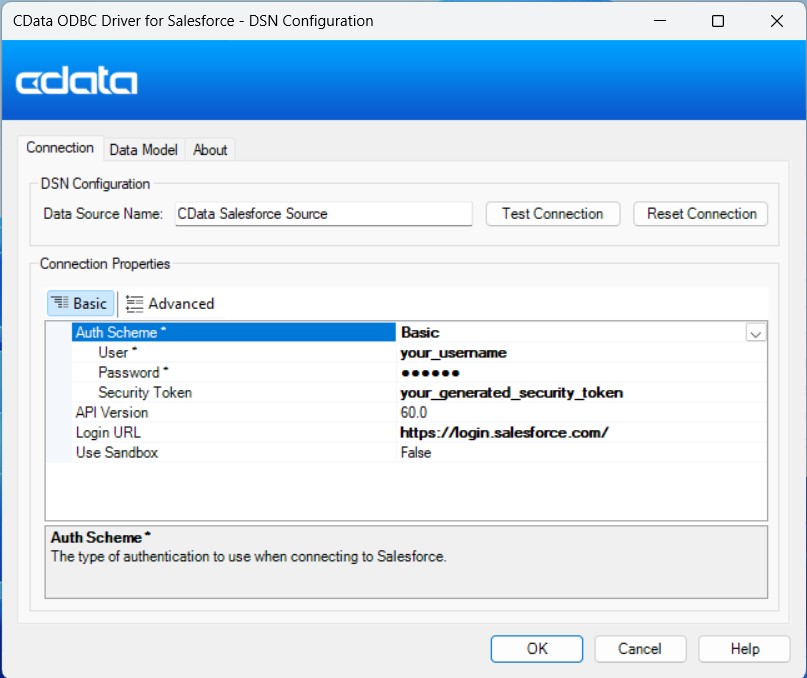
Once launched, double-click on the CData Adobe Experience Manager data Source and enter the required values to establish a connection:
The driver connects to Adobe Experience Manager (AEM) instances that expose the JCR repository over WebDAV. It supports both on-premises AEM and AEM as a Cloud Service deployments.
To establish a connection, set the following properties:
- URL: The WebDAV-enabled JCR server URL.
- AEM as a Cloud Service: https://author-pXXXXX-eXXXXX.adobeaemcloud.com/crx/server
- Local development: http://localhost:4502/crx/server
- User: Your AEM username.
- Password: Your AEM password.
Note: Tables are dynamically generated based on the JCR repository structure. Ensure that the configured user has sufficient permissions to access the required content paths in the AEM repository.
Setup an ODBC Connection in OpenOffice Base
Once you've set up the DSN, it's time to connect to it in OpenOffice Base and start querying data:
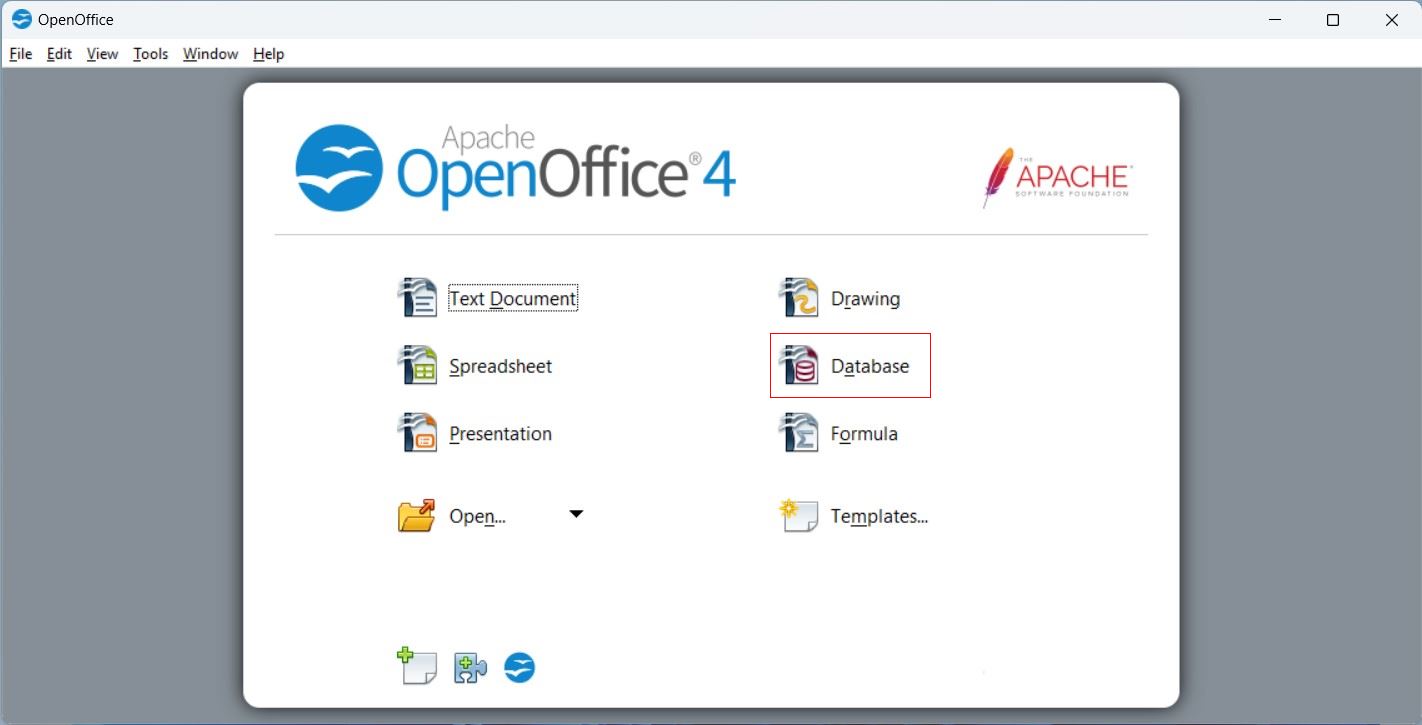
- Launch OpenOffice Base and select Database from the home screen.
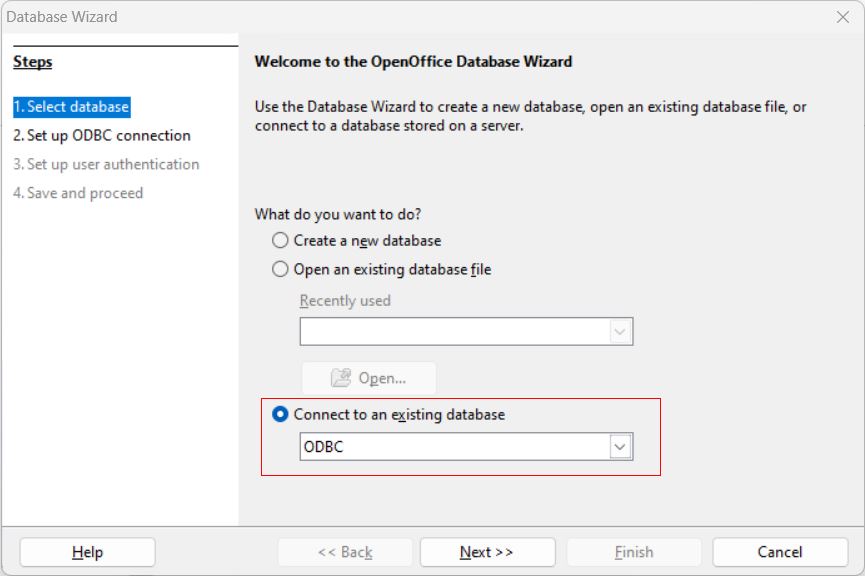
- In the Database Wizard, choose ODBC from the 'Connect to an existing database' option and click Next.
- Click Browse to locate and select the DSN you created, then click OK.
- Enter the username associated with the DSN, click Test Connection to verify, and then click Next.
- Finally, click Finish to save the new database file to your desired directory. This will connect OpenOffice Base to your live Adobe Experience Manager data data, ready for querying and analysis.
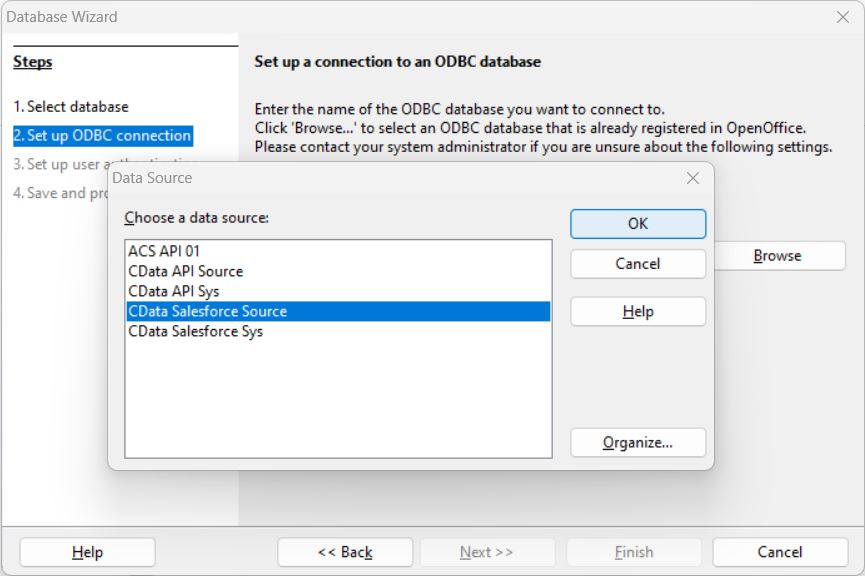
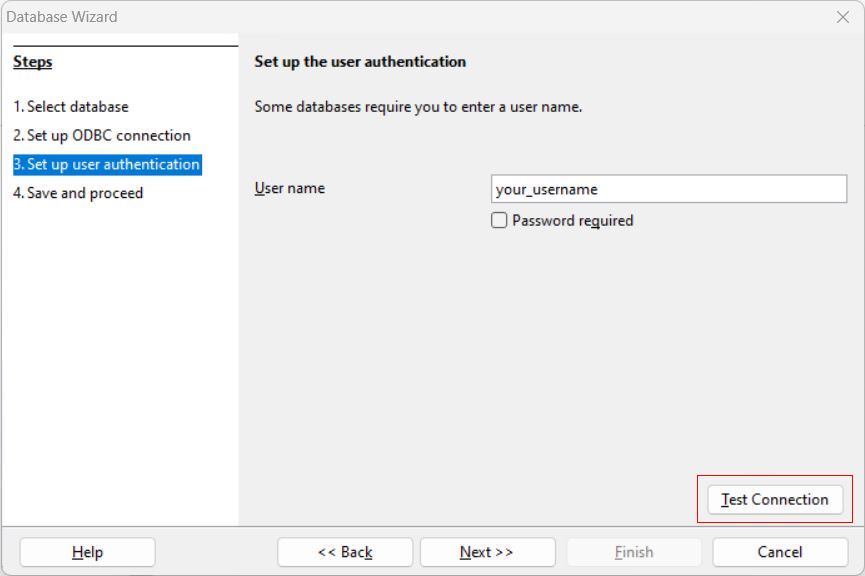
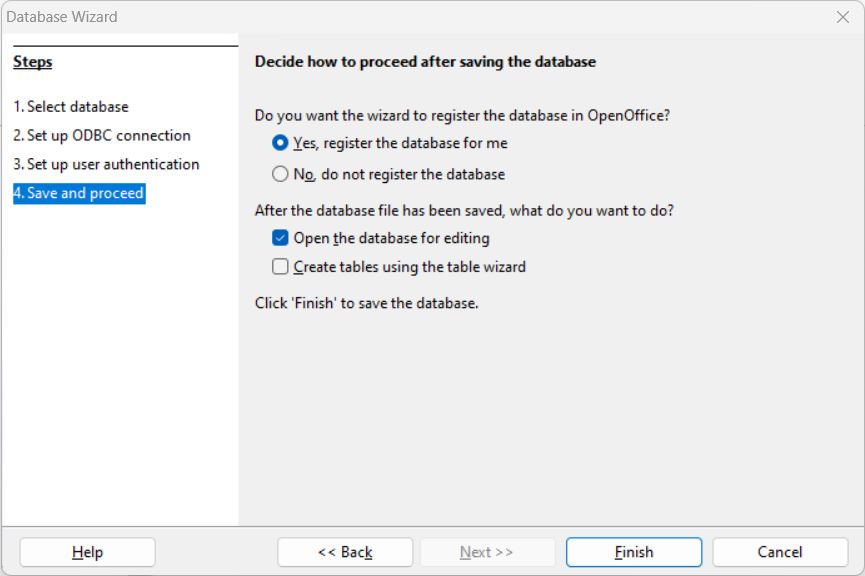
Your connection is now established — ready to query and analyze data seamlessly within OpenOffice Base.
Review the Metadata and Tables
After the database file is created and the connection is established, the table list will automatically display all available Adobe Experience Manager data objects.
- Review the Adobe Experience Manager data Object List: In the left pane, click on Tables to view the Adobe Experience Manager data objects now available within OpenOffice Base.
- View Object Data: Click on any object to view its contents. The Adobe Experience Manager data data will display directly within OpenOffice Base, allowing you to review records and fields with ease.
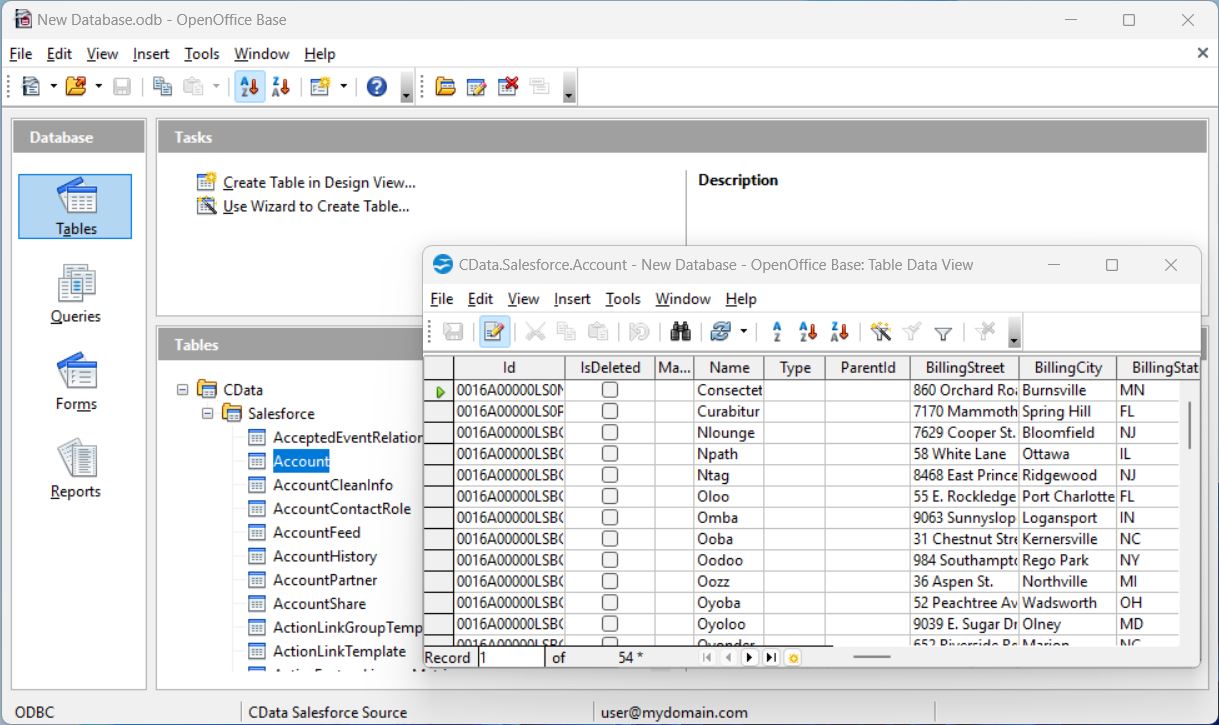
That's it! You have now successfully established a connection to Adobe Experience Manager data in OpenOffice Base, with data readily available for analysis and reporting.
Create a Report
Now, let's generate a report based on your Adobe Experience Manager data data.
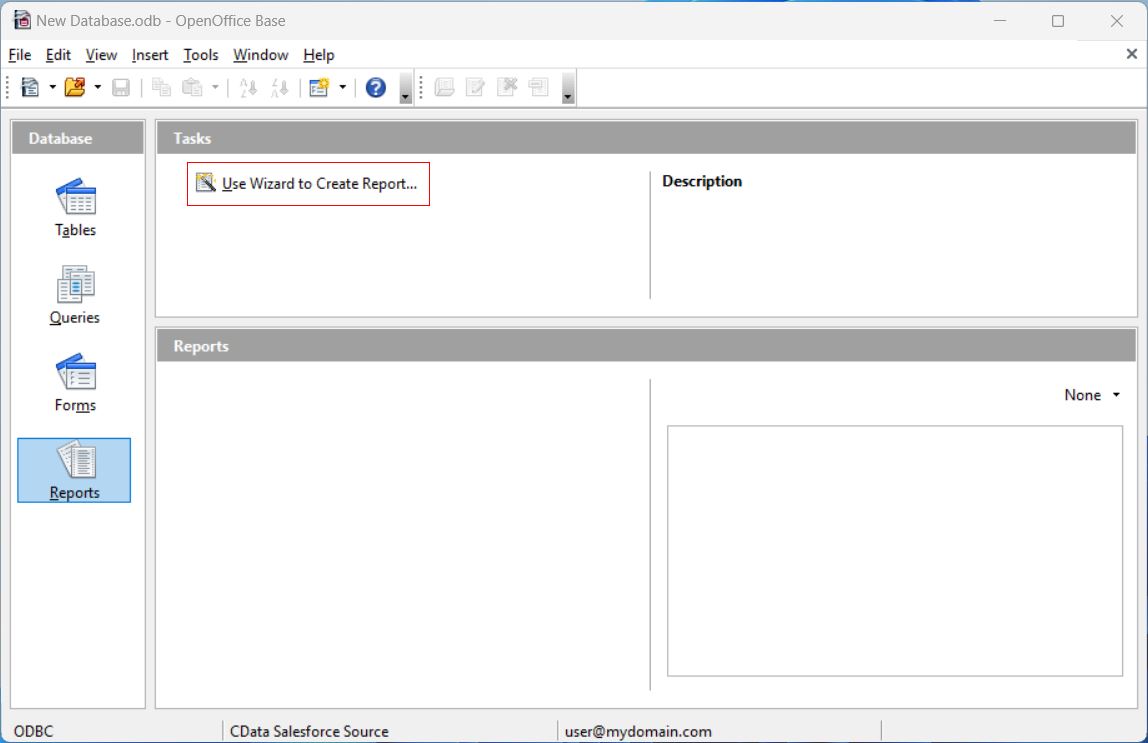
- Open your database and go to the Reports tab, then select Create Report Using Wizard.
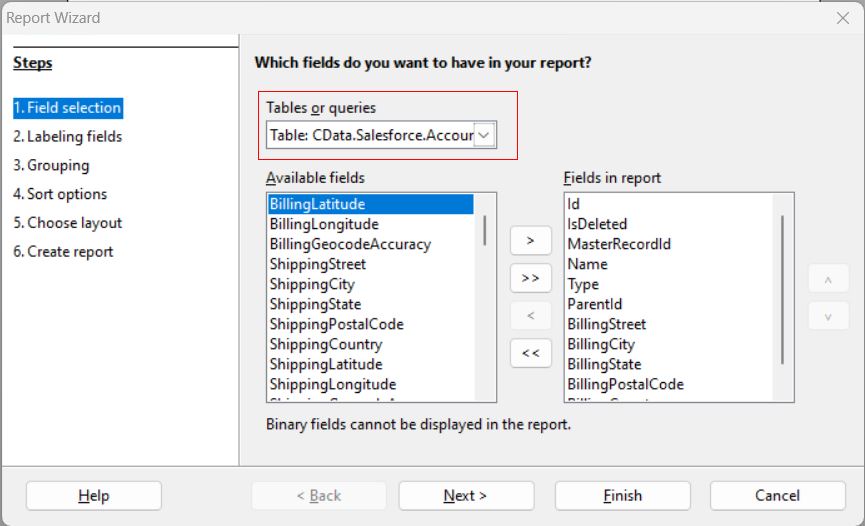
- In the Report Wizard, choose the Adobe Experience Manager data table from the Table or Query section. Select the columns from Available Fields that you want to include in your report and move them to the Fields in Report section using the arrows.
- After configuring the fields, click Finish to generate your report.
- Analyze, adjust, save, and publish the report as needed.
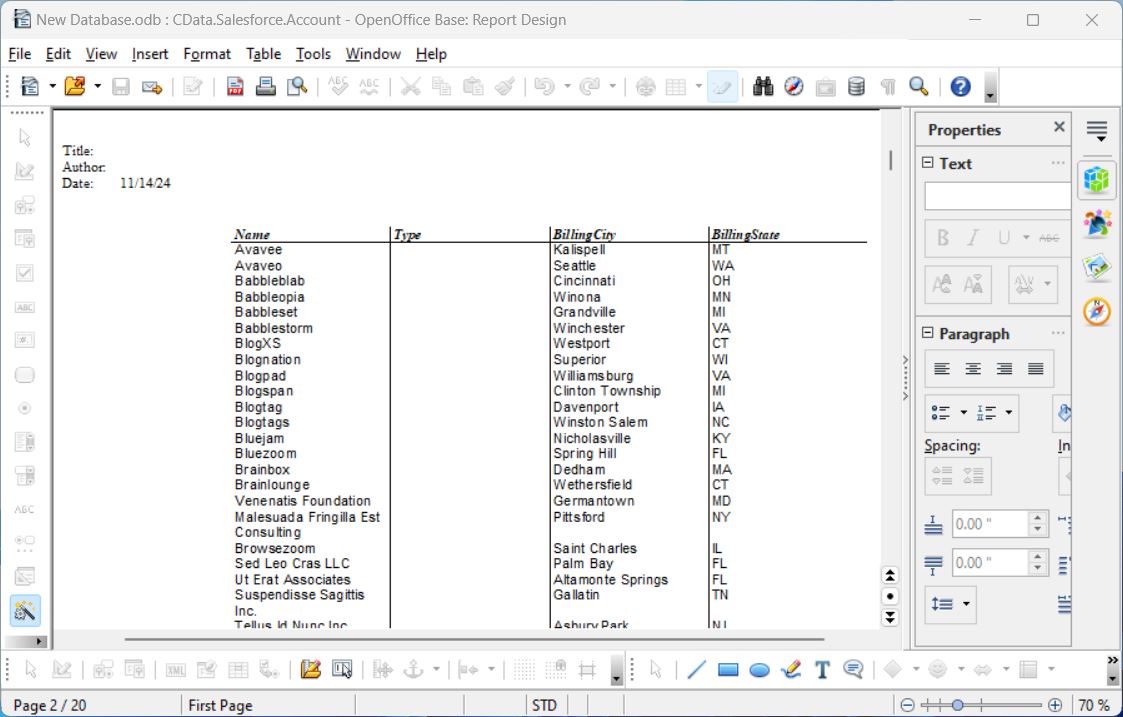
Your report is now created, drawing live data directly from Adobe Experience Manager data, and ready for analysis.
Try CData Free for 30 Days
Experience the power of live Adobe Experience Manager data data at your fingertips and seamlessly integrate it into OpenOffice Base. Start your free trial today!
Ready to get started?
Download a free trial of the Adobe Experience Manager ODBC Driver to get started:
Download NowLearn more:
 Adobe Experience Manager ODBC Driver
The Adobe Experience Manager ODBC Driver is a powerful tool that allows you to connect with live data from Adobe Experience Manager, directly from any applications that support ODBC connectivity.
Access Adobe Experience Manager data like you would a database - read, write, and update Adobe Experience Manager 0, etc. through a standard ODBC Driver interface.