




Build an OLAP Cube in SSAS from ApprovalMax Data

SQL Server Analysis Services (SSAS) serves as an analytical data engine employed in decision support and business analytics, offering high-level semantic data models for business reports and client applications like Power BI, Excel, Reporting Services reports, and various data visualization tools. When coupled with the CData API Driver for ADO.NET, you gain the capability to generate cubes from ApprovalMax data, facilitating more profound and efficient data analysis.
In this article, we will guide you through the process of developing and deploying a multi-dimensional model of ApprovalMax data by creating an Analysis Services project in Visual Studio. To proceed, ensure that you have an accessible SSAS instance and have installed the ADO.NET Provider.
Creating a Data Source for ApprovalMax
Start by creating a new Analysis Service Multidimensional and Data Mining Project in Visual Studio. Next, create a Data Source for ApprovalMax data in the project.
- In the Solution Explorer, right-click Data Source and select New Data Source.
- Opt to create a data source based on an existing or new connection and click New.
- In the Connection Manager, select CData API Driver for ADO.NET, enter the necessary connection properties, and click Next.
Start by setting the Profile connection property to the location of the ApprovalMax Profile on disk (e.g. C:\profiles\ApprovalMax.apip). Next, set the ProfileSettings connection property to the connection string for ApprovalMax (see below).
ApprovalMax API Profile Settings
To authenticate to ApprovalMax and connect to your own data or to allow other users to connect to their data, the ApprovalMax Public API requires the OAuth 2.0 authorization code flow.
First, you will need to register an OAuth application with ApprovalMax. Sign in to the ApprovalMax Developer Portal (https://developer.approvalmax.com/applications) and create a new application. Your OAuth application will be assigned a Client ID and a Client Secret, and you must register at least one Redirect URI (Callback URL).
A Premium ApprovalMax subscription (or active trial) is required to use the Public API.
After setting the following connection properties, you are ready to connect:
- AuthScheme: Set this to OAuth.
- InitiateOAuth: Set this to GETANDREFRESH. You can use InitiateOAuth to manage the process to obtain the OAuthAccessToken.
- OAuthClientId: Set this to the Client ID that is shown in your application settings on the ApprovalMax Developer Portal.
- OAuthClientSecret: Set this to the Client Secret that is shown in your application settings on the ApprovalMax Developer Portal.
- CallbackURL: Set this to the Redirect URI that is registered in your application settings.
- Scope: (Optional) Override the default OAuth scopes. The default value openid offline_access https://www.approvalmax.com/scopes/public_api/read grants read-only access to all tables in this profile and enables refresh tokens. Use the principle of least privilege when narrowing this scope.
The OAuth Authorization URL is https://identity.approvalmax.com/connect/authorize and the Token URL is https://identity.approvalmax.com/connect/token. Both authorization_code and refresh_token grant types are supported.
When you configure the connection, you may also want to set the Max Rows connection property. This will limit the number of rows returned, which is especially helpful for improving performance when designing reports and visualizations.
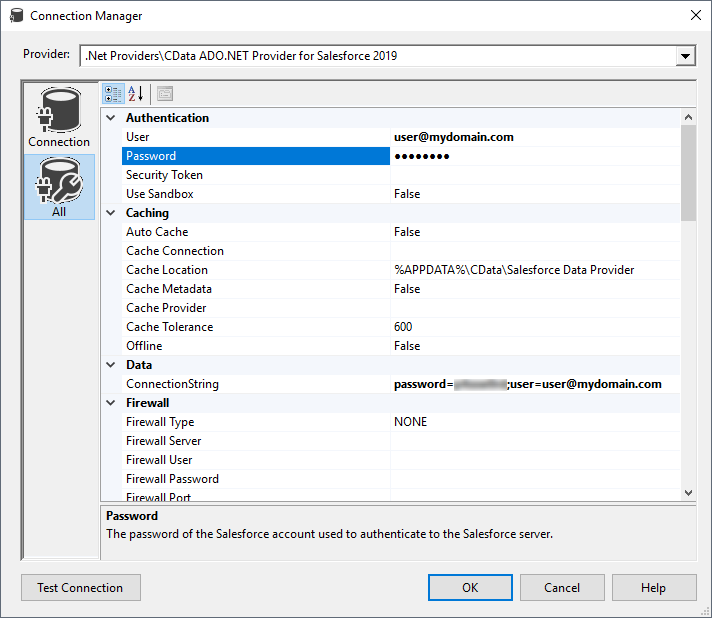
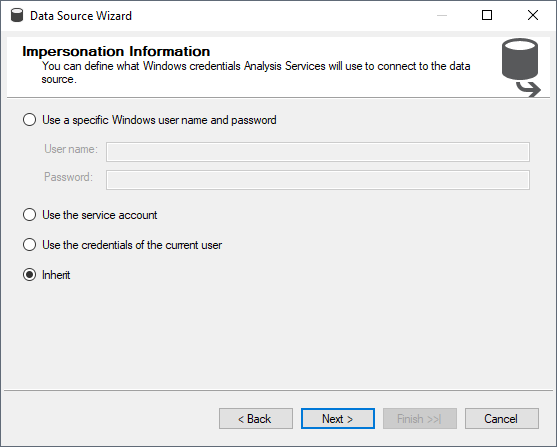
- Set the impersonation method to Inherit and click Next.
- Name the data source (CData ApprovalMax Source) and click Finish.
Creating a Data Source View
After you create the data source, create the data source view.
- In the Solution Explorer, right-click Data Source Views and select New Data Source View.
- Select the data source you just created (CData ApprovalMax Source) and click Next.
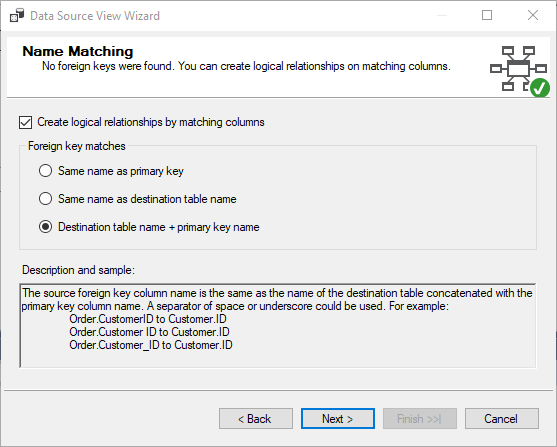
- Choose a foreign key match pattern that matches your underlying data source and click Next.
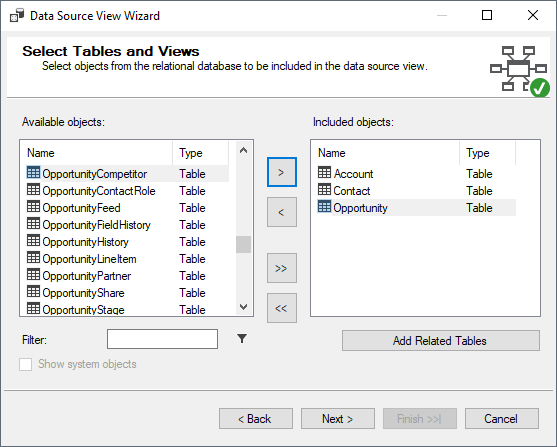
- Select ApprovalMax tables to add to the view and click Next.
- Name the view and click Finish
Based on the foreign key match scheme, relationships in the underlying data will be automatically detected. You can view (and edit) these relationships by double clicking Data Source View.
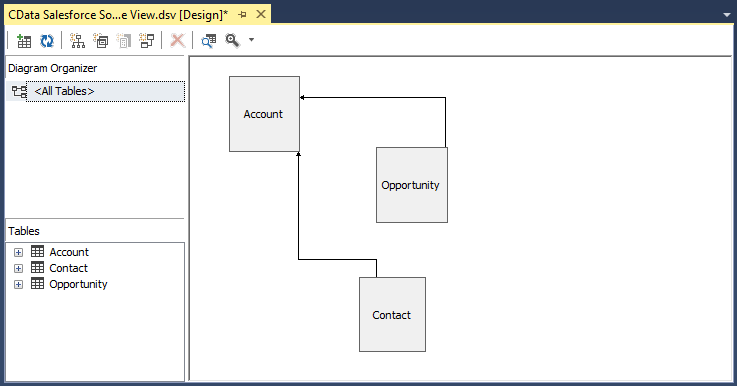
Note that adding a secondary data source to the Data Source View is not supported. When working with multiple data sources, SSAS requires both sources to support remote queries via OpenRowset which is unavailable in the ADO.NET Provider.
Creating a Cube for ApprovalMax
The last step before you can process the project and deploy ApprovalMax data to SSAS is creating the cubes.
- In the Solution Explorer, right-click Cubes and select New Cube
- Select "Use existing tables" and click Next.
- Select the tables that will be used for measure group tables and click Next.
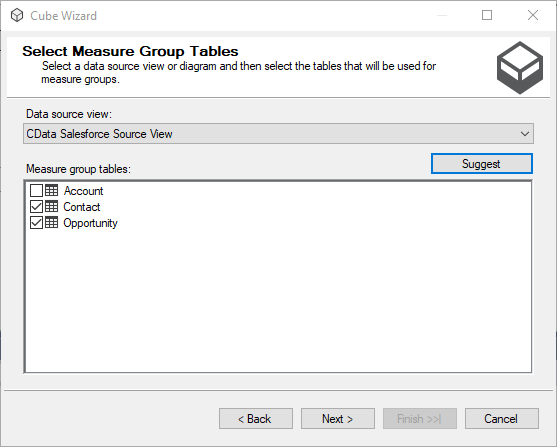
- Select the measures you want to include in the cube and click Next.
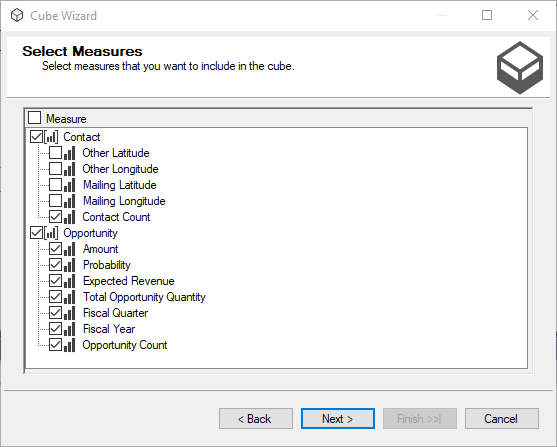
- Select the dimensions to be created, based on the available tables, and click Next.
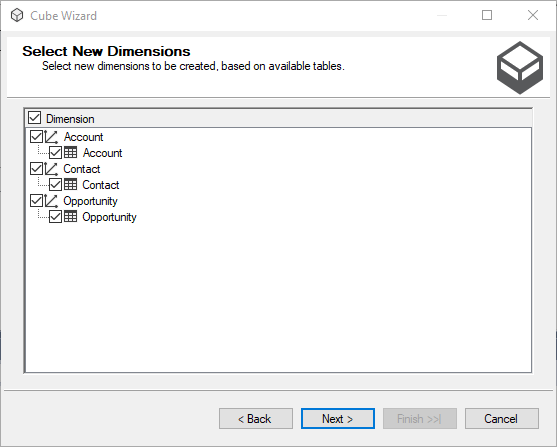
- Review all of your selections and click Finish.
Process the Project
With the data source, data source view, and cube created, you are ready to deploy the cube to SSAS. To configure the target server and database, right-click the project and select properties. Navigate to deployment and configure the Server and Database properties in the Target section.
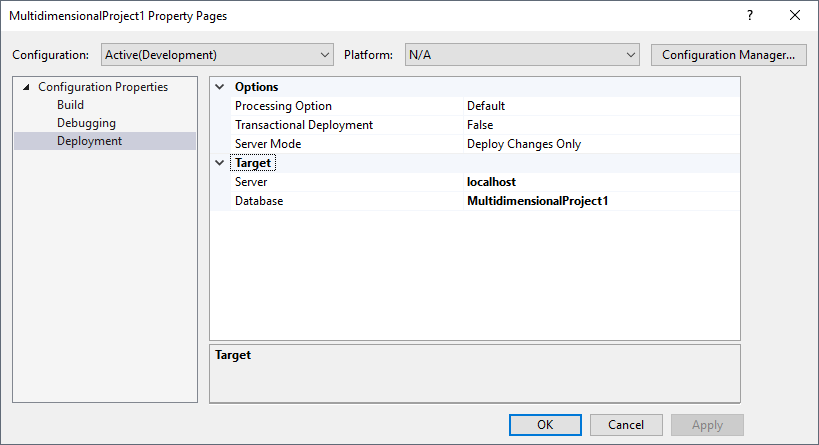
After configuring the target server and database, right-click the project and select Process. You may need to build and deploy the project as a part of this step. Once the project is built and deployed, click Run in the Process Database wizard.
Now you have an OLAP cube for ApprovalMax data in your SSAS instance, ready to be analyzed, reported, and viewed. Get started with a free, 30-day trial of the CData API Driver for ADO.NET.