Connect to ApprovalMax Data in NetBeans

The CData JDBC Driver for ApprovalMax integrates connectivity to live ApprovalMax data in IDEs that support JDBC. The JDBC standard enables you to use built-in data access wizards and other tools supporting rapid development. This article shows how to connect to ApprovalMax data in NetBeans. You will create a connection and load ApprovalMax data in the Table Editor.
Create a JDBC Data Source for ApprovalMax in NetBeans
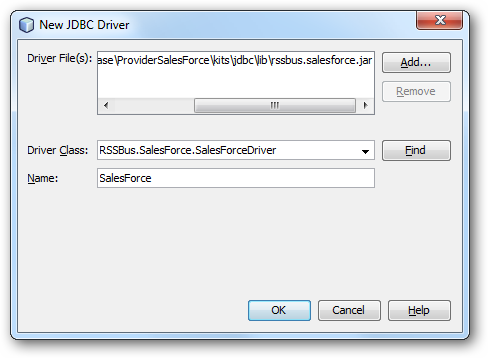
To create the JDBC data source, expand the Database node in the Service window, right-click the Drivers node, and select New Driver. In the New Driver wizard that results, enter the following information:
- Driver File(s): Click Add and, in the file explorer dialog that appears, select the cdata.jdbc.api.jar file. The driver JAR is located in the lib subfolder of the installation directory.
- Driver Class: Click Find to search for the driver class inside the JAR. Then select cdata.jdbc.api.APIDriver from the menu.
- Name: Enter the name for the driver.
Define Connection Parameters
Follow the steps below to define required connection properties:
In the Service window, right-click the Database node and click New Connection.
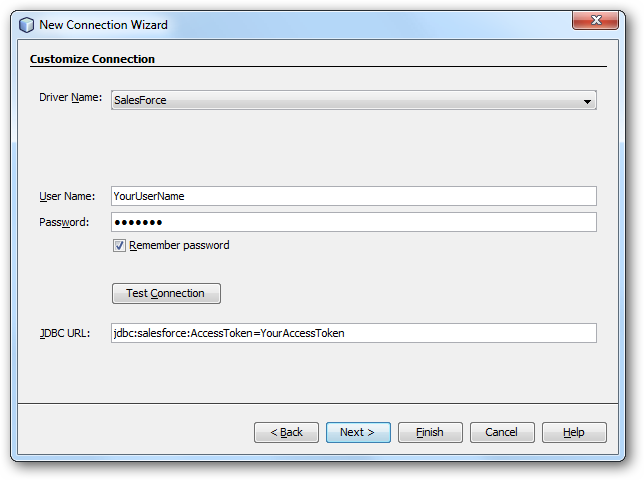
In the New Connection Wizard, enter the following connection properties:
- Driver Name: In the menu, select the CData JDBC Driver for ApprovalMax.
- User Name: Enter the username. This can also be defined in the JDBC URL.
- Password: Enter the password. This can also be defined in the JDBC URL.
JDBC URL: Specify the JDBC URL.
Start by setting the Profile connection property to the location of the ApprovalMax Profile on disk (e.g. C:\profiles\ApprovalMax.apip). Next, set the ProfileSettings connection property to the connection string for ApprovalMax (see below).
ApprovalMax API Profile Settings
To authenticate to ApprovalMax and connect to your own data or to allow other users to connect to their data, the ApprovalMax Public API requires the OAuth 2.0 authorization code flow.
First, you will need to register an OAuth application with ApprovalMax. Sign in to the ApprovalMax Developer Portal (https://developer.approvalmax.com/applications) and create a new application. Your OAuth application will be assigned a Client ID and a Client Secret, and you must register at least one Redirect URI (Callback URL).
A Premium ApprovalMax subscription (or active trial) is required to use the Public API.
After setting the following connection properties, you are ready to connect:
- AuthScheme: Set this to OAuth.
- InitiateOAuth: Set this to GETANDREFRESH. You can use InitiateOAuth to manage the process to obtain the OAuthAccessToken.
- OAuthClientId: Set this to the Client ID that is shown in your application settings on the ApprovalMax Developer Portal.
- OAuthClientSecret: Set this to the Client Secret that is shown in your application settings on the ApprovalMax Developer Portal.
- CallbackURL: Set this to the Redirect URI that is registered in your application settings.
- Scope: (Optional) Override the default OAuth scopes. The default value openid offline_access https://www.approvalmax.com/scopes/public_api/read grants read-only access to all tables in this profile and enables refresh tokens. Use the principle of least privilege when narrowing this scope.
The OAuth Authorization URL is https://identity.approvalmax.com/connect/authorize and the Token URL is https://identity.approvalmax.com/connect/token. Both authorization_code and refresh_token grant types are supported.
Built-in Connection String Designer
For assistance in constructing the JDBC URL, use the connection string designer built into the ApprovalMax JDBC Driver. Either double-click the JAR file or execute the jar file from the command-line.
java -jar cdata.jdbc.api.jarFill in the connection properties and copy the connection string to the clipboard.

A typical JDBC URL is the following:
jdbc:api:Profile=C:\profiles\ApprovalMax.apip;AuthScheme=OAuth;InitiateOAuth=GETANDREFRESH;OAuthClientId=your_client_id;OAuthClientSecret=your_client_secret;CallbackURL=your_callback_url;
Query ApprovalMax Data
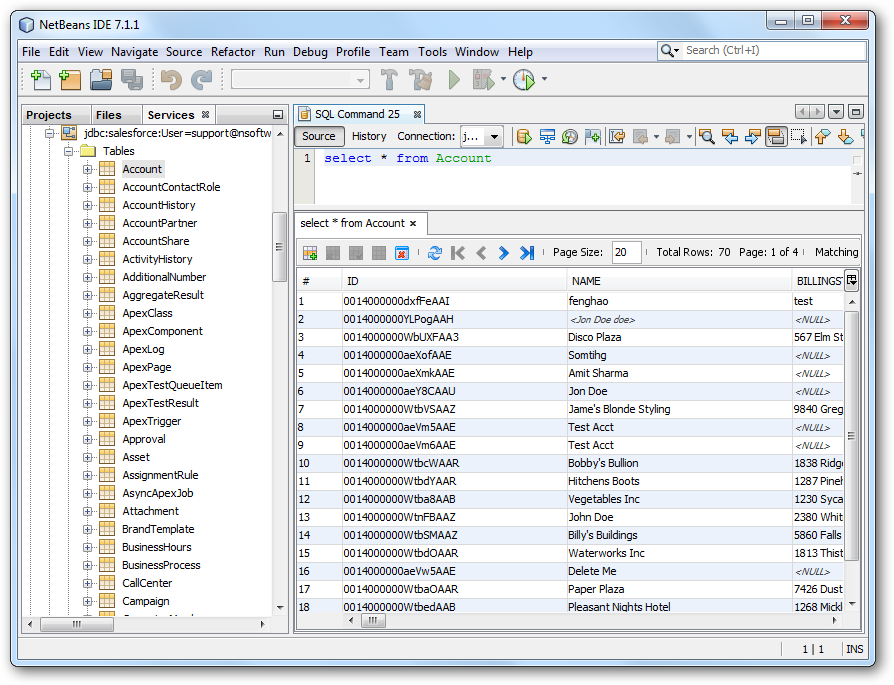
To connect to ApprovalMax data, right-click the connection in the Database node and click Connect. After the connection is established, you can expand it to discover schema information.
To load a table in the Data Views window, right-click the table and then click View Data..