Create Informatica Mappings From/To an ODBC Data Source for ApprovalMax

Informatica provides a powerful, elegant means of transporting and transforming your data. By utilizing the CData ODBC Driver for ApprovalMax, you are gaining access to a driver based on industry-proven standards that integrates seamlessly with Informatica's powerful data transportation and manipulation features. This tutorial shows how to transfer and browse ApprovalMax data in Informatica PowerCenter.
Connect to ApprovalMax as an ODBC Data Source
Information for connecting to ApprovalMax follows, along with different instructions for configuring a DSN in Windows and Linux environments.
Start by setting the Profile connection property to the location of the ApprovalMax Profile on disk (e.g. C:\profiles\ApprovalMax.apip). Next, set the ProfileSettings connection property to the connection string for ApprovalMax (see below).
ApprovalMax API Profile Settings
To authenticate to ApprovalMax and connect to your own data or to allow other users to connect to their data, the ApprovalMax Public API requires the OAuth 2.0 authorization code flow.
First, you will need to register an OAuth application with ApprovalMax. Sign in to the ApprovalMax Developer Portal (https://developer.approvalmax.com/applications) and create a new application. Your OAuth application will be assigned a Client ID and a Client Secret, and you must register at least one Redirect URI (Callback URL).
A Premium ApprovalMax subscription (or active trial) is required to use the Public API.
After setting the following connection properties, you are ready to connect:
- AuthScheme: Set this to OAuth.
- InitiateOAuth: Set this to GETANDREFRESH. You can use InitiateOAuth to manage the process to obtain the OAuthAccessToken.
- OAuthClientId: Set this to the Client ID that is shown in your application settings on the ApprovalMax Developer Portal.
- OAuthClientSecret: Set this to the Client Secret that is shown in your application settings on the ApprovalMax Developer Portal.
- CallbackURL: Set this to the Redirect URI that is registered in your application settings.
- Scope: (Optional) Override the default OAuth scopes. The default value openid offline_access https://www.approvalmax.com/scopes/public_api/read grants read-only access to all tables in this profile and enables refresh tokens. Use the principle of least privilege when narrowing this scope.
The OAuth Authorization URL is https://identity.approvalmax.com/connect/authorize and the Token URL is https://identity.approvalmax.com/connect/token. Both authorization_code and refresh_token grant types are supported.
Windows
If you have not already, first specify connection properties in an ODBC DSN (data source name). This is the last step of the driver installation. You can use the Microsoft ODBC Data Source Administrator to create and configure ODBC DSNs.
Linux
If you are installing the CData ODBC Driver for ApprovalMax in a Linux environment, the driver installation predefines a system DSN. You can modify the DSN by editing the system data sources file (/etc/odbc.ini) and defining the required connection properties.
/etc/odbc.ini
[CData API Source]
Driver = CData ODBC Driver for ApprovalMax
Description = My Description
Profile = C:\profiles\ApprovalMax.apip
AuthScheme = OAuth
InitiateOAuth = GETANDREFRESH
OAuthClientId = your_client_id
OAuthClientSecret = your_client_secret
CallbackURL = your_callback_url
For specific information on using these configuration files, please refer to the help documentation (installed and found online).
Create a Linked Table to UserProfiles Data
Follow the steps below to create a linked table, which enables you to access live UserProfiles data.
Create the ODBC Connection
Follow the steps below to connect to ApprovalMax in Informatica PowerCenter:
- In the Informatica Developer tool connect to your repository and create a project.
- In the Connection Explorer pane, right-click and click Create a Connection.
- In the New Database Connection wizard that is displayed, enter a name and Id for the connection and in the Type menu select ODBC.
- In the Connection String property, enter the DSN.
NOTE: If you are working in a Linux operating system, set the Driver Manager for Linux property to unixODBC 2.3.x.
Create the ApprovalMax Data Object
After you have created an ODBC connection to ApprovalMax, you can now access ApprovalMax entities in Informatica. Follow the steps below to add UserProfiles entities to your project.
- In the Object Explorer, right-click your project and then click New -> Data Object.
- In the wizard that is displayed, select the Relational Data Object option.
- Click the Browse button next to the Connection box and select the ODBC connection you created in the previous step.
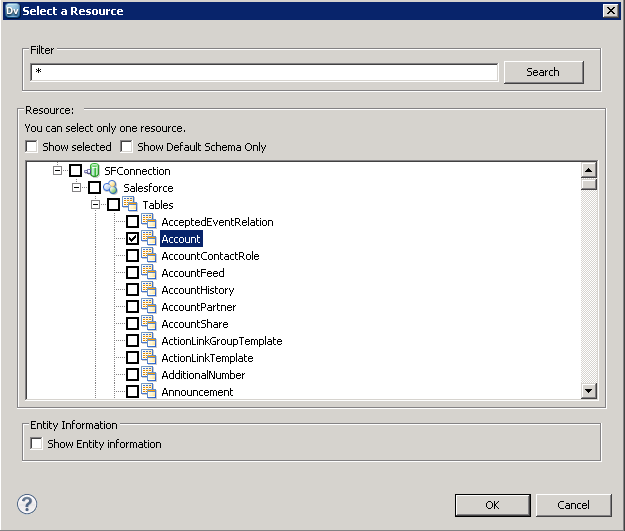
- Select the option to create a data object from an existing resource and click the Browse button next to the Resource box.
- In the dialog that is displayed, clear the Show Default Schema Only option and expand the node for the ODBC connection. Select the entity that you want.
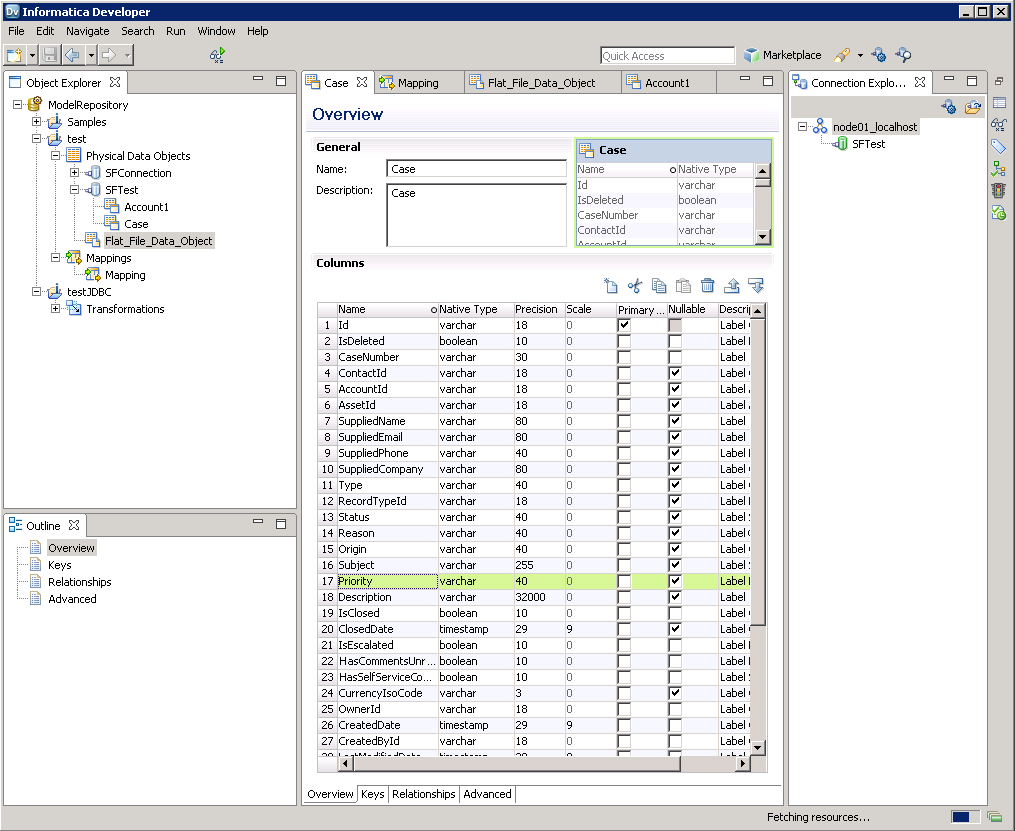
You can now browse the table in the Data Viewer: Right-click the node for the table and then click Open. On the Data Viewer view, click Run.
Create the Mapping
Follow the steps below to add the ApprovalMax source to a mapping:
- In the Object Explorer, right-click your project and then click New -> Mapping.
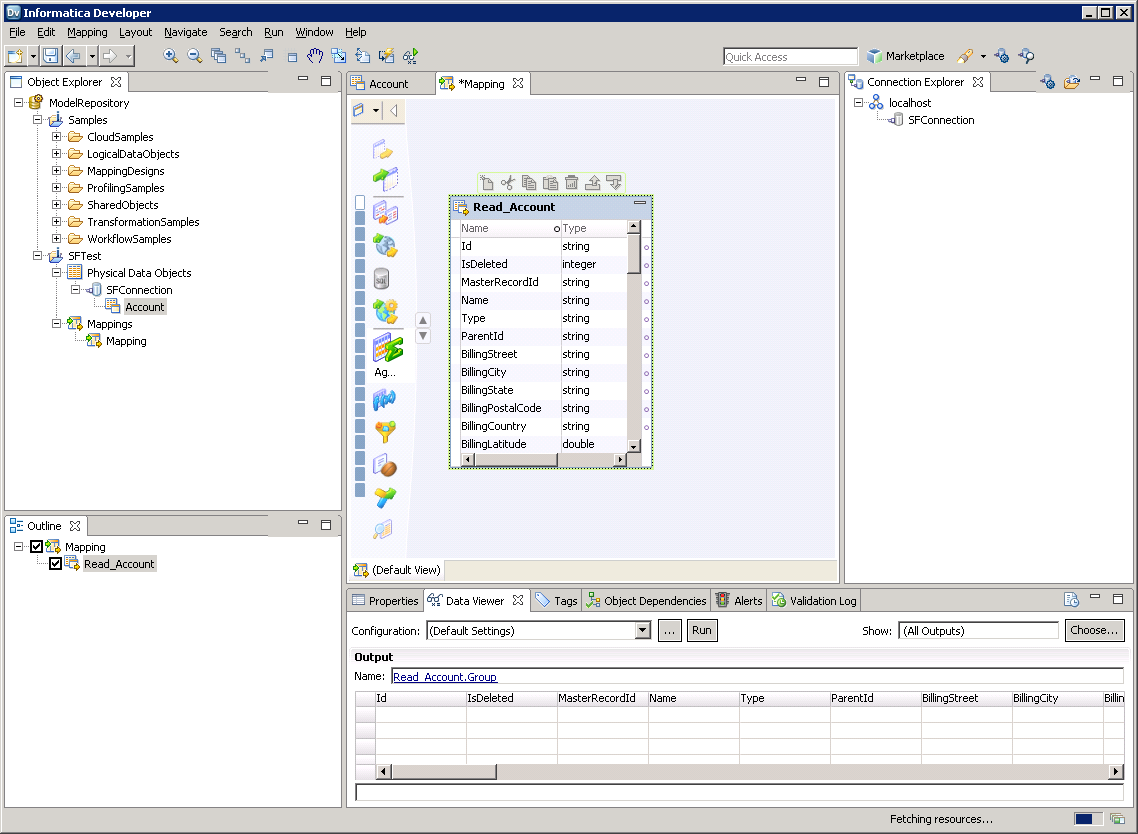
- Expand the node for the ApprovalMax connection and then drag the data object for the table onto the editor.
- In the dialog that appears, select the Read option.
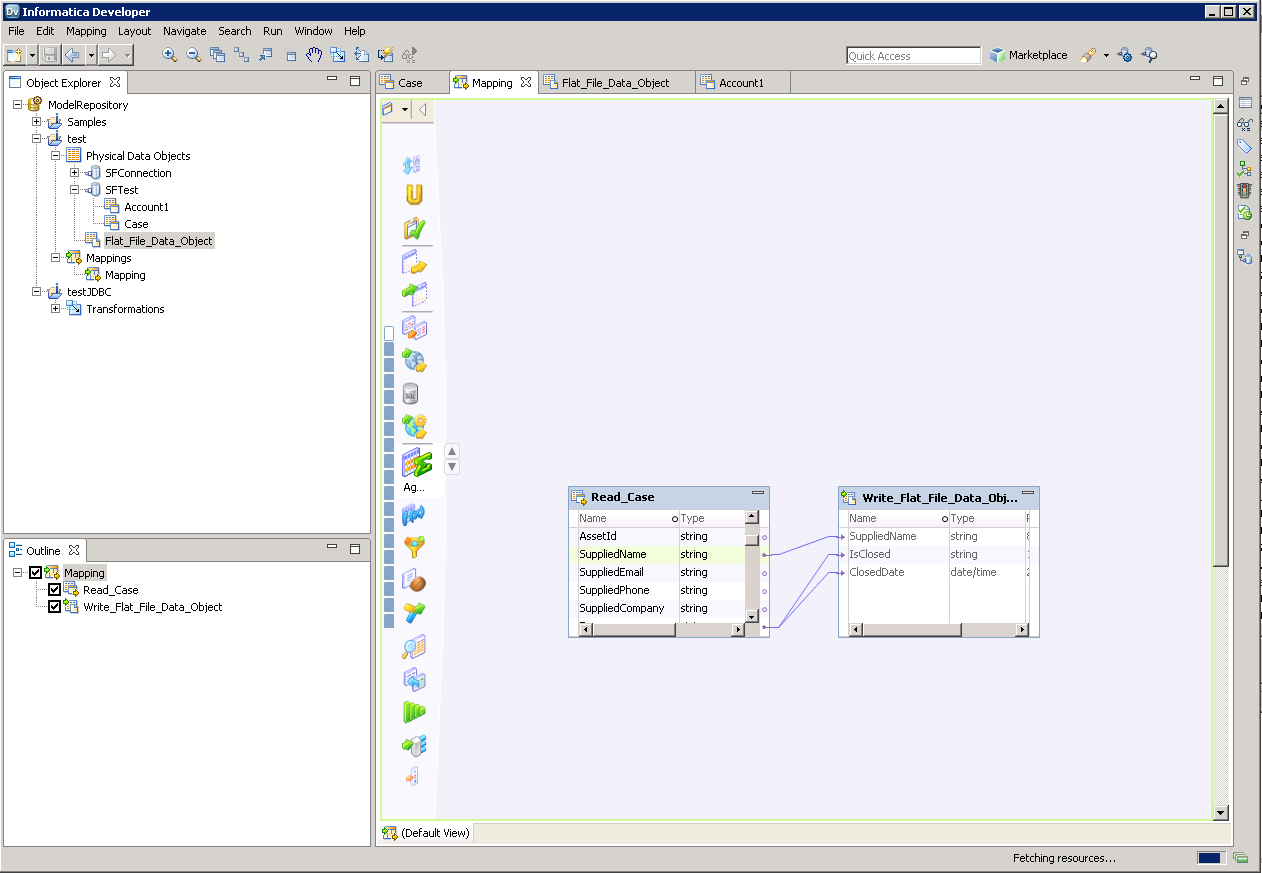
Follow the steps below to map ApprovalMax columns to a flat file:
- In the Object Explorer, right-click your project and then click New -> Data Object.
- Select Flat File Data Object -> Create as Empty -> Fixed Width.
- In the properties for the ApprovalMax object, select the rows you want, right-click, and then click copy. Paste the rows into the flat file properties.
- Drag the flat file data object onto the mapping. In the dialog that appears, select the Write option.
- Click and drag to connect columns.
To transfer ApprovalMax data, right-click in the workspace and then click Run Mapping.