How to connect to Browse AI Data in DBVisualizer

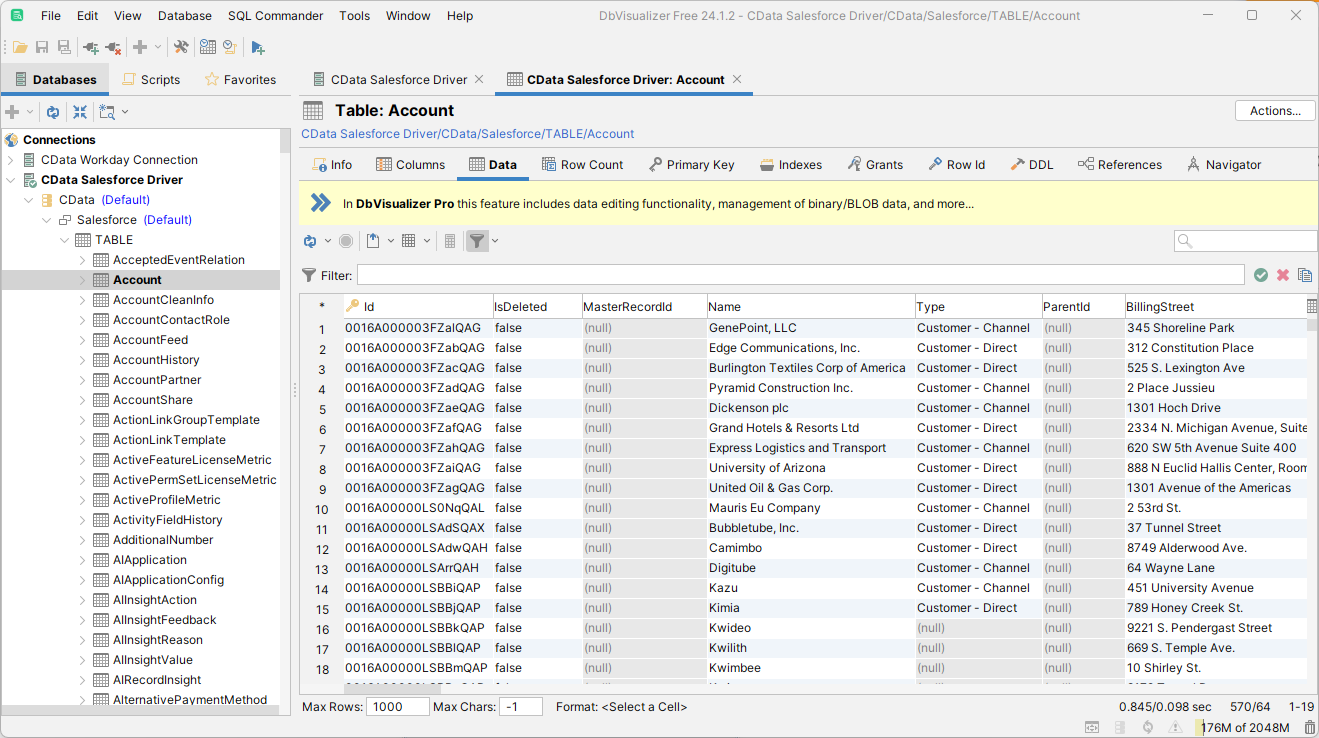
The CData API Driver for JDBC implements JDBC standards to provide connectivity to Browse AI data in applications ranging from business intelligence tools to IDEs. This article shows how to establish a connection to Browse AI data in DBVisualizer and use the table editor to load Browse AI data.
Create a New Driver Definition for Browse AI Data
Follow the steps below to use the Driver Manager to provide connectivity to Browse AI data from DBVisualizer tools.
- In DBVisualizer, click Tools -> Driver Manager.
- Click the plus sign "" to create a new driver.
- Select "Custom" as the template.
- On the Driver Settings tab:
- Set Name to a user-friendly name (e.g. "CData Browse AI Driver")
- Set URL Format to jdbc:api:
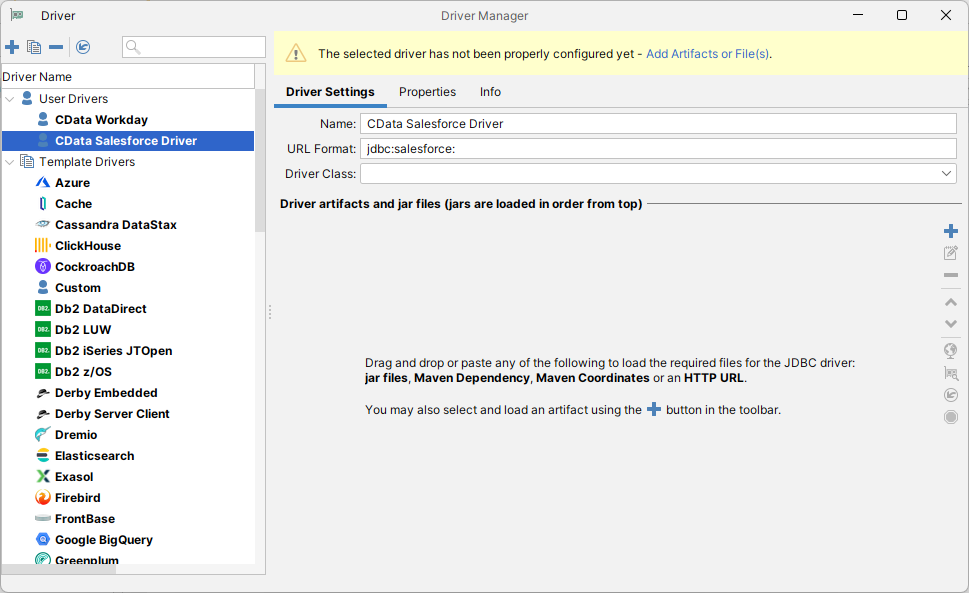
- In Driver artifacts and jar files (jars are loaded in order from top):
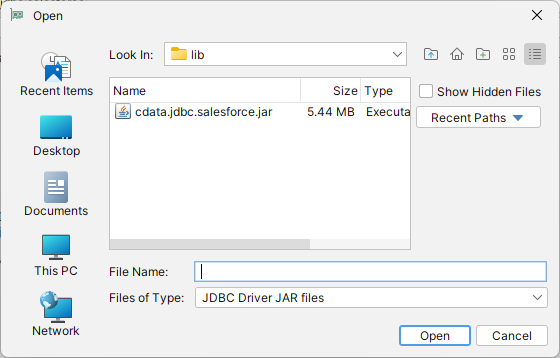
- Click the plus sign "" -> "Add Files"
- Navigate to the "lib" folder in the installation directory (C:\Program Files\CData API Driver for JDBC XXXX\)
- Select the JAR file (cdata.jdbc.API.jar) and click "Open"
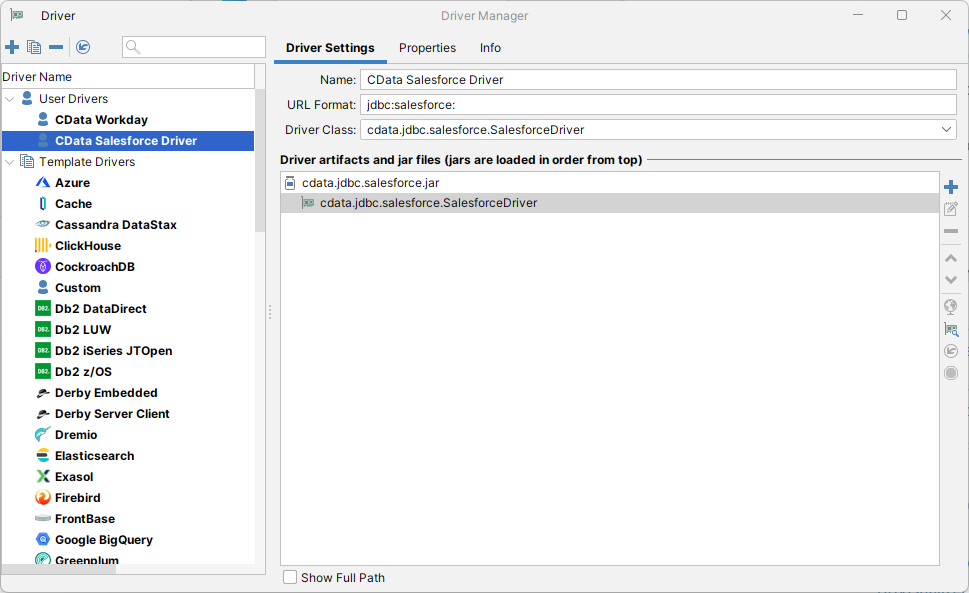
- The Driver Class should populate automatically. If not, select class (cdata.jdbc.api.APIDriver).
Define the Connection to the JDBC Data Source
Close the "Driver Manager" and follow the steps below to save connection properties in the JDBC URL.
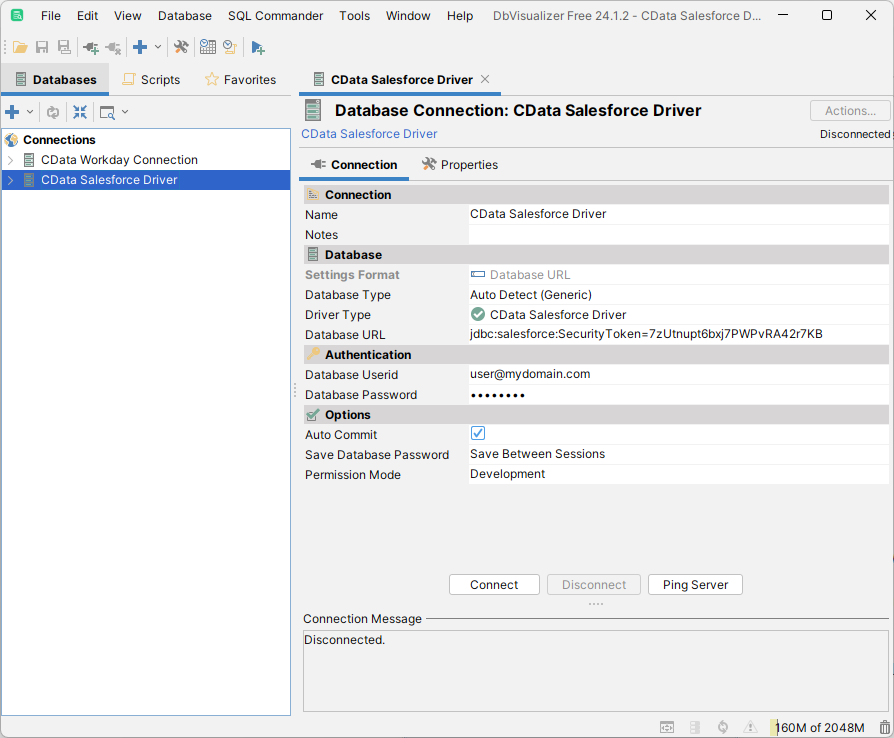
- In the "Databases" tab, click the plus sign "" and select the driver you just created.
In the "Connection" section, set the following options:
- Database Type: If you selected the wizard option, the database type is automatically detected. If you selected the "No Wizard" option, select the Generic or Auto Detect option in the Database Type menu.
- Driver Type: Select the driver you just created.
Database URL: Enter the full JDBC URL. The syntax of the JDBC URL is jdbc:api: followed by the connection properties in a semicolon-separated list of name-value pairs.
Start by setting the Profile connection property to the location of the BrowseAI Profile on disk (e.g. C:\profiles\BrowseAI.apip). Next, set the ProfileSettings connection property to the connection string for BrowseAI (see below).
BrowseAI API Profile Settings
BrowseAI is a web scraping and automation platform that allows you to train robots to extract and monitor data from websites. Authentication is performed using an API key that is sent as a Bearer token in the Authorization header.
The BrowseAI API key has the format {userId}:{apiKey}, where both parts are UUIDs separated by a colon. This full string is provided as a single value in the BrowseAI dashboard.
To obtain your API key:
- Log in to your BrowseAI account at https://app.browse.ai
- Navigate to Settings in the dashboard
- Locate the API section
- Copy the full API key string displayed (format: userId:apiKey)
After obtaining your API key, set the following connection properties:
- AuthScheme: Set this to APIKey.
Set the following in the ProfileSettings connection property:
- APIKey: Set this to your BrowseAI API key (format: userId:apiKey).
Built-in Connection String Designer
For assistance in constructing the JDBC URL, use the connection string designer built into the Browse AI JDBC Driver. Either double-click the JAR file or execute the jar file from the command-line.
java -jar cdata.jdbc.api.jarFill in the connection properties and copy the connection string to the clipboard.

When you configure the JDBC URL, you may also want to set the Max Rows connection property. This will limit the number of rows returned, which is especially helpful for improving performance when designing reports and visualizations.
A typical connection string is below:
jdbc:api:Profile=C:\profiles\BrowseAI.apip;AuthScheme=APIKey;ProfileSettings='APIKey=your_user_id:your_api_key';
- On the Connection tab, click Connect.
To browse through tables exposed by the Browse AI JDBC Driver, right-click a table and click "Open in New Tab."
To execute SQL queries, use the SQL Commander tool: Click SQL Commander -> New SQL Commander. Select the Database Connection, Database, and Schema from the available menus.
See the "Supported SQL" chapter in the help documentation for more information on the supported SQL. See the "Data Model" chapter for table-specific information.