




Visualize Live Browse AI Data in Tableau

Tableau is a visual analytics platform transforming the way businesses use data to solve problems. When paired with the CData API Driver for Tableau, you can easily get access to live Browse AI data within Tableau. This article shows how to connect to Browse AI in Tableau and build a simple chart.
The CData Tableau Connectors enable high-speed access to live Browse AI data in Tableau. Once you install the connector, you simply authenticate with Browse AI and you can immediately start building responsive, dynamic visualizations and dashboards. By surfacing Browse AI data using native Tableau data types and handling complex filters, aggregations, & other operations automatically, CData Tableau Connectors grant seamless access to Browse AI data.
NOTE: The CData Tableau Connectors require Tableau 2020.3 or higher. If you are using an older version of Tableau, you will need to use the CData JDBC Driver.
Connect to Browse AI in Tableau
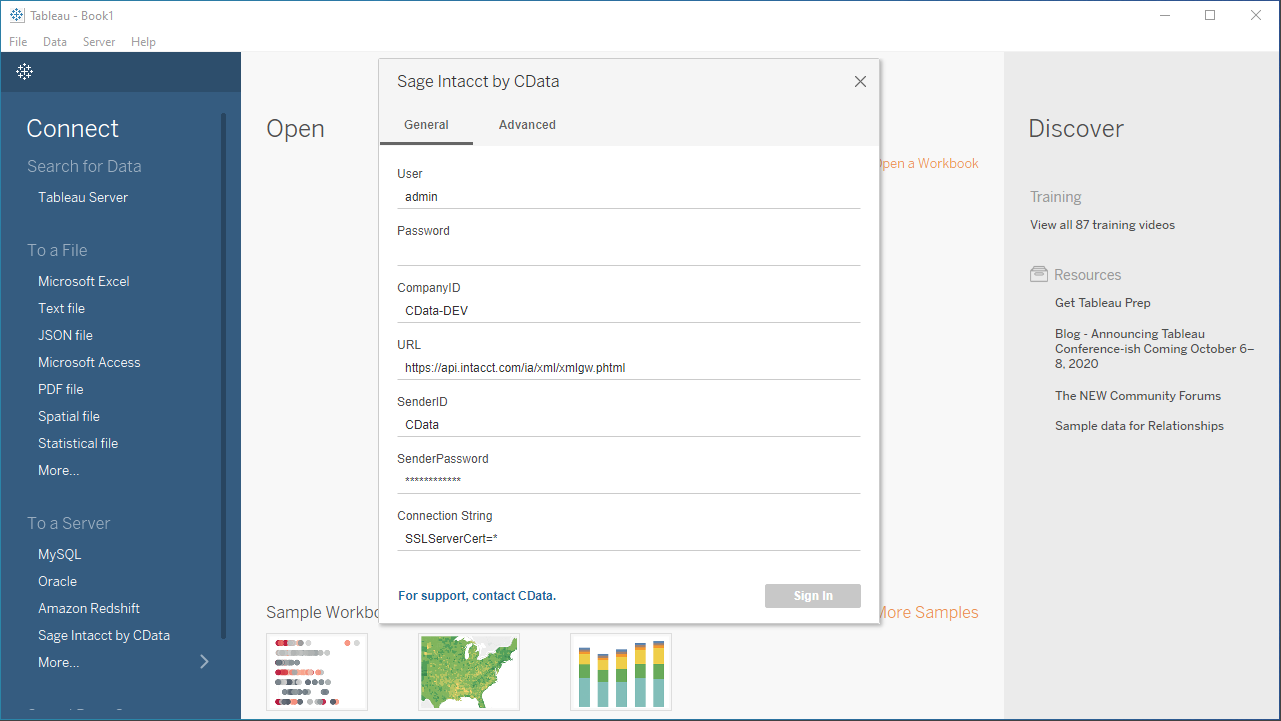
Open Tableau and click More under Connect -> To a Server. Select "Browse AI by CData," then configure the connection and click "Sign In."
Start by setting the Profile connection property to the location of the BrowseAI Profile on disk (e.g. C:\profiles\BrowseAI.apip). Next, set the ProfileSettings connection property to the connection string for BrowseAI (see below).
BrowseAI API Profile Settings
BrowseAI is a web scraping and automation platform that allows you to train robots to extract and monitor data from websites. Authentication is performed using an API key that is sent as a Bearer token in the Authorization header.
The BrowseAI API key has the format {userId}:{apiKey}, where both parts are UUIDs separated by a colon. This full string is provided as a single value in the BrowseAI dashboard.
To obtain your API key:
- Log in to your BrowseAI account at https://app.browse.ai
- Navigate to Settings in the dashboard
- Locate the API section
- Copy the full API key string displayed (format: userId:apiKey)
After obtaining your API key, set the following connection properties:
- AuthScheme: Set this to APIKey.
Set the following in the ProfileSettings connection property:
- APIKey: Set this to your BrowseAI API key (format: userId:apiKey).
Discover Schemas and Query Data
- Select CData from the Database pull-down menu.
- Select API from the Schema pull-down menu.
- Drag the tables and views you wish to visualize onto the join area. You can include multiple tables.
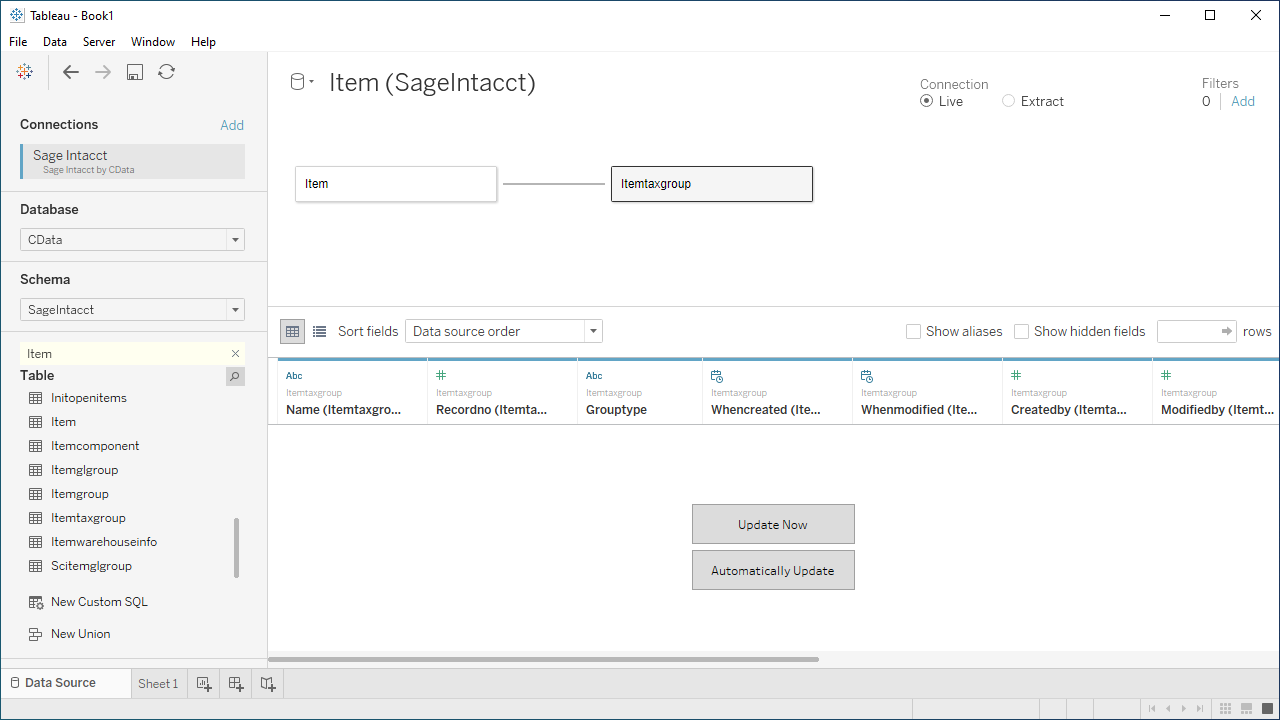
- Select Update Now or Automatically Update. Update Now lets you preview the first 10,000 rows of the data source (or enter the number of rows you want to see in the Rows text box). Automatically Update automatically reflects the changes in the preview area.
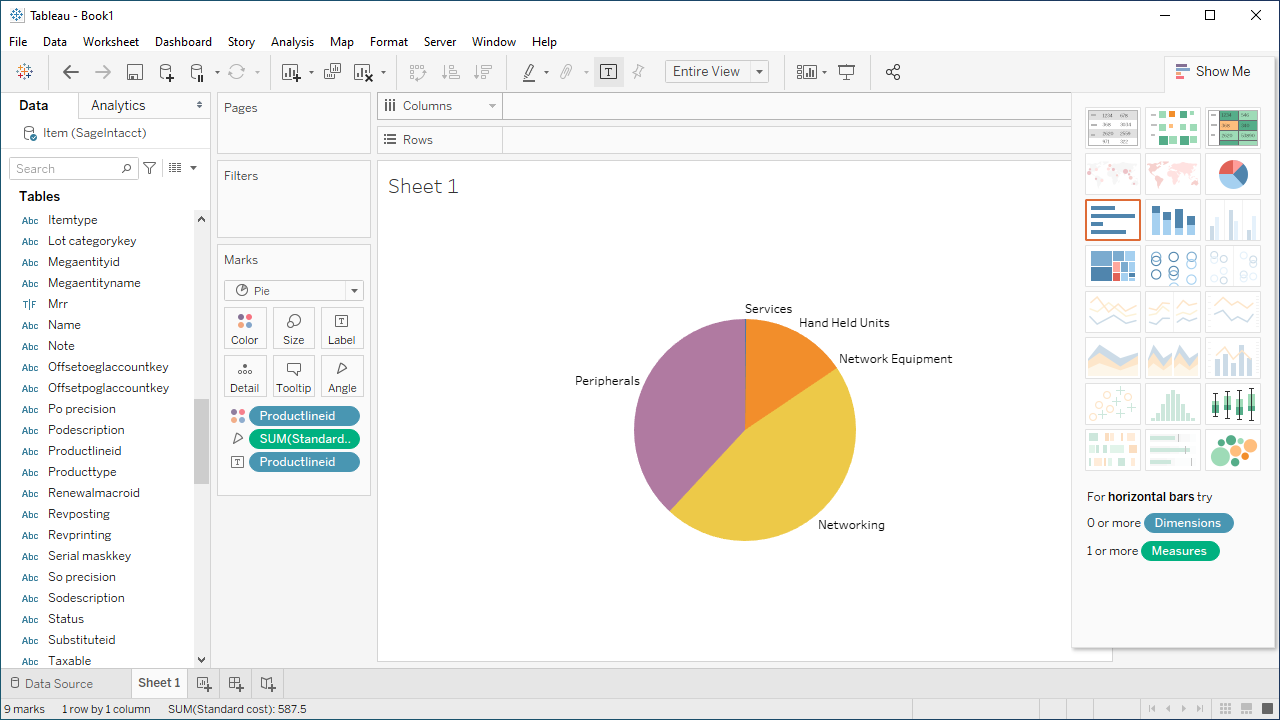
- Click the tab for your worksheet. Columns are listed as Dimensions and Measures, depending on the data type. The CData Tableau Connector discovers data types automatically, allowing you to leverage the powerful data processing and visualization features of Tableau.
- Drag a field from the Dimensions or Measures area to Rows or Columns. Tableau creates column or row headers.
- Select one of the chart types from the Show Me tab. Tableau displays the chart type that you selected.
Using the CData API Driver for Tableau with Tableau, you can easily create robust visualizations and reports on Browse AI data. Download a free, 30-day trial and get started today.